2008 Hyundai Tiburon clock
[x] Cancel search: clockPage 119 of 268
1
FEATURES OF YOUR HYUNDAI
107
!
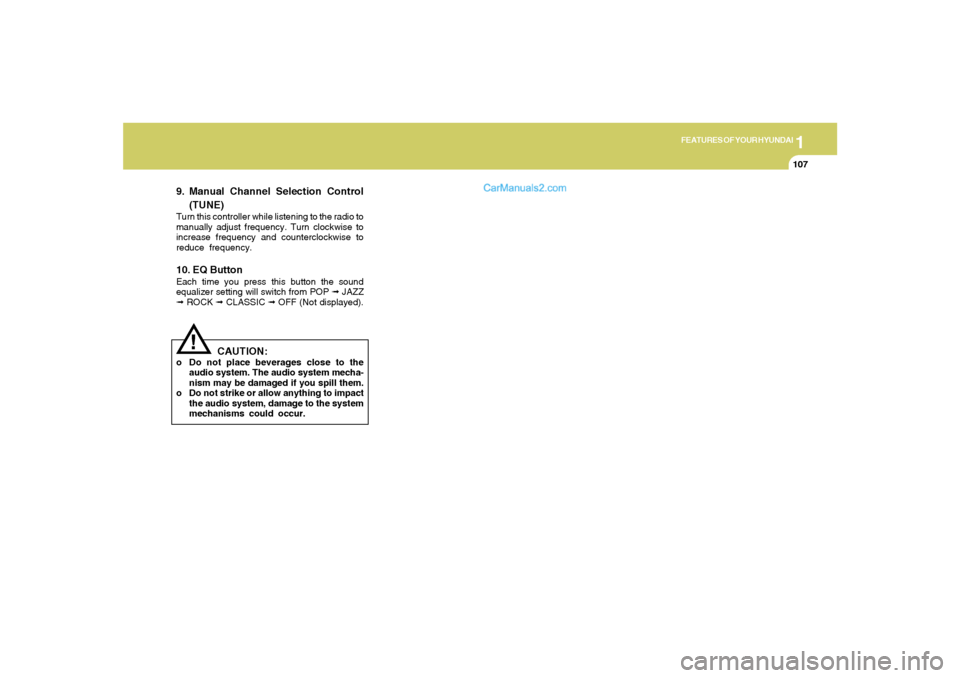
9. Manual Channel Selection Control
(TUNE)Turn this controller while listening to the radio to
manually adjust frequency. Turn clockwise to
increase frequency and counterclockwise to
reduce frequency.10. EQ ButtonEach time you press this button the sound
equalizer setting will switch from POP ➟ JAZZ
➟ ROCK ➟ CLASSIC ➟ OFF (Not displayed).
CAUTION:
o Do not place beverages close to the
audio system. The audio system mecha-
nism may be damaged if you spill them.
o Do not strike or allow anything to impact
the audio system, damage to the system
mechanisms could occur.
Page 126 of 268
1FEATURES OF YOUR HYUNDAI
114
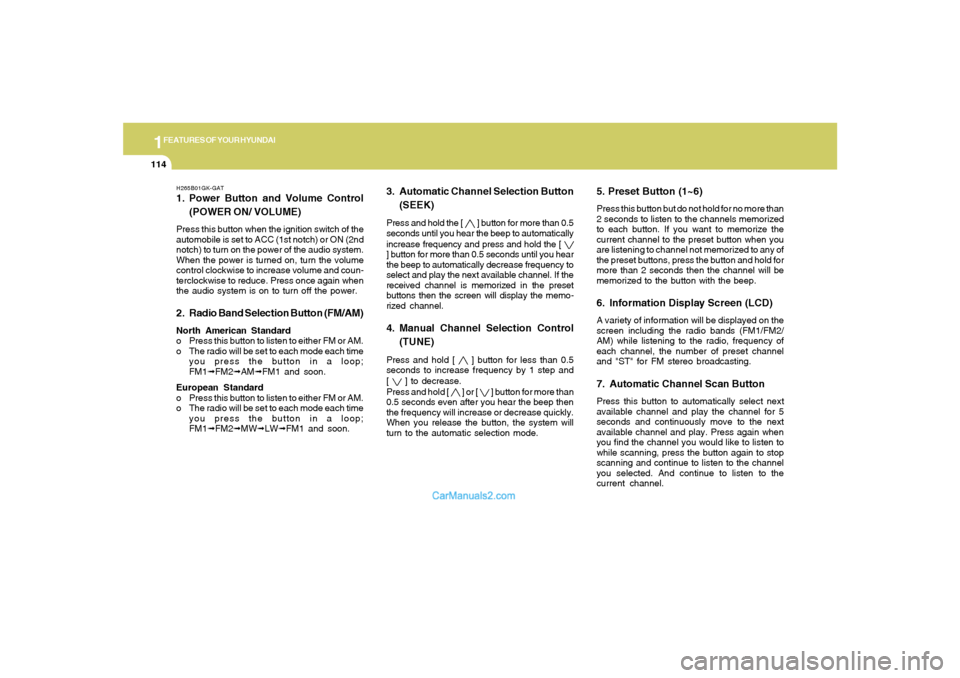
H265B01GK-GAT1. Power Button and Volume Control
(POWER ON/ VOLUME)Press this button when the ignition switch of the
automobile is set to ACC (1st notch) or ON (2nd
notch) to turn on the power of the audio system.
When the power is turned on, turn the volume
control clockwise to increase volume and coun-
terclockwise to reduce. Press once again when
the audio system is on to turn off the power.2. Radio Band Selection Button (FM/AM)North American Standard
o Press this button to listen to either FM or AM.
o The radio will be set to each mode each time
you press the button in a loop;
FM1➟FM2➟AM➟FM1 and soon.
European Standard
o Press this button to listen to either FM or AM.
o The radio will be set to each mode each time
you press the button in a loop;
FM1➟FM2➟MW➟LW➟FM1 and soon.
5. Preset Button (1~6)Press this button but do not hold for no more than
2 seconds to listen to the channels memorized
to each button. If you want to memorize the
current channel to the preset button when you
are listening to channel not memorized to any of
the preset buttons, press the button and hold for
more than 2 seconds then the channel will be
memorized to the button with the beep.6. Information Display Screen (LCD)A variety of information will be displayed on the
screen including the radio bands (FM1/FM2/
AM) while listening to the radio, frequency of
each channel, the number of preset channel
and "ST" for FM stereo broadcasting.7. Automatic Channel Scan ButtonPress this button to automatically select next
available channel and play the channel for 5
seconds and continuously move to the next
available channel and play. Press again when
you find the channel you would like to listen to
while scanning, press the button again to stop
scanning and continue to listen to the channel
you selected. And continue to listen to the
current channel.
3. Automatic Channel Selection Button
(SEEK)Press and hold the [
] button for more than 0.5
seconds until you hear the beep to automatically
increase frequency and press and hold the [
] button for more than 0.5 seconds until you hear
the beep to automatically decrease frequency to
select and play the next available channel. If the
received channel is memorized in the preset
buttons then the screen will display the memo-
rized channel.4. Manual Channel Selection Control
(TUNE)Press and hold [
] button for less than 0.5
seconds to increase frequency by 1 step and
[
] to decrease.
Press and hold [
] or [
] button for more than
0.5 seconds even after you hear the beep then
the frequency will increase or decrease quickly.
When you release the button, the system will
turn to the automatic selection mode.
Page 127 of 268
1
FEATURES OF YOUR HYUNDAI
115
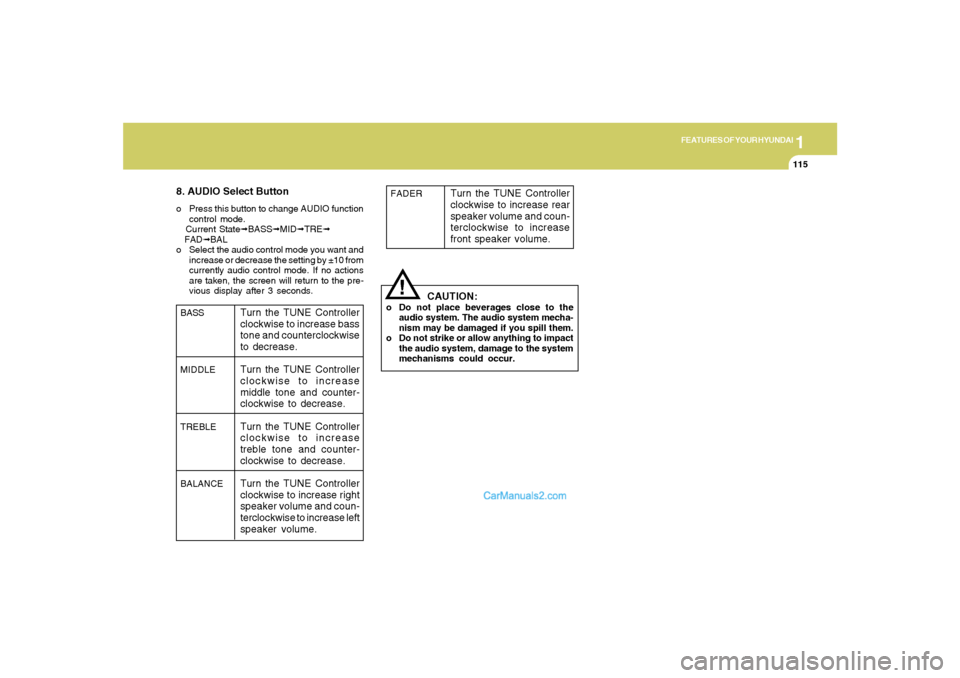
8. AUDIO Select Buttono Press this button to change AUDIO function
control mode.
Current State➟BASS➟MID➟TRE➟
FAD➟BAL
o Select the audio control mode you want and
increase or decrease the setting by ±10 from
currently audio control mode. If no actions
are taken, the screen will return to the pre-
vious display after 3 seconds.
!
BASS
MIDDLE
TREBLE
BALANCE
Turn the TUNE Controller
clockwise to increase bass
tone and counterclockwise
to decrease.
Turn the TUNE Controller
clockwise to increase
middle tone and counter-
clockwise to decrease.
Turn the TUNE Controller
clockwise to increase
treble tone and counter-
clockwise to decrease.
Turn the TUNE Controller
clockwise to increase right
speaker volume and coun-
terclockwise to increase left
speaker volume.
CAUTION:
o Do not place beverages close to the
audio system. The audio system mecha-
nism may be damaged if you spill them.
o Do not strike or allow anything to impact
the audio system, damage to the system
mechanisms could occur.FADER
Turn the TUNE Controller
clockwise to increase rear
speaker volume and coun-
terclockwise to increase
front speaker volume.
Page 132 of 268
1FEATURES OF YOUR HYUNDAI
120
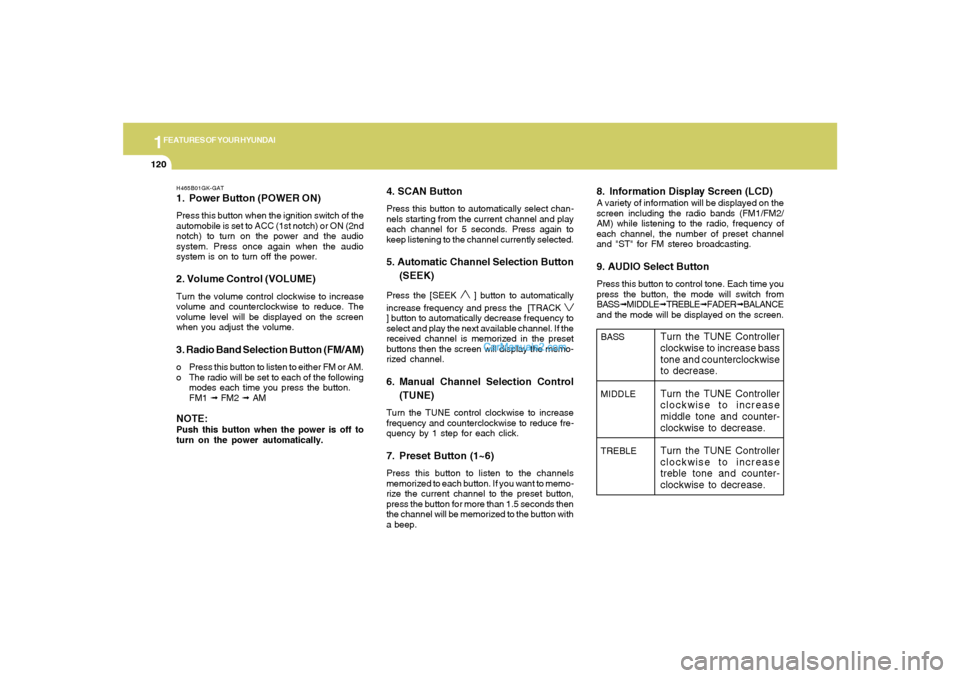
H465B01GK-GAT1. Power Button (POWER ON)Press this button when the ignition switch of the
automobile is set to ACC (1st notch) or ON (2nd
notch) to turn on the power and the audio
system. Press once again when the audio
system is on to turn off the power.2. Volume Control (VOLUME)Turn the volume control clockwise to increase
volume and counterclockwise to reduce. The
volume level will be displayed on the screen
when you adjust the volume.3. Radio Band Selection Button (FM/AM)o Press this button to listen to either FM or AM.
o The radio will be set to each of the following
modes each time you press the button.
FM1 ➟ FM2 ➟ AMNOTE:Push this button when the power is off to
turn on the power automatically.
4. SCAN ButtonPress this button to automatically select chan-
nels starting from the current channel and play
each channel for 5 seconds. Press again to
keep listening to the channel currently selected.5. Automatic Channel Selection Button
(SEEK)Press the [SEEK
] button to automatically
increase frequency and press the [TRACK
] button to automatically decrease frequency to
select and play the next available channel. If the
received channel is memorized in the preset
buttons then the screen will display the memo-
rized channel.6. Manual Channel Selection Control
(TUNE)Turn the TUNE control clockwise to increase
frequency and counterclockwise to reduce fre-
quency by 1 step for each click.7. Preset Button (1~6)Press this button to listen to the channels
memorized to each button. If you want to memo-
rize the current channel to the preset button,
press the button for more than 1.5 seconds then
the channel will be memorized to the button with
a beep.
8. Information Display Screen (LCD)A variety of information will be displayed on the
screen including the radio bands (FM1/FM2/
AM) while listening to the radio, frequency of
each channel, the number of preset channel
and "ST" for FM stereo broadcasting.9. AUDIO Select ButtonPress this button to control tone. Each time you
press the button, the mode will switch from
BASS➟MIDDLE➟TREBLE➟FADER➟BALANCE
and the mode will be displayed on the screen.BASS
MIDDLE
TREBLE
Turn the TUNE Controller
clockwise to increase bass
tone and counterclockwise
to decrease.
Turn the TUNE Controller
clockwise to increase
middle tone and counter-
clockwise to decrease.
Turn the TUNE Controller
clockwise to increase
treble tone and counter-
clockwise to decrease.
Page 133 of 268
1
FEATURES OF YOUR HYUNDAI
121
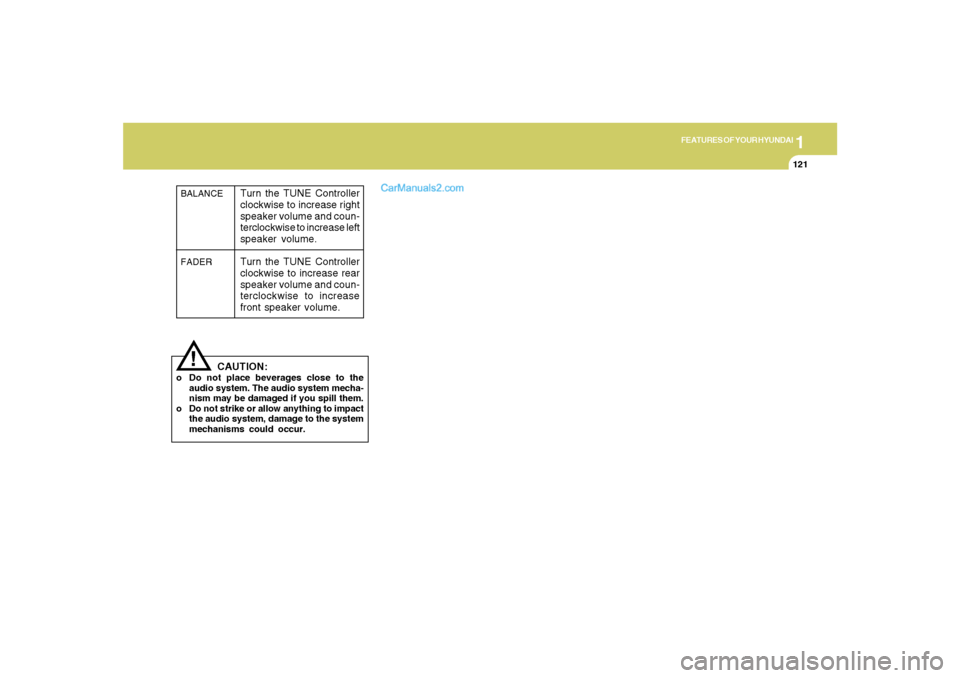
!BALANCE
FADER
Turn the TUNE Controller
clockwise to increase right
speaker volume and coun-
terclockwise to increase left
speaker volume.
Turn the TUNE Controller
clockwise to increase rear
speaker volume and coun-
terclockwise to increase
front speaker volume.
CAUTION:
o Do not place beverages close to the
audio system. The audio system mecha-
nism may be damaged if you spill them.
o Do not strike or allow anything to impact
the audio system, damage to the system
mechanisms could occur.
Page 143 of 268
2
DRIVING YOUR HYUNDAI
4
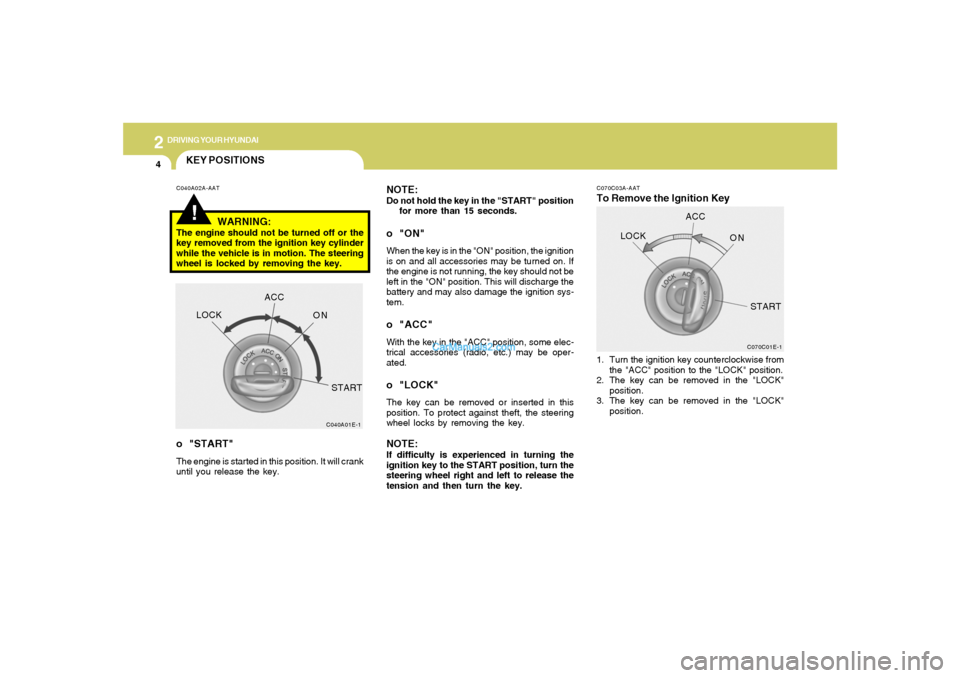
C070C03A-AATTo Remove the Ignition Key NOTE:
Do not hold the key in the "START" position
for more than 15 seconds.o "ON"When the key is in the "ON" position, the ignition
is on and all accessories may be turned on. If
the engine is not running, the key should not be
left in the "ON" position. This will discharge the
battery and may also damage the ignition sys-
tem.o "ACC"With the key in the "ACC" position, some elec-
trical accessories (radio, etc.) may be oper-
ated.o "LOCK"The key can be removed or inserted in this
position. To protect against theft, the steering
wheel locks by removing the key.NOTE:If difficulty is experienced in turning the
ignition key to the START position, turn the
steering wheel right and left to release the
tension and then turn the key.1. Turn the ignition key counterclockwise from
the "ACC" position to the "LOCK" position.
2. The key can be removed in the "LOCK"
position.
3. The key can be removed in the "LOCK"
position.
C070C01E-1
LOCKACC
ON
START
!KEY POSITIONSC040A02A-AAT
WARNING:
The engine should not be turned off or the
key removed from the ignition key cylinder
while the vehicle is in motion. The steering
wheel is locked by removing the key.o "START"The engine is started in this position. It will crank
until you release the key.
C040A01E-1
LOCKACC
ON
START
Page 178 of 268
312
WHAT TO DO IN AN EMERGENCY
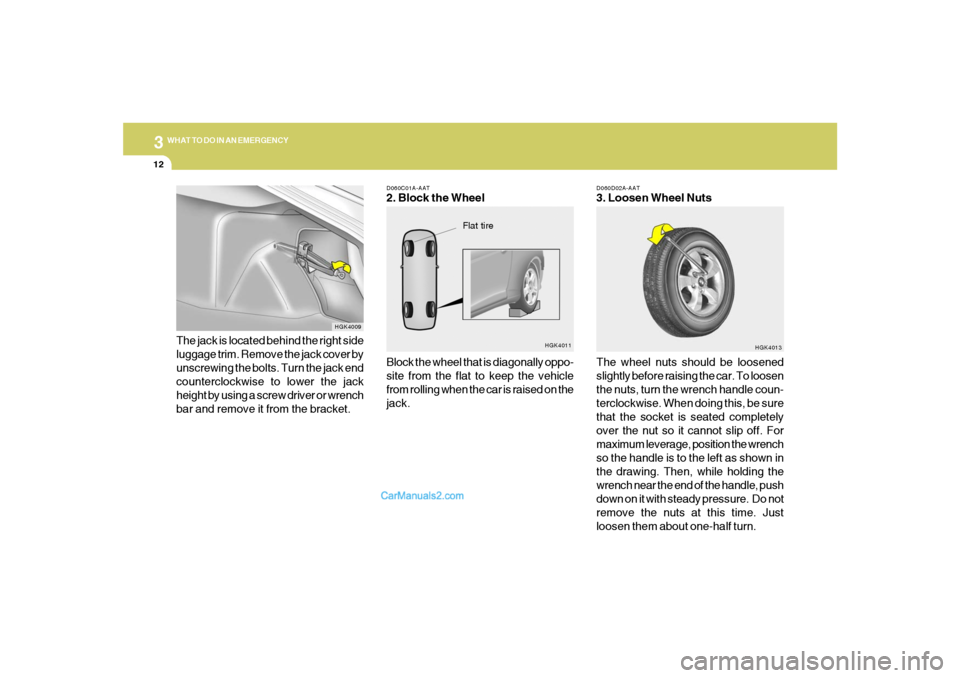
D060D02A-AAT3. Loosen Wheel Nuts
The wheel nuts should be loosened
slightly before raising the car. To loosen
the nuts, turn the wrench handle coun-
terclockwise. When doing this, be sure
that the socket is seated completely
over the nut so it cannot slip off. For
maximum leverage, position the wrench
so the handle is to the left as shown in
the drawing. Then, while holding the
wrench near the end of the handle, push
down on it with steady pressure. Do not
remove the nuts at this time. Just
loosen them about one-half turn.
HGK4013
D060C01A-AAT2. Block the Wheel
Block the wheel that is diagonally oppo-
site from the flat to keep the vehicle
from rolling when the car is raised on the
jack.
HGK4011
Flat tire
The jack is located behind the right side
luggage trim. Remove the jack cover by
unscrewing the bolts. Turn the jack end
counterclockwise to lower the jack
height by using a screw driver or wrench
bar and remove it from the bracket.
HGK4009
Page 179 of 268
3
WHAT TO DO IN AN EMERGENCY
13
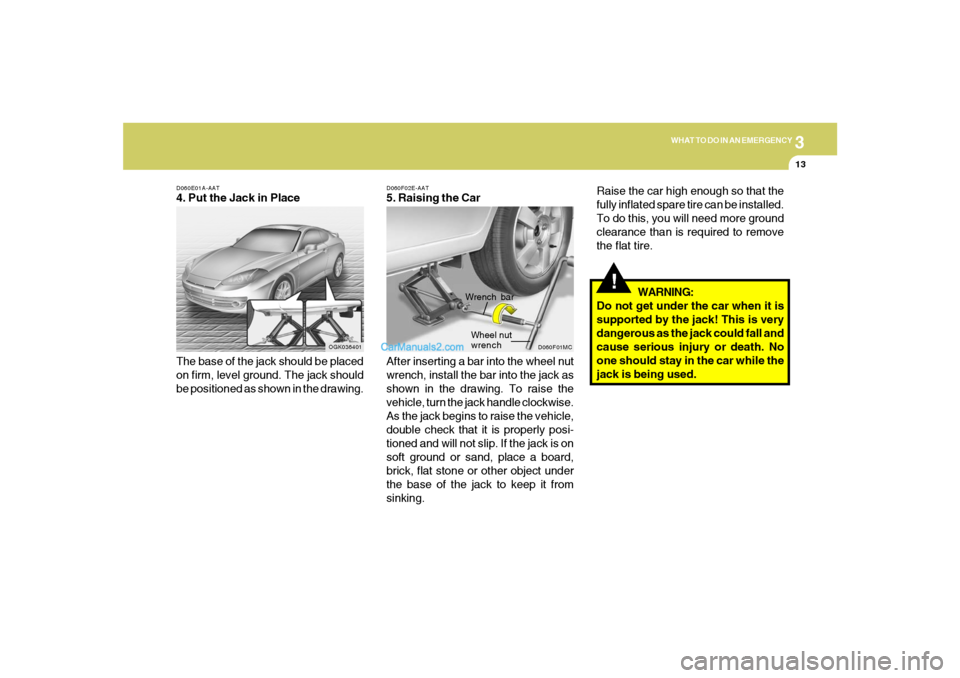
D060E01A-AAT4. Put the Jack in Place
The base of the jack should be placed
on firm, level ground. The jack should
be positioned as shown in the drawing.
OGK036401
!
WARNING:
Do not get under the car when it is
supported by the jack! This is very
dangerous as the jack could fall and
cause serious injury or death. No
one should stay in the car while the
jack is being used.
D060F02E-AAT5. Raising the Car
After inserting a bar into the wheel nut
wrench, install the bar into the jack as
shown in the drawing. To raise the
vehicle, turn the jack handle clockwise.
As the jack begins to raise the vehicle,
double check that it is properly posi-
tioned and will not slip. If the jack is on
soft ground or sand, place a board,
brick, flat stone or other object under
the base of the jack to keep it from
sinking.
D060F01MC
Wrench bar
Wheel nut
wrench
Raise the car high enough so that the
fully inflated spare tire can be installed.
To do this, you will need more ground
clearance than is required to remove
the flat tire.