2008 Hyundai Tiburon clock
[x] Cancel search: clockPage 11 of 268
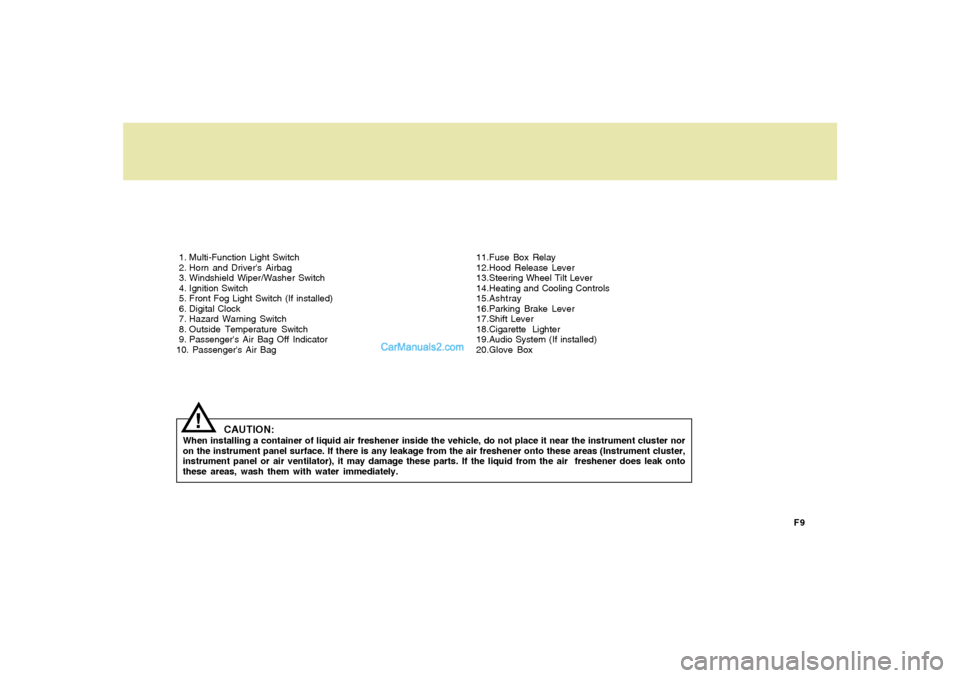
F9 1. Multi-Function Light Switch
2. Horn and Driver's Airbag
3. Windshield Wiper/Washer Switch
4. Ignition Switch
5. Front Fog Light Switch (If installed)
6. Digital Clock
7. Hazard Warning Switch
8. Outside Temperature Switch
9. Passenger's Air Bag Off Indicator
10. Passenger's Air Bag11.Fuse Box Relay
12.Hood Release Lever
13.Steering Wheel Tilt Lever
14.Heating and Cooling Controls
15.Ashtray
16.Parking Brake Lever
17.Shift Lever
18.Cigarette Lighter
19.Audio System (If installed)
20.Glove Box
CAUTION:
When installing a container of liquid air freshener inside the vehicle, do not place it near the instrument cluster nor
on the instrument panel surface. If there is any leakage from the air freshener onto these areas (Instrument cluster,
instrument panel or air ventilator), it may damage these parts. If the liquid from the air freshener does leak onto
these areas, wash them with water immediately.
!
Page 54 of 268
1FEATURES OF YOUR HYUNDAI42
!
WARNING:
!
WARNING:
o The side impact airbag is supplemental
to the driver's and the passenger's seat
belt systems and is not a substitute for
them. Therefore your seat belts must be
worn at all times while the vehicle is in
motion. The airbags deploy only in cer-
tain side impact conditions.
o For best protection from the side impact
airbag system and to avoid being injured
by the deploying side impact airbag,
both front seat occupants should sit in
an upright position with the seat belt
properly fastened. The driver's hands
should be placed on the steering wheel
at the 9:00 and 3:00 o'clock positions.
The passenger's arms and hands should
be placed on their laps.
o Do not use any accessory seat covers.
o Use of seat covers could prevent or
reduce the effectiveness of the system.
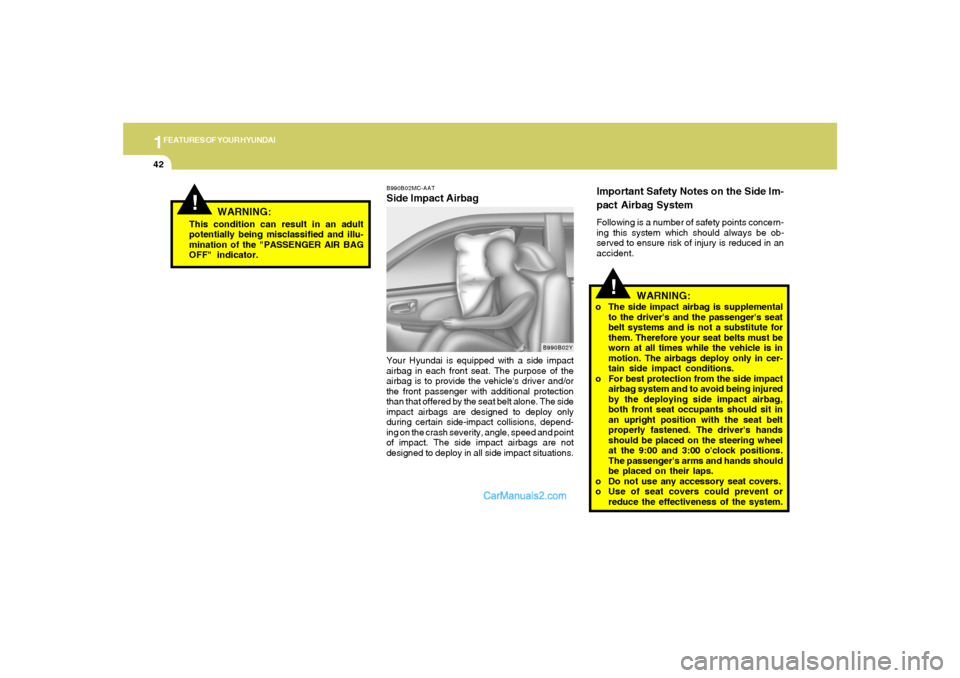
B990B02MC-AATSide Impact AirbagYour Hyundai is equipped with a side impact
airbag in each front seat. The purpose of the
airbag is to provide the vehicle's driver and/or
the front passenger with additional protection
than that offered by the seat belt alone. The side
impact airbags are designed to deploy only
during certain side-impact collisions, depend-
ing on the crash severity, angle, speed and point
of impact. The side impact airbags are not
designed to deploy in all side impact situations.
B990B02Y
This condition can result in an adult
potentially being misclassified and illu-
mination of the "PASSENGER AIR BAG
OFF" indicator.
Important Safety Notes on the Side Im-
pact Airbag SystemFollowing is a number of safety points concern-
ing this system which should always be ob-
served to ensure risk of injury is reduced in an
accident.
Page 76 of 268

1FEATURES OF YOUR HYUNDAI64
INSTRUMENT PANEL LIGHT
CONTROL (RHEOSTAT)B410A01A-AATThe instrument panel lights can be made brighter
or dimmer by turning the instrument panel light
control knob.
OGK046029
DIGITAL CLOCKB400A01A-AATThere are three control buttons for the digital
clock. Their functions are:
H- Push "H" to advance the hour indicated.
M- Push "M" to advance the minute indicated.
R- Push "R" to reset minutes to ":00" to
facilitate resetting the clock to the correct
time. When this is done:
Pressing "R" between 11 : 01 and 11 : 29
changes the readout to 11 : 00.
Pressing "R" between 11 : 30 and 11 : 59
changes the readout to 12 : 00.
Push the "R" button for 3 seconds to display
a 12 or 24-hour clock.
OGK046056
NOTE:The engine must be running for the rear
window defroster to operate.
CAUTION:
Do not clean the inner side of the rear
window glass with an abrasive type of glass
cleaner or use a scraper to remove foreign
deposits from the inner surface of the glass
as this may cause damage to the defroster
elements.
!
Page 80 of 268
1FEATURES OF YOUR HYUNDAI68
OGK046034L-1 B460E04GK-AAT
Resetting the Sunroof SystemIf the battery has been recharged, discon-
nected or the sunroof was been opened manu-
ally with the hexagonal head wrench, you may
need to reset the sunroof.To do this;1. Turn the ignition switch "OFF".
2. While pressing " " "up" button turn the
ignition switch "ON".
The resetting was not occur when the
ignition key is turned "OFF" within 1.5
seconds.
3. If the sunroof is set like this, the sunroof is
reset with tilting up/down automatically once
for all.
CAUTION:
If the sunroof is not reset, it may not operate
normally.
!
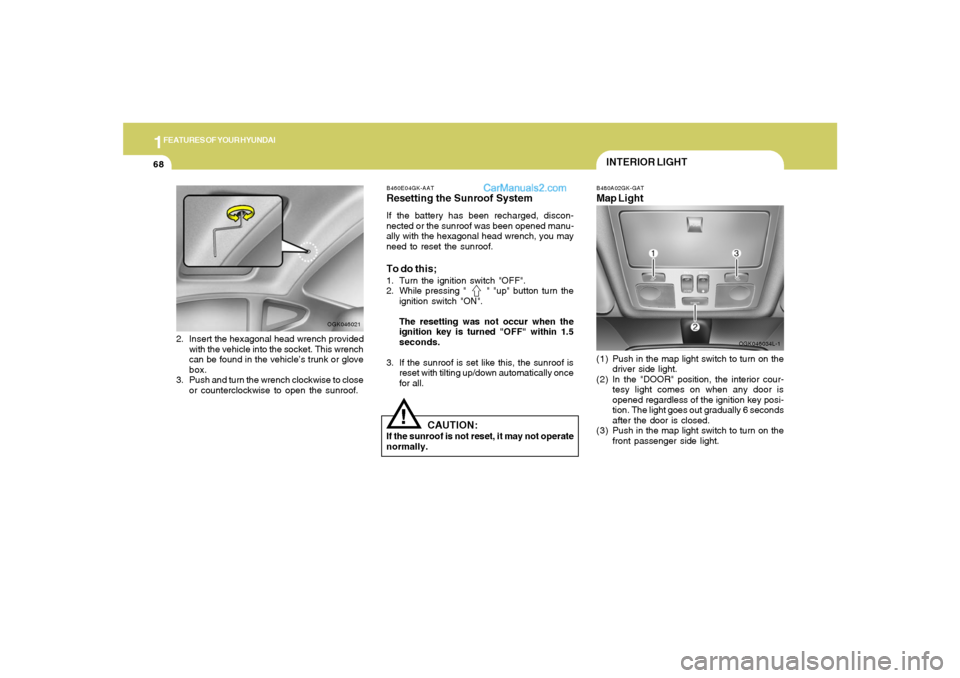
INTERIOR LIGHTB480A02GK-GATMap Light(1) Push in the map light switch to turn on the
driver side light.
(2) In the "DOOR" position, the interior cour-
tesy light comes on when any door is
opened regardless of the ignition key posi-
tion. The light goes out gradually 6 seconds
after the door is closed.
(3) Push in the map light switch to turn on the
front passenger side light.
2. Insert the hexagonal head wrench provided
with the vehicle into the socket. This wrench
can be found in the vehicle’s trunk or glove
box.
3. Push and turn the wrench clockwise to close
or counterclockwise to open the sunroof.
OGK046021
Page 88 of 268
1FEATURES OF YOUR HYUNDAI76
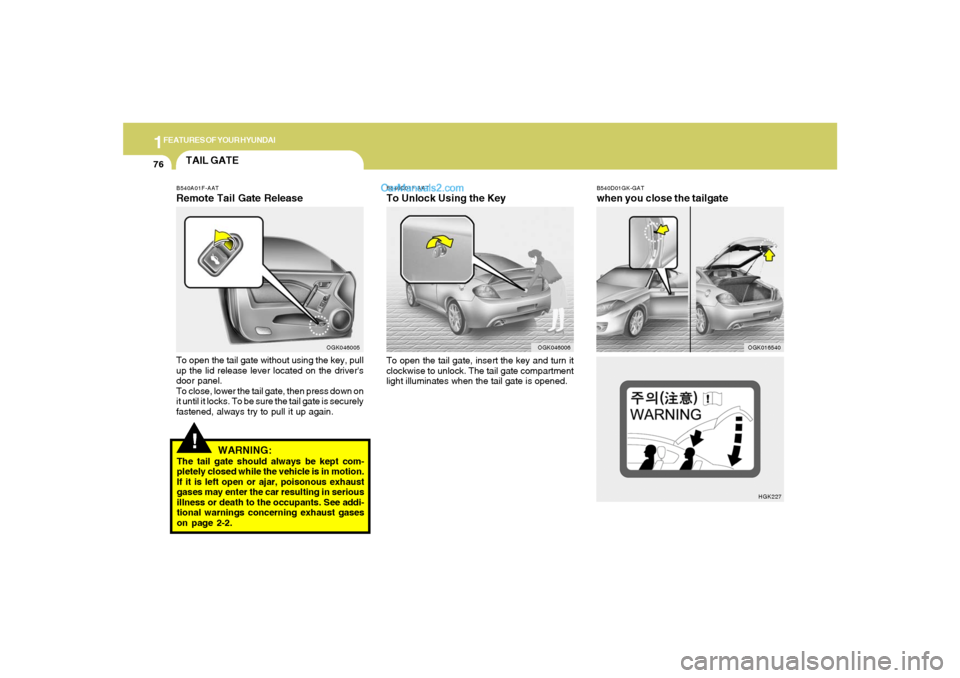
B540D01GK-GATwhen you close the tailgate
OGK016540HGK227 B540C01F-AAT
To Unlock Using the KeyTo open the tail gate, insert the key and turn it
clockwise to unlock. The tail gate compartment
light illuminates when the tail gate is opened.
OGK046006
!
WARNING:
The tail gate should always be kept com-
pletely closed while the vehicle is in motion.
If it is left open or ajar, poisonous exhaust
gases may enter the car resulting in serious
illness or death to the occupants. See addi-
tional warnings concerning exhaust gases
on page 2-2.TAIL GATEB540A01F-AATRemote Tail Gate ReleaseTo open the tail gate without using the key, pull
up the lid release lever located on the driver's
door panel.
To close, lower the tail gate, then press down on
it until it locks. To be sure the tail gate is securely
fastened, always try to pull it up again.
OGK046005
Page 107 of 268

1
FEATURES OF YOUR HYUNDAI
95
B970C01GK-GATAutomatic OperationThe FATC (Full Automatic Temperature Con-
trol) system automatically controls heating and
cooling by doing as follows:
1. Push the "AUTO" switch. The display
"AUTO" will illuminate confirming that the
Face, Floor and/or Bi-Level modes as well
as the blower speed and air conditioner will
be controlled automatically.2. Turn the "TEMP" knob to set the desired
temperature.
The temperature will increase to the maxi-
mum 32°C(90°F) by turning the knob clock-
wise.
The temperature will decrease to the mini-
mum 17°C(62°F) by turning the knob coun-
terclockwise.
NOTE:If the battery has been discharged or dis-
connected, the temperature mode will reset
to Centigrade degrees.
This is a normal condition and you can
change the temperature mode from Centi-
grade to Fahrenheit as follows;
Press the "OFF" and "AUTO " switch simul-
taneously for 3 seconds.
The display shows that the unit of tempera-
ture is adjusted to Centigrade or Fahrenheit
(°C
→ →→ →
→ °F or °F
→ →→ →
→ °C).
OGK046058OGK046061
Page 116 of 268
1FEATURES OF YOUR HYUNDAI
104
ANTENNA
B870A01A
!
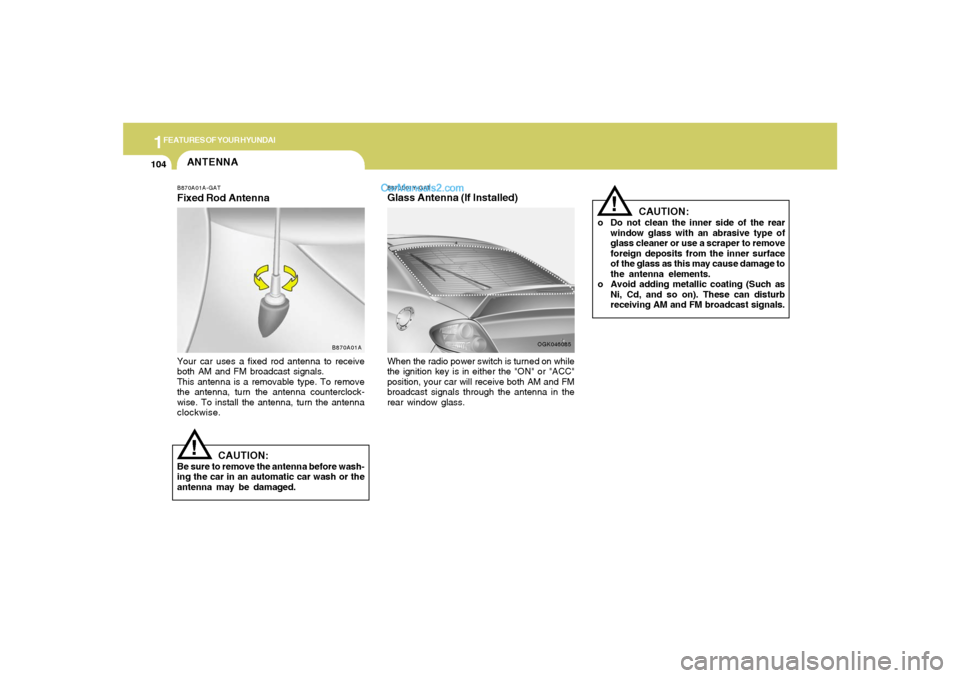
B870A01A-GATFixed Rod AntennaYour car uses a fixed rod antenna to receive
both AM and FM broadcast signals.
This antenna is a removable type. To remove
the antenna, turn the antenna counterclock-
wise. To install the antenna, turn the antenna
clockwise.
CAUTION:
Be sure to remove the antenna before wash-
ing the car in an automatic car wash or the
antenna may be damaged.
B870D01Y-GATGlass Antenna (If Installed)When the radio power switch is turned on while
the ignition key is in either the "ON" or "ACC"
position, your car will receive both AM and FM
broadcast signals through the antenna in the
rear window glass.
OGK046085
CAUTION:
o Do not clean the inner side of the rear
window glass with an abrasive type of
glass cleaner or use a scraper to remove
foreign deposits from the inner surface
of the glass as this may cause damage to
the antenna elements.
o Avoid adding metallic coating (Such as
Ni, Cd, and so on). These can disturb
receiving AM and FM broadcast signals.
!
Page 118 of 268
1FEATURES OF YOUR HYUNDAI
106
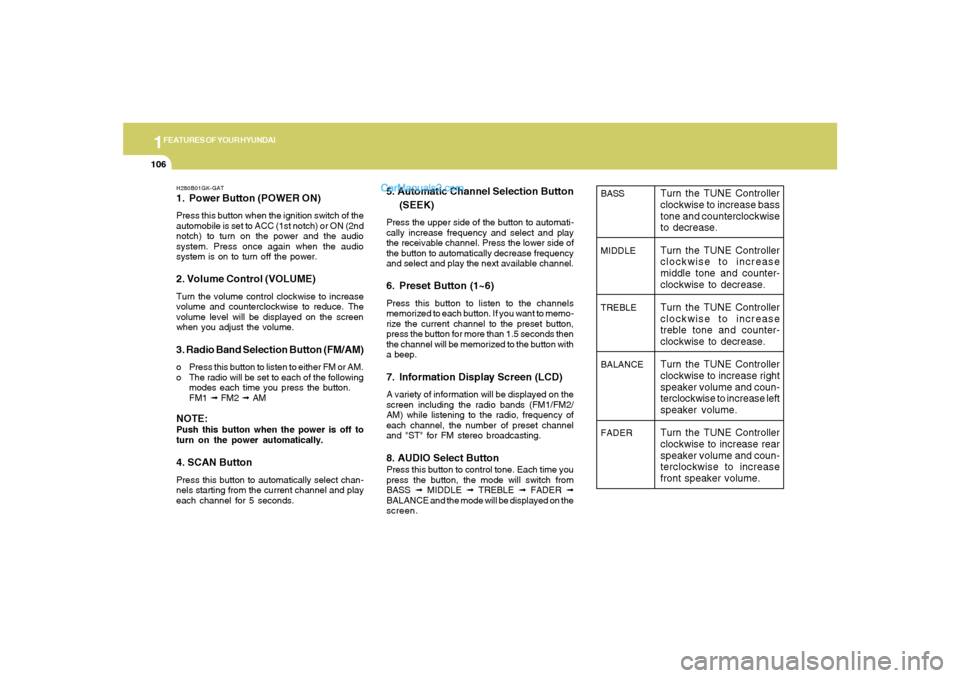
H280B01GK-GAT1. Power Button (POWER ON)Press this button when the ignition switch of the
automobile is set to ACC (1st notch) or ON (2nd
notch) to turn on the power and the audio
system. Press once again when the audio
system is on to turn off the power.2. Volume Control (VOLUME)Turn the volume control clockwise to increase
volume and counterclockwise to reduce. The
volume level will be displayed on the screen
when you adjust the volume.3. Radio Band Selection Button (FM/AM)o Press this button to listen to either FM or AM.
o The radio will be set to each of the following
modes each time you press the button.
FM1 ➟ FM2 ➟ AMNOTE:Push this button when the power is off to
turn on the power automatically.4. SCAN ButtonPress this button to automatically select chan-
nels starting from the current channel and play
each channel for 5 seconds.
5. Automatic Channel Selection Button
(SEEK)Press the upper side of the button to automati-
cally increase frequency and select and play
the receivable channel. Press the lower side of
the button to automatically decrease frequency
and select and play the next available channel.6. Preset Button (1~6)Press this button to listen to the channels
memorized to each button. If you want to memo-
rize the current channel to the preset button,
press the button for more than 1.5 seconds then
the channel will be memorized to the button with
a beep.7. Information Display Screen (LCD)A variety of information will be displayed on the
screen including the radio bands (FM1/FM2/
AM) while listening to the radio, frequency of
each channel, the number of preset channel
and "ST" for FM stereo broadcasting.8. AUDIO Select ButtonPress this button to control tone. Each time you
press the button, the mode will switch from
BASS ➟ MIDDLE ➟ TREBLE ➟ FADER ➟
BALANCE and the mode will be displayed on the
screen.
BASS
MIDDLE
TREBLE
BALANCE
FADER
Turn the TUNE Controller
clockwise to increase bass
tone and counterclockwise
to decrease.
Turn the TUNE Controller
clockwise to increase
middle tone and counter-
clockwise to decrease.
Turn the TUNE Controller
clockwise to increase
treble tone and counter-
clockwise to decrease.
Turn the TUNE Controller
clockwise to increase right
speaker volume and coun-
terclockwise to increase left
speaker volume.
Turn the TUNE Controller
clockwise to increase rear
speaker volume and coun-
terclockwise to increase
front speaker volume.