Page 144 of 355
1FEATURES OF YOUR HYUNDAI
132
B740C01S-AATDehumidified HeatingFor dehumidified heating:
o Turn on the fan control switch.
o Turn on the air conditioning switch. The
air conditioning indicator light should
come on at the same time.
o Set the air intake control to the "Fresh"
mode (
).
o Set the air flow control to the "Face" (
).
o Adjust the fan control to the desired
speed.
o For more rapid action, set the fan at one
of the higher speeds.
o Adjust the temperature control to pro-
vide the desired amount of warmth.
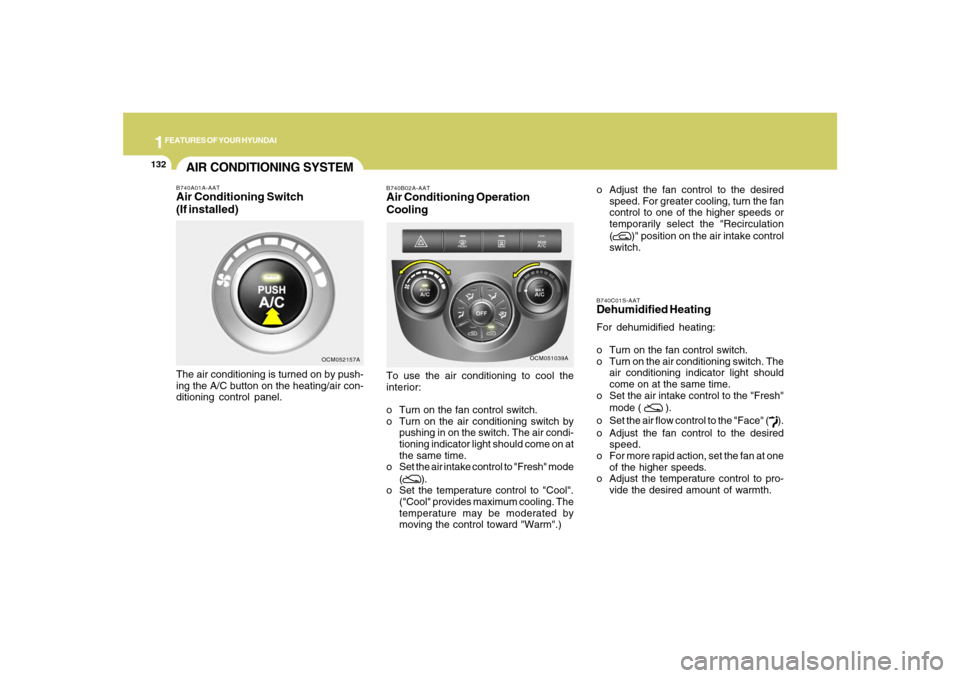
AIR CONDITIONING SYSTEMB740A01A-AATAir Conditioning Switch
(If installed)The air conditioning is turned on by push-
ing the A/C button on the heating/air con-
ditioning control panel.
OCM052157A
OCM051039A B740B02A-AAT
Air Conditioning Operation
CoolingTo use the air conditioning to cool the
interior:
o Turn on the fan control switch.
o Turn on the air conditioning switch by
pushing in on the switch. The air condi-
tioning indicator light should come on at
the same time.
o Set the air intake control to "Fresh" mode
(
).
o Set the temperature control to "Cool".
("Cool" provides maximum cooling. The
temperature may be moderated by
moving the control toward "Warm".)o Adjust the fan control to the desired
speed. For greater cooling, turn the fan
control to one of the higher speeds or
temporarily select the "Recirculation
(
)" position on the air intake control
switch.
Page 149 of 355
1
FEATURES OF YOUR HYUNDAI
137
FEATURES OF YOUR HYUNDAI
137137137137
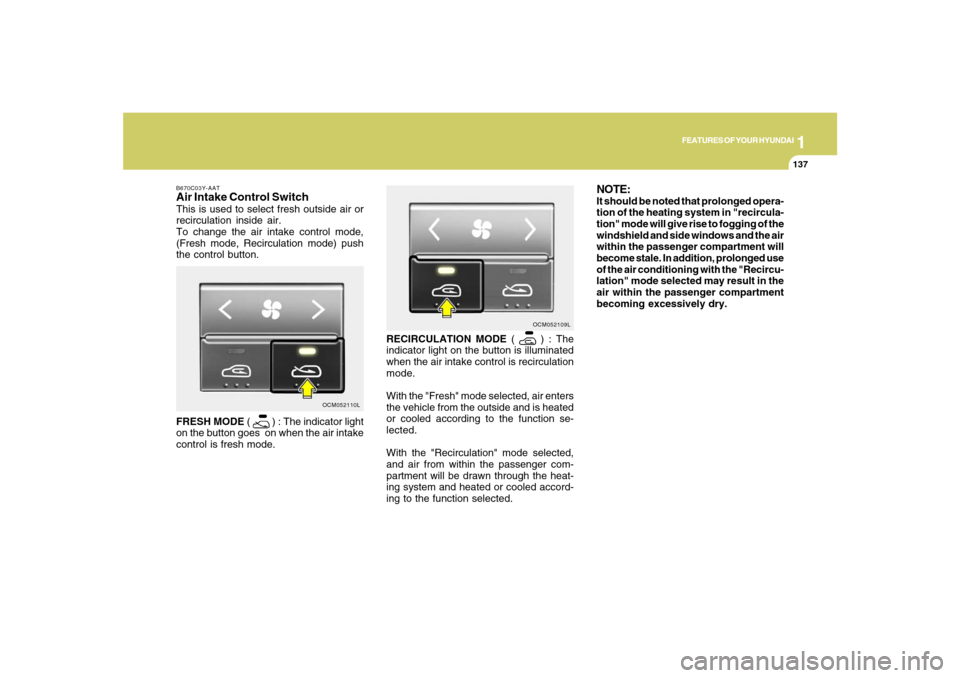
RECIRCULATION MODE (
) : The
indicator light on the button is illuminated
when the air intake control is recirculation
mode.
With the "Fresh" mode selected, air enters
the vehicle from the outside and is heated
or cooled according to the function se-
lected.
With the "Recirculation" mode selected,
and air from within the passenger com-
partment will be drawn through the heat-
ing system and heated or cooled accord-
ing to the function selected.OCM052109L
NOTE:It should be noted that prolonged opera-
tion of the heating system in "recircula-
tion" mode will give rise to fogging of the
windshield and side windows and the air
within the passenger compartment will
become stale. In addition, prolonged use
of the air conditioning with the "Recircu-
lation" mode selected may result in the
air within the passenger compartment
becoming excessively dry.
B670C03Y-AATAir Intake Control SwitchThis is used to select fresh outside air or
recirculation inside air.
To change the air intake control mode,
(Fresh mode, Recirculation mode) push
the control button.
FRESH MODE (
) : The indicator light
on the button goes on when the air intake
control is fresh mode.
OCM052110L
Page 150 of 355
1FEATURES OF YOUR HYUNDAI
138
B980D01Y-AATHeating and Cooling System OffPress the "OFF" button to stop the opera-
tion of the heating and cooling system.
OCM052099
B985A01CM-AATDual Temperature Control
Selection SwitchAdjusting the driver and passenger side
temperature individually
Press the DUAL button or turn the passen-
ger side "TEMP" knob to operate the driver
and passenger side temperature individu-
ally (The indicator light on the button is
illuminated).
OCM052148
B740A01S-AATAir Conditioning SwitchThe air conditioning is turned on or off by
pushing the A/C button on the heating/air
conditioning control panel.
OCM052103
Page 151 of 355
1
FEATURES OF YOUR HYUNDAI
139
FEATURES OF YOUR HYUNDAI
139139139139
Adjusting the driver and passenger side
temperature equally
Press the DUAL button again or turn the
driver side "TEMP" knob to the Lo position
or HI position to deactivate DUAL mode
(The indicator light on the button goes off).
The passenger side temperature will be
set to the same as the driver side tempera-
ture.
OCM052105N
Face-Level
When selecting the "Face-Level", the indi-
cator light will come on, causing air to be
discharged through the face level and the
2nd row seat ventilator.
B980E01CM-AATAir Flow Control
OCM052104
This is used to direct the flow of air. Air can
be directed to the floor, dashboard outlets,
or windshield. Four symbols are used to
represent Face, Bi-Level, Floor and Floor-
Defrost position.
2nd row seat ventilator
Page 152 of 355
1FEATURES OF YOUR HYUNDAI
140
Floor-Defrost Level
When selecting the "Floor-Defrost Level",
the indicator light will come on and the air
will be discharged through the windshield
defroster nozzle, the floor vents, side de-
froster nozzle and side ventilator.
OCM052108
Floor-Level
When selecting the "Floor-Level", the indi-
cator light will come on and the air will be
discharged through the floor vents, wind-
shield defroster nozzle, side defroster
nozzle and side ventilator.
OCM052107
OCM052106N
Bi-Level
When selecting the "Bi-Level", the indica-
tor light will come on and the air will be
discharged through the face, the floor and
the 2nd row seat ventilator.
2nd row seat ventilator
Page 153 of 355
1
FEATURES OF YOUR HYUNDAI
141
FEATURES OF YOUR HYUNDAI
141141141141
OCM052076N B980F01CM-AAT
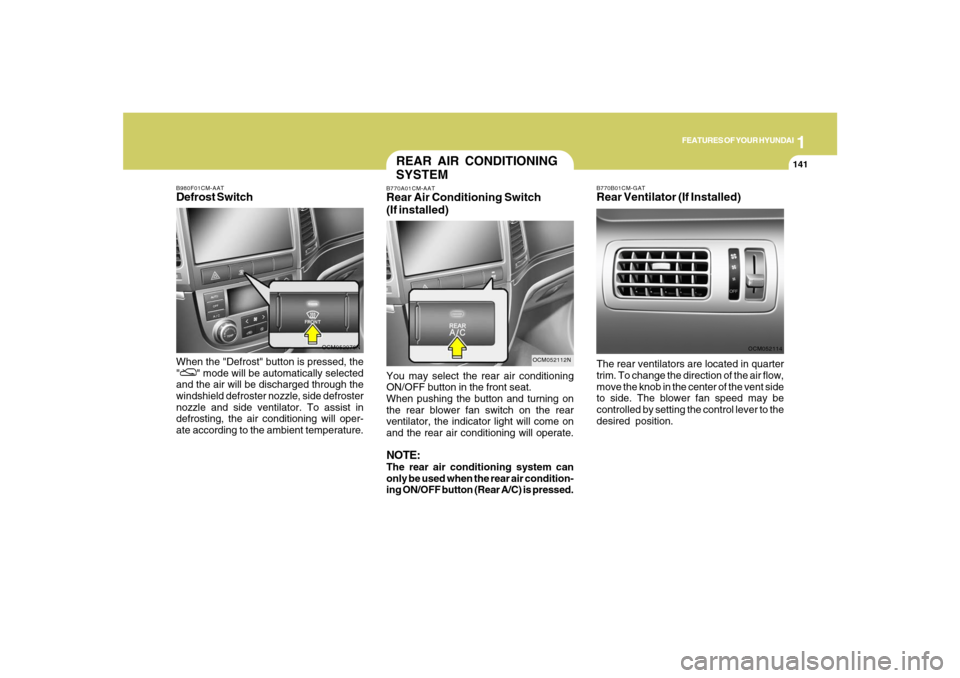
Defrost SwitchWhen the "Defrost" button is pressed, the
"
" mode will be automatically selected
and the air will be discharged through the
windshield defroster nozzle, side defroster
nozzle and side ventilator. To assist in
defrosting, the air conditioning will oper-
ate according to the ambient temperature.
B770B01CM-GATRear Ventilator (If Installed)
OCM052114
The rear ventilators are located in quarter
trim. To change the direction of the air flow,
move the knob in the center of the vent side
to side. The blower fan speed may be
controlled by setting the control lever to the
desired position.
REAR AIR CONDITIONING
SYSTEMB770A01CM-AATRear Air Conditioning Switch
(If installed)
OCM052112N
You may select the rear air conditioning
ON/OFF button in the front seat.
When pushing the button and turning on
the rear blower fan switch on the rear
ventilator, the indicator light will come on
and the rear air conditioning will operate.NOTE:The rear air conditioning system can
only be used when the rear air condition-
ing ON/OFF button (Rear A/C) is pressed.
Page 172 of 355
1FEATURES OF YOUR HYUNDAI
160
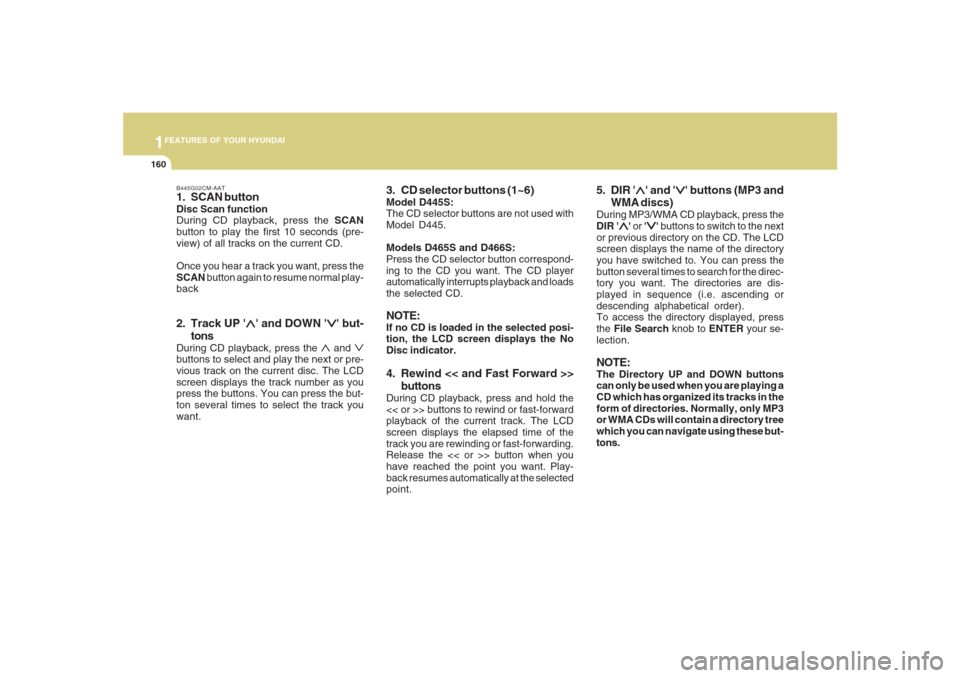
B445G02CM-AAT1. SCAN buttonDisc Scan function
During CD playback, press the SCAN
button to play the first 10 seconds (pre-
view) of all tracks on the current CD.
Once you hear a track you want, press the
SCAN button again to resume normal play-
back2. Track UP '
∧ ∧∧ ∧
∧' and DOWN '
∨ ∨∨ ∨
∨' but-
tons
During CD playback, press the
∧ and
∨
buttons to select and play the next or pre-
vious track on the current disc. The LCD
screen displays the track number as you
press the buttons. You can press the but-
ton several times to select the track you
want.
3. CD selector buttons (1~6)Model D445S:
The CD selector buttons are not used with
Model D445.
Models D465S and D466S:
Press the CD selector button correspond-
ing to the CD you want. The CD player
automatically interrupts playback and loads
the selected CD.NOTE:If no CD is loaded in the selected posi-
tion, the LCD screen displays the No
Disc indicator.4. Rewind << and Fast Forward >>
buttonsDuring CD playback, press and hold the
<< or >> buttons to rewind or fast-forward
playback of the current track. The LCD
screen displays the elapsed time of the
track you are rewinding or fast-forwarding.
Release the << or >> button when you
have reached the point you want. Play-
back resumes automatically at the selected
point.
5. DIR '
∧ ∧∧ ∧
∧' and '
∨ ∨∨ ∨
∨' buttons (MP3 and
WMA discs)
During MP3/WMA CD playback, press the
DIR '
∧ ∧∧ ∧
∧' or '
∨ ∨∨ ∨
∨' buttons to switch to the next
or previous directory on the CD. The LCD
screen displays the name of the directory
you have switched to. You can press the
button several times to search for the direc-
tory you want. The directories are dis-
played in sequence (i.e. ascending or
descending alphabetical order).
To access the directory displayed, press
the File Search knob to ENTER your se-
lection.
NOTE:The Directory UP and DOWN buttons
can only be used when you are playing a
CD which has organized its tracks in the
form of directories. Normally, only MP3
or WMA CDs will contain a directory tree
which you can navigate using these but-
tons.
Page 178 of 355
1FEATURES OF YOUR HYUNDAI
166
5. Using the Repeat function (RPT
button)To repeat playback of the current track:
Press the RPT button once. The LCD
screen displays RPT to indicate that it is
in REPEAT mode. Playback of the cur-
rent track will be repeated.
Press the RPT button again to resume
normal playback. The RPT indicator is
cleared.
To repeat playback of all tracks on the
current CD/File Directory:
Press and hold the RPT button for more
than 2 seconds. The LCD screen dis-
plays RPT ALL to indicate that it is in
REPEAT ALL mode. The tracks of the
current audio CD or the tracks in the
current MP3 file directory will be re-
peated.
Press the RPT button again to resume
normal playback. The RPT ALL indica-
tor is cleared.
6. Using the Random playback func-
tion (RDM button)For random playback in audio CDs (also
applies to current MP3 file directory):
Press the RDM button once. The LCD
screen displays RDM to indicate that it
is in RANDOM mode. Tracks on the
current audio CD/MP3 directory will be
randomly selected and played.
Press the RDM button again to resume
normal playback. The RDM indicator is
cleared. Normal playback resumes.
For random playback of all tracks on a
CD (only for MP3 and WMA CDs):
Press and hold the RDM button for more
than 2 seconds. The LCD screen dis-
plays RDM ALL to indicate that it is in
RANDOM ALL mode. Tracks from all
directories in the MP3/WMA CD will be
randomly selected and played.
Press the RDM button again to resume
normal playback. The RDM ALL indica-
tor is cleared.
7. Using the Bookmark function
(MARK button)The Bookmark function allows you to se-
lect and add up to 20 tracks from any CD
in the CD changer to a playlist (marklist).
You can then play the tracks on the playlist
whenever you want.
Adding tracks to the playlist (marklist):
1. Play the track you want.
2. Press and hold the MARK button for
more than 2 seconds to add the current
track to the playlist (marklist). The LCD
screen displays MARK to indicate that
the track has been added to the playlist
(marklist).
3. Repeat steps 1 & 2 to add more tracks
to the marklist (maximum of 20 book-
marks.)