2008 DODGE RAM 3500 CHASSIS CAB fuel pump
[x] Cancel search: fuel pumpPage 253 of 528

Normal Starting
Normal starting of either a warm or cold engine is
obtained without pumping or depressing the accelerator
pedal. Turn the key to the START position and release
when the engine starts. If the engine fails to start within
10 seconds, turn the key to the OFF position, wait 5
seconds, then repeat the starting procedure.
NOTE: This vehicle is equipped with a transmission
shift interlocking system. The brake pedal must be
depressed to shift out of Park (P).
Tip Start Feature Ð Automatic Transmission Only
Do notpress the accelerator. Turn the ignition key briefly
to START position, and release it. The starter motor will
continue to run, but will automatically disengage itself
when the engine is running.
If Engine Fails To Start
If the engine fails to start after you have followed the
normal starting procedure, it may be flooded. Push the
accelerator pedal all the way to the floor and hold it there
while cranking the engine. This should clear any excess
fuel in case the engine is flooded.
Ignition Key Positions
STARTING AND OPERATING 253
5
Page 260 of 528

NOTE:Excessive white smoke and poor engine perfor-
mance will result if manifold heaters are not recycled.
²Heat generated by the manifold heaters dissipates
rapidly in a cold engine. If more than two minutes
pass between the time the WAIT TO START light goes
OFF and the engine is started, recycle the manifold
heaters by turning the ignition OFF for at least 5
seconds and then back ON.
²If the vehicle is driven and vehicle speed exceeds 19
mph (31 km) before the manifold heater post-heat
(after start) cycle is complete, the manifold heaters will
shut off.
²If the engine is started before the WAIT TO START
light turns off, the preheat cycle will turn off.
²If the engine is cranked for more than 10 seconds, the
post-heat cycle will turn off.NOTE:Engine idle speed will automatically increase to
1000 rpm at low coolant temperatures to improve engine
warm-up.
NOTE:When a diesel engine is allowed to run out of
fuel or the fuel gels at low temperatures, air is pulled into
the fuel system.
You may try priming as described below.
1. Add a substantial quantity of fuel to the tank (5 to 10
gallons) or eliminate the gelled fuel condition.
2. Crank the engine for 1 to 2 seconds. If the engine does
not start, then release the key or starter button back to the
RUN position (do not turn the key back to the OFF
position). The electric fuel transfer pump will continue to
run and purge air from the system for about 20 seconds.
After 20 seconds, attempt to start the engine again.
3. Start the engine using the Normal Starting Procedure.
260 STARTING AND OPERATING
Page 339 of 528

Problems that result from using methanol/gasoline or
E85 Ethanol blends are not the responsibility of the
manufacturer. While MTBE is an oxygenate made from
Methanol, it does not have the negative effects of Metha-
nol.
MMT In Gasoline
MMT is a manganese-containing metallic additive that is
blended into some gasoline to increase octane. Gasolines
blended with MMT provide no performance advantage
beyond gasolines of the same octane number without
MMT. Gasolines blended with MMT reduce spark plug
life and reduce emission system performance. We recom-
mend that gasolines free of MMT be used in your vehicle.
The MMT content of gasoline may not be indicated on
the gasoline pump; therefore, you should ask your gaso-
line retailer whether or not his/her gasoline contains
MMT.It is even more important to look for gasolines without
MMT in Canada because MMT can be used at levels
higher than allowed in the United States. MMT is pro-
hibited in Federal and California reformulated gasolines.
Materials Added To Fuel
All gasolines sold in the United States are required to
contain effective detergent additives. Use of additional
detergents or other additives is not needed under normal
conditions and would result in unnecessary cost. There-
fore, you should not have to add anything to the fuel.
Fuel System Cautions
CAUTION!
Follow these guidelines to maintain your vehicle's
performance:
STARTING AND OPERATING 339
5
Page 344 of 528

NOTE:Tighten the gas cap 1/4 turn until you hear one
click. This is an indication that the cap is properly
tightened.
If the gas cap is not tightened properly, the Malfunction
Indicator Light will come on, Be sure the gas cap is
tightened every time the vehicle is refueled.
WARNING!
A fire may result if gasoline is pumped into a
portable container that is inside of a vehicle. You
could be burned. Always place gas containers on the
ground while filling.
Loose Fuel Filler Cap Message
If the vehicles diagnostic system determines that the fuel
filler cap in loose, improperly installed, or damaged, a
GASCAP message will be displayed in the instrument
cluster. Tighten the gas cap until a ªclickingº sound is
heard. This is an indication that the gas cap is properly
tightened. Press the odometer reset button to turn the
message off. If the problem persists, the message will
appear the next time the vehicle is started. This might
indicate a damaged cap. If the problem is detected twice
in a row, the system will turn on the Malfunction
Indicator Light (MIL). Resolving the problem will turn
the MIL light off.
344 STARTING AND OPERATING
Page 345 of 528

Adding Fuel (Diesel Engines)
CAUTION!
To avoid fuel spillage and overfilling, do not ªtop
offº the fuel tank after filling.
NOTE:
²When the fuel nozzle ªclicksº or shuts off, the fuel
tank is full.
²Tighten the gas cap until you hear a ªclickingº sound.
This is an indication that the gas cap is properly
tightened.
²Make sure that the gas cap is tightened each time the
vehicle is refueled.
WARNING!
A fire may result if fuel is pumped into a portable
container that is on a truck bed. You could be burned.
Always place fuel containers on the ground while
filling.
Fuel Filler Cap (Gas Cap)
If the gas cap is lost or damaged, be sure the replacement
cap is for use with this vehicle.
CAUTION!
Damage to the fuel system or emission control sys-
tem could result from using an improper fuel tank
filler tube cap (gas cap). A poorly fitting cap could let
impurities into the fuel system.
STARTING AND OPERATING 345
5
Page 347 of 528

WARNING!
Do not open the high pressure fuel system with the
engine running. Engine operation causes high fuel
pressure. High pressure fuel spray can cause serious
injury or death.
Priming if the engine has run out of fuel
1. Add a substantial quantity of fuel to the tank 5 to 10
gallons (19 to 38L).
2. Crank the engine for 1 to 2 seconds. If the engine does
not start, then release the key or starter button back to the
RUN position (do not turn the key back to the OFF
position). The electric fuel transfer pump will continue to
run and purge air from the system for about 20 seconds.
After 20 seconds, attempt to start the engine again.
3. Start the engine using the Normal Starting Procedure.4. Repeat the procedure if the engine does not start.CAUTION!
Do not engage the starter motor for more than 15
seconds at a time. Allow two minutes between the
cranking intervals.
NOTE:The engine may run rough until the air is forced
from all the fuel lines.
VEHICLE LOADING
Certification Label
As required by National Highway Traffic Safety Admin-
istration Regulations, your vehicle has a certification
label affixed to the driver's side door or pillar.
This label contains the month and year of manufacture,
Gross Vehicle Weight Rating (GVWR), Gross Axle Weight
STARTING AND OPERATING 347
5
Page 417 of 528

Draining Fuel/Water Separator Filter (Diesel
Engines)
CAUTION!
Do not drain the fuel/water separator filter when the
engine is running.
CAUTION!
Do not prefill the fuel filter when installing a new
fuel filter. There is a possibility debris could be
introduced into the fuel filter during this action. It is
best to install the filter dry and allow the in-tank lift
pump to prime the fuel system.
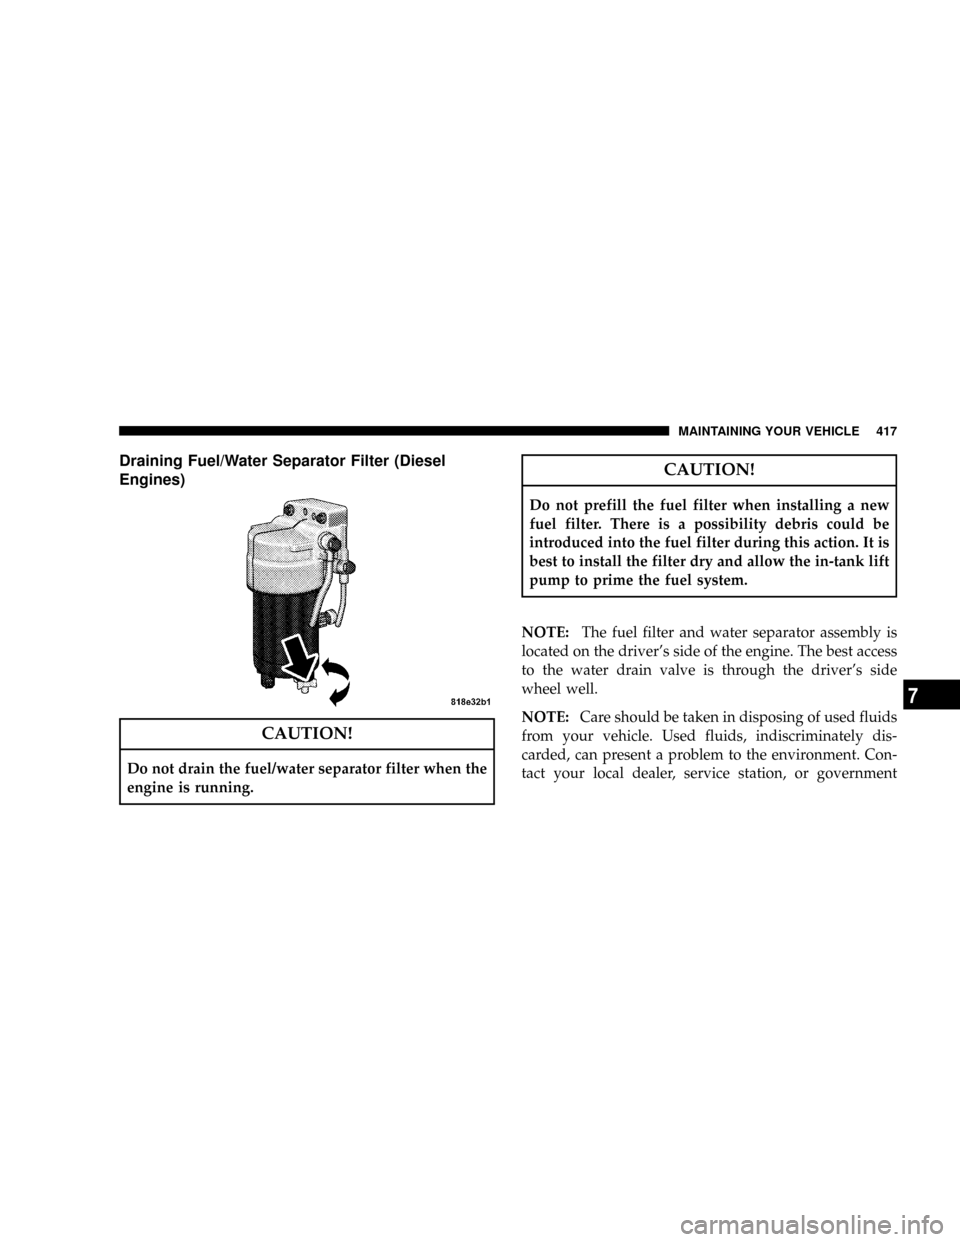
NOTE:The fuel filter and water separator assembly is
located on the driver's side of the engine. The best access
to the water drain valve is through the driver's side
wheel well.
NOTE:Care should be taken in disposing of used fluids
from your vehicle. Used fluids, indiscriminately dis-
carded, can present a problem to the environment. Con-
tact your local dealer, service station, or government
MAINTAINING YOUR VEHICLE 417
7
Page 418 of 528

agency for advice on recycling programs and for where
used fluids and filters can be properly disposed of in
your area.
Drain a small amount from the fuel/water separator
filter monthly or when the WATER IN FUEL indicator
lamp is on. Turn the drain valve, located on the bottom of
the filter, counterclockwise and allow any accumulated
water to drain. Leave the drain valve open until all water
and contaminants have been removed. Close the drain
valve, by turning it clockwise, when clean fuel is visible.
NOTE:The Fuel / Water separator drain valve is
located on the bottom of the fuel filter housing.
If more than a couple ounces of fuel has been drained,
follow the directions below for ªPriming if the engine has
run out of fuel.ºWARNING!
Do not open the high pressure fuel system with the
engine running. Engine operation causes high fuel
pressure. High pressure fuel spray can cause serious
injury or death.
Priming if the engine has run out of fuel
1. Add a substantial quantity of fuel to the tank 5 to 10
gallons (19L to 38L).
2. Crank the engine for 1 to 2 seconds. If the engine does
not start, then release the key or starter button back to the
RUN position (do not turn the key back to the OFF
position). The electric fuel transfer pump will continue to
run and purge air from the system for about 25 seconds.
After 25 seconds, attempt to start the engine again.
3. Start the engine using the Normal Starting Procedure.
418 MAINTAINING YOUR VEHICLE