2008 DODGE AVENGER reset
[x] Cancel search: resetPage 211 of 467
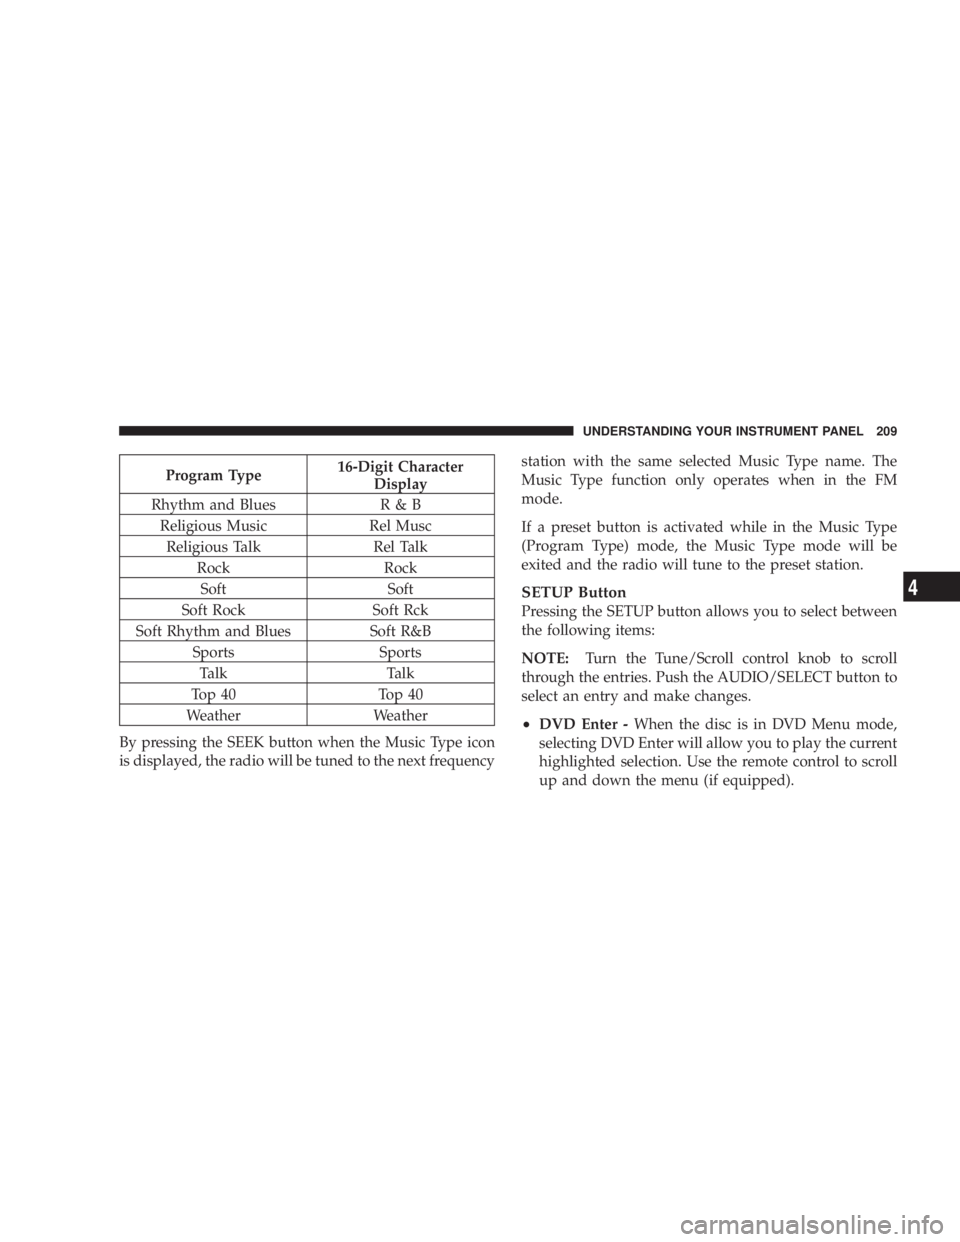
Program Type 16-Digit Character
Display
Rhythm and Blues R & B
Religious Music Rel Musc
Religious Talk Rel Talk
Rock Rock
Soft Soft
Soft Rock Soft Rck
Soft Rhythm and Blues Soft R&B
Sports Sports
Talk Talk
Top 40 Top 40
Weather Weather
By pressing the SEEK button when the Music Type icon
is displayed, the radio will be tuned to the next frequency station with the same selected Music Type name. The
Music Type function only operates when in the FM
mode.
If a preset button is activated while in the Music Type
(Program Type) mode, the Music Type mode will be
exited and the radio will tune to the preset station.
SETUP Button
Pressing the SETUP button allows you to select between
the following items:
NOTE: Turn the Tune/Scroll control knob to scroll
through the entries. Push the AUDIO/SELECT button to
select an entry and make changes.
² DVD Enter - When the disc is in DVD Menu mode,
selecting DVD Enter will allow you to play the current
highlighted selection. Use the remote control to scroll
up and down the menu (if equipped). UNDERSTANDING YOUR INSTRUMENT PANEL 209
4
Page 215 of 467
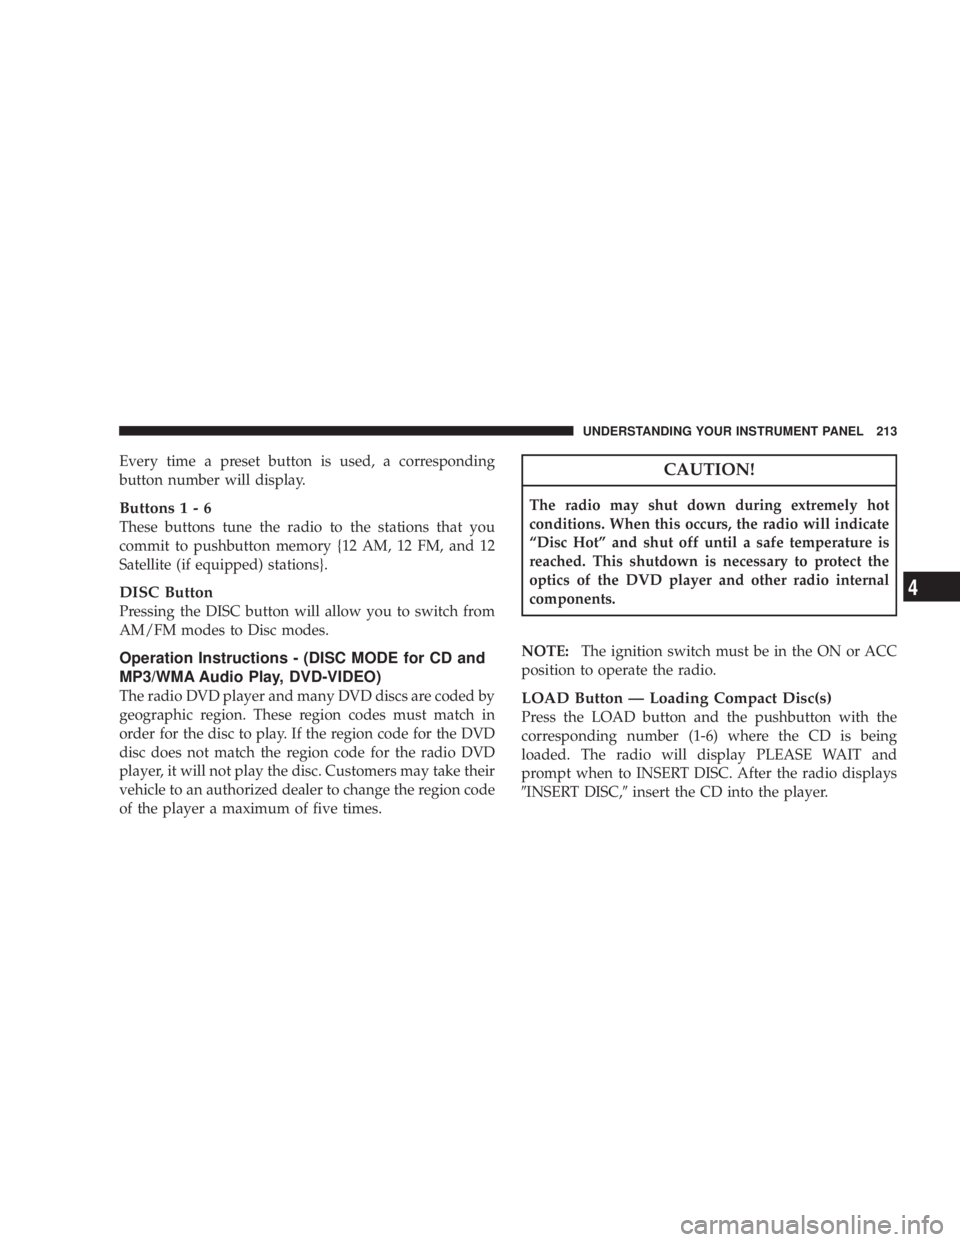
Every time a preset button is used, a corresponding
button number will display.
Button s1-6
These buttons tune the radio to the stations that you
commit to pushbutton memory {12 AM, 12 FM, and 12
Satellite (if equipped) stations}.
DISC Button
Pressing the DISC button will allow you to switch from
AM/FM modes to Disc modes.
Operation Instructions - (DISC MODE for CD and
MP3/WMA Audio Play, DVD-VIDEO)
The radio DVD player and many DVD discs are coded by
geographic region. These region codes must match in
order for the disc to play. If the region code for the DVD
disc does not match the region code for the radio DVD
player, it will not play the disc. Customers may take their
vehicle to an authorized dealer to change the region code
of the player a maximum of five times. CAUTION!The radio may shut down during extremely hot
conditions. When this occurs, the radio will indicate
ªDisc Hotº and shut off until a safe temperature is
reached. This shutdown is necessary to protect the
optics of the DVD player and other radio internal
components.
NOTE: The ignition switch must be in the ON or ACC
position to operate the radio.
LOAD Button Ð Loading Compact Disc(s)
Press the LOAD button and the pushbutton with the
corresponding number (1-6) where the CD is being
loaded. The radio will display PLEASE WAIT and
prompt when to INSERT DISC. After the radio displays
9 INSERT DISC, 9 insert the CD into the player. UNDERSTANDING YOUR INSTRUMENT PANEL 213
4
Page 223 of 467

through the system's wireless headphones. This means
rear seat passengers can watch a DVD on the optional
rear seat entertainment system, while the driver and
front-seat passenger listen to the radio.
Other special features include direct tune, music type
selections, easy store presets, backup camera display for
vehicles equipped with a backup camera, and on some
models, a dual display screen operation. Refer to your
radio-specific user's manual for detailed operating in-
structions.
Operating Instructions Ð Satellite Radio (If
Equipped)
Refer to your Radio-specific user's manual for detailed
operating instructions. Operating Instructions Ð Voice Recognition
System (VR) (If Equipped)
For the radio, refer to ªVoice Recognition System (VR)º in
Section 3.
For Hands Free Phone Communication (UConnect t )
ªVoice Recognition System (VR),º refer to ªHands-Free
Communication (UConnect t )º in Section 3.
Operating Instructions Ð Hands-Free
Communication (UConnect T ) (If Equipped)
Refer to ªHands-Free Communication (UConnect t )º in
Section 3.
Clock Setting Procedure
Setting the Clock
1. Turn on the multimedia system.
2. Touch the screen where the time is displayed. The
clock setting menu will appear on the screen. UNDERSTANDING YOUR INSTRUMENT PANEL 221
4
Page 226 of 467

The satellite navigation capability combines a Global-
Positioning System (GPS)-based navigation system with
an integrated color screen to provide maps, turn identi-
fication, selection menus, and instructions for selecting a
variety of destinations and routes.
A shared HDD for the navigation system, the database,
and other radio features allows uploads of music and
photos from CDs or through the USB port. The Gracenote
database finds the artist, track, and title for the music.
An auxiliary input jack permits passengers to listen to a
portable MP3 player through the vehicle's speakers. For
vehicles equipped with the Vehicle Entertainment System
(VES) t , separate audio outputs allow passengers to listen
to the vehicle speakers while different audio tracks play
through the system's wireless headphones. This means
rear-seat passengers can watch a DVD on the optional
rear-seat entertainment system while the driver and
front-seat passenger listen to the radio. Other special features include direct tune, music type
selections, traffic messaging (optional), easy store presets,
parental lockout for VES t (if equipped), backup camera
display for vehicles equipped with a backup camera, and
on some models, a dual display screen operation. Refer to
your ªNavigation User's Manualº for detailed operating
instructions.
Operating Instructions Ð Satellite Radio
Refer to your ªNavigation User's Manualº for detailed
operating instructions.
Operating Instructions Ð Hands-Free
Communication (UConnect T ) (If Equipped)
Refer to your ªNavigation User's Manualº for detailed
operating instructions.224 UNDERSTANDING YOUR INSTRUMENT PANEL
Page 232 of 467

List or Browse Mode
During Play mode, pressing any of the following buttons
will take you to List mode. List mode enables you to
scroll through the list of menus and tracks on the iPod t
device.
Tune/Scroll Knob
In the List mode, the Tune/Scroll knob functions in a
similar manner as the scroll wheel on the iPod t .
Turning the Tune/Scroll knob clockwise (forward) and
counterclockwise (backward) scrolls through lists, dis-
playing the track detail on the radio display. Once you
have the track to be played highlighted on the radio
display, press the Tune/Scroll knob to select and start
playing the track. By turning the Tune/Scroll knob fast,
you can jump through the list faster. During fast scroll,
you may notice a slight delay in updating the informa-
tion on the radio display. During all List modes, the iPod t will display all lists in
ªwrap-aroundº mode. So if the track you wish to select is
at the bottom of the list, you just turn the Tune/Scroll
knob backward (counterclockwise) to get to the track
faster.
Radio Preset Buttons
In the List mode, the radio preset buttons are used as
shortcuts to the following lists on the iPod t device.
² 1 ± Playlists
² 2 ± Artists
² 3 ± Albums
² 4 ± Genres
² 5 - Audiobooks
² 6 ± Podcasts230 UNDERSTANDING YOUR INSTRUMENT PANEL
Page 233 of 467
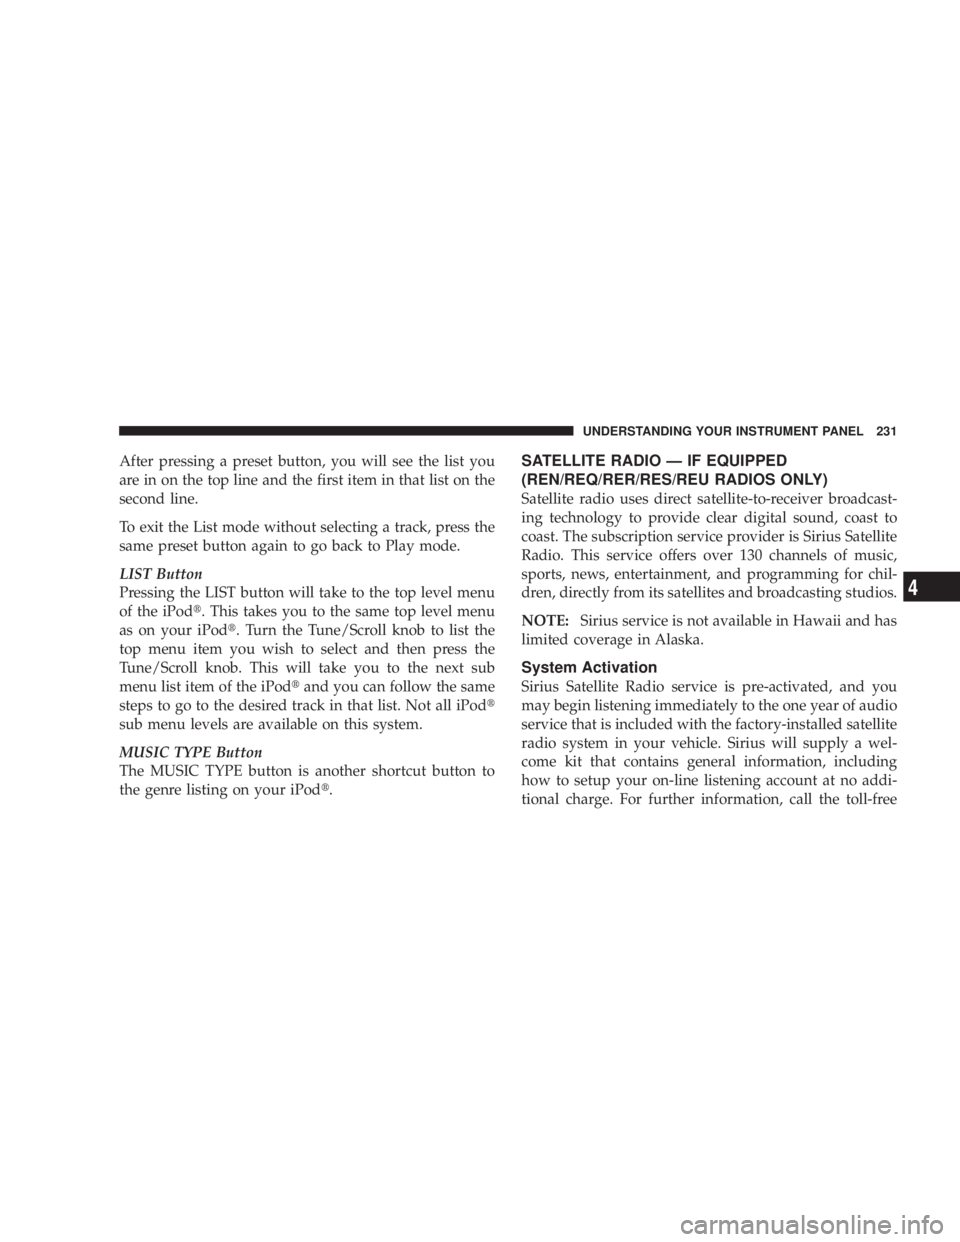
After pressing a preset button, you will see the list you
are in on the top line and the first item in that list on the
second line.
To exit the List mode without selecting a track, press the
same preset button again to go back to Play mode.
LIST Button
Pressing the LIST button will take to the top level menu
of the iPod t . This takes you to the same top level menu
as on your iPod t . Turn the Tune/Scroll knob to list the
top menu item you wish to select and then press the
Tune/Scroll knob. This will take you to the next sub
menu list item of the iPod t and you can follow the same
steps to go to the desired track in that list. Not all iPod t
sub menu levels are available on this system.
MUSIC TYPE Button
The MUSIC TYPE button is another shortcut button to
the genre listing on your iPod t . SATELLITE RADIO Ð IF EQUIPPED
(REN/REQ/RER/RES/REU RADIOS ONLY)
Satellite radio uses direct satellite-to-receiver broadcast-
ing technology to provide clear digital sound, coast to
coast. The subscription service provider is Sirius Satellite
Radio. This service offers over 130 channels of music,
sports, news, entertainment, and programming for chil-
dren, directly from its satellites and broadcasting studios.
NOTE: Sirius service is not available in Hawaii and has
limited coverage in Alaska.
System Activation
Sirius Satellite Radio service is pre-activated, and you
may begin listening immediately to the one year of audio
service that is included with the factory-installed satellite
radio system in your vehicle. Sirius will supply a wel-
come kit that contains general information, including
how to setup your on-line listening account at no addi-
tional charge. For further information, call the toll-free UNDERSTANDING YOUR INSTRUMENT PANEL 231
4
Page 237 of 467
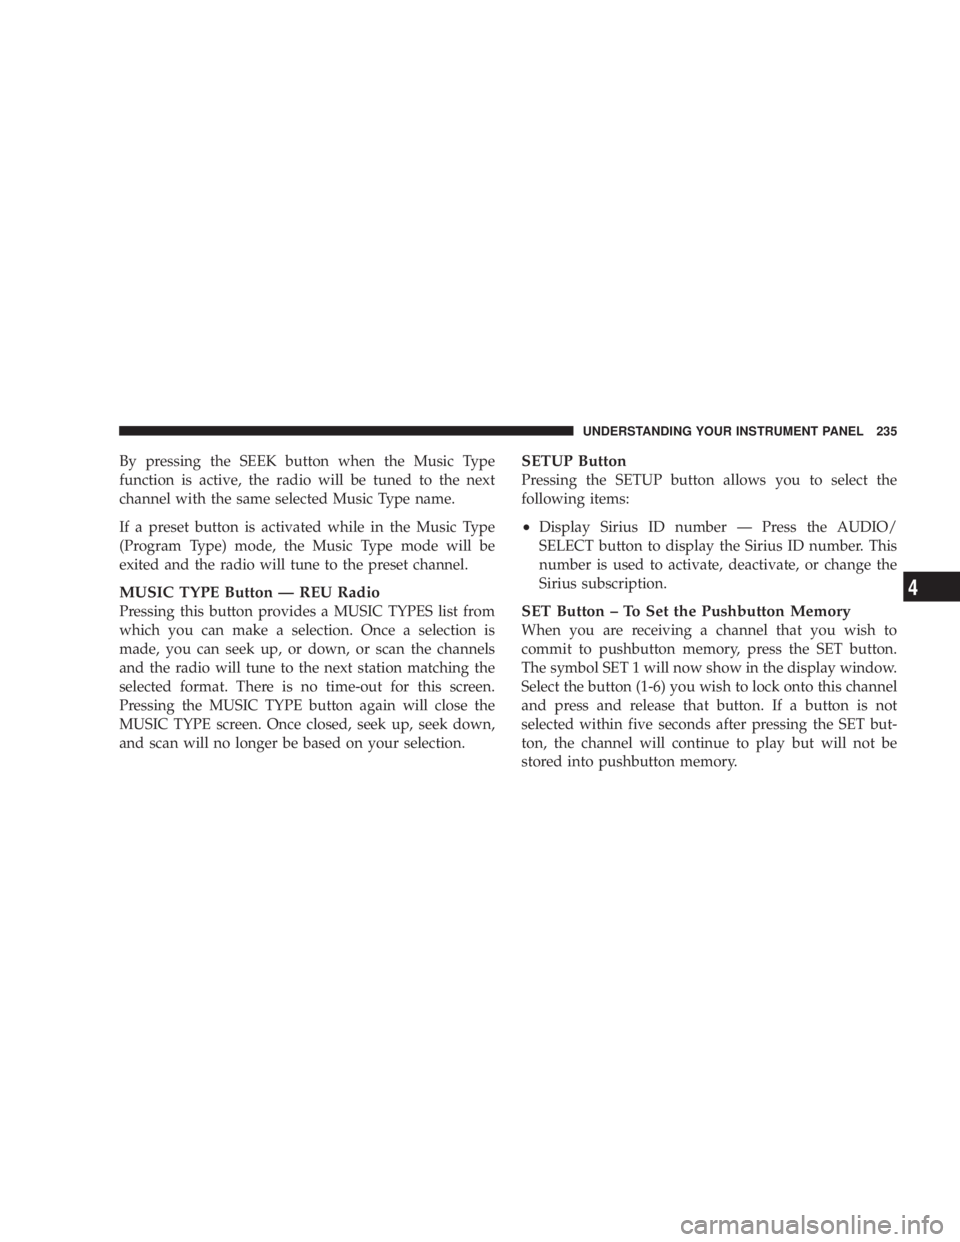
By pressing the SEEK button when the Music Type
function is active, the radio will be tuned to the next
channel with the same selected Music Type name.
If a preset button is activated while in the Music Type
(Program Type) mode, the Music Type mode will be
exited and the radio will tune to the preset channel.
MUSIC TYPE Button Ð REU Radio
Pressing this button provides a MUSIC TYPES list from
which you can make a selection. Once a selection is
made, you can seek up, or down, or scan the channels
and the radio will tune to the next station matching the
selected format. There is no time-out for this screen.
Pressing the MUSIC TYPE button again will close the
MUSIC TYPE screen. Once closed, seek up, seek down,
and scan will no longer be based on your selection. SETUP Button
Pressing the SETUP button allows you to select the
following items:
² Display Sirius ID number Ð Press the AUDIO/
SELECT button to display the Sirius ID number. This
number is used to activate, deactivate, or change the
Sirius subscription.
SET Button ± To Set the Pushbutton Memory
When you are receiving a channel that you wish to
commit to pushbutton memory, press the SET button.
The symbol SET 1 will now show in the display window.
Select the button (1-6) you wish to lock onto this channel
and press and release that button. If a button is not
selected within five seconds after pressing the SET but-
ton, the channel will continue to play but will not be
stored into pushbutton memory. UNDERSTANDING YOUR INSTRUMENT PANEL 235
4
Page 238 of 467
You may add a second channel to each pushbutton by
repeating the above procedure with this exception: Press
the SET button twice and SET 2 will show in the display
window. Each button can be set for SET 1 and SET 2. This
allows a total of 12 Satellite channels to be stored into
pushbutton memory. The channels stored in SET 2
memory can be selected by pressing the pushbutton
twice.
Every time a preset button is used, a corresponding
button number will display.
Button s1-6
These buttons tune the radio to the channels that you
commit to pushbutton memory (12 Satellite stations). Operating Instructions - Hands-Free Phone (If
Equipped)
Refer to ªHands-Free Communication (UConnect t )º in
Section 3.
Operating Instructions - Video Entertainment
System (VES T ) (If Equipped)
Refer to separate ªVideo Entertainment System (VES t )
Guide.º
REMOTE SOUND SYSTEM CONTROLS Ð IF
EQUIPPED
The remote sound system controls are located on the rear
surface of the steering wheel. The left- and right-hand
controls are rocker-type switches with a push-button in
the center of each switch. Reach behind the steering
wheel to access the switches.236 UNDERSTANDING YOUR INSTRUMENT PANEL