Page 121 of 467
þ CONTINUE (to continue recording)
þ DELETE (to delete the recording)
² PLAY MEMOS (to play previously recorded memos)
Ð During the playback you may press the VR hard-
key to stop playing memos. You continue by saying
one of the following commands:
þ REPEAT (to repeat a memo)
þ NEXT (to play the next memo)
þ PREVIOUS (to play the previous memo)
þ DELETE (to delete a memo)
² DELETE ALL (to delete all memos)
NOTE: Keep in mind that you have to press the VR
hard-key first and wait for the beep, before speaking the
ªbarge inº commands. Voice Training
For users experiencing difficulty with the system recog-
nizing their voice commands or numbers, the UConnect t
system Voice Training feature may be used.
1. Press the VR hard-key, speak ªSystem Setupº and once
you are in that menu then speak ªVoice Training.º This
will train your own voice to the system and will improve
recognition.
2. Repeat the words and phrases when prompted by the
UConnect t System. For best results, the Voice Training
session should be completed when the vehicle is parked,
engine running, all windows closed, and the blower fan
switched OFF. This procedure may be repeated with a
new user. The system will adapt to the last trained voice
only. UNDERSTANDING THE FEATURES OF YOUR VEHICLE 119
3
Page 133 of 467
AUTOMATIC HEADLIGHT SYSTEM Ð IF
EQUIPPED
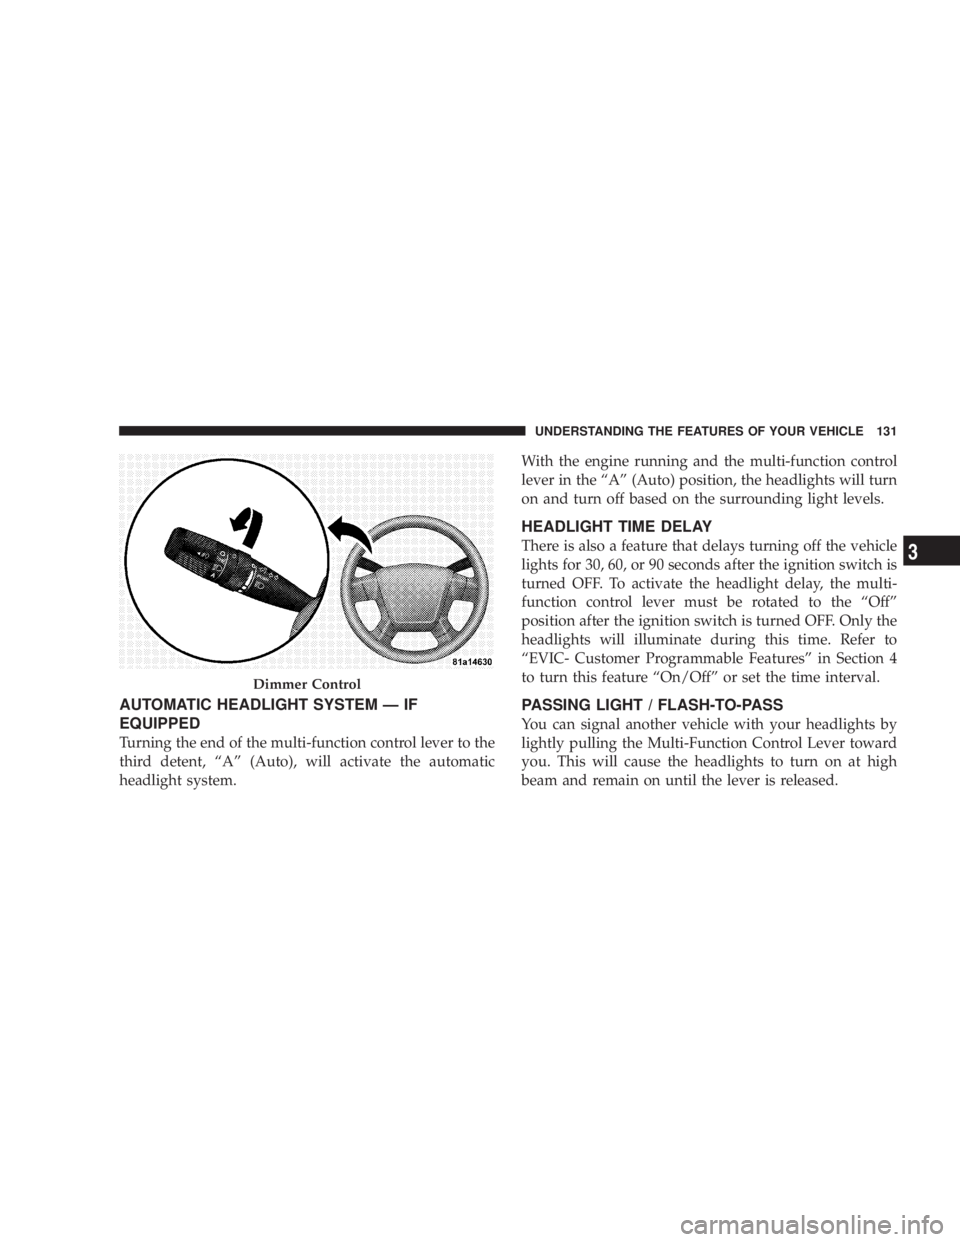
Turning the end of the multi-function control lever to the
third detent, ªAº (Auto), will activate the automatic
headlight system. With the engine running and the multi-function control
lever in the ªAº (Auto) position, the headlights will turn
on and turn off based on the surrounding light levels.
HEADLIGHT TIME DELAY
There is also a feature that delays turning off the vehicle
lights for 30, 60, or 90 seconds after the ignition switch is
turned OFF. To activate the headlight delay, the multi-
function control lever must be rotated to the ªOffº
position after the ignition switch is turned OFF. Only the
headlights will illuminate during this time. Refer to
ªEVIC- Customer Programmable Featuresº in Section 4
to turn this feature ªOn/Offº or set the time interval.
PASSING LIGHT / FLASH-TO-PASS
You can signal another vehicle with your headlights by
lightly pulling the Multi-Function Control Lever toward
you. This will cause the headlights to turn on at high
beam and remain on until the lever is released.Dimmer Control UNDERSTANDING THE FEATURES OF YOUR VEHICLE 131
3
Page 134 of 467
NOTE: If the Multi-Function Control Lever is held in
the flash to pass position for more than 15 seconds, the
high beams will shut off. If this occurs, wait 30 seconds
for the next flash to pass operation.
DAYTIME RUNNING LIGHTS (DRL) Ð IF
EQUIPPED
The high beam lights will come on as Daytime Running
Lights (DRL) at DRL intensity (lower), whenever the
ignition is on, the engine is running, the headlight switch
is off, the parking brake is off, the turn signal is off, and
the gearshift lever is in any position except park.
NOTE: On this vehicle, the daytime running light will
automatically turn off when the turn signal is in opera-
tion and automatically turn back on when the turn signal
is not operating. LIGHTS ON REMINDER
If the headlights or parking lights are on after the ignition
is turned OFF, a chime will sound to alert the driver
when the driver's door is opened.
FOG LIGHTS Ð IF EQUIPPED
The front fog light switch is on the Multi-Function
Control Lever. To activate the front fog lights, turn
on the parking lights or the low beam headlights
and pull out the end of the control lever.132 UNDERSTANDING THE FEATURES OF YOUR VEHICLE
Page 140 of 467

WINDSHIELD WASHERS
To use the washer, pull the Windshield Wiper/Washer
Control lever toward you and hold it for as long as
washer spray is desired.
If you activate the washer while the wiper control is in
the delay range, the wipers will operate in low speed for
two wipe cycles after releasing the lever and then resume
the intermittent interval previously selected.
If you activate the washer while the wiper control is in
the OFF position, the wipers will operate for two wipe
cycles and then turn OFF. ADDING WASHER FLUID
The fluid reservoir for the windshield washers is located
in the engine compartment. Be sure to check the fluid
level in the reservoir at regular intervals. Fill the reservoir
with windshield washer solvent (not radiator antifreeze)
and operate the system for a few seconds to flush out the
residual water. Refer to the appropriate engine diagram
in Section 7 ªMaintaining Your Vehicleº for the location
of the reservoir.
WARNING!Commercially available windshield washer solvents
are flammable. They could ignite and burn you. Care
must be exercised when filling or working around
the washer solution.138 UNDERSTANDING THE FEATURES OF YOUR VEHICLE
Page 156 of 467
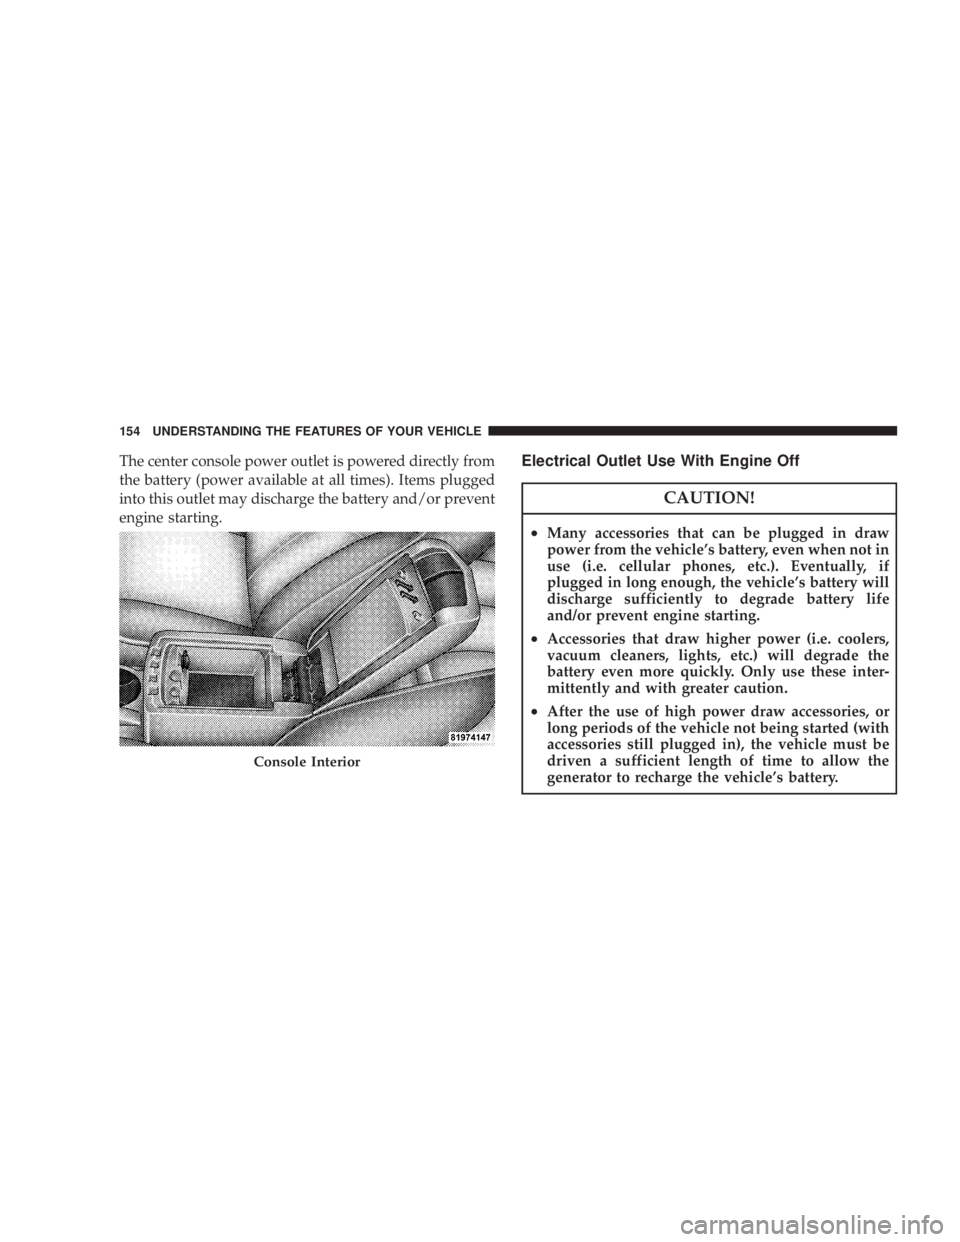
The center console power outlet is powered directly from
the battery (power available at all times). Items plugged
into this outlet may discharge the battery and/or prevent
engine starting. Electrical Outlet Use With Engine Off
CAUTION!² Many accessories that can be plugged in draw
power from the vehicle's battery, even when not in
use (i.e. cellular phones, etc.). Eventually, if
plugged in long enough, the vehicle's battery will
discharge sufficiently to degrade battery life
and/or prevent engine starting.
² Accessories that draw higher power (i.e. coolers,
vacuum cleaners, lights, etc.) will degrade the
battery even more quickly. Only use these inter-
mittently and with greater caution.
² After the use of high power draw accessories, or
long periods of the vehicle not being started (with
accessories still plugged in), the vehicle must be
driven a sufficient length of time to allow the
generator to recharge the vehicle's battery.Console Interior154 UNDERSTANDING THE FEATURES OF YOUR VEHICLE
Page 172 of 467
INSTRUMENT CLUSTER DESCRIPTIONS
1. Fuel Gauge
When the ignition switch is in the ON position, the
pointer will show the level of fuel remaining in the
fuel tank.
2. Fuel Door Reminder
This is a reminder that the Fuel Filler Door is
located on the left side of the vehicle.
3. Temperature Gauge
The temperature gauge shows engine coolant tem-
perature. Any reading below the red area of the
gauge shows that the engine cooling system is
operating properly. The gauge pointer may show a
higher than normal temperature when driving in hot
weather, up mountain grades, in heavy stop and go
traffic, or when towing a trailer. If the pointer rises to the H (red) mark, the instrument
cluster will sound a chime. Pull over and stop the vehicle.
Idle the vehicle with the air conditioner turned off until
the pointer drops back into the normal range. If the
pointer remains on the H (red) mark, turn the engine off
immediately and call for service.
There are steps that you can take to slow down an
impending overheat condition. If your air conditioning is
on, turn it off. The air conditioning system adds heat to
the engine cooling system and turning off the A/C
removes this heat. You can also turn the Temperature
control to maximum heat, the Mode control to Floor and
the Fan control to High. This allows the heater core to act
as a supplement to the radiator and aids in removing heat
from the engine cooling system.
4. Speedometer
Indicates vehicle speed in miles per hour Ð MPH.170 UNDERSTANDING YOUR INSTRUMENT PANEL
Page 173 of 467

5. Low Fuel Light
When the fuel level drops to 2 gallons, the fuel
symbol will light and a single chime will sound.
6. Charging System Light
This light shows the status of the electrical charg-
ing system. The light should come on briefly when
the ignition is first turned on and remain on briefly as a
bulb check. If the light stays on or comes on while
driving, turn off some of the vehicle's electrical devices,
such as the Fog Lights or Rear Defroster. If the Charging
System Light remains on, it means that the vehicle is
experiencing a problem with the charging system. Obtain
SERVICE IMMEDIATELY. See your authorized dealer.
7. Airbag Light
The light comes on and remains on for 6 to 8
seconds as a bulb check when the ignition
switch is first turned ON. If the light does not come on during starting, stays on, or comes on while
driving, have the system checked by an authorized
dealer.
8. Theft Alarm Light Ð If Equipped
This light will flash rapidly for several seconds when the
alarm system is arming. The light will begin to flash
slowly indicating that the system is armed.
9. Seat Belt Reminder Light
When the ignition switch is first turned ON, this
light will come on for about six seconds. A chime
will sound if you have not pulled the shoulder belt
out of the retractor. This is a reminder to ªbuckle upº. If
you do not buckle up, the light will remain on.
10. Oil Pressure Light
Shows low engine oil pressure. The light will come
on and remain on when the ignition switch is
turned from the OFF to the ON position, and the light UNDERSTANDING YOUR INSTRUMENT PANEL 171
4
Page 174 of 467

will turn off after the engine is started. If the bulb does
not come on during starting, have the system checked by
an authorized dealer.
If the light comes on and remains on while driving, stop
the vehicle and shut off the engine. DO NOT OPERATE
THE VEHICLE UNTIL THE CAUSE IS CORRECTED.
The light does not show the quantity of oil in the engine.
This can be determined using the procedure shown in
Section 7.
11. Engine Temperature Warning Light
This light warns of an overheated engine condi-
tion. If the engine is critically hot, a warning chime
will sound 10 times. After the chime turns off, the
engine will still be critically hot until the light goes out.
12. Speedometer
Indicates vehicle speed in kilometers per hour Ð Km/h. 13. Tachometer
The white area of the scale shows the permissible engine
revolutions-per-minute (rpm x 1000) for each gear range.
Before reaching the red area, ease up on the accelerator to
prevent engine damage.
14. Transmission Range Indicator
This display indicator shows the automatic transaxle gear
selection.
15. Odometer/Trip Odometer
The odometer shows the total distance the vehicle has
been driven. U.S. federal regulations require that upon
transfer of vehicle ownership, the seller certify to the
purchaser the correct mileage that the vehicle has been
driven. Therefore, if the odometer reading is changed
during repair or replacement, be sure to keep a record of
the reading before and after the service so that the correct
mileage can be determined.172 UNDERSTANDING YOUR INSTRUMENT PANEL