Page 20 of 467

² This device must accept any interference that may be
received, including interference that may cause undes-
ired operation.
SECURITY ALARM SYSTEM Ð IF EQUIPPED
The Vehicle Security Alarm (VSA) system monitors the
doors and trunk for unauthorized entry and ignition
switch for unauthorized operation.
If something triggers the alarm, the system will signal for
about 18 minutes. For the first 3 minutes, the horn will
sound intermittently and the headlights, park lights,
taillights and the Vehicle Security Light in the cluster will
flash. Then the exterior lights will flash for another 15
minutes. REARMING THE SYSTEM:
If something triggers the alarm, and no action is taken to
disarm it, the system will turn off the horn after 3
minutes, turn off all of the visual signals after 15 minutes,
and then the system will rearm itself.
TO ARM THE SYSTEM:
1. Remove the keys from the ignition switch and get out
of the vehicle.
2. Lock the door using either the power door lock switch
or the Keyless Entry Transmitter, and close all doors.
3. The Vehicle Security Light in the instrument cluster
will flash rapidly for approximately 16 seconds. This
shows that the system is arming. During this period, if a
door is opened, the ignition switch is turned ON, or the
power door locks are unlocked in any manner, the system18 THINGS TO KNOW BEFORE STARTING YOUR VEHICLE
Page 26 of 467

Illuminated Approach Ð If Equipped
This feature activates the headlights for up to 90 seconds
when the doors are unlocked with the transmitter. The
time for this feature is programmable on vehicles
equipped with EVIC. For details, refer to ªIlluminated
Approach,º under ªPersonal Settings (Customer Pro-
grammable Features), under ªElectronic Vehicle Informa-
tion Center (EVIC)º in Section 4 of this manual.
TO LOCK THE DOORS
Press and release the LOCK button on the transmitter to
lock all doors. The turn signal lights will flash and the
horn will chirp once to acknowledge the lock signal.
Sound Horn with Lock
This feature will cause the horn to chirp when the doors
are locked with the transmitter. This feature can be
turned on or off. To change the current setting, proceed as
follows: ² For vehicles equipped with EVIC, refer to ªSound
Horn with Lock,º under ªPersonal Settings (Customer
Programmable Features)º under ªElectronic Vehicle
Information Center (EVIC)º in Section 4 of this manual
for details.
² For vehicles not equipped with the EVIC, perform the
following steps:
1. Press the LOCK button on a programmed transmitter
for at least four seconds, but not longer than ten seconds.
Then, press the PANIC button while still holding the
LOCK button.
2. Release both buttons at the same time.
3. Test the feature while outside of the vehicle, by
pressing the LOCK button on the transmitter with the
ignition in the LOCK position, and the key removed.
4. Repeat these steps if you want to return this feature to
its previous setting.24 THINGS TO KNOW BEFORE STARTING YOUR VEHICLE
Page 27 of 467

NOTE: Pressing the LOCK button on the transmitter
while you are in the vehicle will activate the Security
Alarm. Opening a door with the Security Alarm activated
will cause the alarm to sound. Press the UNLOCK button
to deactivate the Security Alarm.
TO UNLATCH THE TRUNK
Press the TRUNK button on the transmitter two times to
unlatch the trunk.
USING THE EXPRESS DOWN WINDOWS
FEATURE Ð IF EQUIPPED
This feature allows you to remotely lower both front door
windows at the same time. To use this feature, press and
release the UNLOCK button on the transmitter and then
immediately press and hold the UNLOCK button until
the windows lower to the level desired or until they
lower completely. USING THE PANIC ALARM
To turn the PANIC alarm feature ON or OFF, press and
hold the PANIC button on the transmitter for at least one
second and release. When the PANIC alarm is on, the
headlights and park lights will flash, the horn will pulse
on and off, and the illuminated entry system (if
equipped) will turn on.
The PANIC alarm will stay on for three minutes unless
you turn it off by pressing the PANIC button a second
time or if the vehicle speed is 5 mph (8 km/h) or greater.
NOTE: You may need to be close to the vehicle when
using the transmitter to turn off the PANIC alarm due to
the radio frequency noises emitted by the system. THINGS TO KNOW BEFORE STARTING YOUR VEHICLE 25
2
Page 84 of 467

N Voice Training ........................119
m Seats ................................120
N Manual Front Seat Adjustments ...........120
N Power Seats Ð If Equipped ..............123
N Heated Seats Ð If Equpped ..............123
N Fold-Flat Front Passenger Seat ............124
N Adjustable Head Restraints ..............125
N Folding Rear Seat .....................126
N Folding Rear Seat Center Armrest ..........127
m To Open And Close The Hood .............127
m Lights ...............................129
N Map/Reading/Interior Lights ............129
N Multi-Function Control Lever .............130 N Headlights; Parking Lights; Instrument Lights . . 130
N Automatic Headlight System Ð If Equipped . . 131
N Headlight Time Delay ..................131
N Passing Light / Flash-To-Pass .............131
N Daytime Running Lights (DRL) Ð
If Equipped .........................132
N Lights On Reminder ...................132
N Fog Lights Ð If Equipped ...............132
N Turn Signals .........................133
N Highbeam/Lowbeam Select Switch .........134
m Windshield Wipers And Washers ............134
N Intermittent Wiper System ...............136
N Mist Feature .........................13782 UNDERSTANDING THE FEATURES OF YOUR VEHICLE
Page 85 of 467

N Headlights With Wipers Feature
(Available With Auto Headlights Only) ......137
N Windshield Washers ...................138
N Adding Washer Fluid ..................138
m Tilt/Telescoping Steering Column ...........139
m Electronic Speed Control Ð If Equipped ......140
N To Activate ..........................140
N To Set Desired Speed ...................141
N To Deactivate ........................141
N To Resume Speed .....................141
N To Vary Speed Setting ..................142
N To Accelerate For Passing ...............142
m Garage Door Opener Ð If Equipped .........143 N Programming HomeLink t ...............144
N Gate Operator/Canadian Programming .....148
N Security ............................148
N Troubleshooting Tips ...................149
N General Information ...................149
m Power Sunroof Ð If Equipped .............150
N Sunroof Operation ....................151
N Auto Sunroof Express With Anti-Pinch
Protection Ð If Equipped ...............151
N Sunshade Operation ...................152
N Wind Buffeting .......................152
N Sunroof Maintenance ...................152
N Ignition Off Operation ..................152UNDERSTANDING THE FEATURES OF YOUR VEHICLE 83
3
Page 132 of 467
because a door is open. This includes the glove box light,
but not the trunk light. To restore interior light operation,
either turn the ignition switch ON or cycle the light
switch.
MULTI-FUNCTION CONTROL LEVER
The Multi-Function Control Lever controls the operation
of the headlights, parking lights, turn signals, headlight
beam selection, instrument panel light dimming, interior
lights, the passing lights, and fog lights. The lever is
located on the left side of the steering column.
HEADLIGHTS; PARKING LIGHTS; INSTRUMENT
LIGHTS
Turn the end of the Multi-Function Control Lever to the
first detent for parking light operation. Turn to the
second detent for headlight operation. Turn to the third
detent ªAº for ªAutoº headlight operation (if equipped). To change the brightness of the instrument panel lights,
rotate the center portion of the Multi-Function Control
Lever up or down. HEADLIGHT Switch130 UNDERSTANDING THE FEATURES OF YOUR VEHICLE
Page 133 of 467

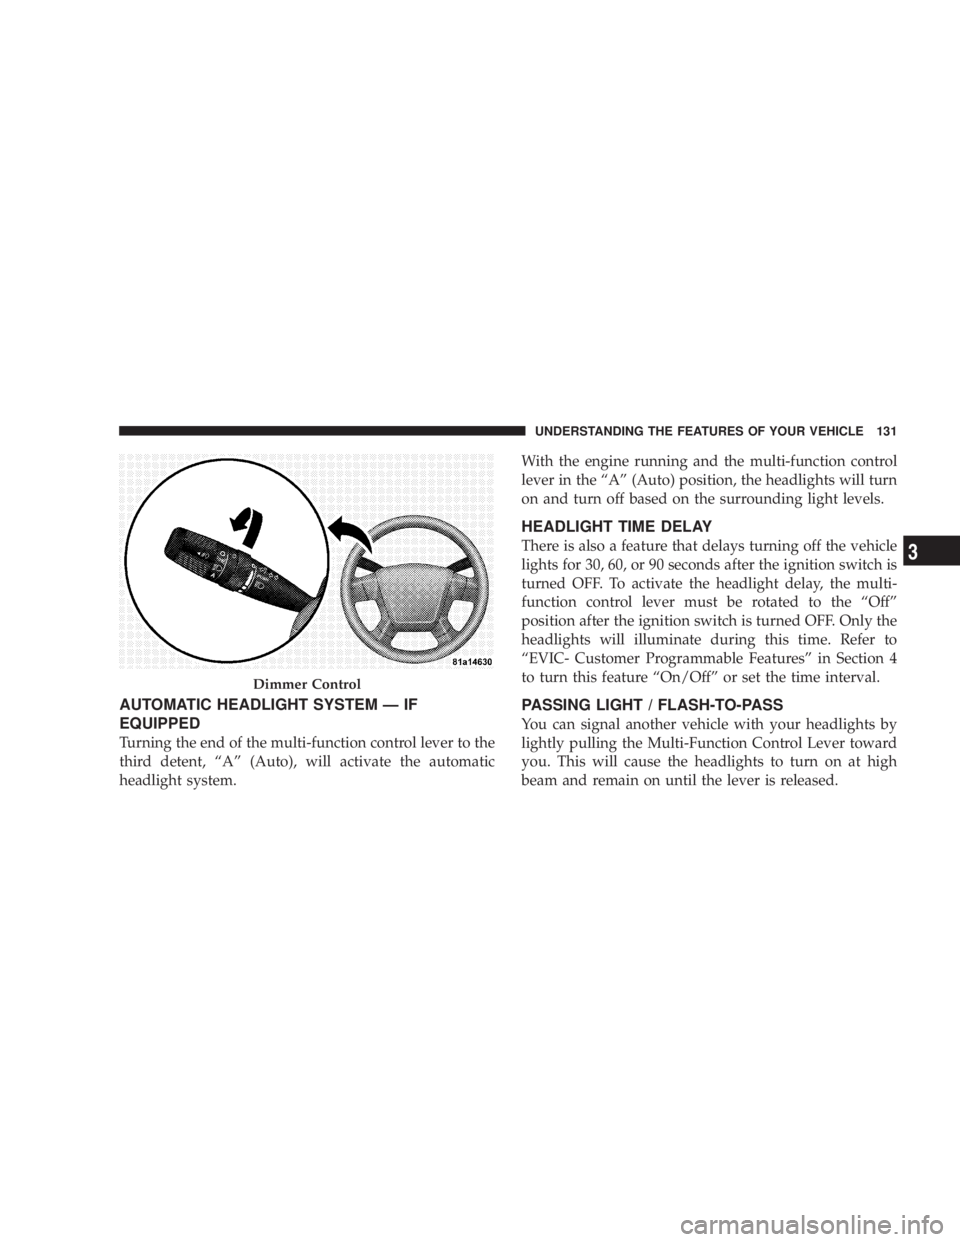
AUTOMATIC HEADLIGHT SYSTEM Ð IF
EQUIPPED
Turning the end of the multi-function control lever to the
third detent, ªAº (Auto), will activate the automatic
headlight system. With the engine running and the multi-function control
lever in the ªAº (Auto) position, the headlights will turn
on and turn off based on the surrounding light levels.
HEADLIGHT TIME DELAY
There is also a feature that delays turning off the vehicle
lights for 30, 60, or 90 seconds after the ignition switch is
turned OFF. To activate the headlight delay, the multi-
function control lever must be rotated to the ªOffº
position after the ignition switch is turned OFF. Only the
headlights will illuminate during this time. Refer to
ªEVIC- Customer Programmable Featuresº in Section 4
to turn this feature ªOn/Offº or set the time interval.
PASSING LIGHT / FLASH-TO-PASS
You can signal another vehicle with your headlights by
lightly pulling the Multi-Function Control Lever toward
you. This will cause the headlights to turn on at high
beam and remain on until the lever is released.Dimmer Control UNDERSTANDING THE FEATURES OF YOUR VEHICLE 131
3
Page 134 of 467

NOTE: If the Multi-Function Control Lever is held in
the flash to pass position for more than 15 seconds, the
high beams will shut off. If this occurs, wait 30 seconds
for the next flash to pass operation.
DAYTIME RUNNING LIGHTS (DRL) Ð IF
EQUIPPED
The high beam lights will come on as Daytime Running
Lights (DRL) at DRL intensity (lower), whenever the
ignition is on, the engine is running, the headlight switch
is off, the parking brake is off, the turn signal is off, and
the gearshift lever is in any position except park.
NOTE: On this vehicle, the daytime running light will
automatically turn off when the turn signal is in opera-
tion and automatically turn back on when the turn signal
is not operating. LIGHTS ON REMINDER
If the headlights or parking lights are on after the ignition
is turned OFF, a chime will sound to alert the driver
when the driver's door is opened.
FOG LIGHTS Ð IF EQUIPPED
The front fog light switch is on the Multi-Function
Control Lever. To activate the front fog lights, turn
on the parking lights or the low beam headlights
and pull out the end of the control lever.132 UNDERSTANDING THE FEATURES OF YOUR VEHICLE