Page 32 of 531
²For vehicles equipped with the Electronic Vehicle
Information Center (EVIC), the message ªInsert Key/
Turn To Runº will flash in the EVIC until you insert
the key. Once inserted, the message ªTurn To Runº
will flash in the EVIC until you turn the key to run.
Cancel Remote Start
Remote Starting will also cancel if any of the following
occur:
²The engine stalls or RPM exceeds 2500.
²Any engine warning telltale lights come on.
²The hood is opened.
²The Hazard Switch is pressed.
²The transmission gear selector lever is moved out of
PARK.
²Pressing the brake pedal.
²Allow the engine to run for the entire 15 minute cycle.
To Turn Off the Engine While in Remote Start
Mode
Press and release the Remote Start button one time.
NOTE:To avoid inadvertent shut downs, the system
will disable the one time press of the Remote Start button
for two seconds after receiving a valid Remote Start
request.
When To Reset Remote Start
The vehicle can be started remotely up to a maximum of
two times. The vehicle is also allowed a maximum of one
failed start, where the Remote Starting sequence was
initiated but the engine stopped cranking without start-
ing. After either of these conditions, or if the Security
Alarm System is alarming, or if the PANIC button was
pressed, the vehicle must be reset by inserting a valid key
into the ignition switch, rotating to the RUN position,
and then rotating back to the LOCK/OFF position.
30 THINGS TO KNOW BEFORE STARTING YOUR VEHICLE
Page 96 of 531

PERIODIC SAFETY CHECKS YOU SHOULD MAKE
OUTSIDE THE VEHICLE
Tires
Examine tires for excessive tread wear or uneven wear
patterns. Check for stones, nails, glass, or other objects
lodged in the tread. Inspect tread and sidewall for cuts or
cracks. Check wheel nuts for tightness, and tires (includ-
ing spare) for proper pressure.
Lights
Have someone observe the operation of exterior lights
while you work the controls. Check turn signal and high
beam indicator lights on the instrument panel.
Fluid Leaks
Check area under vehicle after overnight parking for fuel,
engine coolant, oil or other fluid leaks. Also, if gasoline
fumes are detected or fuel, power steering fluid, trans-
mission fluid or brake fluid leaks are suspected, the cause
should be located and corrected immediately.
Exhaust Gas
WARNING!
Exhaust gases can injure or kill. They contain carbon
monoxide (CO) which is colorless and odorless.
Breathing it can make you unconscious and can
eventually poison you. To avoid breathing (CO)
follow the safety tips below.
Do not run the engine in a closed garage or in confined
areas any longer than needed to move your vehicle in or
out of the area.
If it is necessary to sit in a parked vehicle with the engine
running, adjust your heating or cooling controls to force
outside air into the vehicle. Set the blower at high speed.
94 THINGS TO KNOW BEFORE STARTING YOUR VEHICLE
Page 103 of 531
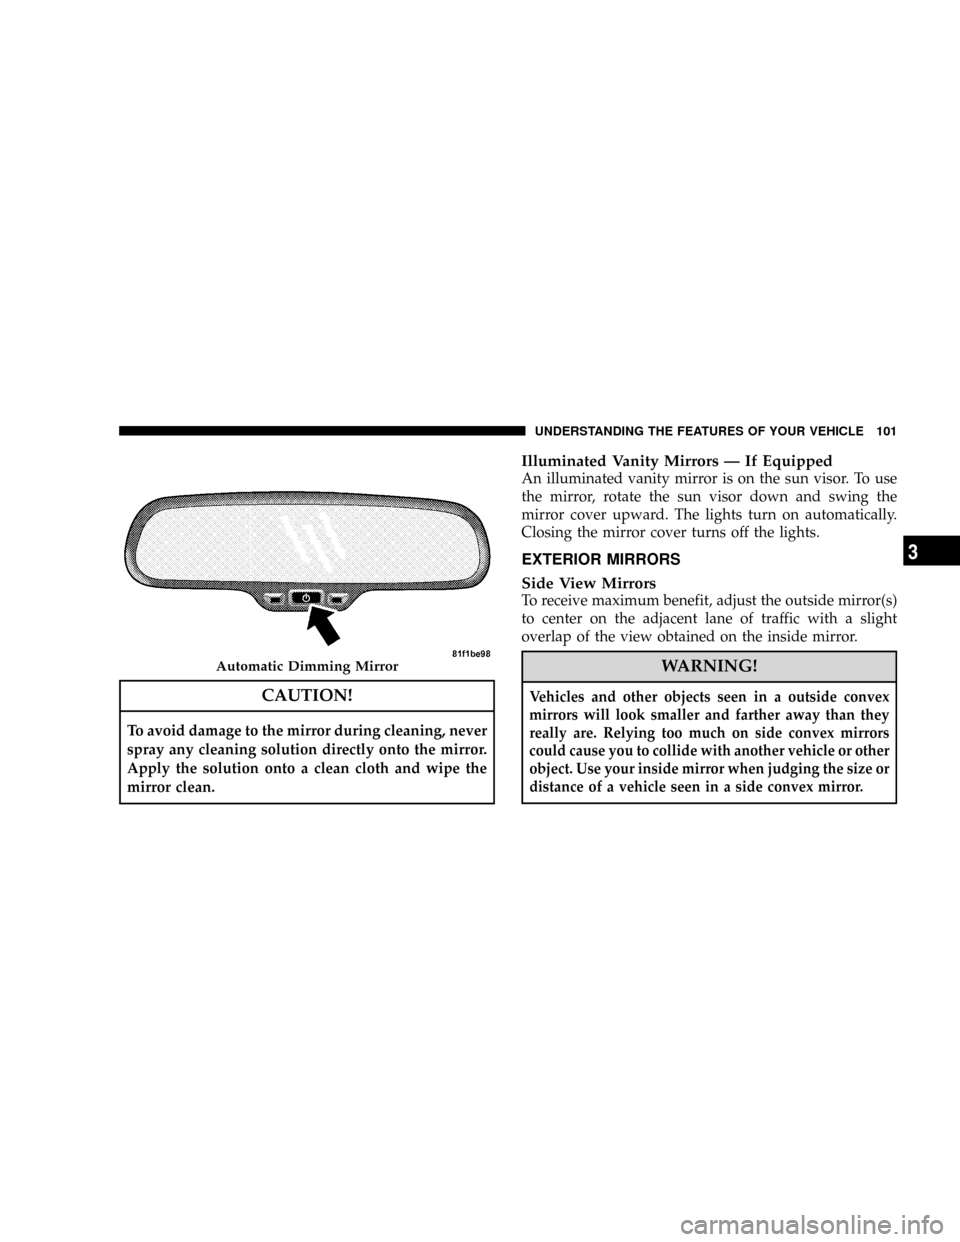
CAUTION!
To avoid damage to the mirror during cleaning, never
spray any cleaning solution directly onto the mirror.
Apply the solution onto a clean cloth and wipe the
mirror clean.
Illuminated Vanity Mirrors Ð If Equipped
An illuminated vanity mirror is on the sun visor. To use
the mirror, rotate the sun visor down and swing the
mirror cover upward. The lights turn on automatically.
Closing the mirror cover turns off the lights.
EXTERIOR MIRRORS
Side View Mirrors
To receive maximum benefit, adjust the outside mirror(s)
to center on the adjacent lane of traffic with a slight
overlap of the view obtained on the inside mirror.
WARNING!
Vehicles and other objects seen in a outside convex
mirrors will look smaller and farther away than they
really are. Relying too much on side convex mirrors
could cause you to collide with another vehicle or other
object. Use your inside mirror when judging the size or
distance of a vehicle seen in a side convex mirror.
Automatic Dimming Mirror
UNDERSTANDING THE FEATURES OF YOUR VEHICLE 101
3
Page 161 of 531
LIGHTS
All of the lights, except the hazard warning lights,
headlamp high beams and flash to pass, are controlled by
switches to the left of the steering column on the instru-
ment panel.
Interior Lighting
Interior lights are turned on when a door or liftgate is
opened, the keyless entry transmitter is activated, or
when the dimmer control is moved to the extreme top.
The interior lights will automatically turn off in about 10
minutes for the first activation and 90 seconds every
activation thereafter until the engine is started, if one of
the following occur:
²A door, sliding door or the liftgate is left open
²Any overhead reading light is left on
²If the dimmer control is in the extreme top position
NOTE:The key must be out of the ignition switch or the
ignition switch must be in the OFF position for this
feature to operate.
Headlight Switch Assembly
UNDERSTANDING THE FEATURES OF YOUR VEHICLE 159
3
Page 170 of 531
4. Headlight Low/High Beam Select Switch and
Flash-to-Pass
Headlight Low/High Beam Select SwitchWhen the
headlights are turned on, pushing the lever assembly
toward the instrument panel will switch from low beams
to high beams. Pulling back to the neutral position
returns to low beam headlights.
Flash-to-Pass (Optical Horn)You can signal another
vehicle with your headlights by lightly pulling the mul-
tifunction lever toward you. This will cause the head-
lights to turn on at high beam and remain on until the
lever is released.WARNING!
Sudden loss of visibility through the windshield
could lead to an accident. You might not see other
vehicles or other obstacles. To avoid sudden icing of
the windshield during freezing weather, warm the
windshield with defroster before and during wind-
shield washer use.
Headlights On When Wipers Are On Ð If
Equipped
Headlights on when windshield wipers are on may be
found on vehicles equipped with automatic headlight
system. Refer to the Electronic Vehicle Information Cen-
ter (EVIC) in Section 4 under ªPERSONAL SETTINGS
(CUSTOMER PROGRAMMABLE FEATURES)º for more
information.
168 UNDERSTANDING THE FEATURES OF YOUR VEHICLE
Page 173 of 531
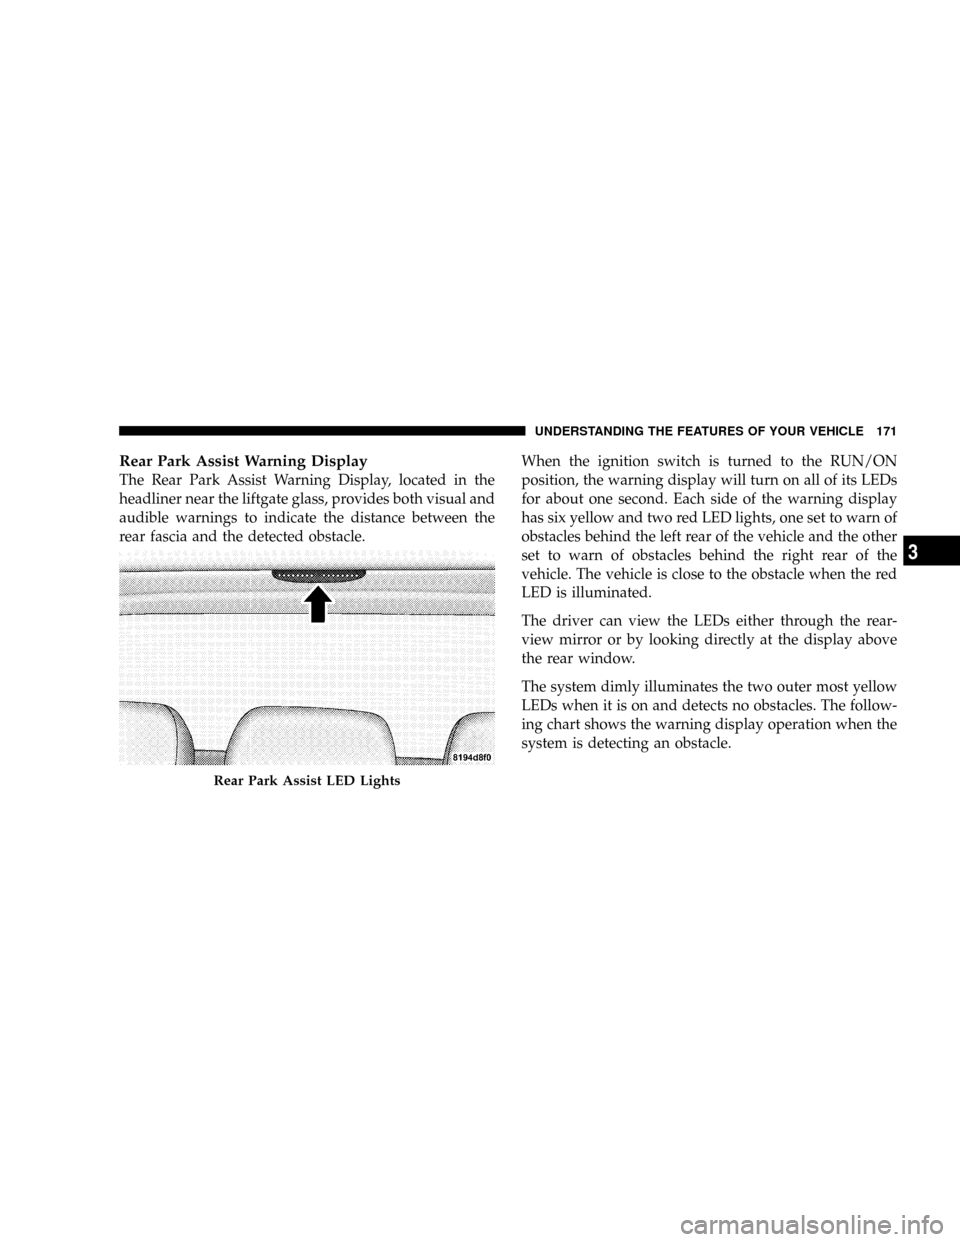
Rear Park Assist Warning Display
The Rear Park Assist Warning Display, located in the
headliner near the liftgate glass, provides both visual and
audible warnings to indicate the distance between the
rear fascia and the detected obstacle.When the ignition switch is turned to the RUN/ON
position, the warning display will turn on all of its LEDs
for about one second. Each side of the warning display
has six yellow and two red LED lights, one set to warn of
obstacles behind the left rear of the vehicle and the other
set to warn of obstacles behind the right rear of the
vehicle. The vehicle is close to the obstacle when the red
LED is illuminated.
The driver can view the LEDs either through the rear-
view mirror or by looking directly at the display above
the rear window.
The system dimly illuminates the two outer most yellow
LEDs when it is on and detects no obstacles. The follow-
ing chart shows the warning display operation when the
system is detecting an obstacle.
Rear Park Assist LED Lights
UNDERSTANDING THE FEATURES OF YOUR VEHICLE 171
3
Page 406 of 531
CAUTION!
If the trailer weighs more than 1,000 lbs (454 kg)
loaded, it should have its own brakes and they
should be of adequate capacity. Failure to do this
could lead to accelerated brake lining wear, higher
brake pedal effort, and longer stopping distances.
WARNING!
Do not connect trailer brakes to your vehicle's hy-
draulic brake lines. It can overload your brake sys-
tem and cause it to fail. You might not have brakes
when you need them and could have an accident.
Towing any trailer will increase your stopping dis-
tance. When towing you should allow for additional
space between your vehicle and the vehicle in front
of you. Failure to do so could result in an accident.
Towing Requirements Ð Trailer Lights and Wiring
Whenever you pull a trailer, regardless of the trailer size,
stop lights and turn signals on the trailer are required for
motoring safety.
The Trailer Tow Package may include a four-pin or a
seven-pin wiring harness. Use a factory approved trailer
harness and connector.
NOTE:Do not cut or splice wiring into the vehicles
wiring harness.
The electrical connections are all complete to the vehicle
but you must mate the harness to a trailer connector.
Refer to the following four-pin connector and seven-pin
connector illustrations.
404 STARTING AND OPERATING
Page 483 of 531

BULB REPLACEMENT
High Intensity Discharge Headlights (HID) Ð If
Equipped
The headlights are a type of high voltage discharge tube.
High voltage can remain in the circuit even with the
headlight switch off and the key removed.Because of
this, you should not attempt to service a headlight bulb
yourself. If a headlight bulb fails, take your vehicle to
an authorized dealer for service.
WARNING!
A transient high tension occurs at the bulb sockets of
High Intensity Discharge (HID) headlights when the
headlight switch is turned ON. It may cause serious
electrical shock or electrocution if not serviced prop-
erly. See your authorized dealer for service.NOTE:On vehicles equipped with High Intensity Dis-
charge Headlights (HID), when the headlights are turned
on, there is a blue hue to the lights. This diminishes and
becomes more white after approximately 10 seconds, as
the system charges.
Quad Headlights
1. Raise the hood to access the high or low beam bulbs at
the rear of the headlight housing.
2. Release the two tabs on the side of the connector and
remove the connector from the bulb.
3. Twist the headlight bulb and pull the bulb from
headlight housing.
4. Install the new headlight bulb and twist until locked
into the headlight housing.
MAINTAINING YOUR VEHICLE 481
7