Page 45 of 531
If the inside or outside door handles are used while the
power sliding side door is activated, the power sliding
door feature will be canceled and the door must be
opened or closed manually.
To avoid unintentional operation of the power sliding
doors from the rear seats, press the power sliding door
master lock button, located in the overhead console, to
disable the switches for the rear seat passengers.
NOTE:
²If anything obstructs the power sliding side door
while it is closing or opening, the door will automati-
cally reverse to the closed or open position, provided
it meets sufficient resistance.
²The left side sliding door cannot be opened while the
fuel door is open. This feature operates only when the
sliding door is fully closed prior to opening the fuel
door.
²If the power sliding side door is not in the full open or
close position, it will fully open when a power sliding
door switch is pressed. To close the door, wait until it
is fully open and then press the switch again.
²The power sliding side door switches will not operate
if the transmission gear selector lever is in gear or the
vehicle speed is above 0 mph (0 km/h).
²If the power sliding door encounters multiple obstruc-
tions within the same cycle, the system will automati-
cally stop and must be opened or closed manually.
WARNING!
You, or others, could be injured if caught in the path
of the sliding door. Make sure the door path is clear
before closing the door.
THINGS TO KNOW BEFORE STARTING YOUR VEHICLE 43
2
Page 52 of 531
WARNING!
During power operation, personal injury or cargo
damage may occur. Ensure the liftgate travel path is
clear. Make sure the liftgate is closed and latched
before driving away.
NOTE:
²If anything obstructs the power liftgate while it is
closing or opening, the liftgate will automatically
reverse to the closed or open position, provided it
meets sufficient resistance.
²There are also pinch sensors attached to the side of the
liftgate opening. Light pressure anywhere along these
strips will cause the liftgate to return to the open
position.
²The power liftgate must be in the full open or close
positions for any of the buttons to operate. If the
liftgate is not in the full open or close positions, it must
be opened or closed manually.
²If the liftgate release button is activated while the
power liftgate is closing, the liftgate will reverse to the
full open position.
²The power liftgate buttons will not operate if the
transmission gear selector lever is in gear or the
vehicle speed is above 0 mph (0 km/h).
²The power liftgate will not operate in temperatures
below212ÉF (224ÉC) or temperatures above 143ÉF
(62ÉC). Be sure to remove any buildup of snow or ice
from the liftgate before pressing any of the power
liftgate buttons.
50 THINGS TO KNOW BEFORE STARTING YOUR VEHICLE
Page 104 of 531
Side View Manual Folding Mirrors
All exterior mirrors are hinged and may be moved either
forward or rearward to resist damage. The hinges have
three detent positions; full forward, full rearward, and
normal.
Driver's Auto-Dimming Side View Mirror Ð If
Equipped
This mirror automatically adjusts for annoying headlight
glare from vehicles behind you. You can turn this feature
on or off by pressing the button at the base of the
Rearview Mirror.
Tilt In Reverse Feature Driver's Side View Mirror
Ð If Equipped
The9Tilt in Reverse9feature tilts the driver's outside
rearview mirror downward when the ignition switch is
in the ON position and the transmission is in the RE-
VERSE position. This feature provides the driver with a
better view of the ground and vehicle in the area of the
rear tires when backing up. The mirror will move back to
its previous position when the transmission is shifted out
of REVERSE.
Power Remote Folding Side View Mirrors Ð If
Equipped
Press the power fold button to fold in the mirrors. Press
the button again to unfold the mirrors.
102 UNDERSTANDING THE FEATURES OF YOUR VEHICLE
Page 244 of 531
To Set the Variance
NOTE:Refer to the ªCompass Variance Mapº in the
following ªElectronic Vehicle Information Center
(EVIC)º section for your Zone Value.
Start the engine, and leave the transmission gear selector
lever in the PARK position. Press and hold (approxi-
mately ten seconds) the CMTC reset button until the
current variance zone number is displayed. To change the
zone, press and release the CMTC reset button to incre-
ment the variance one step. Repeat as necessary, until the
desired variance is achieved.
NOTE:The factory default Zone is 8. During program-
ming, the zone value will wrap around from Zone 15 to
Zone 1.
Manual Compass Calibration
If the compass appears erratic, inaccurate or abnormal,
you may wish to calibrate the compass. Prior to calibrat-
ing the compass make sure the proper zone is selected.
1. Start the engine, and leave the transmission in the
PARK position.
2. Press and hold (approximately 10 seconds) the CMTC
reset button until the current variance zone number is
displayed.
3. Release the CMTC reset button, then press and hold
again (approximately 10 seconds), until the direction is
displayed with the CAL indicator on continuously in the
display.
4. To complete the compass calibration, drive the vehicle
in one or more complete 360 degree circles under 5 mph
(8 km/h) in an area free from power lines, large metallic
objects, until the CAL indicator turns off. The compass
will now function normally.
242 UNDERSTANDING YOUR INSTRUMENT PANEL
Page 330 of 531
If The Engine Fails To Start
WARNING!
²NEVER pour fuel or other flammable liquids into
the throttle body air inlet opening in an attempt to
start the vehicle. This could result in a flash fire
causing serious personal injury.
²DO NOT attempt to push or tow your vehicle to get
it started. Vehicles equipped with an automatic
transmission cannot be started this way. Unburned
fuel could enter the catalytic converter and once the
engine has started, ignite and damage the converter
and vehicle.
²If the vehicle has a discharged battery, booster
cables may be used to obtain a start from a booster
battery or the battery in another vehicle. This type
of start can be dangerous if done improperly. Refer
to Section 6 of this manual for proper jump-starting
procedures and follow them carefully.
If the engine fails to start after you have followed the
ªNormal Startingº procedure, it may be flooded. Push
the accelerator pedal all the way to the floor and hold it
there while cranking the engine. This should clear any
excess fuel in case the engine is flooded.
CAUTION!
To prevent damage to the starter, DO NOT crank the
engine for more than 15±second intervals at one time.
Wait 10 to 15 seconds before trying again.
If the engine has been flooded, it may start to run, but not
have enough power to continue running when the key is
released. If this occurs, continue cranking with the accel-
erator pedal pushed all the way to the floor. Release the
accelerator pedal and the key once the engine is running
smoothly.
328 STARTING AND OPERATING
Page 340 of 531
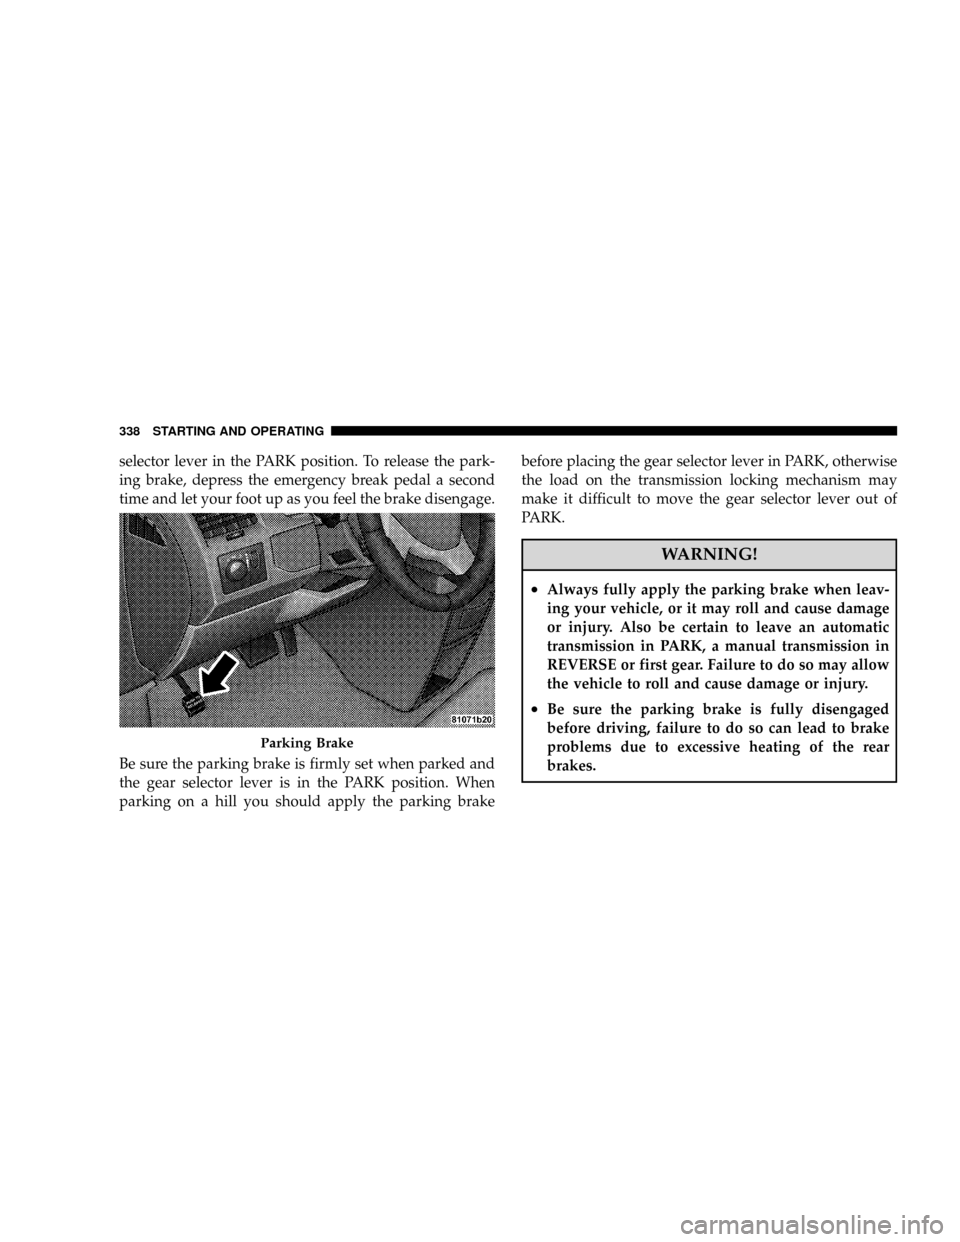
selector lever in the PARK position. To release the park-
ing brake, depress the emergency break pedal a second
time and let your foot up as you feel the brake disengage.
Be sure the parking brake is firmly set when parked and
the gear selector lever is in the PARK position. When
parking on a hill you should apply the parking brakebefore placing the gear selector lever in PARK, otherwise
the load on the transmission locking mechanism may
make it difficult to move the gear selector lever out of
PARK.
WARNING!
²Always fully apply the parking brake when leav-
ing your vehicle, or it may roll and cause damage
or injury. Also be certain to leave an automatic
transmission in PARK, a manual transmission in
REVERSE or first gear. Failure to do so may allow
the vehicle to roll and cause damage or injury.
²Be sure the parking brake is fully disengaged
before driving, failure to do so can lead to brake
problems due to excessive heating of the rear
brakes.
Parking Brake
338 STARTING AND OPERATING
Page 408 of 531

Towing Tips Ð Automatic Transmission
The DRIVE gear can be selected when towing. However,
if frequent shifting occurs while in DRIVE, move the gear
selector lever into third gear (with four-speed transmis-
sion) or fifth gear (with six-speed transmission).
NOTE:Moving the gear selector lever into third gear
(with four-speed transmission) or fifth gear (with six-
speed transmission) while operating the vehicle under
heavy operating conditions will improve performance
and extend transmission life by reducing excessive shift-
ing and heat build up. This action will also provide better
engine braking.
The automatic transmission fluid and filter should be
changed if you REGULARLY tow a trailer for more than
45 minutes of continuous operation. Refer to the ªMain-
tenance Scheduleº in Section 8 of this manual for trans-
mission fluid change intervals.NOTE:²Check the automatic transmission fluid level before
towing.
²The six-speed automatic transmission is sealed and
requires an authorized dealer service center to check
the transmission fluid.
Towing Tips Ð Electronic Speed Control (If
Equipped)
²
Don't use in hilly terrain or with heavy loads.
²When using the speed control, if you experience speed
drops greater than 10 mph (16 km/h), disengage until
you can get back to cruising speed.
²Use speed control in flat terrain and with light loads to
maximize fuel efficiency.
406 STARTING AND OPERATING
Page 409 of 531
Towing Tips Ð Cooling System
To reduce potential for engine and transmission over-
heating, take the following actions:
²City Driving
When stopped for short periods of time, put transmission
gear selector lever in NEUTRAL but do not increase
engine idle speed.
²Highway Driving
Reduce speed.
²Air Conditioning
Turn off temporarily.
²Refer to Cooling System Operating information in the
Maintenance section of this manual for more informa-
tion.
RECREATIONAL TOWING (BEHIND
MOTORHOME, ETC.)
CAUTION!
Towing this vehicle behind another vehicle (flat-
towing with all four wheels on the ground) IS NOT
RECOMMENDED.
NOTE:If the vehicle requires towing make sure all four
wheels are off the ground.
STARTING AND OPERATING 407
5