Page 167 of 531
MULTIFUNCTION LEVER
The multifunction control lever is located on the left side
of the steering column.
The Multifunction Lever assembly controls:
²Turn Signals
²Headlight Low and High Beams
²Flash-to-Pass (Optical Horn)
²Front and Rear Wiper And Washer Functions
Turn Signals
Move the multifunction lever up or down to signal a
right-hand or left-hand turn.
The arrow on either side of the instrument cluster flashes
to indicate the direction of the turn, and proper operation
of the front and rear turn signal lights.If either indicator flashes at a rapid rate, check for a
defective outside turn signal light bulb. If one of the
indicators fails to light when the lever is moved, it would
suggest that the indicator light is defective.
You may manually signal a lane change by moving the
lever partially up or down.
Turn Signal Switch
UNDERSTANDING THE FEATURES OF YOUR VEHICLE 165
3
Page 231 of 531
For additional information on Tire Pressures, refer to
Section 5 Ð Starting and Operating, ªTire Inflation
Pressuresº of this manual.
6. Oil Pressure Warning Light
This light shows low engine oil pressure. The light
should turn on momentarily when the engine is
started. If the light turns on while driving, stop the
vehicle and shut off the engine as soon as possible. A
chime will sound for four minutes when this light turns
on.
Do not operate the vehicle until the cause is corrected.
This light does not show how much oil is in the engine.
The engine oil level must be checked under the hood.
7. Engine Temperature Warning Light
This light warns of an overheated engine condi-
tion. If the engine is critically hot, a continuouschime will sound for four minutes. After the chime turns
off, the engine will still be critically hot until the light
turns off.
8. Speedometer
Indicates vehicle speed.
9. Turn Signal Indicators
The arrow will flash with the exterior turn signal
when the turn signal lever is operated.
If the vehicle electronics sense that the vehicle has
traveled about one mile with the turn signals on, a
continuous chime will sound to alert you to turn the
signals off. If either indicator flashes at a rapid rate, check
for a defective outside light bulb.
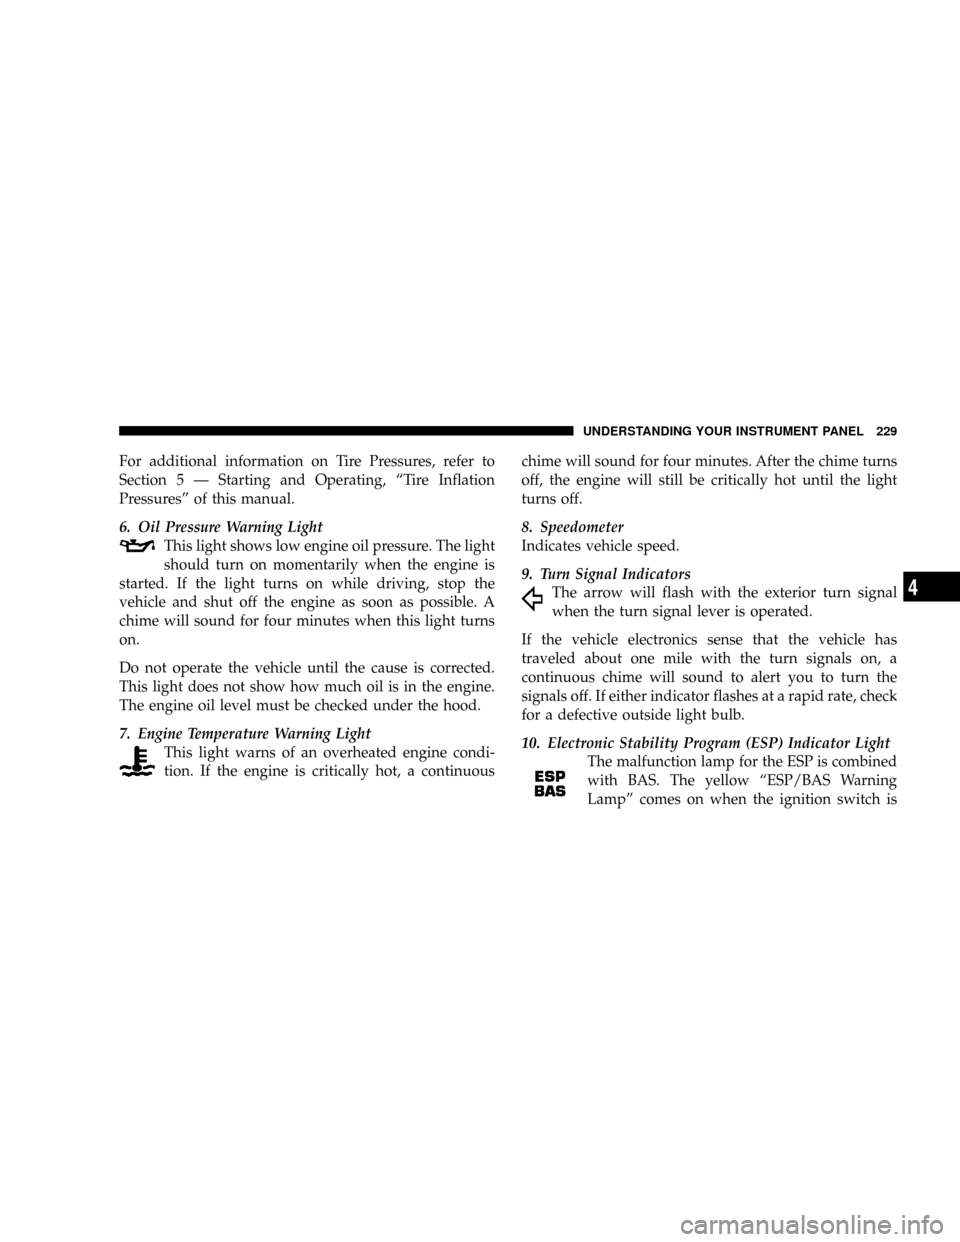
10. Electronic Stability Program (ESP) Indicator Light
The malfunction lamp for the ESP is combined
with BAS. The yellow ªESP/BAS Warning
Lampº comes on when the ignition switch is
UNDERSTANDING YOUR INSTRUMENT PANEL 229
4
Page 234 of 531
brakes. If the ABS light does not turn on when the
Ignition switch is turned to the ON position, have the
light inspected by an authorized dealer.
14. Electronic Stability Program (ESP) Indicator
Light/Traction Control System (TCS) Indicator Light
If this indicator light flashes during accelera-
tion, apply as little throttle as possible. While
driving, ease up on the accelerator. Adapt your
speed and driving to the prevailing road con-
ditions, and do not switch off the ESP, or TCS.
15. Tachometer
The red segments indicate the maximum permissible
engine revolutions per minute (RPM x 1000) for each gear
range. Before reaching the red area, ease up on the
accelerator.16. High Beam Light
This light shows that the headlights are on high
beam. Pull the turn signal lever towards the
steering wheel to switch the headlights from high or low
beam.
17. Front Fog Light Indicator Ð If Equipped
This light shows when the front fog lights are ON.
18. Seat Belt Reminder Light
When the ignition switch is first turned ON, this
light will turn on for five to eight seconds as a bulb
check. During the bulb check, if the driver's seat
belt is unbuckled, a chime will sound. After the bulb
check or when driving, if the driver's seat belt remains
unbuckled, the Seat Belt Reminder Light will illuminate
and the chime will sound. Refer to the Occupant Re-
straints section for more information.
232 UNDERSTANDING YOUR INSTRUMENT PANEL
Page 432 of 531
NPower Steering Ð Fluid Check............451
NFront Suspension Ð Ball Joints............451
NSteering Shaft Seal....................451
NDrive Shaft Universal Joints..............452
NBody Lubrication.....................452
NWindshield Wiper Blades................452
NCooling System.......................454
NHoses And Vacuum/Vapor Harnesses.......459
NFuel System Connections................459
NBrakes.............................460
NAutomatic Transaxle...................462
NFront And Rear Wheel Bearings...........465NAppearance Care And Protection
From Corrosion......................465
NCleaning The Instrument Panel Cup Holders . . 471
mFuses/Totally Integrated Power Module
(TIPM)..............................472
mVehicle Storage........................479
mReplacement Light Bulbs.................480
mBulb Replacement......................481
NHigh Intensity Discharge Headlights (HID) Ð
If Equipped.........................481
NQuad Headlights.....................481
NFront Park/Turn Signal And Side
Marker Lights........................482
NFront Side Marker Lights................482
430 MAINTAINING YOUR VEHICLE
Page 482 of 531
REPLACEMENT LIGHT BULBS
LIGHT BULBS Ð Interior Bulb Number
Center & Rear Dome Light.................. 578
Center & Rear Reading Lights............... 578
Front Door Courtesy Light.................. 578
Front Header Reading Lights Ð If Equipped..... 578
Instrument Cluster Lights.................PC74
Liftgate Light(s).......................... 578
Overhead Console Reading Lights..........PC579
Removable Console Light Ð If Equipped....... 194
Visor Vanity Lights....................6501966
NOTE:For lighted switches, see your dealer for replace-
ment.
All of the interior bulbs are glass wedge base or glass
cartridge types. Aluminum base bulbs are not approved
and should not be used for replacement.LIGHT BULBS Ð Exterior Bulb Number
Backup, Tail, Stop Light...................3157
Center High-Mounted Stop Light. . . LED (See Note 1)
Fog Light Ð If Equipped..................9145
Park/Turn Signal.............PY27 / 7W or 3757A
Front Side Marker...................... W5W
Headlight Ð (Low and High Beam Halogen).... H11
Headlight (HID Ð If Equipped).............. D1S
License................................ 168
Note 1: The Center High-Mounted Stop Light (CHMSL)
uses LED lights that are not serviceable separately. The
CHMSL must be replaced as an assembly, see your
authorized Dealer.
480 MAINTAINING YOUR VEHICLE
Page 484 of 531
CAUTION!
Do not touch the new bulb with your fingers. Oil
contamination will severely shorten bulb life. If the
bulb comes in contact with an oily surface, clean the
bulb with rubbing alcohol.
5. Reconnect the wiring connector to bulb.
Front Park/Turn Signal and Side Marker Lights
1. Raise the hood to access the rear of the headlight
housing.
2. Twist the turn signal socket and remove from the
headlight housing, then pull the bulb out.
3. Push the new bulb into the socket and reinstall the
socket by twisting until locked into the headlight hous-
ing.
Front Side Marker Lights
1. Raise the hood to access the rear of the headlight
housing.
NOTE:Access is somewhat limited. You may have to
remove the inner fender well or remove the headlight
housing for bulb replacement.
2. Twist the socket and remove from the headlight hous-
ing, then pull the bulb out.
3. Push the new bulb into the socket and reinstall the
socket by twisting until locked into the headlight hous-
ing.
482 MAINTAINING YOUR VEHICLE
Page 486 of 531
Rear Tail, Stop, Turn Signal, Side Marker and
Backup Lights
1. Raise the liftgate.
2. Remove the tail light assembly by removing the two
screws from the inboard side. Use a fiber stick or similar
tool to gently pry the light on the outboard side to
disengage the two ball studs.NOTE:
²If a screwdriver is used, make sure a soft material is
placed between the vehicle body and tool so not to
scratch the paint.
²The PRY location is best closest to the studs while
dislodging them separately.
Removing Tail Light Assembly1 Ð Stop, Tail, Turn Signal bulb combo 2 Ð Backup Bulb 484 MAINTAINING YOUR VEHICLE