2008 CHRYSLER TOWN AND COUNTRY reset
[x] Cancel search: resetPage 32 of 531
²For vehicles equipped with the Electronic Vehicle
Information Center (EVIC), the message ªInsert Key/
Turn To Runº will flash in the EVIC until you insert
the key. Once inserted, the message ªTurn To Runº
will flash in the EVIC until you turn the key to run.
Cancel Remote Start
Remote Starting will also cancel if any of the following
occur:
²The engine stalls or RPM exceeds 2500.
²Any engine warning telltale lights come on.
²The hood is opened.
²The Hazard Switch is pressed.
²The transmission gear selector lever is moved out of
PARK.
²Pressing the brake pedal.
²Allow the engine to run for the entire 15 minute cycle.
To Turn Off the Engine While in Remote Start
Mode
Press and release the Remote Start button one time.
NOTE:To avoid inadvertent shut downs, the system
will disable the one time press of the Remote Start button
for two seconds after receiving a valid Remote Start
request.
When To Reset Remote Start
The vehicle can be started remotely up to a maximum of
two times. The vehicle is also allowed a maximum of one
failed start, where the Remote Starting sequence was
initiated but the engine stopped cranking without start-
ing. After either of these conditions, or if the Security
Alarm System is alarming, or if the PANIC button was
pressed, the vehicle must be reset by inserting a valid key
into the ignition switch, rotating to the RUN position,
and then rotating back to the LOCK/OFF position.
30 THINGS TO KNOW BEFORE STARTING YOUR VEHICLE
Page 42 of 531
²Any impact due to rough road conditions may trigger
the auto reverse function unexpectedly during auto-
close. If this happens, pull the switch lightly to the first
detent and hold to close window manually.
WARNING!
There is no anti-pinch protection when the window
is almost closed. To avoid personal injury be sure to
clear your arms, hands, fingers and all objects from
the window path before closing.
Auto Up Reset Ð If Equipped
To reactivate the Auto Up feature, perform the following
steps after vehicle power is restored:
1. Pull the window switch up to close the window
completely and continue to hold the switch up for an
additional two seconds after the window is closed.2. Push the window switch down firmly to the second
detent to open the window completely and continue to
hold the switch down for an additional two seconds after
the window is fully open.
Wind Buffeting
Wind buffeting can be described as the perception of
pressure on the ears or a helicopter-type sound in the
ears. Your vehicle may exhibit wind buffeting with the
windows down, or the sunroof (if equipped) in certain
open or partially open positions. This is a normal occur-
rence and can be minimized. If the buffeting occurs with
the rear windows open, open the front and rear windows
together to minimize the buffeting. If the buffeting occurs
with the sunroof open, adjust the sunroof opening to
minimize the buffeting.
40 THINGS TO KNOW BEFORE STARTING YOUR VEHICLE
Page 155 of 531
Plastic Grocery Bag Retainer Hooks
Retainer hooks which will hold plastic grocery bag
handles are built into the seatbacks of all rear seats and
some front seats. The floor supports the partial weight of
the bagged goods.
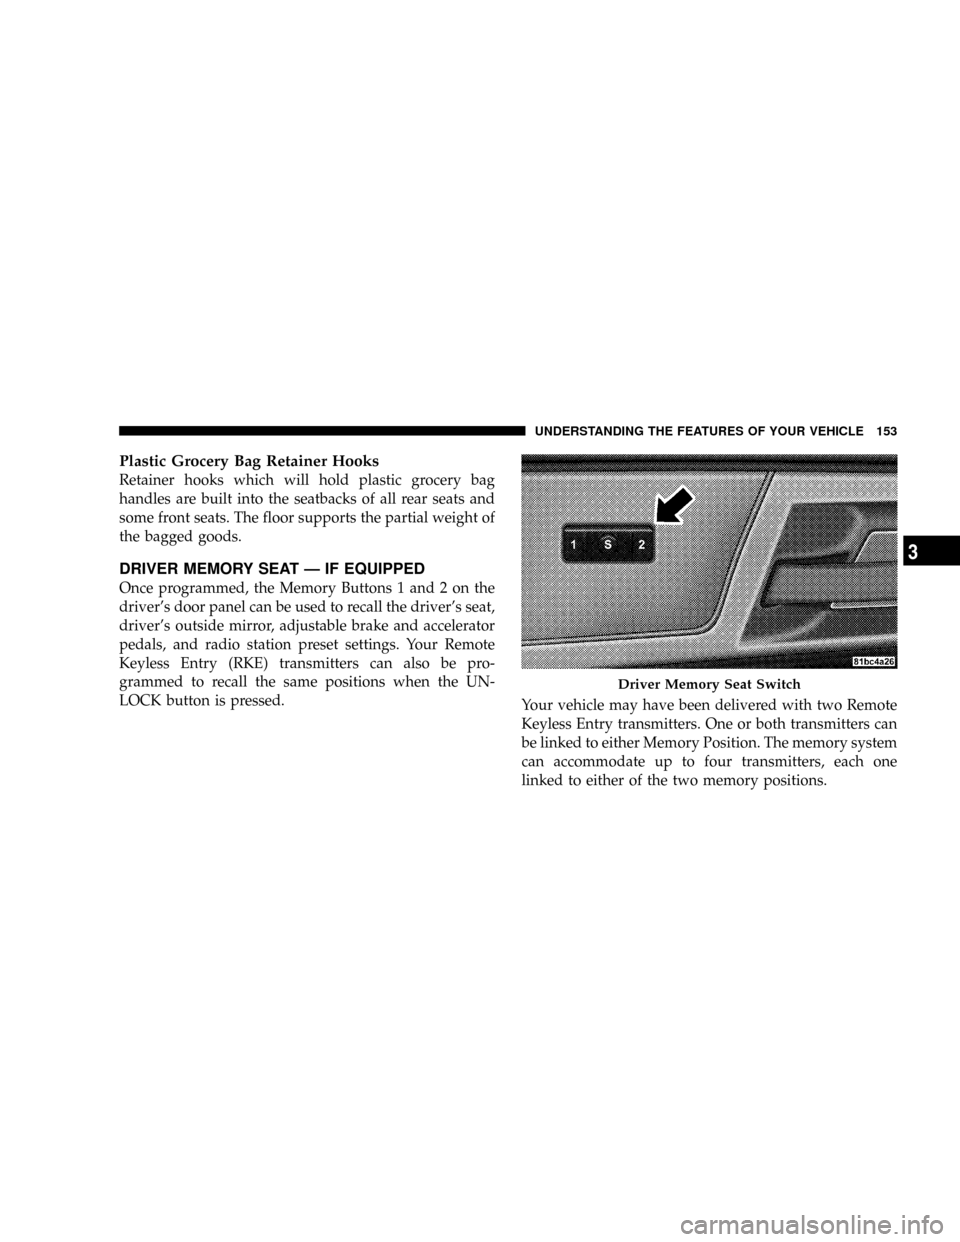
DRIVER MEMORY SEAT Ð IF EQUIPPED
Once programmed, the Memory Buttons 1 and 2 on the
driver's door panel can be used to recall the driver's seat,
driver's outside mirror, adjustable brake and accelerator
pedals, and radio station preset settings. Your Remote
Keyless Entry (RKE) transmitters can also be pro-
grammed to recall the same positions when the UN-
LOCK button is pressed.
Your vehicle may have been delivered with two Remote
Keyless Entry transmitters. One or both transmitters can
be linked to either Memory Position. The memory system
can accommodate up to four transmitters, each one
linked to either of the two memory positions.
Driver Memory Seat Switch
UNDERSTANDING THE FEATURES OF YOUR VEHICLE 153
3
Page 156 of 531
Setting Memory Positions And Linking RKE
Transmitter To Memory
NOTE:Each time the SET(S) button and a numbered
button (1 or 2) are pressed, you erase the memory settings
for that button and store a new one.
1. Insert the ignition key and turn the ignition switch to
the ON position.
2. Press the driver door Memory Buttons number 1 if
you are setting the memory for driver 1, or button
number 2 if you are setting the memory for driver 2. The
system will recall any stored settings. Wait for the system
to complete the memory recall before continuing to step
3.
3. Adjust the driver's seat, recliner, and driver's side-
view mirror to the desired positions.
4. Adjust the brake and accelerator pedals to the desired
positions.5. Turn on the radio and set the radio station presets (up
to 10 AM and 10 FM stations can be set).
6. Turn the ignition switch to the OFF position and
remove the key.
7. Press and release the SET(S) button located on the
driver's door. A chime will sound signaling that you are
in the memory set mode.
8. Within five seconds, press and release Memory Button
1 or 2 on the driver's door. A chime will sound signaling
to you that the driver memory has been set. The next step
must be performed within five seconds if you desire to
also use a Remote Keyless Entry transmitter to recall
memory positions.
9. Press and release the LOCK button on one of the
transmitters. A chime will sound signaling to you that the
transmitter has been successfully linked to memory.
154 UNDERSTANDING THE FEATURES OF YOUR VEHICLE
Page 176 of 531
NOTE:
²Ensure that the rear bumper is free of dirt and debris
to keep the system operating properly.
²Jackhammers, large trucks, and other vibrations could
affect the performance of the system.
Enabling and Disassembling The Rear Park Assist
System
There are times when you may want to disable the Rear
Park Assist System, such as when towing a trailer.
NOTE:The manufacturer suggests disabling the Rear
Park Assist System when towing a trailer. Refer to the
following procedures.
Vehicles Equipped With the Electronic Vehicle
Information Center (EVIC)
You can turn the Rear Park Assist System on or off
through the EVIC. For details, refer to ªPersonal Settings(Customer Programmable Features)º under ªElectronic
Vehicle Information Center (EVIC)º in Section 4 of this
manual.
Vehicles Equipped With the Compass Mini-Trip
Computer (CMTC)
You can turn the Rear Park Assist System ON or OFF
through the CMTC by pressing the left reset button in the
instrument cluster. Turn the ignition switch to the ON
position, then press and hold the rest button for approxi-
mately two seconds.
Service The Rear Park Assist System
If the Rear Park Assist System malfunctions, the instru-
ment cluster will actuate a single chime, once per ignition
cycle, and it will display the(SERVICE PARK ASSIST
SYSTEM(message. Refer to ªCompass Mini Trip Com-
puter (CMTC) or ªElectronic Vehicle Information Center
(EVIC)º Ð as equipped, in Section 4 of this manual.
174 UNDERSTANDING THE FEATURES OF YOUR VEHICLE
Page 181 of 531
NOTE:The Electronic Speed Control system has been
designed to shut down if multiple speed control switch
functions are operated simultaneously in order to ensure
proper operation. If this occurs, the system can be
reactivated by pushing the speed control switch ON/
OFF button and resetting the desired vehicle SET speed.
Accelerating To Pass
Depress the accelerator as you would normally. When the
pedal is released, the vehicle will return to the set speed.
NOTE:The speed control system maintains speed up
and down hills. A slight speed change on moderate hills
is normal.
Your vehicle may experience a downshift (automatic
transmissions only) while climbing uphill or descending
downhill. This downshift is necessary to maintain vehicle
set speed.On steep hills a greater speed loss or gain may occur so
it may be preferable to drive without speed control.
WARNING!
Speed Control can be dangerous where the system
can't maintain a constant speed. Your vehicle could
go too fast for the conditions, and you could lose
control. An accident could be the result. Don't use
Speed Control in heavy traffic or on roads that are
winding, icy, snow-covered, or slippery.
UNDERSTANDING THE FEATURES OF YOUR VEHICLE 179
3
Page 195 of 531
ELECTRICAL POWER OUTLETS Ð IF EQUIPPED
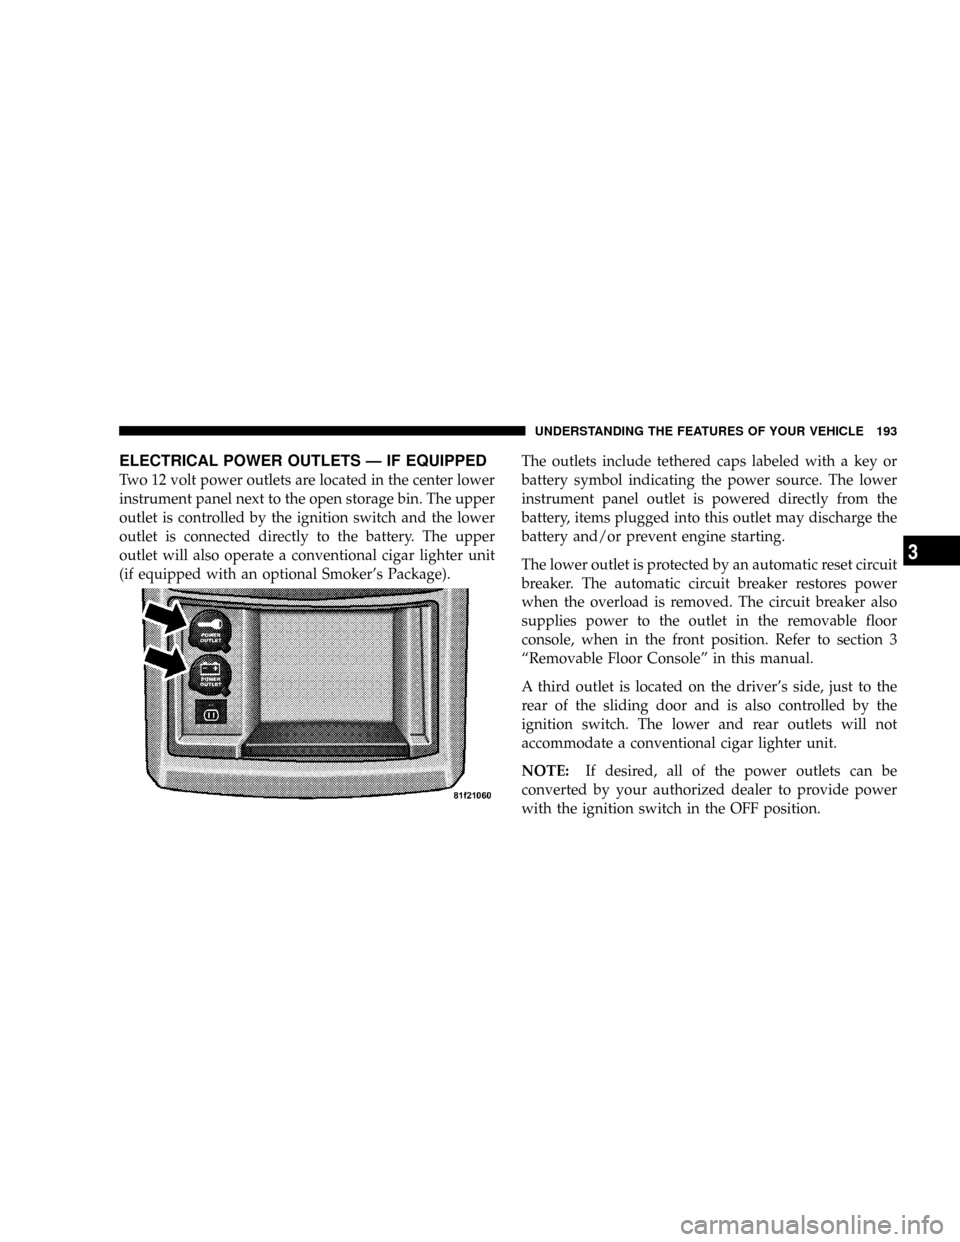
Two 12 volt power outlets are located in the center lower
instrument panel next to the open storage bin. The upper
outlet is controlled by the ignition switch and the lower
outlet is connected directly to the battery. The upper
outlet will also operate a conventional cigar lighter unit
(if equipped with an optional Smoker's Package).The outlets include tethered caps labeled with a key or
battery symbol indicating the power source. The lower
instrument panel outlet is powered directly from the
battery, items plugged into this outlet may discharge the
battery and/or prevent engine starting.
The lower outlet is protected by an automatic reset circuit
breaker. The automatic circuit breaker restores power
when the overload is removed. The circuit breaker also
supplies power to the outlet in the removable floor
console, when in the front position. Refer to section 3
ªRemovable Floor Consoleº in this manual.
A third outlet is located on the driver's side, just to the
rear of the sliding door and is also controlled by the
ignition switch. The lower and rear outlets will not
accommodate a conventional cigar lighter unit.
NOTE:If desired, all of the power outlets can be
converted by your authorized dealer to provide power
with the ignition switch in the OFF position.
UNDERSTANDING THE FEATURES OF YOUR VEHICLE 193
3
Page 218 of 531
UMBRELLA HOLDER
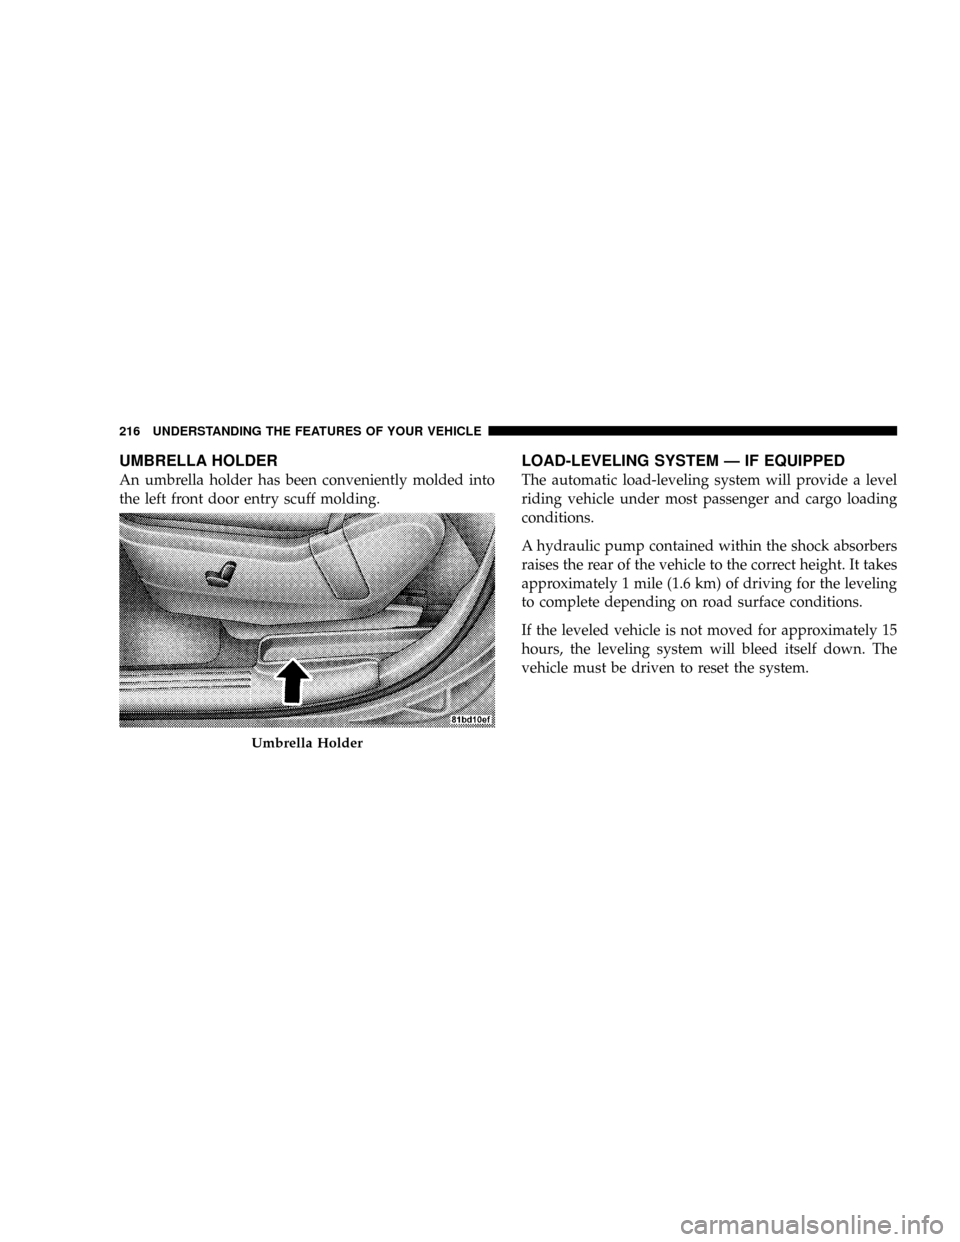
An umbrella holder has been conveniently molded into
the left front door entry scuff molding.
LOAD-LEVELING SYSTEM Ð IF EQUIPPED
The automatic load-leveling system will provide a level
riding vehicle under most passenger and cargo loading
conditions.
A hydraulic pump contained within the shock absorbers
raises the rear of the vehicle to the correct height. It takes
approximately 1 mile (1.6 km) of driving for the leveling
to complete depending on road surface conditions.
If the leveled vehicle is not moved for approximately 15
hours, the leveling system will bleed itself down. The
vehicle must be driven to reset the system.
Umbrella Holder
216 UNDERSTANDING THE FEATURES OF YOUR VEHICLE