Page 81 of 531
3. Requested by police under a legal warrant.
4. Otherwise required by law.
Data Parameters That May Be Recorded:
²Diagnostic trouble code(s) and warning light status for
electronically-controlled safety systems, including the
airbag system
²Airbag disable light status (if equipped)
²9Time9of airbag deployment (in terms of ignition
cycles and vehicle mileage)
²Airbag deployment level (if applicable)
²Impact acceleration and angle
²Seat belt status
²Brake status (service and parking brakes)
²Accelerator status (including vehicle speed)
²Engine control status (including engine speed)
²Transmission gear selection
²Cruise control status
²Traction/stability control status
²Tire pressure monitoring system status ± if equipped
THINGS TO KNOW BEFORE STARTING YOUR VEHICLE 79
2
Page 95 of 531
A new engine may consume some oil during its first few
thousand miles (kilometers) of operation. This should be
considered as a normal part of the break-in and not
interpreted as an indication of difficulty.
SAFETY TIPS
SAFETY CHECKS YOU SHOULD MAKE INSIDE
THE VEHICLE
Seat Belts
Inspect the belt system periodically checking for cuts,
frays, and loose parts. Damaged parts must be replaced
immediately. Do not disassemble or modify the system.
Front seat belt assemblies must be replaced after a
collision. Rear seat belt assemblies must be replaced after
a collision if they have been damaged (bent retractor, torn
webbing, etc.). If there is any question regarding belt or
retractor condition, replace the belt.
Airbag Light
The light should come on and remain on for four seconds
as a bulb check when the ignition switch is first turned
ON. If the LED is not lit during starting and/or the light
stays on or comes ON while driving, have the system
checked by an authorized dealer.
Defroster
Check operation by selecting the defrost mode and place
the blower control on high speed. You should be able to
feel the air directed against the windshield.
NOTE:If the defroster is not working or you are unable
to feel air against the windshield in defrost mode, please
see your authorized dealer service center for repairs.
THINGS TO KNOW BEFORE STARTING YOUR VEHICLE 93
2
Page 96 of 531

PERIODIC SAFETY CHECKS YOU SHOULD MAKE
OUTSIDE THE VEHICLE
Tires
Examine tires for excessive tread wear or uneven wear
patterns. Check for stones, nails, glass, or other objects
lodged in the tread. Inspect tread and sidewall for cuts or
cracks. Check wheel nuts for tightness, and tires (includ-
ing spare) for proper pressure.
Lights
Have someone observe the operation of exterior lights
while you work the controls. Check turn signal and high
beam indicator lights on the instrument panel.
Fluid Leaks
Check area under vehicle after overnight parking for fuel,
engine coolant, oil or other fluid leaks. Also, if gasoline
fumes are detected or fuel, power steering fluid, trans-
mission fluid or brake fluid leaks are suspected, the cause
should be located and corrected immediately.
Exhaust Gas
WARNING!
Exhaust gases can injure or kill. They contain carbon
monoxide (CO) which is colorless and odorless.
Breathing it can make you unconscious and can
eventually poison you. To avoid breathing (CO)
follow the safety tips below.
Do not run the engine in a closed garage or in confined
areas any longer than needed to move your vehicle in or
out of the area.
If it is necessary to sit in a parked vehicle with the engine
running, adjust your heating or cooling controls to force
outside air into the vehicle. Set the blower at high speed.
94 THINGS TO KNOW BEFORE STARTING YOUR VEHICLE
Page 100 of 531
mDriver Memory Seat Ð If Equipped.........153
NSetting Memory Positions And Linking RKE
Transmitter To Memory.................154
mTo Open And Close The Hood.............156
NHood Safety Switch Ð If Equipped........158
mLights...............................159
NInterior Lighting......................159
NExterior Lights.......................161
mMultifunction Lever.....................165
NTurn Signals.........................165
mTilt Steering Column Ð If Equipped.........169
mRear Park Assist System Ð If Equipped.......170
NRear Park Assist Sensors................170mAdjustable Pedals Ð If Equipped...........175
mElectronic Speed Control Ð If Equipped......177
NActivating Electronic Speed Control........177
mOverhead Consoles.....................180
NFront Overhead Console Ð If Equipped.....180
mGarage Door Opener Ð If Equipped.........183
NProgramming HomeLinkt...............184
NGate Operator/Canadian Programming.....188
NSecurity............................188
NTroubleshooting Tips...................189
NGeneral Information...................189
mPower Sunroof Ð If Equipped.............189
NPower Sunroof Operation...............190
98 UNDERSTANDING THE FEATURES OF YOUR VEHICLE
Page 102 of 531
MIRRORS
Manual Rear View Day/Night Mirror Ð If Equipped
Adjust the mirror to center on the view through the rear
window. A two point pivot system allows for horizontal
and vertical adjustment of the mirror.Annoying headlight glare can be reduced by moving the
small control under the mirror to the night position
(toward rear of vehicle). The mirror should be adjusted
while set in the day position (toward windshield).
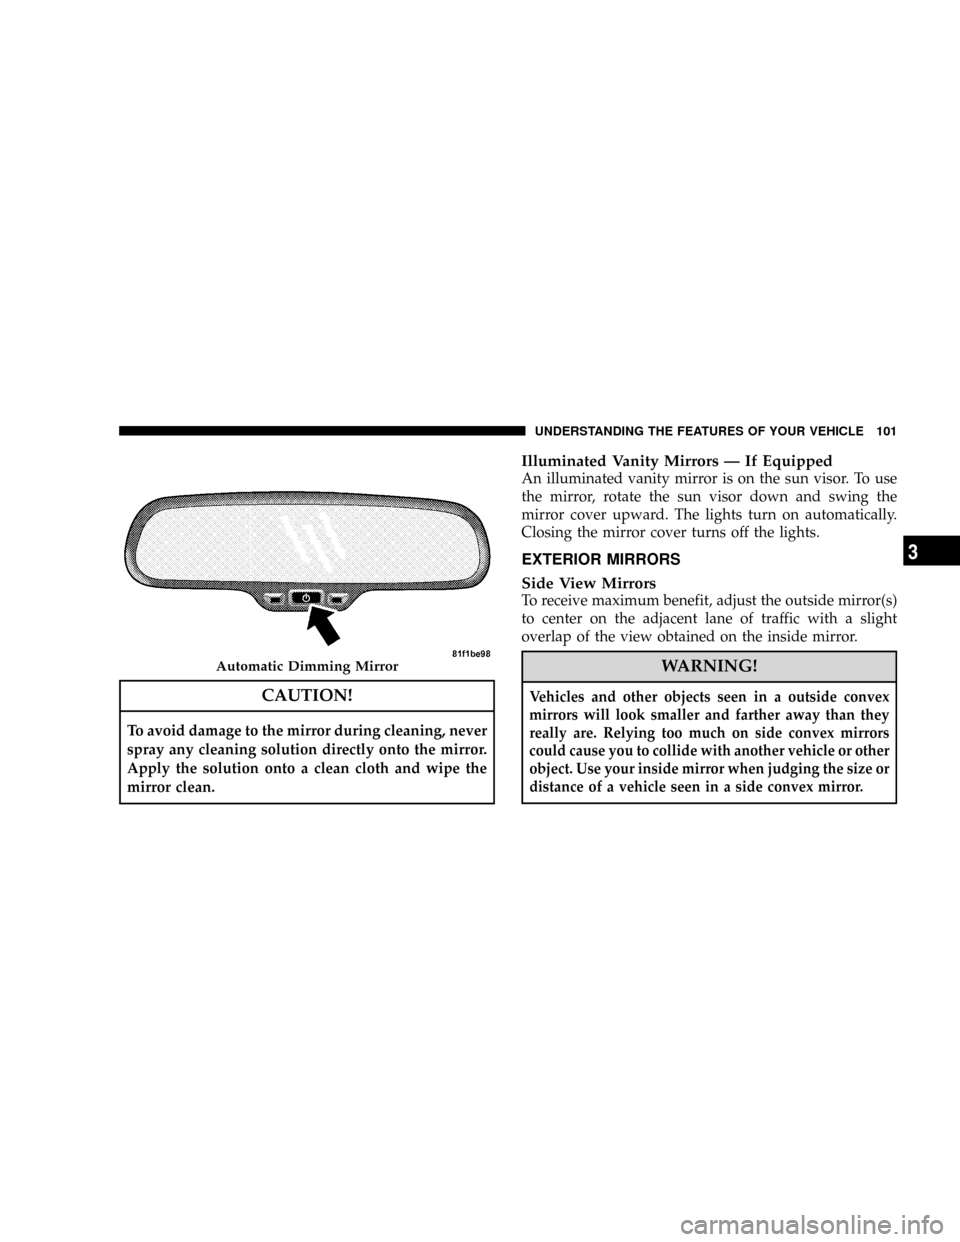
Automatic Rear View Day/Night Mirror Ð If
Equipped
When using this feature the mirror will automatically
adjust for annoying headlight glare from vehicles behind
you. You can turn the feature on or off by pressing the
button at the base of the mirror. A power indicator light
to the side on/off button will indicate when the dimming
feature is activated.
Manual Rearview Mirror
100 UNDERSTANDING THE FEATURES OF YOUR VEHICLE
Page 103 of 531
CAUTION!
To avoid damage to the mirror during cleaning, never
spray any cleaning solution directly onto the mirror.
Apply the solution onto a clean cloth and wipe the
mirror clean.
Illuminated Vanity Mirrors Ð If Equipped
An illuminated vanity mirror is on the sun visor. To use
the mirror, rotate the sun visor down and swing the
mirror cover upward. The lights turn on automatically.
Closing the mirror cover turns off the lights.
EXTERIOR MIRRORS
Side View Mirrors
To receive maximum benefit, adjust the outside mirror(s)
to center on the adjacent lane of traffic with a slight
overlap of the view obtained on the inside mirror.
WARNING!
Vehicles and other objects seen in a outside convex
mirrors will look smaller and farther away than they
really are. Relying too much on side convex mirrors
could cause you to collide with another vehicle or other
object. Use your inside mirror when judging the size or
distance of a vehicle seen in a side convex mirror.
Automatic Dimming Mirror
UNDERSTANDING THE FEATURES OF YOUR VEHICLE 101
3
Page 104 of 531
Side View Manual Folding Mirrors
All exterior mirrors are hinged and may be moved either
forward or rearward to resist damage. The hinges have
three detent positions; full forward, full rearward, and
normal.
Driver's Auto-Dimming Side View Mirror Ð If
Equipped
This mirror automatically adjusts for annoying headlight
glare from vehicles behind you. You can turn this feature
on or off by pressing the button at the base of the
Rearview Mirror.
Tilt In Reverse Feature Driver's Side View Mirror
Ð If Equipped
The9Tilt in Reverse9feature tilts the driver's outside
rearview mirror downward when the ignition switch is
in the ON position and the transmission is in the RE-
VERSE position. This feature provides the driver with a
better view of the ground and vehicle in the area of the
rear tires when backing up. The mirror will move back to
its previous position when the transmission is shifted out
of REVERSE.
Power Remote Folding Side View Mirrors Ð If
Equipped
Press the power fold button to fold in the mirrors. Press
the button again to unfold the mirrors.
102 UNDERSTANDING THE FEATURES OF YOUR VEHICLE
Page 119 of 531
²After the9Ready9prompt and the following beep, say
9Emergency9and the UConnecttsystem will instruct
the paired cellular phone to call the emergency num-
ber. This feature is supported in the U.S., Canada, and
Mexico.
NOTE:The emergency number dialed is based on the
country where the vehicle is purchased (911 for the U.S.
and Canada and 060 for Mexico). The number dialed may
not be applicable with the available cellular service and
area.
The UConnecttsystem does slightly lower your chances
of successfully making a phone call as to that for the cell
phone directly.
Your phone must be turned on and paired to the
UConnecttsystem to allow use of this vehicle feature in
emergency situations, when the cell phone has network
coverage and stays paired to the UConnecttsystem.Towing Assistance
If you need towing assistance:
²Press the PHONE button to begin.
²After the9Ready9prompt and the following beep, say
9Towing Assistance.9
NOTE:The Towing Assistance number dialed is based
on the country where the vehicle is purchased (1-800-528-
2069 for the U.S., 1-877-213-4525 for Canada, 55-14-3454
for Mexico City and 1-800-712-3040 for outside Mexico
City in Mexico).
Please refer to the 24-Hour ªTowing Assistanceº cover-
age details in the Warranty Information Booklet and on
the 24±Hour Towing Assistance Card.
Paging
To learn how to page, refer to9Working with Automated
Systems.9Paging works properly except for pagers of
UNDERSTANDING THE FEATURES OF YOUR VEHICLE 117
3