Page 290 of 531
4. To move the hour forward, touch the screen where the
word ªHourº with the arrow pointing upward is dis-
played. To move the hour backward, touch the screen
where the word ªHourº with the arrow pointing down-
ward is displayed.
5. To move the minute forward, touch the screen where
the word ªMinº with the arrow pointing upward is
displayed. To move the minute backward, touch the
screen where the word ªMinº with the arrow pointing
downward is displayed.
6. To save the new time setting, touch the screen where
the word ªSaveº is displayed.
Show Time if Radio is Off
When selected, this feature will display the time of day
on the touch screen when the system is turned off.
Proceed as follows to change the current setting:
1. Turn on the multimedia system.2. Touch the screen where the time is displayed. The
clock setting menu will appear on the screen.
3. When this feature is on, a check mark will appear in
the box next to the words ªShow Time if Radio is Off.º
Touch the screen where the words ªShow Time if Radio is
Offº are displayed to change the current setting.
SATELLITE RADIO Ð IF EQUIPPED
(REN/REQ/RER/RES/REU RADIOS ONLY)
Satellite radio uses direct satellite-to-receiver broadcast-
ing technology to provide clear digital sound, coast to
coast. The subscription service provider is Sirius Satellite
Radio. This service offers over 130 channels of music,
sports, news, entertainment, and programming for chil-
dren, directly from its satellites and broadcasting studios.
NOTE:Sirius service is not available in Hawaii and has
limited coverage in Alaska.
288 UNDERSTANDING YOUR INSTRUMENT PANEL
Page 293 of 531
SEEK Buttons
Press and release the SEEK buttons to search for the next
channel in Satellite mode. Press the right switch to seek
up and the left switch to seek down. The radio will
remain tuned to the new channel until you make another
selection. Holding either button will bypass channels
without stopping until you release it.
SCAN Button
Pressing the SCAN button causes the tuner to search for
the next channel, pausing for eight seconds before con-
tinuing to the next. To stop the search, press the SCAN
button a second time.
INFO Button Ð Except REU Radio
Pressing the INFO button will cycle the display informa-
tion between Artist, Song Title, and Composer (if avail-
able). Also, pressing and holding the INFO button for anadditional three seconds will make the radio display the
Song Title all of the time (press and hold again to return
to normal display).
INFO Button Ð REU Radio
Pressing the INFO button will display information about
Artist, Song Title, and Composer (if available). Pressing
the INFO button again will close the INFO screen.
RW/FF
Pressing the RW (Rewind) or FF (Fast Forward) buttons
causes the tuner to search for the next channel in the
direction of the arrows.
TUNE Control (Rotary)
Turn the rotary Tune/Scroll control knob clockwise to
increase or counterclockwise to decrease the channel.
MUSIC TYPE Button Ð Except REU Radio
Pressing this button once will turn on the Music Type
mode for five seconds. Pressing the MUSIC TYPE button
UNDERSTANDING YOUR INSTRUMENT PANEL 291
4
Page 297 of 531

Play Mode
When switched to UCI mode the iPodtwill be in Play
mode. In Play mode, you may use the following buttons
on the radio faceplate to control the iPodtand display
data:
Tune/Scroll Knob
Use the Tune/Scroll knob to go to the next or previous
track.
The Tune/Scroll knob functions similar to the scroll
wheel on the iPodtmobile digital device.
Turning it clockwise (forward) by one click while playing
a track skips to the next track.
Turning it counterclockwise (backward) by one click
during the first two seconds of the track will jump to the
previous track in the list and turning this button at any
other time in the track will jump to the beginning of the
current track.RW (Rewind) Button
Press and hold the RW button to move backward in the
current track. Holding the RW button long enough will
take you back to the beginning of the current track.
Pressing and releasing the RW button will go back five
seconds of the current track.
FF (Fast Forward) Button
Press and hold the FF button to move forward in the
current track.
Pressing and releasing the FF button will go forward five
seconds of the current track.
SEEK Buttons
Use the SEEK buttons to move to the previous or the next
track.
If the left (down) button is pressed during the first two
seconds of the current track, it will go back to the
UNDERSTANDING YOUR INSTRUMENT PANEL 295
4
Page 299 of 531
Tune/Scroll Knob
In the List mode, the Tune/Scroll knob functions in a
similar manner as the scroll wheel on the iPodt.
Turning the Tune/Scroll knob clockwise (forward) and
counterclockwise (backward) scrolls through lists, dis-
playing the track detail on the radio display. Once you
have the track to be played highlighted on the radio
display, press the Tune/Scroll knob to select and start
playing the track. By turning the Tune/Scroll knob fast,
you can jump through the list faster. During fast scroll,
you may notice a slight delay in updating the informa-
tion on the radio display.
During all List modes, the iPodtwill display all lists in
ªwrap-aroundº mode. So if the track you wish to select is
at the bottom of the list, you just turn the Tune/Scroll
knob backward (counterclockwise) to get to the track
faster.Radio Preset Buttons
In the List mode, the radio preset buttons are used as
shortcuts to the following lists on the iPodtdevice.
²1 ± Playlists
²2 ± Artists
²3 ± Albums
²4 ± Genres
²5 - Audiobooks
²6 ± Podcasts
After pressing a preset button, you will see the list you
are in on the top line and the first item in that list on the
second line.
To exit the List mode without selecting a track, press the
same preset button again to go back to Play mode.
UNDERSTANDING YOUR INSTRUMENT PANEL 297
4
Page 302 of 531
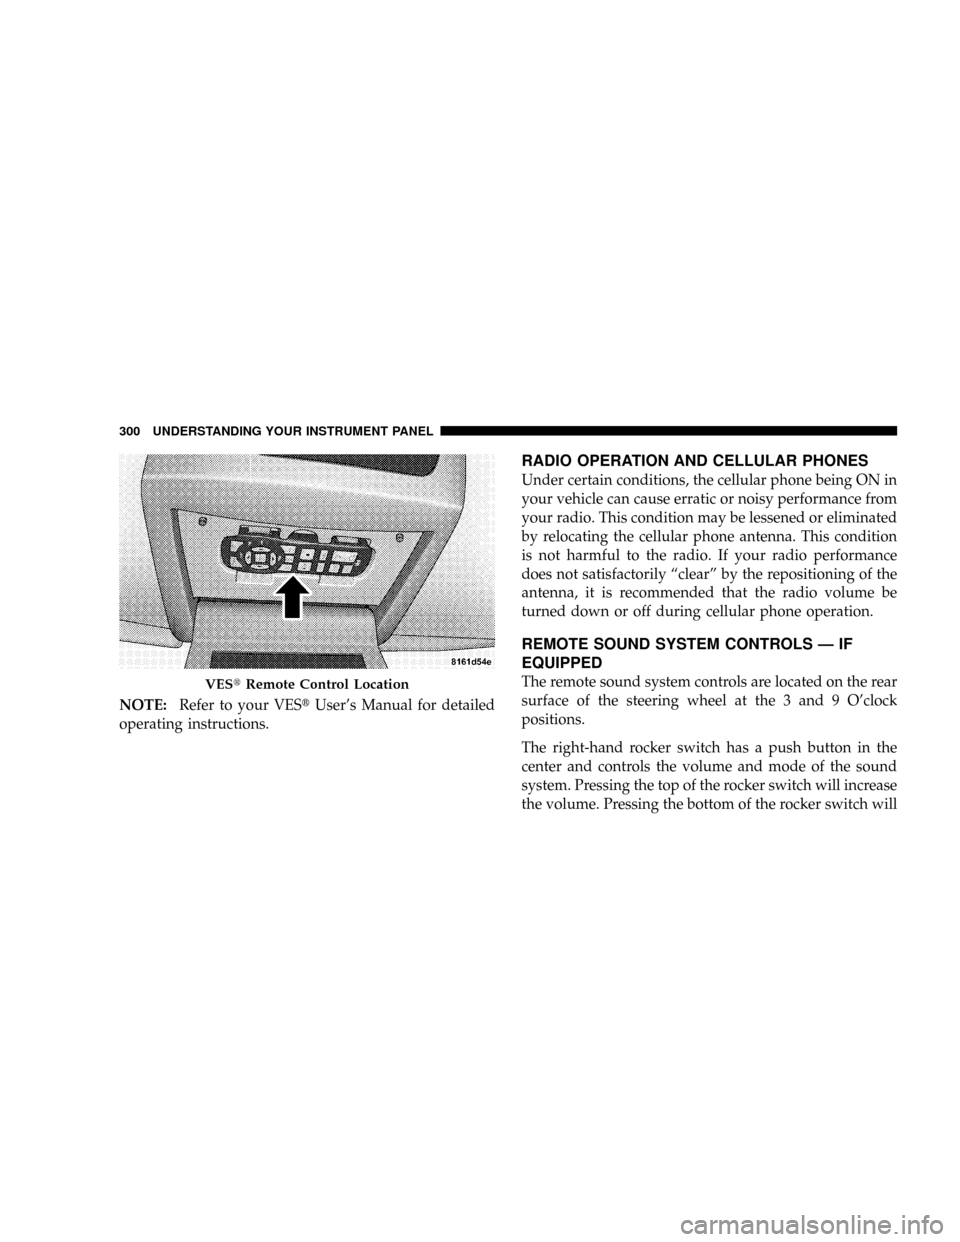
NOTE:Refer to your VEStUser's Manual for detailed
operating instructions.
RADIO OPERATION AND CELLULAR PHONES
Under certain conditions, the cellular phone being ON in
your vehicle can cause erratic or noisy performance from
your radio. This condition may be lessened or eliminated
by relocating the cellular phone antenna. This condition
is not harmful to the radio. If your radio performance
does not satisfactorily ªclearº by the repositioning of the
antenna, it is recommended that the radio volume be
turned down or off during cellular phone operation.
REMOTE SOUND SYSTEM CONTROLS Ð IF
EQUIPPED
The remote sound system controls are located on the rear
surface of the steering wheel at the 3 and 9 O'clock
positions.
The right-hand rocker switch has a push button in the
center and controls the volume and mode of the sound
system. Pressing the top of the rocker switch will increase
the volume. Pressing the bottom of the rocker switch willVEStRemote Control Location
300 UNDERSTANDING YOUR INSTRUMENT PANEL
Page 305 of 531
Front Blower Control
There are four blower speeds. Use this
control to regulate the amount of air
forced through the system in any
mode you select. The blower speed
increases as you move the control
clockwise from the off position.
Temperature Control
Use this control to regulate the tem-
perature of the air inside the passenger
compartment. Rotate the knob coun-
terclockwise from top center into the
blue area of the scale indicates cooler
temperatures while rotating the knob
clockwise into the red area indicates
warmer temperatures.
Manual HVAC Controls
UNDERSTANDING YOUR INSTRUMENT PANEL 303
4
Page 312 of 531
Rear Temperature Control
When the blower knob on the front climate control unit is
set to any position other thanRR, the rear temperature
selection follows the setting of the rear temperature
control knob on the front climate control unit. The rear
mode selection follows the setting of the rear mode
control knob.
To change the temperature in the rear of the vehicle,
rotate the temperature control knob counterclockwise for
cold and clockwise for heated air.
When rear controls are locked by the front system, the
lock symbol on the temperature knob is illuminated and
the rear overhead adjustments are ignored.
The rear airflow modes will mirror the front unit opera-
tion. Rear PANEL mode is automatically selected when
the front control is in the PANEL mode. When the front
unit is in BI-LEVEL mode, airflow will be emitted from
both the upper and lower rear outlets. When the frontcontrol is in FLOOR, DEFROST, or MIX modes, airflow
will be directed out of the rear floor outlets.
Rear Mode Control
FLOOR Mode
Air comes from the floor outlets.
BI-LEVEL Mode
Air comes from both the headliner outlets and the
floor outlets.
NOTE:In many temperature positions, the BI-LEVEL
mode is designed to provide cooler air out of the head-
liner outlets and warmer air from the floor outlets.
HEADLINER Mode
Air comes from the outlets in the headliner. Each of
these outlets can be individually adjusted to direct
the flow of air. Moving the air vanes of the outlets to one
side will shut off the airflow.
310 UNDERSTANDING YOUR INSTRUMENT PANEL
Page 319 of 531
Operation of the rear system is quite simple.
1. Press the REAR LOCK button on the front ATC control
unit. This turns off the REAR LOCK icon in the rear
temperature knob.
2. Rotate the Rear Blower, Rear Temperature and the
Rear Mode Control knobs to suit your comfort needs.
3. ATC is selected by adjusting the rear blower knob
counterclockwise to AUTO.
Once the desired temperature is displayed, the ATC
System will automatically achieve and maintain that
comfort level. When the system is set up for your comfort
level, it is not necessary to change the settings. You will
experience the greatest efficiency by simply allowing the
system to function automatically.
Rear ATC Control Features
1 - Blower 3 - Rear Lock
2 - Temperature 4 - MODEUNDERSTANDING YOUR INSTRUMENT PANEL 317
4