Page 81 of 531
3. Requested by police under a legal warrant.
4. Otherwise required by law.
Data Parameters That May Be Recorded:
²Diagnostic trouble code(s) and warning light status for
electronically-controlled safety systems, including the
airbag system
²Airbag disable light status (if equipped)
²9Time9of airbag deployment (in terms of ignition
cycles and vehicle mileage)
²Airbag deployment level (if applicable)
²Impact acceleration and angle
²Seat belt status
²Brake status (service and parking brakes)
²Accelerator status (including vehicle speed)
²Engine control status (including engine speed)
²Transmission gear selection
²Cruise control status
²Traction/stability control status
²Tire pressure monitoring system status ± if equipped
THINGS TO KNOW BEFORE STARTING YOUR VEHICLE 79
2
Page 96 of 531

PERIODIC SAFETY CHECKS YOU SHOULD MAKE
OUTSIDE THE VEHICLE
Tires
Examine tires for excessive tread wear or uneven wear
patterns. Check for stones, nails, glass, or other objects
lodged in the tread. Inspect tread and sidewall for cuts or
cracks. Check wheel nuts for tightness, and tires (includ-
ing spare) for proper pressure.
Lights
Have someone observe the operation of exterior lights
while you work the controls. Check turn signal and high
beam indicator lights on the instrument panel.
Fluid Leaks
Check area under vehicle after overnight parking for fuel,
engine coolant, oil or other fluid leaks. Also, if gasoline
fumes are detected or fuel, power steering fluid, trans-
mission fluid or brake fluid leaks are suspected, the cause
should be located and corrected immediately.
Exhaust Gas
WARNING!
Exhaust gases can injure or kill. They contain carbon
monoxide (CO) which is colorless and odorless.
Breathing it can make you unconscious and can
eventually poison you. To avoid breathing (CO)
follow the safety tips below.
Do not run the engine in a closed garage or in confined
areas any longer than needed to move your vehicle in or
out of the area.
If it is necessary to sit in a parked vehicle with the engine
running, adjust your heating or cooling controls to force
outside air into the vehicle. Set the blower at high speed.
94 THINGS TO KNOW BEFORE STARTING YOUR VEHICLE
Page 103 of 531

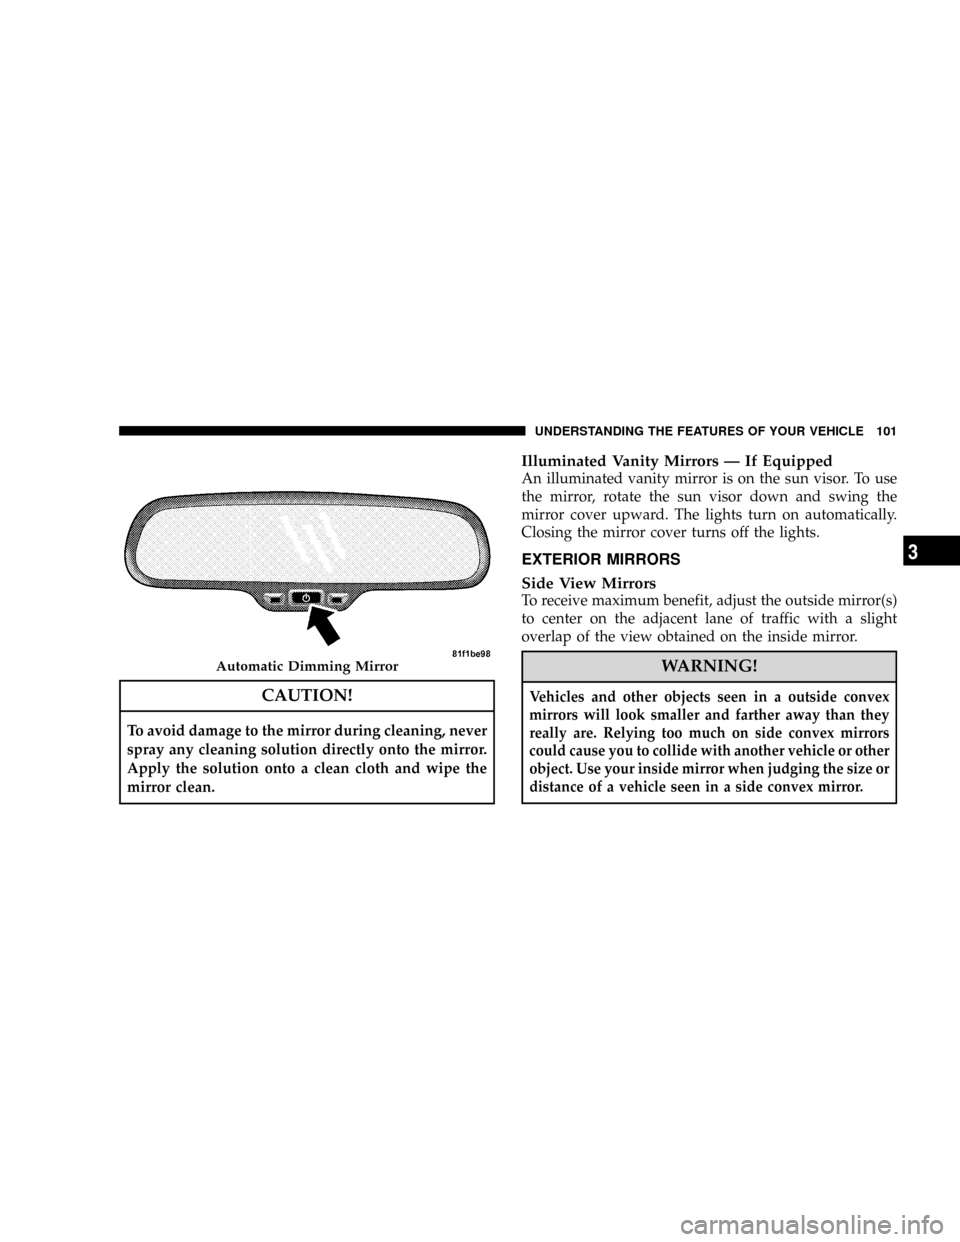
CAUTION!
To avoid damage to the mirror during cleaning, never
spray any cleaning solution directly onto the mirror.
Apply the solution onto a clean cloth and wipe the
mirror clean.
Illuminated Vanity Mirrors Ð If Equipped
An illuminated vanity mirror is on the sun visor. To use
the mirror, rotate the sun visor down and swing the
mirror cover upward. The lights turn on automatically.
Closing the mirror cover turns off the lights.
EXTERIOR MIRRORS
Side View Mirrors
To receive maximum benefit, adjust the outside mirror(s)
to center on the adjacent lane of traffic with a slight
overlap of the view obtained on the inside mirror.
WARNING!
Vehicles and other objects seen in a outside convex
mirrors will look smaller and farther away than they
really are. Relying too much on side convex mirrors
could cause you to collide with another vehicle or other
object. Use your inside mirror when judging the size or
distance of a vehicle seen in a side convex mirror.
Automatic Dimming Mirror
UNDERSTANDING THE FEATURES OF YOUR VEHICLE 101
3
Page 137 of 531
WARNING!
Persons who are unable to feel pain to the skin
because of advanced age, chronic illness, diabetes,
spinal cord injury, medication, alcohol use, exhaus-
tion or other physical condition must exercise care
when using the seat heater. It may cause burns even
at low temperatures, especially if used for long
periods of time. DO NOT place anything on the seat
that insulates against heat, such as a blanket or
cushion. This may cause the seat heater to overheat.
Manual Reclining Seats Ð If Equipped
The recliner mechanism control is on the outboard side of
the seat. To recline, lean forward slightly, lift the lever,
then push back to the desired position and release the
lever. Lean forward and lift the lever to return the
Sliding Door Controls
1 - Heated Seat Switch 4 - Door Handle
2 - Power Window Switch 5 - Power Sliding Door Switch
3 - Manual LockUNDERSTANDING THE FEATURES OF YOUR VEHICLE 135
3
Page 161 of 531
LIGHTS
All of the lights, except the hazard warning lights,
headlamp high beams and flash to pass, are controlled by
switches to the left of the steering column on the instru-
ment panel.
Interior Lighting
Interior lights are turned on when a door or liftgate is
opened, the keyless entry transmitter is activated, or
when the dimmer control is moved to the extreme top.
The interior lights will automatically turn off in about 10
minutes for the first activation and 90 seconds every
activation thereafter until the engine is started, if one of
the following occur:
²A door, sliding door or the liftgate is left open
²Any overhead reading light is left on
²If the dimmer control is in the extreme top position
NOTE:The key must be out of the ignition switch or the
ignition switch must be in the OFF position for this
feature to operate.
Headlight Switch Assembly
UNDERSTANDING THE FEATURES OF YOUR VEHICLE 159
3
Page 170 of 531

4. Headlight Low/High Beam Select Switch and
Flash-to-Pass
Headlight Low/High Beam Select SwitchWhen the
headlights are turned on, pushing the lever assembly
toward the instrument panel will switch from low beams
to high beams. Pulling back to the neutral position
returns to low beam headlights.
Flash-to-Pass (Optical Horn)You can signal another
vehicle with your headlights by lightly pulling the mul-
tifunction lever toward you. This will cause the head-
lights to turn on at high beam and remain on until the
lever is released.WARNING!
Sudden loss of visibility through the windshield
could lead to an accident. You might not see other
vehicles or other obstacles. To avoid sudden icing of
the windshield during freezing weather, warm the
windshield with defroster before and during wind-
shield washer use.
Headlights On When Wipers Are On Ð If
Equipped
Headlights on when windshield wipers are on may be
found on vehicles equipped with automatic headlight
system. Refer to the Electronic Vehicle Information Cen-
ter (EVIC) in Section 4 under ªPERSONAL SETTINGS
(CUSTOMER PROGRAMMABLE FEATURES)º for more
information.
168 UNDERSTANDING THE FEATURES OF YOUR VEHICLE
Page 173 of 531

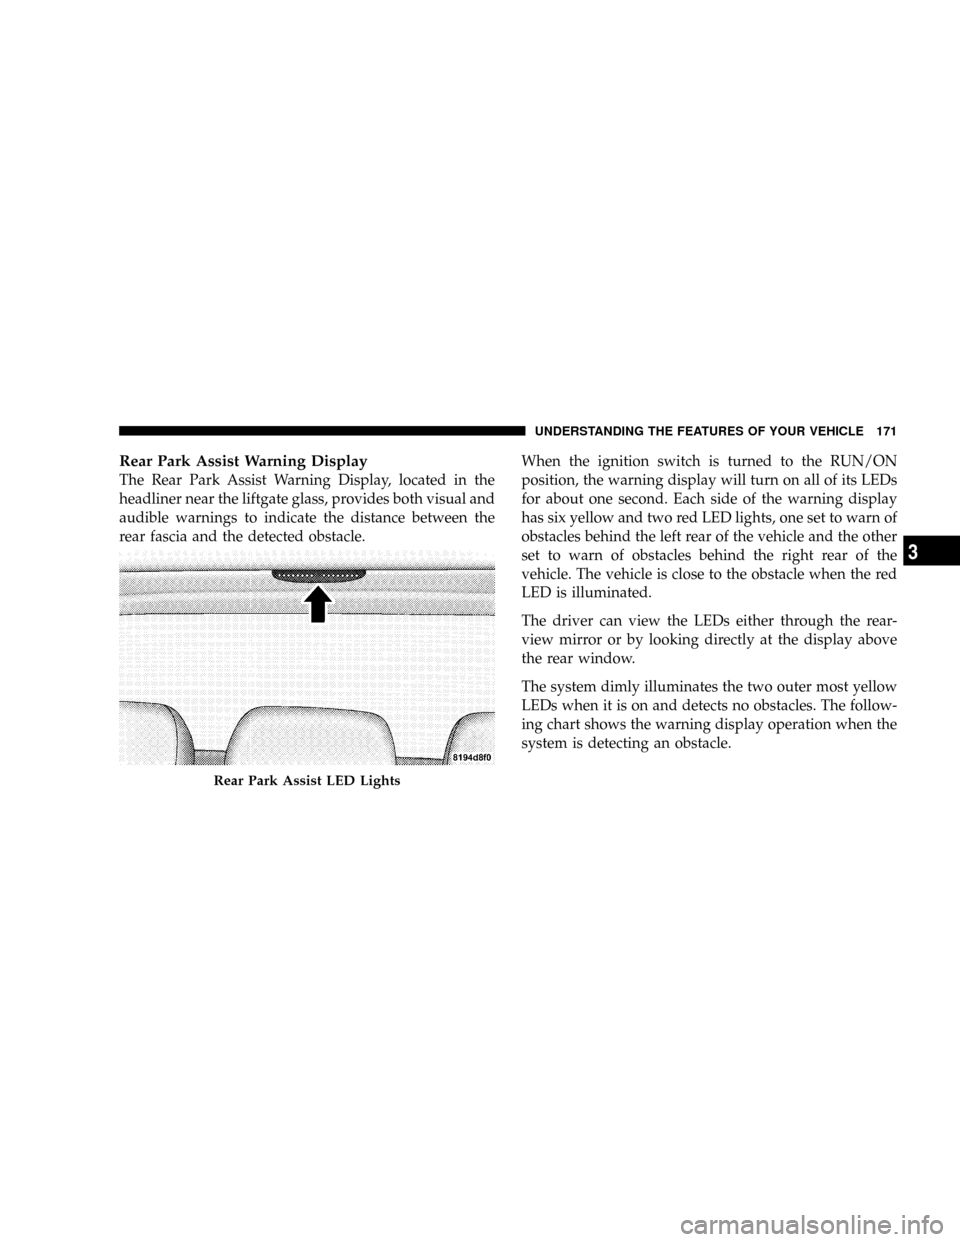
Rear Park Assist Warning Display
The Rear Park Assist Warning Display, located in the
headliner near the liftgate glass, provides both visual and
audible warnings to indicate the distance between the
rear fascia and the detected obstacle.When the ignition switch is turned to the RUN/ON
position, the warning display will turn on all of its LEDs
for about one second. Each side of the warning display
has six yellow and two red LED lights, one set to warn of
obstacles behind the left rear of the vehicle and the other
set to warn of obstacles behind the right rear of the
vehicle. The vehicle is close to the obstacle when the red
LED is illuminated.
The driver can view the LEDs either through the rear-
view mirror or by looking directly at the display above
the rear window.
The system dimly illuminates the two outer most yellow
LEDs when it is on and detects no obstacles. The follow-
ing chart shows the warning display operation when the
system is detecting an obstacle.
Rear Park Assist LED Lights
UNDERSTANDING THE FEATURES OF YOUR VEHICLE 171
3
Page 179 of 531
ELECTRONIC SPEED CONTROL Ð IF EQUIPPED
When engaged, this device takes over the accelerator
operation at speeds greater than 25 mph (40 km/h).
Activating Electronic Speed Control
Push theON/OFFbutton (located in the end of the lever)
once and theCRUISEindicator light (located in the
message window of the odometer) will illuminate show-
ing the electronic speed control system is on. To turn the
system OFF, push theON/OFFbutton again and the
system and indicator will turn off.
WARNING!
Leaving the Electronic Speed Control system on
when not in use is dangerous. You could accidently
SET the system or cause it to go faster than you want.
You could lose control and have an accident. Always
leave the system OFF when you aren't using it.
Electronic Speed Control Switches
UNDERSTANDING THE FEATURES OF YOUR VEHICLE 177
3