2008 CHRYSLER TOWN AND COUNTRY fuel cap
[x] Cancel search: fuel capPage 235 of 531
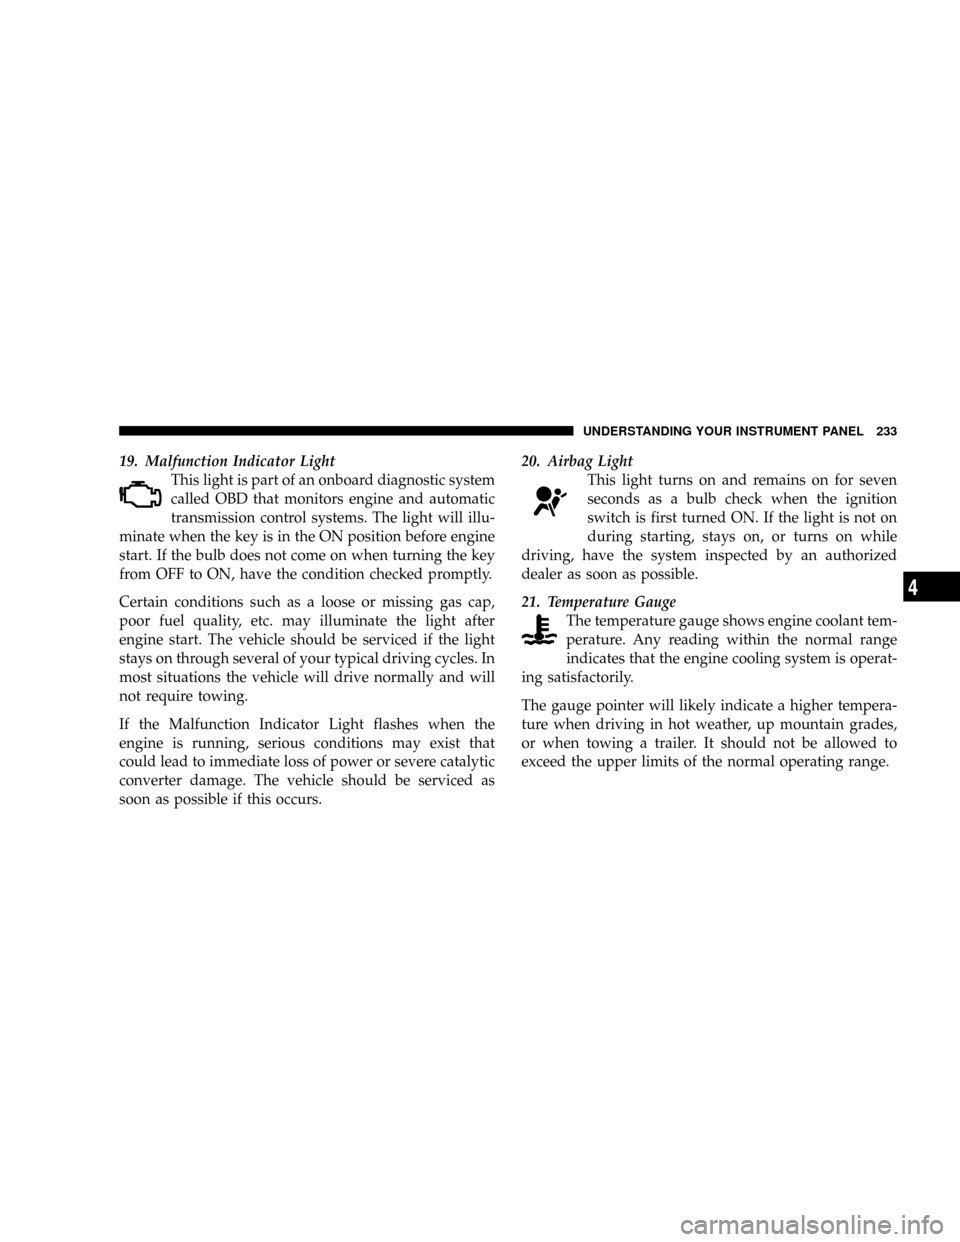
19. Malfunction Indicator Light
This light is part of an onboard diagnostic system
called OBD that monitors engine and automatic
transmission control systems. The light will illu-
minate when the key is in the ON position before engine
start. If the bulb does not come on when turning the key
from OFF to ON, have the condition checked promptly.
Certain conditions such as a loose or missing gas cap,
poor fuel quality, etc. may illuminate the light after
engine start. The vehicle should be serviced if the light
stays on through several of your typical driving cycles. In
most situations the vehicle will drive normally and will
not require towing.
If the Malfunction Indicator Light flashes when the
engine is running, serious conditions may exist that
could lead to immediate loss of power or severe catalytic
converter damage. The vehicle should be serviced as
soon as possible if this occurs.20. Airbag Light
This light turns on and remains on for seven
seconds as a bulb check when the ignition
switch is first turned ON. If the light is not on
during starting, stays on, or turns on while
driving, have the system inspected by an authorized
dealer as soon as possible.
21. Temperature Gauge
The temperature gauge shows engine coolant tem-
perature. Any reading within the normal range
indicates that the engine cooling system is operat-
ing satisfactorily.
The gauge pointer will likely indicate a higher tempera-
ture when driving in hot weather, up mountain grades,
or when towing a trailer. It should not be allowed to
exceed the upper limits of the normal operating range.
UNDERSTANDING YOUR INSTRUMENT PANEL 233
4
Page 237 of 531
To reset a message display (gATE, gASCAP, noFUSE,
CHAngE OIL, LoCOOL, LoWASH), push and hold the
button until the display resets (approximately two sec-
onds).
Trip/Odometer Display Reset Button Ð Premium
Cluster
Press this button to change the display from odometer to
either of two trip odometer settings. The letter ªAº or ªBº
will appear when in the trip odometer mode. Push in and
hold the button for two seconds to reset the trip odometer
to 0 mi (km). The odometer must be in TRIP mode to
reset it.
23. Transmission Range Indicator
This display indicator shows the automatic transaxle gear
selection.
NOTE:You must apply the brakes before shifting from
PARK.24. Odometer Display Area
When the appropriate conditions exist, the following
odometer messages will display:
CHAngE OIL............... OilChange Required
CRUISE.....................Cruise Control On
door.............................Door Ajar
ESPOFF............................ ESPOff
gATE..........................Lift Gate Ajar
gASCAP.......................Fuel Cap Fault
hood*............................Hood Ajar
noFUSE..........................Fuse Fault
LoCOOL........................ LowCoolant
LoWASH.................... LowWasher Fluid
NOTE:If your vehicle is equipped with a hood switch,
in the case of hood ajar, a warning message will be
displayed in either the PRNDL/Odometer display as
ªhoodº or ªHood Ajarº in the EVIC display.
UNDERSTANDING YOUR INSTRUMENT PANEL 235
4
Page 241 of 531
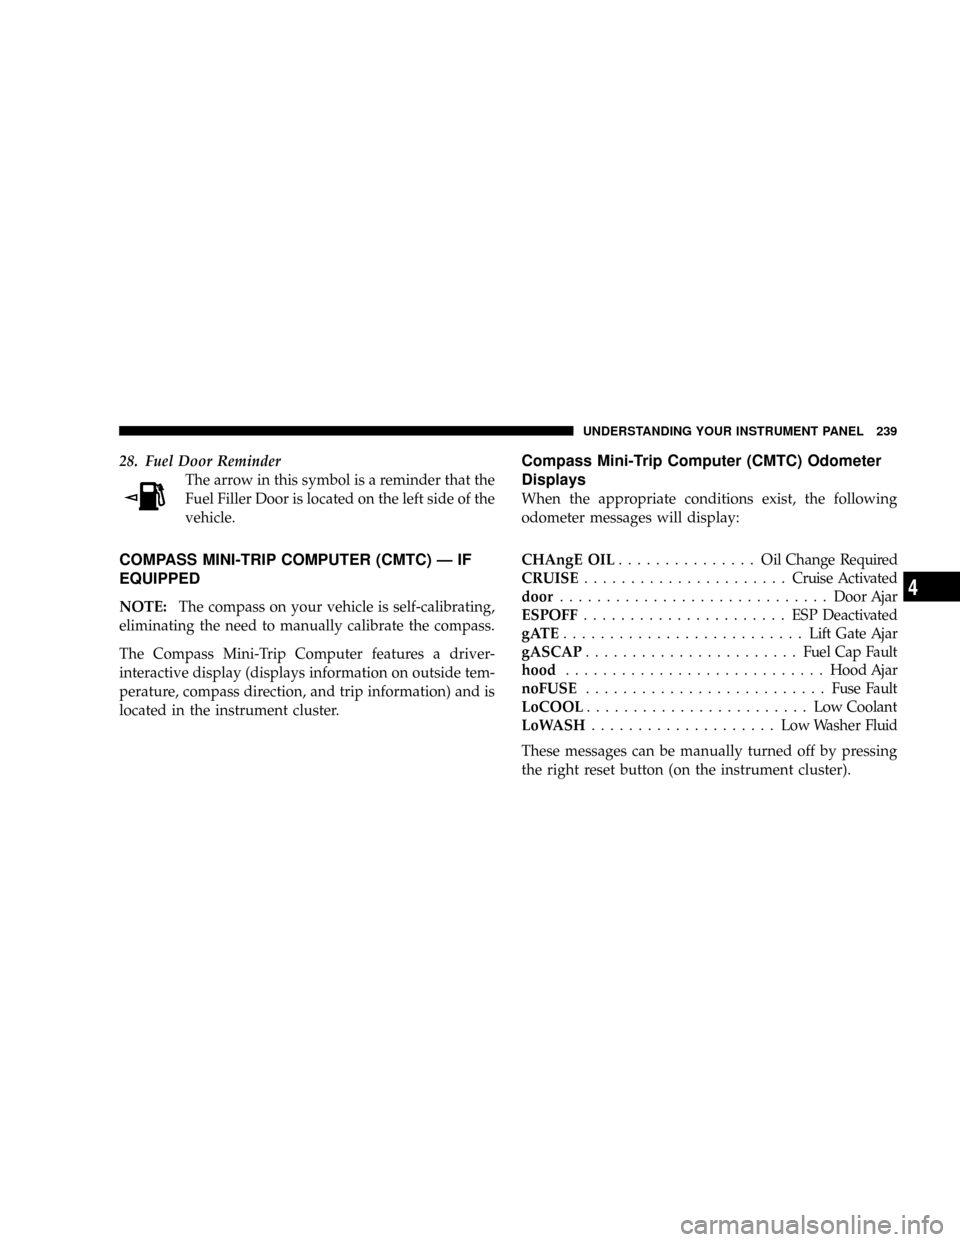
28. Fuel Door Reminder
The arrow in this symbol is a reminder that the
Fuel Filler Door is located on the left side of the
vehicle.
COMPASS MINI-TRIP COMPUTER (CMTC) Ð IF
EQUIPPED
NOTE:The compass on your vehicle is self-calibrating,
eliminating the need to manually calibrate the compass.
The Compass Mini-Trip Computer features a driver-
interactive display (displays information on outside tem-
perature, compass direction, and trip information) and is
located in the instrument cluster.
Compass Mini-Trip Computer (CMTC) Odometer
Displays
When the appropriate conditions exist, the following
odometer messages will display:
CHAngE OIL............... OilChange Required
CRUISE......................Cruise Activated
door.............................Door Ajar
ESPOFF...................... ESPDeactivated
gATE..........................Lift Gate Ajar
gASCAP.......................Fuel Cap Fault
hood............................Hood Ajar
noFUSE..........................Fuse Fault
LoCOOL........................ LowCoolant
LoWASH.................... LowWasher Fluid
These messages can be manually turned off by pressing
the right reset button (on the instrument cluster).
UNDERSTANDING YOUR INSTRUMENT PANEL 239
4
Page 326 of 531
mDriving Through Water..................349
NFlowing/Rising Water..................349
mTire Safety Information...................351
NTire Markings........................351
NTire Loading And Tire Pressure...........355
mTires Ð General Information...............359
NTire Pressure.........................359
mTire Chains...........................368
mSnow Tires...........................369
mTire Rotation..........................369
mTire Pressure Monitor System (TPMS)........370
NBasic TPMS Without EVIC Ð If Equipped....372
NPremium TPMS With EVIC Ð If Equipped . . . 374mFuel Requirements......................379
N3.3L & 3.8L Gasoline Engine..............379
N4.0L Gasoline Engine...................379
mAdding Fuel..........................383
NFuel Filler Cap (Gas Cap)...............383
NLoose Fuel Filler Cap Message............385
mFlexible Fuel Ð 3.3L Engines Only..........386
NE-85 General Information................386
NEthanol Fuel (E-85)....................387
NFuel Requirements....................387
NSelection Of Engine Oil For Flexible Fuel
Vehicles (Ffv) E-85 And Gasoline Vehicles....388
NStarting............................388
324 STARTING AND OPERATING
Page 374 of 531
CAUTION!
After inspecting or adjusting the tire pressure always
reinstall the valve stem cap. This will prevent mois-
ture and dirt from entering the valve stem, which
could damage the TPMS SENSOR.
NOTE:
²The TPMS is not intended to replace normal tire care
and maintenance, or to provide warning of a tire
failure or condition.
²The TPMS should not be used as a tire pressure gauge
while adjusting your tire pressure.
²Driving on a significantly under-inflated tire causes
the tire to overheat and can lead to tire failure.
Under-inflation also reduces fuel efficiency and tire
tread life, and may affect the vehicle's handling and
stopping ability.
²The TPMS is not a substitute for proper tire mainte-
nance, and it is the driver's responsibility to maintain
correct tire pressure, using an accurate tire pressure
gage, even if under-inflation has not reached the level
to trigger illumination of the TPMS Warning Lamp.
NOTE:Seasonal temperature changes will affect tire
pressure, and the TPMS will monitor the actual tire
pressure in the tire.
BASIC TPMS WITHOUT EVIC Ð IF EQUIPPED
The TPMS uses wireless technology with wheel rim
mounted electronic sensors to monitor tire pressure lev-
els. Sensors, mounted to each wheel as part of the valve
stem, transmit tire pressure readings to the Receiver
Module.
NOTE:It is particularly important, for you to check the
tire pressure in all of your tires regularly and to maintain
the proper pressure.
372 STARTING AND OPERATING
Page 385 of 531
Carbon Monoxide Warnings
WARNING!
Carbon monoxide (CO) in exhaust gases is deadly.
²To prevent carbon monoxide poisoning DO NOT inhale
exhaust gases. They contain carbon monoxide, a colorless and
odorless gas which can kill.
²NEVER run the engine in a closed area, such as a garage, and
NEVER sit in a parked vehicle with the engine running for an
extended period. If the vehicle is stopped in an open area with
the engine running for more than a short period, adjust the
ventilation system to force fresh, outside air into the vehicle.
²Guard against carbon monoxide with proper maintenance.
Have the exhaust system inspected every time the vehicle is
raised. Have any abnormal conditions repaired promptly.
Until repaired, drive with all side windows fully open.
²Keep the liftgate closed when driving your vehicle to prevent
carbon monoxide and other poisonous exhaust gases from
entering the vehicle.
ADDING FUEL
Fuel Filler Cap (Gas Cap)
As a reminder, a fuel icon with an arrow
indicating which side of the vehicle the fuel
filler door is located on, is located in the
instrument cluster, just below the Fuel Gage.
The gas cap is located behind the fuel filler door on the
left side of the vehicle. If the gas cap is lost or damaged,
be sure the replacement cap is for use with this vehicle.
NOTE:The driver's side sliding door cannot be opened
while the fuel door is open. This feature operates only
when the sliding door is fully closed prior to opening the
fuel door.
STARTING AND OPERATING 383
5
Page 386 of 531
CAUTION!
Damage to the fuel system or emission control sys-
tem could result from using an improper fuel tank
filler tube cap (gas cap). A poorly fitting cap could let
impurities into the fuel system and may cause the
Malfunction Indicator Light (MIL) to turn on due to
fuel vapors escaping from the system.
CAUTION!
To avoid fuel spillage and overfilling, do not ªtop
offº the fuel tank after filling.NOTE:When the fuel nozzle ªclicksº or shuts off, the
fuel tank is full.
WARNING!
²Never have any smoking materials lit in or near
the vehicle when the gas cap is removed or the
tank filled.
²Never add fuel when the engine is running. This is
in violation of most state and federal fire regula-
tions and will cause the malfunction indicator
light to turn on.
384 STARTING AND OPERATING
Page 387 of 531
NOTE:
²Tighten the fuel filler cap until you hear a ªclickingº
sound. This is an indication that the fuel filler cap is
properly tightened.
²If the gas cap is not tightened properly, the Malfunc-
tion Indicator Light may come on. Be sure the gas cap
is tightened every time the vehicle is refueled.
WARNING!
A fire may result if gasoline is pumped into a
portable container that is inside of a vehicle. You
could be burned. Always place gas containers on the
ground while filling.
Loose Fuel Filler Cap Message
²
If thegASCAPmessage is displayed in the instrument
cluster, this signifies a leak or change in the evapora-
tive system is detected. Sometimes this is the result of
a loosely fitting (or possibly damaged) filler cap.
Tighten the fuel filler cap properly and press the
odometer reset button to turn thegASCAPmessage
off.
²Make sure that the fuel filler cap is tightened each time
the vehicle is refueled.
²If the problem continues, the message will appear the
next time the vehicle is started. See your authorized
dealer service center as soon as possible. See Section 7
of this manual for more information.
STARTING AND OPERATING 385
5