Page 101 of 531

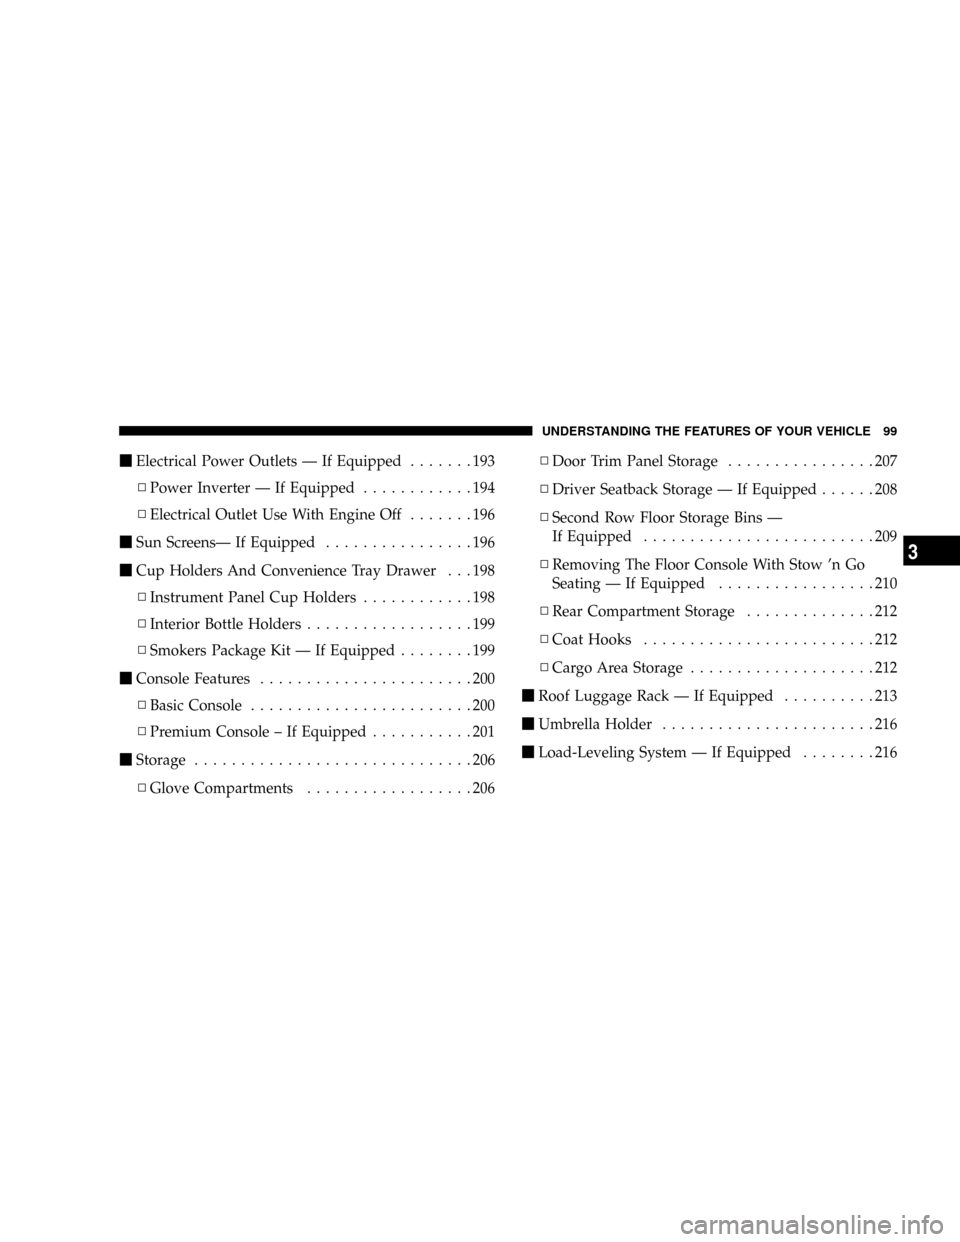
mElectrical Power Outlets Ð If Equipped.......193
NPower Inverter Ð If Equipped............194
NElectrical Outlet Use With Engine Off.......196
mSun ScreensÐ If Equipped................196
mCup Holders And Convenience Tray Drawer . . . 198
NInstrument Panel Cup Holders............198
NInterior Bottle Holders..................199
NSmokers Package Kit Ð If Equipped........199
mConsole Features.......................200
NBasic Console........................200
NPremium Console ± If Equipped...........201
mStorage..............................206
NGlove Compartments..................206NDoor Trim Panel Storage................207
NDriver Seatback Storage Ð If Equipped......208
NSecond Row Floor Storage Bins Ð
If Equipped.........................209
NRemoving The Floor Console With Stow 'n Go
Seating Ð If Equipped.................210
NRear Compartment Storage..............212
NCoat Hooks.........................212
NCargo Area Storage....................212
mRoof Luggage Rack Ð If Equipped..........213
mUmbrella Holder.......................216
mLoad-Leveling System Ð If Equipped........216
UNDERSTANDING THE FEATURES OF YOUR VEHICLE 99
3
Page 121 of 531

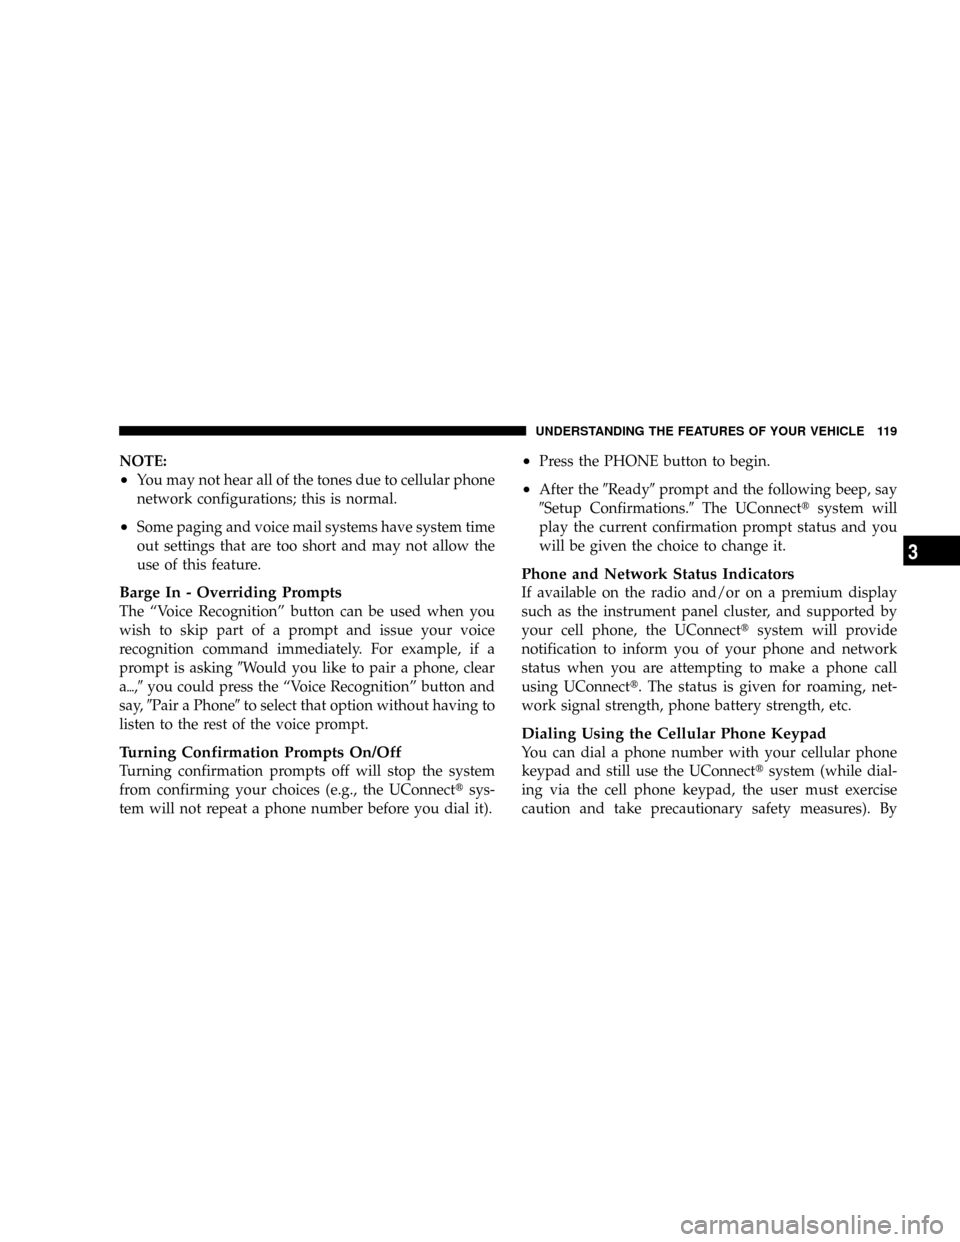
NOTE:
²You may not hear all of the tones due to cellular phone
network configurations; this is normal.
²Some paging and voice mail systems have system time
out settings that are too short and may not allow the
use of this feature.
Barge In - Overriding Prompts
The ªVoice Recognitionº button can be used when you
wish to skip part of a prompt and issue your voice
recognition command immediately. For example, if a
prompt is asking9Would you like to pair a phone, clear
a{,9you could press the ªVoice Recognitionº button and
say,9Pair a Phone9to select that option without having to
listen to the rest of the voice prompt.
Turning Confirmation Prompts On/Off
Turning confirmation prompts off will stop the system
from confirming your choices (e.g., the UConnecttsys-
tem will not repeat a phone number before you dial it).
²Press the PHONE button to begin.
²After the9Ready9prompt and the following beep, say
9Setup Confirmations.9The UConnecttsystem will
play the current confirmation prompt status and you
will be given the choice to change it.
Phone and Network Status Indicators
If available on the radio and/or on a premium display
such as the instrument panel cluster, and supported by
your cell phone, the UConnecttsystem will provide
notification to inform you of your phone and network
status when you are attempting to make a phone call
using UConnectt. The status is given for roaming, net-
work signal strength, phone battery strength, etc.
Dialing Using the Cellular Phone Keypad
You can dial a phone number with your cellular phone
keypad and still use the UConnecttsystem (while dial-
ing via the cell phone keypad, the user must exercise
caution and take precautionary safety measures). By
UNDERSTANDING THE FEATURES OF YOUR VEHICLE 119
3
Page 136 of 531
Heated Seats Ð If Equipped
This feature heats the front driver and
passenger seats. The controls for front
heated seats are located on the center
instrument panel area. The switch in-
dicator lights will show when the
HIGH or LOW heat is ON. Press the
switch once to choose HIGH (two
lights), press it a second time to choose LOW (one light),
press it a third time for No Heat (no lights).
Second row heated seat switches are located in the
sliding side door handle trim panels and function the
same as front switches.
Adjusting The Head Restraint Cushion
1 - Removal Release 2 - Lowering Release
134 UNDERSTANDING THE FEATURES OF YOUR VEHICLE
Page 158 of 531

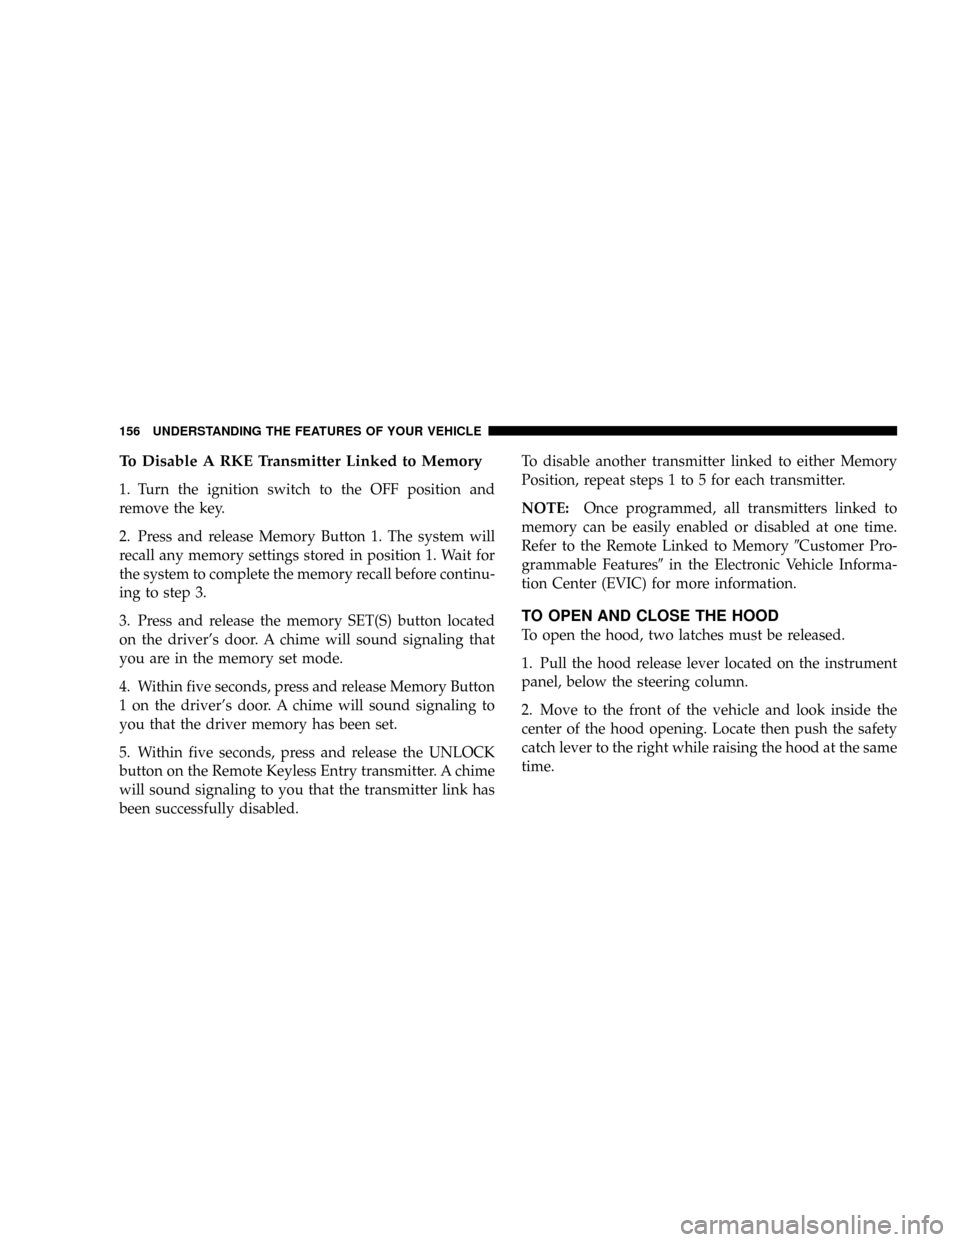
To Disable A RKE Transmitter Linked to Memory
1. Turn the ignition switch to the OFF position and
remove the key.
2. Press and release Memory Button 1. The system will
recall any memory settings stored in position 1. Wait for
the system to complete the memory recall before continu-
ing to step 3.
3. Press and release the memory SET(S) button located
on the driver's door. A chime will sound signaling that
you are in the memory set mode.
4. Within five seconds, press and release Memory Button
1 on the driver's door. A chime will sound signaling to
you that the driver memory has been set.
5. Within five seconds, press and release the UNLOCK
button on the Remote Keyless Entry transmitter. A chime
will sound signaling to you that the transmitter link has
been successfully disabled.To disable another transmitter linked to either Memory
Position, repeat steps 1 to 5 for each transmitter.
NOTE:Once programmed, all transmitters linked to
memory can be easily enabled or disabled at one time.
Refer to the Remote Linked to Memory9Customer Pro-
grammable Features9in the Electronic Vehicle Informa-
tion Center (EVIC) for more information.
TO OPEN AND CLOSE THE HOOD
To open the hood, two latches must be released.
1. Pull the hood release lever located on the instrument
panel, below the steering column.
2. Move to the front of the vehicle and look inside the
center of the hood opening. Locate then push the safety
catch lever to the right while raising the hood at the same
time.
156 UNDERSTANDING THE FEATURES OF YOUR VEHICLE
Page 162 of 531
Dome Light Positions
Rotate the dimmer control completely
upward to the second detent (extreme
top position) to turn on the interior
lights, except the front reading/
courtesy lights. The interior lights will
remain on when the dimmer control is
in this position.
Interior Lighting Defeat (Off)
Rotate the dimmer control to the off
position (extreme bottom). The inte-
rior lights will remain off when the
doors or liftgate are open.
Parade Mode (Daytime Brightness Feature)
Rotate the dimmer control to the first
detent. This feature brightens the
odometer, radio and overhead dis-
plays when the park lights or head-
lights are on.
Dimmer Control
With the park lights or headlights on,
rotating the dimmer control for the
interior lights on the instrument panel
upward will increase the brightness of
the instrument panel lights.
160 UNDERSTANDING THE FEATURES OF YOUR VEHICLE
Page 163 of 531

HALO Lights Ð If Equipped
Halo Lights are strategically-placed, soft lighting that
helps to illuminate specific areas to aid the occupants in
locating specific features while driving at night.
To activate the Halo lights, push in on the Halo
switch located below the dimmer control.
Pressing the switch in a second time, will turn
the Halo lights off.
Exterior Lights
Parking Lights
Turn the headlight switch knob to the first detent
to turn the park lights on. This also turns on all
instrument panel lighting.
Daytime Running Lights (Canada/Fleet Vehicles
Only)
The headlights on your vehicle will illuminate when the
engine is started and the transmission is in any gear
except PARK. This provides a constant lights on condi-
tion until the ignition is turned OFF. The lights illuminate
at less than 50% of normal intensity. If the parking brake
is applied the Daytime Running Lights (DRL) will turn
off. Also, if a turn signal is activated, the DRL lamp on the
same side of the vehicle will turn off for the duration of
the turn signal activation. Once the turn signal is no
longer active, the DRL lamp will illuminate.
Headlights
Turn the headlight switch knob to the 2nd detent
to turn the headlights and park lights on. This
also turns on all instrument panel lighting.
To change the brightness of the instrument panel lights,
rotate the dimmer control up or down.
UNDERSTANDING THE FEATURES OF YOUR VEHICLE 161
3
Page 170 of 531

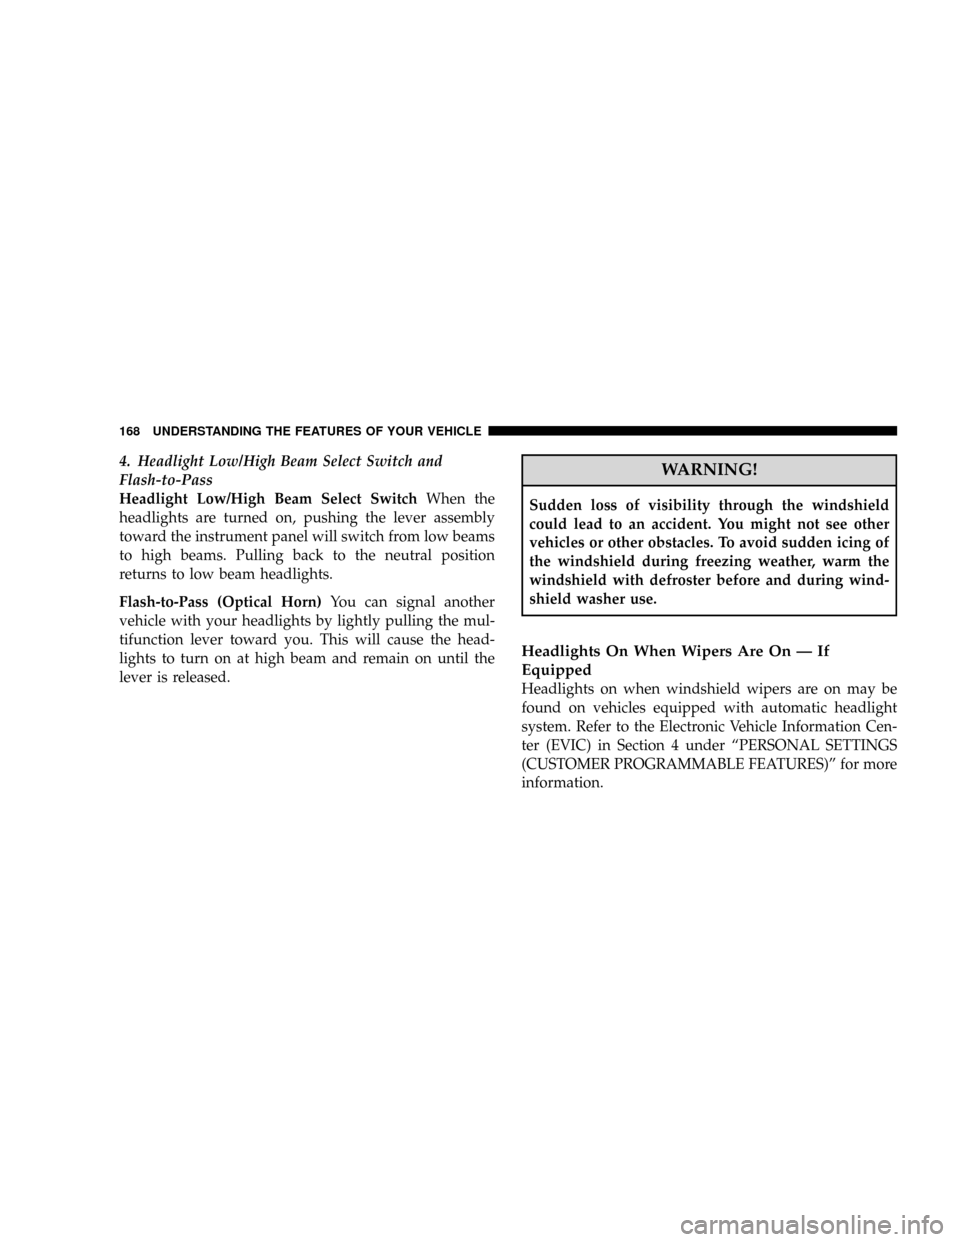
4. Headlight Low/High Beam Select Switch and
Flash-to-Pass
Headlight Low/High Beam Select SwitchWhen the
headlights are turned on, pushing the lever assembly
toward the instrument panel will switch from low beams
to high beams. Pulling back to the neutral position
returns to low beam headlights.
Flash-to-Pass (Optical Horn)You can signal another
vehicle with your headlights by lightly pulling the mul-
tifunction lever toward you. This will cause the head-
lights to turn on at high beam and remain on until the
lever is released.WARNING!
Sudden loss of visibility through the windshield
could lead to an accident. You might not see other
vehicles or other obstacles. To avoid sudden icing of
the windshield during freezing weather, warm the
windshield with defroster before and during wind-
shield washer use.
Headlights On When Wipers Are On Ð If
Equipped
Headlights on when windshield wipers are on may be
found on vehicles equipped with automatic headlight
system. Refer to the Electronic Vehicle Information Cen-
ter (EVIC) in Section 4 under ªPERSONAL SETTINGS
(CUSTOMER PROGRAMMABLE FEATURES)º for more
information.
168 UNDERSTANDING THE FEATURES OF YOUR VEHICLE
Page 182 of 531
OVERHEAD CONSOLES
Front Overhead Console Ð If Equipped
Two versions of the overhead console are available. The
base front overhead console models feature fixed incan-
descent courtesy/reading lights, flip-down sunglass stor-
age and conversation mirror.
Premium front overhead console models feature an LED
focused light that illuminates the instrument panel cup
holders, Infrared Automatic Temperature Control Sensor
(ATC equipped only), two swiveling LED lights, flip-
down sunglass storage, conversation mirror, optional
power sliding door switches and an optional power
liftgate switch.
Front Premium Overhead Console Features
1 - Cupholder LED 4 - Storage/Mirror
2 - ATC Sensor 5 - Switch Bank
3 - Interior Lights 180 UNDERSTANDING THE FEATURES OF YOUR VEHICLE