Page 218 of 494
CAUTION!
The radio may shut down during extremely hot
conditions. When this occurs, the radio will indicate
“Disc Hot” and shut off until a safe temperature is
reached. This shutdown is necessary to protect the
optics of the DVD player and other radio internal
components.
NOTE:The ignition switch must be in the ON or ACC
position to operate the radio.
LOAD Button — Loading Compact Disc(s)
Press the LOAD button and the pushbutton with the
corresponding number (1-6) where the CD is being
loaded. The radio will display PLEASE WAIT and
prompt when to INSERT DISC. After the radio displays
�INSERT DISC,�insert the CD into the player.Radio display will show�LOADING DISC�when the disc
is loading and “READING DISC” when the radio is
reading the disc.
CAUTION!
This CD player will accept 4–3/4 in (12 cm) discs only.
The use of other sized discs may damage the CD
player mechanism.
Eject Button — Ejecting Compact Disc(s)
Press the EJECT button and the pushbutton
with the corresponding number (1-6) where the
CD was loaded and the disc will unload and
move to the entrance for easy removal. Radio
display will show�EJECTING DISC�when the disc is
being ejected and prompt the user to remove the disc.
216 UNDERSTANDING YOUR INSTRUMENT PANEL
Page 219 of 494
Press and hold the EJECT button for five seconds and all
CDs will be ejected from the radio.
The disc can be ejected with the radio and ignition OFF.
SEEK Button (CD MODE)
Press the right SEEK button for the next selection on the
CD. Press the left SEEK button to return to the beginning
of the current selection, or return to the beginning of the
previous selection if the CD is within the first second of
the current selection. Pressing and holding the SEEK
button will allow you to scroll through the tracks faster in
CD, MP3/MWA modes.
SCAN Button (CD MODE)
Press the SCAN button to scan through each track on the
CD currently playing.
TIME Button (CD MODE)
Press this button to change the display from a large CD
playing time display to a small CD playing time display.
RW/FF (CD MODE)
Press and hold FF (Fast Forward) and the CD player will
begin to fast forward until FF is released, or RW or
another CD button is pressed. The RW (Rewind) button
works in a similar manner.
AM or FM Button (CD MODE)
Switches the radio to the Radio mode.
Notes On Playing MP3/WMA Files
The radio can play MP3/WMA files; however, acceptable
MP3/WMA file recording media and formats are limited.
When writing MP3/WMA files, pay attention to the
following restrictions.
Supported Media (Disc Types)
The MP3/WMA file recording media supported by the
radio are CDDA, CD-R, CD-RW, MP3,WMA, DVD Video,
DVD-R, DVD-RW, DVD+R, DVD+RW, and CDDA+MP3.
UNDERSTANDING YOUR INSTRUMENT PANEL 217
4
Page 236 of 494
SATELLITE RADIO — IF EQUIPPED
(REN/REQ/RER/RES RADIOS ONLY)
Satellite radio uses direct satellite-to-receiver broadcast-
ing technology to provide clear digital sound, coast to
coast. The subscription service provider is Sirius Satellite
Radio. This service offers over 130 channels of music,
sports, news, entertainment, and programming for chil-
dren, directly from its satellites and broadcasting studios.
NOTE:Sirius service is not available in Hawaii and has
limited coverage in Alaska.
System Activation
Sirius Satellite Radio service is pre-activated, and you
may begin listening immediately to the one year of audio
service that is included with the factory-installed satellite
radio system in your vehicle. Sirius will supply a wel-
come kit that contains general information, including
how to setup your on-line listening account at no addi-
tional charge. For further information, call the toll-freenumber 888-539-7474, or visit the Sirius web site at
www.sirius.com, or at www.siriuscanada.ca for Cana-
dian residents.
Electronic Serial Number/Sirius Identification
Number (ESN/SID)
Please have the following information available when
calling:
1. The Electronic Serial Number/Sirius Identification
Number (ESN/SID).
2. Your Vehicle Identification Number.
To access the ESN/SID, refer to the following steps:
ESN/SID Access With RES/REQ Radios
With the ignition switch in the ON/RUN or ACC posi-
tion and the radio ON, press the SETUP button and scroll
using the TUNE/SCROLL control knob until Sirius ID is
selected. Press the TUNE/SCROLL control knob and the
234 UNDERSTANDING YOUR INSTRUMENT PANEL
Page 238 of 494
Operating Instructions - Satellite Mode
NOTE:The ignition switch must be in the ON or ACC
position to operate the radio.
SEEK Buttons
Press and release the SEEK buttons to search for the next
channel in Satellite mode. Press the right switch to seek
up and the left switch to seek down. The radio will
remain tuned to the new channel until you make another
selection. Holding either button will bypass channels
without stopping until you release it.
SCAN Button
Pressing the SCAN button causes the tuner to search for
the next channel, pausing for eight seconds before con-
tinuing to the next. To stop the search, press the SCAN
button a second time.
INFO Button
Pressing the INFO button will cycle between Artist, Song
Title, and Composer (if available) information. Also,
pressing and holding the INFO button for an additional
three seconds will make the radio display the Song Title
all of the time (press and hold again to return to normal
display).
RW/FF
Pressing the RW (Rewind) or FF (Fast Forward) buttons
causes the tuner to search for the next channel in the
direction of the arrows.
TUNE Control (Rotary)
Turn the rotary TUNE/SCROLL control knob clockwise
to increase or counterclockwise to decrease the channel.
MUSIC TYPE Button
Pressing this button once will turn on the Music Type
mode for five seconds. Pressing the MUSIC TYPE button
236 UNDERSTANDING YOUR INSTRUMENT PANEL
Page 249 of 494
•The use of the recirculation mode in cold or damp
weather will cause windows to fog on the inside,
because of moisture build-up inside the vehicle. Select
the Outside Air position for maximum defogging.
•The A/C will engage automatically to prevent fogging
when the recirculation button is pressed and the mode
control is set to panel or panel / floor.
•The A/C can be deselected manually without disturb-
ing the mode control selection.
•When the ignition switch is turned to the LOCK
position, the recirculation feature will be cancelled.
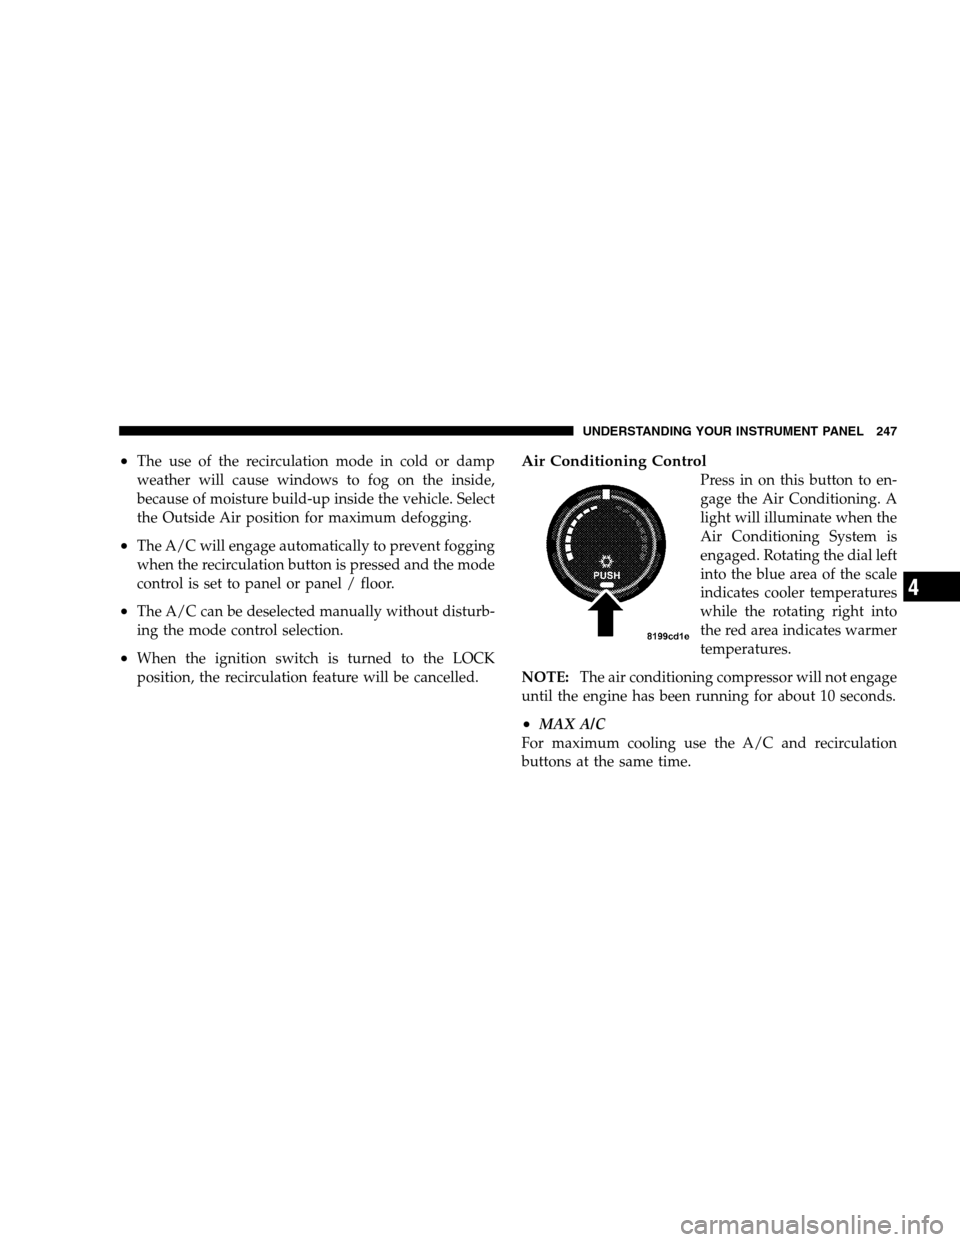
Air Conditioning Control
Press in on this button to en-
gage the Air Conditioning. A
light will illuminate when the
Air Conditioning System is
engaged. Rotating the dial left
into the blue area of the scale
indicates cooler temperatures
while the rotating right into
the red area indicates warmer
temperatures.
NOTE:The air conditioning compressor will not engage
until the engine has been running for about 10 seconds.
•MAX A/C
For maximum cooling use the A/C and recirculation
buttons at the same time.
UNDERSTANDING YOUR INSTRUMENT PANEL 247
4
Page 255 of 494
•Air Conditioner Control
Press this button to turn on the air conditioning
during manual operation only. When the air
conditioning is turned on, cool dehumidified
air will flow through the outlets selected with the
Mode control dial. Press this button a second time to
turn off the air conditioning. An LED in the button
illuminates when manual compressor operation is
selected.
•Recirculation Control
The system will automatically control recir-
culation. However, pressing the Recircula-
tion Control button will temporarily put the
system in recirculation mode (ten minutes).
This can be used when outside conditions such as
smoke, odors, dust, or high humidity are present.
Activating recirculation will cause the LED in thecontrol button to illuminate. After ten minutes, the
system will return to normal AUTO mode function
and the LED will turn off.
NOTE:
•When the ignition switch is turned to the LOCK
position, the recirculation feature will be cancelled.
•In cold weather, use of the Recirculation mode may
lead to excessive window fogging. The Recirculation
mode is not allowed in the floor, defrost, or defrost/
floor mode in order to improve window clearing.
Recirculation will be disabled automatically if these
modes are selected.
•Extended use of recirculation may cause the windows
to fog. If the interior of the windows begins to fog,
press the Recirculation button to return to outside air.
Some temp/humidity conditions will cause captured
interior air to condense on windows and hamper
visibility. For this reason, the system will not allow
UNDERSTANDING YOUR INSTRUMENT PANEL 253
4
Page 261 of 494
STARTING AND OPERATING
CONTENTS
�Starting Procedures.....................264
▫Automatic Transaxle...................264
▫Normal Starting......................265
▫Tip Start Feature — Automatic Transaxle
Only ..............................266
▫Extremely Cold Weather
(Below�20°F Or�29°C)................266
▫If Engine Fails To Start.................266
▫After Starting........................267
▫Remote Start System — If Equipped........267▫How To Use Remote Start...............268
�Engine Block Heater — If Equipped.........269
�Automatic Transaxle.....................270
▫Brake/Transaxle Interlock...............272
▫Automatic Transaxle Ignition Interlock
System.............................272
▫Electronically Controlled Automatic
Transaxle...........................273
�AutoStick�— If Equipped................275
▫AutoStick�Operation..................276
5
Page 266 of 494
STARTING PROCEDURES
Before starting your vehicle, adjust your seat, adjust both
inside and outside mirrors, and fasten your seat belt.
Make sure all occupants have securely fastened their seat
belts.
WARNING!
Never leave children alone in a vehicle. Leaving
children in a vehicle unattended is dangerous for a
number of reasons. A child or others could be seri-
ously or fatally injured. Don’t leave the keys in the
ignition. A child could operate power windows,
other controls, or move the vehicle.
WARNING!
Be sure to turn off the engine and remove the key
from the ignition switch if you want to rest or sleep
in your car. Accidents can be caused by inadvertently
moving the gear selection lever or by pressing the
accelerator pedal. This may cause excessive heat in
the exhaust system, resulting in overheating and
vehicle fire which may cause serious or fatal injuries.
Automatic Transaxle
The gear selector must be in the PARK or NEUTRAL
position before you can start the engine. Apply the brakes
before shifting to any driving gear.
NOTE:You must press the brake pedal before shifting
out of Park.
264 STARTING AND OPERATING