2008 CHEVROLET MALIBU reset
[x] Cancel search: resetPage 95 of 412
Express Window Anti-Pinch Feature
If any object is in the path of the window when the
express-up is active, the window stops at the obstruction
and auto-reverse to a preset factory position. Weather
conditions such as severe icing may also cause the
window to auto-reverse. The window returns to normal
operation once the obstruction or condition is removed.
Express Window Anti-Pinch Override
{CAUTION:
If express override is activated, the window
will not reverse automatically. You or others
could be injured and the window could be
damaged. Before you use express override,
make sure that all people and obstructions are
clear of the window path.In an emergency, the anti-pinch feature can be
overridden in a supervised mode. Hold the window
switch all the way up to the second position. The window
rises for as long as the switch is held. Once the
switch is released, the express mode is re-activated.
In this mode, the window can still close on an object in
its path. Use care when using the override mode.
Window Lockout
The driver’s power window controls also include a
lockout button.
o(Window Lockout):Press the lockout button to
stop the rear passengers from using their window
switches. The driver and front passenger can still
operate all the windows with the lock on. When the
red part of the switch is visible you have returned
to normal window operation.
2-17
Page 118 of 412
Compass Operation
Press the on/off button once to turn the compass
on or off.
When the ignition and the compass feature are on,
the compass will show two character boxes for a
few seconds. After a few seconds, the mirror will
display the current compass direction.
Compass Calibration
If after a few seconds the display does not show a
compass direction, (N for North for example), there may
be a strong magnetic �eld interfering with the compass.
Such interference may be caused by a magnetic
antenna mount, note pad holder, or similar object.
If the letter C appears in the compass window,
the compass may need to be reset or calibrated.The mirror can be calibrated by driving the vehicle
in circles at 5 mph (8 km/h) or less until the display
reads a direction.
Compass Variance
Compass variance is the difference between earth’s
magnetic north and true geographic north. If the mirror
is not adjusted for compass variance, the compass
could give false readings.
The mirror is set in zone eight upon leaving the factory.
It will be necessary to adjust the compass to
compensate for compass variance if the vehicle is
driven outside zone eight. Under certain circumstances,
such as a long distance, cross-country trip, it will be
necessary to adjust the compass variance.
2-40
Page 152 of 412
Power Outlet 115 Volt Alternating
Current
Your vehicle may have a power outlet that can be used
to plug in electrical equipment that uses a maximum
limit of 150 watts.
The power outlet is located
on the rear of the center
console.
An indicator light on the outlet turns on to show it is in
use. The light comes on when the ignition is in ON/RUN
and equipment requiring less than 150 watts is
plugged into the outlet, and no system fault is detected.The indicator light does not come on when the ignition
is in LOCK/OFF or if no equipment is plugged into
the outlet.
If you try to connect equipment using more than
150 watts or a system fault is detected, a protection
circuit shuts off the power supply and the indicator light
turns off. To reset the circuit, unplug the item and
plug it back in or turn the Remote Accessory Power
(RAP) off and then back on. SeeRetained Accessory
Power (RAP) on page 2-24. The power restarts
when equipment that operates within the limit is plugged
into the outlet and a system fault is not detected.
The power outlet is not designed for the following
electrical equipment and may not work properly if these
items are plugged into the power outlet:
Equipment with high initial peak wattage such as:
compressor-driven refrigerators and electric
power tools.
Other equipment requiring an extremely stable
power supply such as: microcomputer-controlled
electric blankets, touch sensor lamps, etc.
3-20
Page 164 of 412
Speedometer and Odometer
The speedometer lets you see your speed in both miles
per hour (mph) and kilometers per hour (km/h).
The odometer shows how far your vehicle has been
driven, in either miles (used in the United States)
or kilometers (used in Canada).
Your vehicle has a tamper resistant odometer.
The digital odometer will read 999,999 if someone tries
to turn it back.
If your vehicle needs a new odometer installed,
it must be set to the mileage total of the old odometer.
If that is not possible, then it must be set at zero
and a label must be put on the driver’s door to show
the old mileage reading when the new odometer
was installed.
Trip Odometer
The trip odometer can tell you how far you have driven
since you last reset it.
The trip odometer is accessed and reset through the
Driver Information Center (DIC). SeeDIC Operation and
Displays on page 3-46for more information.
Tachometer
The tachometer shows your engine speed in revolutions
per minute (rpm).
3-32
Page 170 of 412
The Driver Information Center (DIC) may display a
BRAKE FLUID message. SeeDIC Warnings and
Messages on page 3-48for more information.
If the light comes on while you are driving, pull off the
road and stop carefully. You may notice that the pedal is
harder to push or the pedal may go closer to the
�oor. It may take longer to stop. Try turning off and
restarting the vehicle one or two times, if the light is still
on, have the vehicle towed for service. SeeTowing
Your Vehicle on page 4-26.
{CAUTION:
Your brake system may not be working
properly if the brake system warning light is
on. Driving with the brake system warning light
on can lead to an accident. If the light is still
on after you have pulled off the road and
stopped carefully, have the vehicle towed for
service.
Antilock Brake System (ABS)
Warning Light
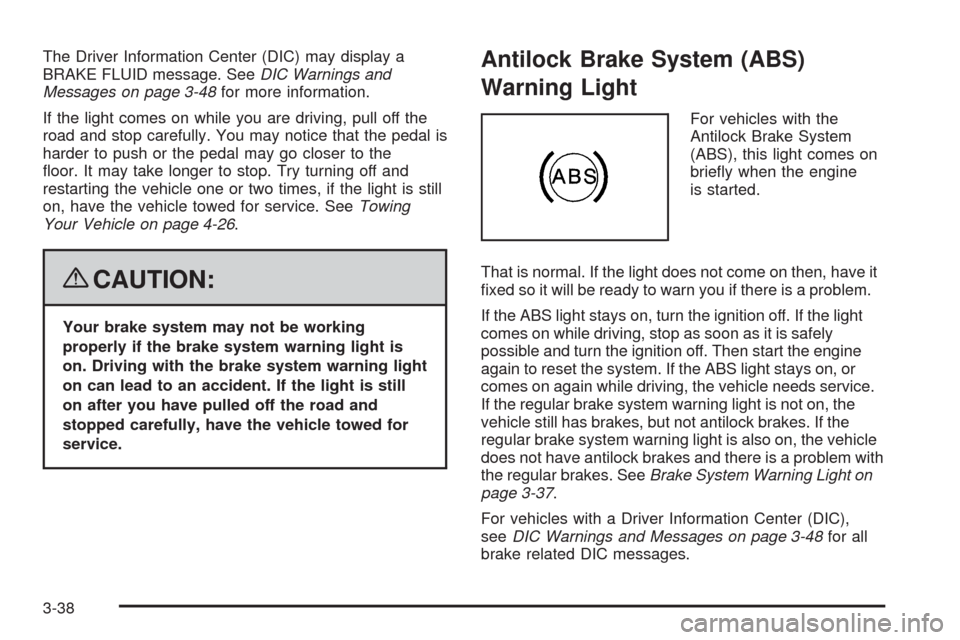
For vehicles with the
Antilock Brake System
(ABS), this light comes on
brie�y when the engine
is started.
That is normal. If the light does not come on then, have it
�xed so it will be ready to warn you if there is a problem.
If the ABS light stays on, turn the ignition off. If the light
comes on while driving, stop as soon as it is safely
possible and turn the ignition off. Then start the engine
again to reset the system. If the ABS light stays on, or
comes on again while driving, the vehicle needs service.
If the regular brake system warning light is not on, the
vehicle still has brakes, but not antilock brakes. If the
regular brake system warning light is also on, the vehicle
does not have antilock brakes and there is a problem with
the regular brakes. SeeBrake System Warning Light on
page 3-37.
For vehicles with a Driver Information Center (DIC),
seeDIC Warnings and Messages on page 3-48for all
brake related DIC messages.
3-38
Page 178 of 412
Driver Information Center (DIC)
Your vehicle has a Driver Information Center (DIC).
The DIC display gives you the status of many of your
vehicle’s systems. The DIC is also used to display driver
personalization menu modes and warning/status
messages. All messages will appear in the DIC display,
located at the bottom of the instrument panel cluster.
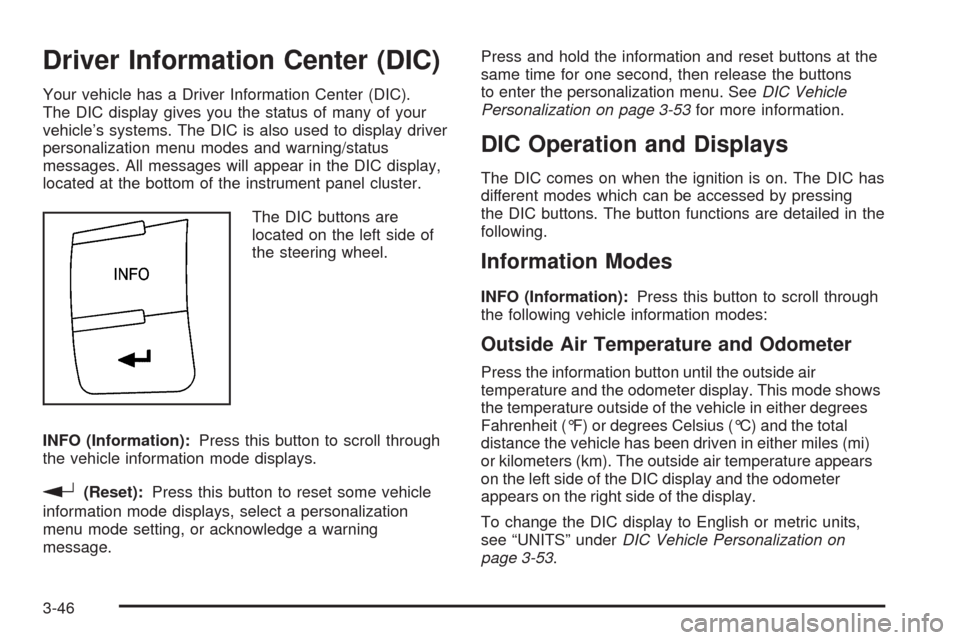
The DIC buttons are
located on the left side of
the steering wheel.
INFO (Information):Press this button to scroll through
the vehicle information mode displays.
r(Reset):Press this button to reset some vehicle
information mode displays, select a personalization
menu mode setting, or acknowledge a warning
message.Press and hold the information and reset buttons at the
same time for one second, then release the buttons
to enter the personalization menu. SeeDIC Vehicle
Personalization on page 3-53for more information.
DIC Operation and Displays
The DIC comes on when the ignition is on. The DIC has
different modes which can be accessed by pressing
the DIC buttons. The button functions are detailed in the
following.
Information Modes
INFO (Information):Press this button to scroll through
the following vehicle information modes:
Outside Air Temperature and Odometer
Press the information button until the outside air
temperature and the odometer display. This mode shows
the temperature outside of the vehicle in either degrees
Fahrenheit (°F) or degrees Celsius (°C) and the total
distance the vehicle has been driven in either miles (mi)
or kilometers (km). The outside air temperature appears
on the left side of the DIC display and the odometer
appears on the right side of the display.
To change the DIC display to English or metric units,
see “UNITS” underDIC Vehicle Personalization on
page 3-53.
3-46
Page 179 of 412
TRIP A or TRIP B
Press the information button until TRIP A or TRIP B
display. These modes show the current distance
traveled since the last reset for each trip odometer in
either miles (mi) or kilometers (km). Both odometers can
be used at the same time.
To reset the trip odometer to zero, press and hold the
reset button for a few seconds while the desired
trip odometer is displayed.
FUEL RANGE
Press the information button until FUEL RANGE
displays. This mode shows the remaining distance you
can drive without refueling in either miles (mi) or
kilometers (km). It is based on fuel economy and the
fuel remaining in the tank.
When the fuel level is low, FUEL RANGE LOW displays.
The fuel economy data used to determine fuel range
is an average of recent driving conditions. As your
driving conditions change, this data is gradually updated.
The FUEL RANGE mode cannot be reset.
MPG (L/100 KM) AVG (Average)
Press the information button until MPG (L/100 KM) AVG
displays. This mode shows how many miles per
gallon (mpg) or liters per 100 kilometers (L/100 km) your
vehicle is getting based on current and past driving
conditions.
To reset the average fuel economy, press and hold the
reset button while MPG (L/100 KM) AVG is displayed.
Average fuel economy is then calculated starting
from that point. If the average fuel economy is not reset,
it is continually updated each time you drive.
MPG (L/100 KM) INST (Instantaneous)
Press the information button until MPG (L/100 KM) INST
displays. This mode shows the current fuel economy
at a particular moment and changes frequently as
driving conditions change. This mode shows the
instantaneous fuel economy in miles per gallon (mpg) or
liters per 100 kilometers (L/100 km). Unlike average
fuel economy, this screen cannot be reset.
AV (Average) SPEED
Press the information button until AV SPEED displays.
This mode shows the vehicle’s average speed in
miles per hour (mph) or kilometers per hour (km/h).
To reset the average vehicle speed, press and hold the
reset button while AV SPEED is displayed.
3-47
Page 180 of 412
OIL LIFE
Press the information button until OIL LIFE displays.
The engine oil life system shows an estimate of the oil’s
remaining useful life. It shows 100% when the system
is reset after an oil change. It alerts you to change the oil
on a schedule consistent with your driving conditions.
In addition to the engine oil life system monitoring the oil
life, additional maintenance is recommended in the
Maintenance Schedule in this manual. SeeEngine Oil
on page 5-19andScheduled Maintenance on page 6-4.
Always reset the engine oil life system after an oil
change. See “How to Reset the Engine Oil Life System”
underEngine Oil Life System on page 5-22.
Tire Pressure
The pressure for each tire can be viewed in the DIC.
The tire pressure is shown in either pounds per square
inch (psi) or kilopascals (kPa). Press the information
button until LF ## PSI (kPa) ## RF displays for the
front tires. Press the information button again until
LR ## PSI (kPa) ## RR displays for the rear tires.
If a low tire pressure condition is detected by the system
while driving, a message advising you to check the
tire pressure appears in the display. SeeInflation - Tire
Pressure on page 5-60andDIC Warnings and
Messages on page 3-48for more information.
DIC Warnings and Messages
These messages appear if there is a problem detected
in one of your vehicle’s systems.
A message clears when the vehicle’s condition is no
longer present. To acknowledge a message and clear it
from the display, press and hold any of the DIC
buttons. If the condition is still present, the warning
message comes back on the next time the vehicle is
turned off and back on. With most messages, a warning
chime sounds when the message displays. Your
vehicle may have other warning messages.
AUTO (Automatic) LIGHTS OFF
This message displays if the automatic headlamp
system is disabled with the headlamp switch. See
Automatic Headlamp System on page 3-15for more
information.
AUTO (Automatic) LIGHTS ON
This message displays if the automatic headlamp
system is enabled with the headlamp switch. See
Automatic Headlamp System on page 3-15for more
information.
3-48