2008 CHEVROLET MALIBU engine oil
[x] Cancel search: engine oilPage 87 of 412
The remote vehicle start feature will not operate if any
of the follow occur:
The remote start system is disabled through
the DIC.
The vehicle’s key is in the ignition.
The vehicle’s hood is open.
The hazard warning �ashers are on.
The check engine light is on. SeeMalfunction
Indicator Lamp on page 3-41.
The engine coolant temperature is too high.
The oil pressure is low.
Two remote vehicle starts, or one start with a time
extension, have already been provided for that
ignition cycle.Vehicles that have the remote vehicle start feature are
shipped from the factory with the remote start system
enabled. The system may be enabled or disabled
through the DIC. See “REMOTE START” underDIC
Vehicle Personalization on page 3-53for additional
information.
Remote Start Ready
If your vehicle does not have the remote vehicle start
feature, it may have the remote start ready feature.
This feature allows your dealer/retailer to add the
manufacturer’s remote vehicle start feature.
See your dealer/retailer if you would like to add the
manufacturer’s remote vehicle start feature to your
vehicle.
2-9
Page 102 of 412
Retained Accessory Power (RAP)
These vehicle accessories can be used for up to
10 minutes after the engine is turned off:
Audio System
Power Windows
Heated Seats (if equipped)
Sunroof (if equipped)
These features continue to work up to 10 minutes after
the ignition is turned to LOCK/OFF.
The power windows, heated seats, and sunroof will
work until any door is opened.
The radio continues to work until the driver’s door is
opened.
All these features operate when the key is in the
ON/RUN or ACC/ACCESSORY.
Starting the Engine
Move your shift lever to PARK (P) or NEUTRAL (N).
Your engine will not start in any other position – this is a
safety feature. To restart when you are already
moving, use NEUTRAL (N) only.
Notice:Do not try to shift to P (Park) if your vehicle
is moving. If you do, you could damage the
transmission. Shift to P (Park) only when your
vehicle is stopped.
Starting Procedure
1. With your foot off the accelerator pedal, turn the
ignition key to START. When the engine starts,
let go of the key. The idle speed will go down as
your engine gets warm. Do not race the engine
immediately after starting it. Operate the engine and
transmission gently to allow the oil to warm up
and lubricate all moving parts.
2-24
Page 103 of 412
Your vehicle has a Computer-Controlled Cranking
System. This feature assists in starting the
engine and protects components. If the ignition key
is turned to the START position, and then
released when the engine begins cranking, the
engine will continue cranking for a few seconds or
until the vehicle starts. If the engine does not
start and the key is held in START for many
seconds, cranking will be stopped after 15 seconds
to prevent cranking motor damage. To prevent
gear damage, this system also prevents cranking if
the engine is already running. Engine cranking
can be stopped by turning the ignition switch to the
ACC/ACCESSORY or LOCK/OFF position.
Notice:Cranking the engine for long periods of
time, by returning the key to the START position
immediately after cranking has ended, can overheat
and damage the cranking motor, and drain the
battery. Wait at least 15 seconds between each try,
to let the cranking motor cool down.2. If the engine does not start after 5-10 seconds,
especially in very cold weather (below 0°F or−18°C),
it could be �ooded with too much gasoline. Try
pushing the accelerator pedal all the way to the �oor
and holding it there as you hold the key in START for
up to a maximum of 15 seconds. Wait at least
15 seconds between each try, to allow the cranking
motor to cool down. When the engine starts, let go of
the key and accelerator. If the vehicle starts brie�y
but then stops again, do the same thing. This clears
the extra gasoline from the engine. Do not race the
engine immediately after starting it. Operate the
engine and transmission gently until the oil warms up
and lubricates all moving parts.
Notice:The engine is designed to work with the
electronics in the vehicle. If you add electrical parts
or accessories, you could change the way the engine
operates. Before adding electrical equipment, check
with your dealer/retailer. If you do not, the engine
might not perform properly. Any resulting damage
would not be covered by the vehicle warranty.
2-25
Page 105 of 412
Engine Coolant Heater
The engine coolant heater, if available, can help in cold
weather conditions at or below 0°F (−18°C) for easier
starting and better fuel economy during engine warm-up.
Plug in the coolant heater at least four hours before
starting your vehicle. An internal thermostat in the
plug-end of the cord may exist which will prevent engine
coolant heater operation at temperatures above
0°F (−18°C).
To Use the Engine Coolant Heater
1. Turn off the engine.
2. Open the hood and unwrap the electrical cord. On
the 2.4L engine, the engine coolant heater cord is
located near the air cleaner box on the passenger’s
side of the engine compartment. On the 3.5L and
3.6L V6 engines, the engine coolant heater
cord is located on the driver’s side around the
battery box. SeeEngine Compartment Overview on
page 5-14for more information on location.
{CAUTION:
Plugging the cord into an ungrounded outlet
could cause an electrical shock. Also, the
wrong kind of extension cord could overheat
and cause a �re. You could be seriously
injured. Plug the cord into a properly grounded
three-prong 110-volt AC outlet. If the cord will
not reach, use a heavy-duty three-prong
extension cord rated for at least 15 amps.
3. Plug the cord into a normal, grounded 110-volt
AC outlet.
4. Before starting the engine, be sure to unplug and
store the cord as it was before to keep it away
from moving engine parts. If you do not, it could
be damaged.
How long should you keep the coolant heater plugged
in? The answer depends on the outside temperature, the
kind of oil you have, and some other things. Instead
of trying to list everything here, we ask that you contact
your dealer/retailer in the area where you will be
parking your vehicle. The dealer/retailer can give you
the best advice for that particular area.
2-27
Page 133 of 412
Instrument Panel Overview...............................3-4
Hazard Warning Flashers................................3-6
Other Warning Devices...................................3-6
Horn .............................................................3-6
Tilt and Telescopic Steering Wheel...................3-7
Turn Signal/Multifunction Lever.........................3-7
Turn and Lane-Change Signals........................3-8
Headlamp High/Low-Beam Changer..................3-8
Flash-to-Pass.................................................3-8
Windshield Wipers..........................................3-9
Windshield Washer.......................................3-10
Cruise Control..............................................3-10
Headlamps..................................................3-13
Headlamps on Reminder................................3-14
Headlamps Off in Park..................................3-14
Delayed Headlamps......................................3-14
Daytime Running Lamps (DRL).......................3-14
Automatic Headlamp System..........................3-15
Fog Lamps ..................................................3-16
Instrument Panel Brightness...........................3-16
Dome Lamp .................................................3-17
Entry/Exit Lighting.........................................3-17
Parade Dimming...........................................3-17
Front Reading Lamps....................................3-17
Overhead Console Reading Lamps.................3-17
Rear Reading Lamps....................................3-18
Trunk Lamp.................................................3-18Battery Run-Down Protection..........................3-18
Accessory Power Outlet(s).............................3-19
Power Outlet 115 Volt Alternating Current........3-20
Climate Controls............................................3-21
Climate Control System.................................3-21
Automatic Climate Control System...................3-24
Outlet Adjustment.........................................3-29
Warning Lights, Gages, and Indicators...........
.3-30
Instrument Panel Cluster................................3-31
Speedometer and Odometer...........................3-32
Trip Odometer..............................................3-32
Tachometer.................................................3-32
Safety Belt Reminders...................................3-33
Airbag Readiness Light..................................3-34
Passenger Airbag Status Indicator...................3-35
Charging System Light..................................3-37
Brake System Warning Light..........................3-37
Antilock Brake System (ABS) Warning Light.....3-38
Electronic Stability Control (ESC)/Traction
Control System (TCS) Indicator/
Warning Light............................................3-39
Engine Coolant Temperature Warning Light......3-40
Engine Coolant Temperature Gage..................3-40
Tire Pressure Light.......................................3-41
Malfunction Indicator Lamp.............................3-41
Oil Pressure Light.........................................3-44
Section 3 Instrument Panel
3-1
Page 176 of 412
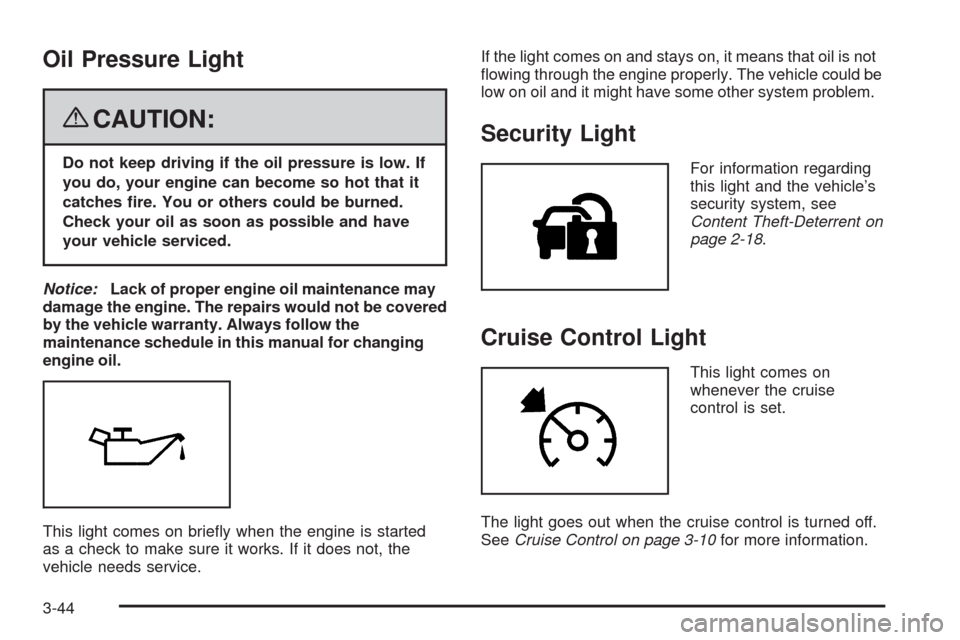
Oil Pressure Light
{CAUTION:
Do not keep driving if the oil pressure is low. If
you do, your engine can become so hot that it
catches �re. You or others could be burned.
Check your oil as soon as possible and have
your vehicle serviced.
Notice:Lack of proper engine oil maintenance may
damage the engine. The repairs would not be covered
by the vehicle warranty. Always follow the
maintenance schedule in this manual for changing
engine oil.
This light comes on brie�y when the engine is started
as a check to make sure it works. If it does not, the
vehicle needs service.If the light comes on and stays on, it means that oil is not
�owing through the engine properly. The vehicle could be
low on oil and it might have some other system problem.
Security Light
For information regarding
this light and the vehicle’s
security system, see
Content Theft-Deterrent on
page 2-18.
Cruise Control Light
This light comes on
whenever the cruise
control is set.
The light goes out when the cruise control is turned off.
SeeCruise Control on page 3-10for more information.
3-44
Page 180 of 412
OIL LIFE
Press the information button until OIL LIFE displays.
The engine oil life system shows an estimate of the oil’s
remaining useful life. It shows 100% when the system
is reset after an oil change. It alerts you to change the oil
on a schedule consistent with your driving conditions.
In addition to the engine oil life system monitoring the oil
life, additional maintenance is recommended in the
Maintenance Schedule in this manual. SeeEngine Oil
on page 5-19andScheduled Maintenance on page 6-4.
Always reset the engine oil life system after an oil
change. See “How to Reset the Engine Oil Life System”
underEngine Oil Life System on page 5-22.
Tire Pressure
The pressure for each tire can be viewed in the DIC.
The tire pressure is shown in either pounds per square
inch (psi) or kilopascals (kPa). Press the information
button until LF ## PSI (kPa) ## RF displays for the
front tires. Press the information button again until
LR ## PSI (kPa) ## RR displays for the rear tires.
If a low tire pressure condition is detected by the system
while driving, a message advising you to check the
tire pressure appears in the display. SeeInflation - Tire
Pressure on page 5-60andDIC Warnings and
Messages on page 3-48for more information.
DIC Warnings and Messages
These messages appear if there is a problem detected
in one of your vehicle’s systems.
A message clears when the vehicle’s condition is no
longer present. To acknowledge a message and clear it
from the display, press and hold any of the DIC
buttons. If the condition is still present, the warning
message comes back on the next time the vehicle is
turned off and back on. With most messages, a warning
chime sounds when the message displays. Your
vehicle may have other warning messages.
AUTO (Automatic) LIGHTS OFF
This message displays if the automatic headlamp
system is disabled with the headlamp switch. See
Automatic Headlamp System on page 3-15for more
information.
AUTO (Automatic) LIGHTS ON
This message displays if the automatic headlamp
system is enabled with the headlamp switch. See
Automatic Headlamp System on page 3-15for more
information.
3-48
Page 181 of 412
BRAKE FLUID
This message displays, while the ignition is on, when
the brake �uid level is low. The brake system warning
light on the instrument panel cluster also comes on.
SeeBrake System Warning Light on page 3-37for more
information. Have the brake system serviced by your
dealer/retailer as soon as possible.
CHANGE OIL SOON
This message displays when the life of the engine oil
has expired and it should be changed.
When this message is acknowledged and cleared from
the display, the engine oil life system must still be
reset separately. SeeEngine Oil Life System on
page 5-22,Engine Oil on page 5-19, andScheduled
Maintenance on page 6-4for more information.
CHECK GAS CAP
This message displays if the fuel cap has not been fully
tightened. Recheck the fuel cap to make sure that it
is on properly. A few driving trips with the cap properly
installed should turn the message off.
CHECK TIRE PRESS (Pressure)
This message displays when the pressure in one or
more of the vehicle’s tires needs to be checked. If a tire
pressure message appears on the DIC, stop as soon
as you can. Have the tire pressures checked and set to
those shown on the Tire Loading Information label.
SeeTires on page 5-52,Loading the Vehicle on
page 4-21, andInflation - Tire Pressure on page 5-60.
The DIC also shows the tire pressure values. See
DIC Operation and Displays on page 3-46. If the tire
pressure is low, the low tire pressure warning light
comes on. SeeTire Pressure Light on page 3-41.
CRUISE ENGAGED
This message displays when the cruise control system
is active. SeeCruise Control on page 3-10for more
information.
DOOR AJAR
This message displays if one or more of the vehicle’s
doors are not closed properly. Make sure that the
door(s) are closed completely.
3-49