2008 CHEVROLET HHR CD changer
[x] Cancel search: CD changerPage 133 of 430
Instrument Panel Overview...............................3-4
Hazard Warning Flashers................................3-6
Other Warning Devices...................................3-6
Horn.............................................................3-6
Tilt Wheel.....................................................3-6
Turn Signal/Multifunction Lever.........................3-7
Turn and Lane-Change Signals........................3-8
Headlamp High/Low-Beam Changer..................3-8
Flash-to-Pass.................................................3-8
Windshield Wipers..........................................3-9
Windshield Washer.......................................3-10
Rear Window Wiper/Washer...........................3-11
Cruise Control..............................................3-12
Headlamps..................................................3-15
Wiper Activated Headlamps............................3-16
Headlamps on Reminder................................3-16
Daytime Running Lamps (DRL).......................3-16
Automatic Headlamp System..........................3-17
Fog Lamps..................................................3-18
Instrument Panel Brightness...........................3-18
Dome Lamp.................................................3-19
Entry/Exit Lighting.........................................3-19
Mirror Reading Lamps...................................3-19
Rear Reading Lamps....................................3-19
Electric Power Management...........................3-20
Battery Run-Down Protection..........................3-20Accessory Power Outlet(s).............................3-20
Ashtray(s) and Cigarette Lighter......................3-22
Climate Controls............................................3-23
Climate Control System.................................3-23
Outlet Adjustment.........................................3-26
Passenger Compartment Air Filter...................3-26
Warning Lights, Gages, and Indicators............3-28
Instrument Panel Cluster...............................
.3-29
Speedometer and Odometer...........................3-30
Tachometer.................................................3-30
Safety Belt Reminders...................................3-30
Airbag Readiness Light..................................3-31
Passenger Airbag Status Indicator...................3-32
Charging System Light..................................3-34
Up-Shift Light...............................................3-35
Brake System Warning Light..........................3-35
Antilock Brake System Warning Light...............3-36
Enhanced Traction System Warning Light.........3-37
Electronic Stability Control (ESC)/Traction
Control System (TCS) Indicator/Warning
Light........................................................3-37
Engine Coolant Temperature Warning Light......3-38
Engine Coolant Temperature Gage..................3-39
Tire Pressure Light.......................................3-39
Malfunction Indicator Lamp.............................3-40
Section 3 Instrument Panel
3-1
Page 139 of 430
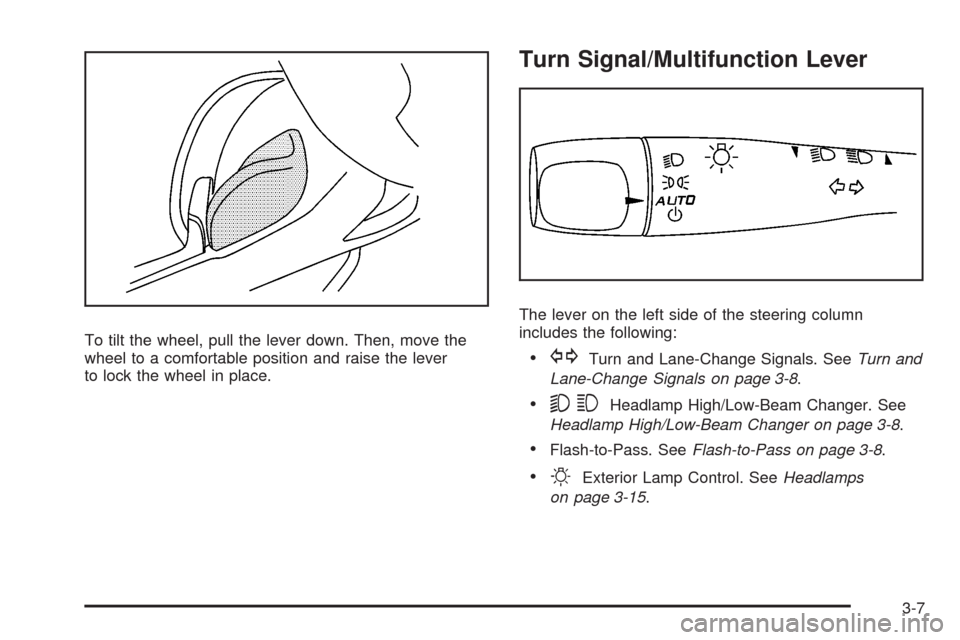
To tilt the wheel, pull the lever down. Then, move the
wheel to a comfortable position and raise the lever
to lock the wheel in place.
Turn Signal/Multifunction Lever
The lever on the left side of the steering column
includes the following:
GTurn and Lane-Change Signals. SeeTurn and
Lane-Change Signals on page 3-8.
53Headlamp High/Low-Beam Changer. See
Headlamp High/Low-Beam Changer on page 3-8.
Flash-to-Pass. SeeFlash-to-Pass on page 3-8.
OExterior Lamp Control. SeeHeadlamps
on page 3-15.
3-7
Page 140 of 430
Turn and Lane-Change Signals
The turn signal has two upward (for right) and two
downward (for left) positions. These positions allow you
to signal a turn or a lane change.
To signal a turn, move the lever all the way up or down.
When the turn is �nished, the lever will return
automatically.
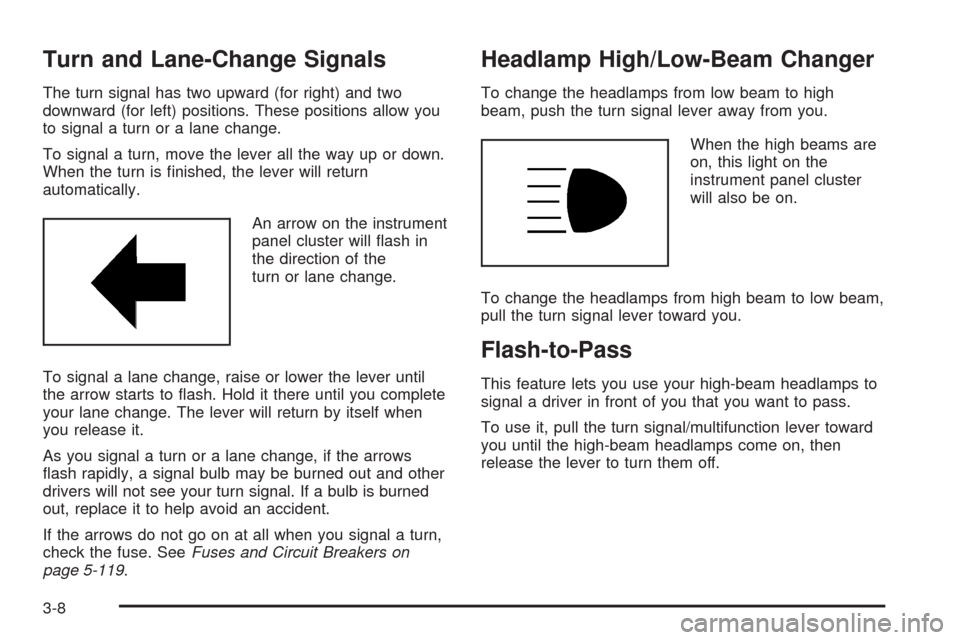
An arrow on the instrument
panel cluster will �ash in
the direction of the
turn or lane change.
To signal a lane change, raise or lower the lever until
the arrow starts to �ash. Hold it there until you complete
your lane change. The lever will return by itself when
you release it.
As you signal a turn or a lane change, if the arrows
�ash rapidly, a signal bulb may be burned out and other
drivers will not see your turn signal. If a bulb is burned
out, replace it to help avoid an accident.
If the arrows do not go on at all when you signal a turn,
check the fuse. SeeFuses and Circuit Breakers on
page 5-119.
Headlamp High/Low-Beam Changer
To change the headlamps from low beam to high
beam, push the turn signal lever away from you.
When the high beams are
on, this light on the
instrument panel cluster
will also be on.
To change the headlamps from high beam to low beam,
pull the turn signal lever toward you.
Flash-to-Pass
This feature lets you use your high-beam headlamps to
signal a driver in front of you that you want to pass.
To use it, pull the turn signal/multifunction lever toward
you until the high-beam headlamps come on, then
release the lever to turn them off.
3-8
Page 176 of 430
Security Light
For information regarding
this light and the vehicle’s
security system, see
Content Theft-Deterrent on
page 2-18.
Fog Lamp Light
The fog lamp light will
come on when the fog
lamps are in use.
The light will go out when the fog lamps are turned off.
SeeFog Lamps on page 3-18for more information.
Highbeam On Light
This light comes on when
the high-beam headlamps
are in use.
SeeHeadlamp High/Low-Beam Changer on page 3-8
for more information.
Fuel Gage
Your fuel gage tells you
about how much fuel you
have left.
3-44
Page 204 of 430
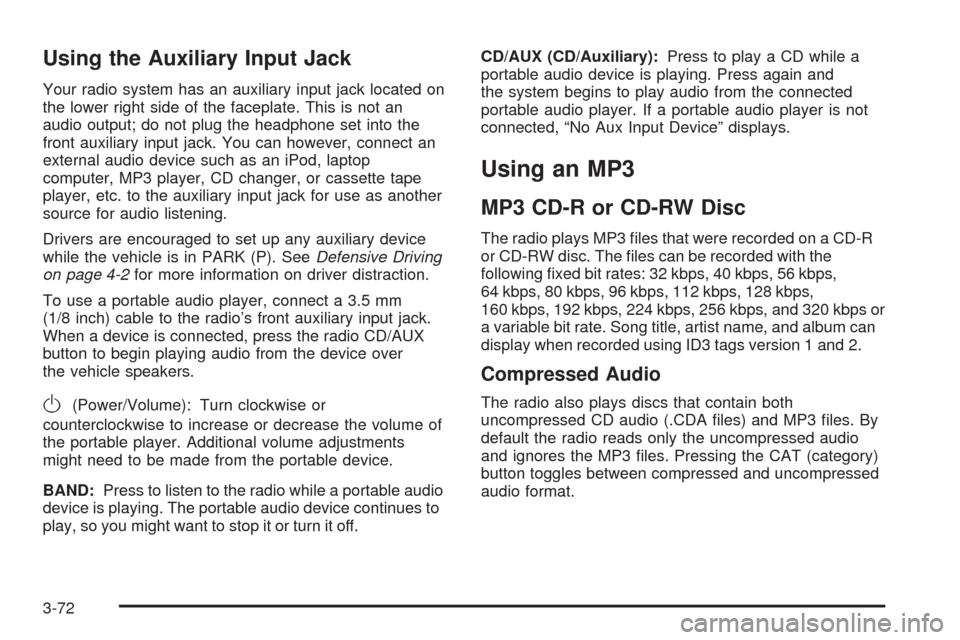
Using the Auxiliary Input Jack
Your radio system has an auxiliary input jack located on
the lower right side of the faceplate. This is not an
audio output; do not plug the headphone set into the
front auxiliary input jack. You can however, connect an
external audio device such as an iPod, laptop
computer, MP3 player, CD changer, or cassette tape
player, etc. to the auxiliary input jack for use as another
source for audio listening.
Drivers are encouraged to set up any auxiliary device
while the vehicle is in PARK (P). SeeDefensive Driving
on page 4-2for more information on driver distraction.
To use a portable audio player, connect a 3.5 mm
(1/8 inch) cable to the radio’s front auxiliary input jack.
When a device is connected, press the radio CD/AUX
button to begin playing audio from the device over
the vehicle speakers.
O(Power/Volume): Turn clockwise or
counterclockwise to increase or decrease the volume of
the portable player. Additional volume adjustments
might need to be made from the portable device.
BAND:Press to listen to the radio while a portable audio
device is playing. The portable audio device continues to
play, so you might want to stop it or turn it off.CD/AUX (CD/Auxiliary):Press to play a CD while a
portable audio device is playing. Press again and
the system begins to play audio from the connected
portable audio player. If a portable audio player is not
connected, “No Aux Input Device” displays.
Using an MP3
MP3 CD-R or CD-RW Disc
The radio plays MP3 �les that were recorded on a CD-R
or CD-RW disc. The �les can be recorded with the
following �xed bit rates: 32 kbps, 40 kbps, 56 kbps,
64 kbps, 80 kbps, 96 kbps, 112 kbps, 128 kbps,
160 kbps, 192 kbps, 224 kbps, 256 kbps, and 320 kbps or
a variable bit rate. Song title, artist name, and album can
display when recorded using ID3 tags version 1 and 2.
Compressed Audio
The radio also plays discs that contain both
uncompressed CD audio (.CDA �les) and MP3 �les. By
default the radio reads only the uncompressed audio
and ignores the MP3 �les. Pressing the CAT (category)
button toggles between compressed and uncompressed
audio format.
3-72
Page 422 of 430
Fuel (cont.)
Gage.........................................................3-44
Gasoline Octane........................................... 5-5
Gasoline Speci�cations.................................. 5-5
Fuses
Engine Compartment Fuse Block.................5-122
Floor Console Fuse Block...........................5-120
Fuses and Circuit Breakers.........................5-119
Windshield Wiper.......................................5-119
G
Gage
Boost.........................................................3-45
Engine Coolant Temperature.........................3-39
Fuel..........................................................3-44
Speedometer..............................................3-30
Tachometer.................................................3-30
Gasoline
Octane........................................................ 5-5
Speci�cations............................................... 5-5
Glove Box.....................................................2-47
GM Mobility Reimbursement Program.................. 7-6
H
Hazard Warning Flashers................................... 3-6
Head Restraints............................................... 1-7
Headlamp
Aiming.......................................................5-43
Headlamp Wiring...........................................5-119
Headlamps....................................................3-15
Bulb Replacement.......................................5-46
Daytime Running Lamps...............................3-16
Flash-to-Pass............................................... 3-8
Halogen Bulbs............................................5-46
Headlamps, Front Turn Signal, and Parking
Lamps....................................................5-46
High/Low Beam Changer................................ 3-8
On Reminder..............................................3-16
Wiper Activated...........................................3-16
Heated Seats................................................... 1-4
Heater...........................................................3-23
Height Adjuster, Driver Seat............................... 1-3
Hideaway Rear Storage Bins............................2-51
Highbeam On Light.........................................3-44
Highway Hypnosis...........................................4-20
Hill and Mountain Roads..................................4-20
6
Page 424 of 430
Light (cont.)
Enhanced Traction System (ETS) Warning
Light......................................................3-37
Fog Lamp..................................................3-44
Highbeam On.............................................3-44
Malfunction Indicator....................................3-40
Oil Pressure...............................................3-43
Passenger Airbag Status Indicator..................3-32
Safety Belt Reminders..................................3-30
Security.....................................................3-44
Tire Pressure..............................................3-39
Up-Shift.....................................................3-35
Lighting
Entry/Exit...................................................3-19
Lights............................................................3-15
Flash-to-Pass............................................... 3-8
High/Low Beam Changer................................ 3-8
On Reminder..............................................3-16
Limited-Slip Differential....................................4-10
Loading Your Vehicle.......................................4-27
Lockout Protection..........................................2-12
Locks
Automatic Door Lock....................................2-10
Delayed Locking..........................................2-10
Door........................................................... 2-9
Lockout Protection.......................................2-12
Power Door.................................................. 2-9
Programmable Automatic Door Unlock............2-10Locks (cont.)
Rear Door Security Locks.............................2-11
Loss of Control...............................................4-16
Lumbar
Power Controls............................................. 1-4
M
Maintenance Schedule
Additional Required Services........................... 6-6
At Each Fuel Fill........................................... 6-8
At Least Once a Month.................................. 6-9
At Least Once a Year.................................... 6-9
Introduction.................................................. 6-2
Maintenance Footnotes.................................. 6-7
Maintenance Record....................................6-16
Maintenance Replacement Parts....................6-14
Maintenance Requirements............................. 6-2
Owner Checks and Services........................... 6-8
Recommended Fluids and Lubricants.............6-12
Scheduled Maintenance................................. 6-4
Using.......................................................... 6-2
Your Vehicle and the Environment................... 6-2
Malfunction Indicator Light................................3-40
Manual Seats................................................... 1-2
Manual Transmission
Fluid..........................................................5-23
Operation...................................................2-31
Manual, Using.................................................... iii
8