2008 CHEVROLET CORVETTE engine
[x] Cancel search: enginePage 137 of 432
Instrument Panel Overview...............................3-4
Hazard Warning Flashers................................3-6
Other Warning Devices...................................3-7
Horn .............................................................3-7
Tilt Wheel.....................................................3-7
Turn Signal/Multifunction Lever.........................3-8
Turn and Lane-Change Signals (Auto Signal).....3-9
Headlamp High/Low-Beam Changer..................3-9
Flash-to-Pass...............................................3-10
Windshield Wipers........................................3-10
Windshield Washer.......................................3-11
Cruise Control..............................................3-11
Exterior Lamps.............................................3-15
Wiper Activated Headlamps............................3-16
Headlamps on Reminder................................3-16
Daytime Running Lamps (DRL).......................3-16
Fog Lamps ..................................................3-17
Twilight Sentinel
®..........................................3-18
Exterior Lighting Battery Saver........................3-19
Instrument Panel Brightness...........................3-19
Courtesy Lamps...........................................3-19
Entry/Exit Lighting.........................................3-19
Reading Lamps............................................3-20Battery Run-Down Protection..........................3-20
Head-Up Display (HUD).................................3-20
Accessory Power Outlet(s).............................3-24
Ashtray(s) and Cigarette Lighter......................3-25
Climate Controls............................................3-26
Dual Automatic Climate Control System...........3-26
Outlet Adjustment.........................................3-32
Passenger Compartment Air Filter...................3-32
Warning Lights, Gages, and Indicators............3-34
Instrument Panel Cluster................................3-35
Speedometer and Odometer...........................3-36
Tachometer.................................................3-36
Safety Belt Reminders...................................3-36
Airbag Readiness Light..................................3-37
Passenger Airbag Status Indicator...................3-38
Voltmeter Gage............................................3-40
One-to-Four Shift Light
(Manual Transmission)...............................3-40
Brake System Warning Light..........................3-41
Antilock Brake System (ABS) Warning Light........3-42
Traction Control System (TCS) Warning Light......3-42
Active Handling System Light.........................3-43
Engine Coolant Temperature Gage..................3-44
Section 3 Instrument Panel
3-1
Page 138 of 432
Tire Pressure Light.......................................3-44
Malfunction Indicator Lamp.............................3-45
Engine Oil Pressure Gage.............................3-48
Security Light...............................................3-49
Fog Lamp Light............................................3-49
Lights On Reminder......................................3-50
Highbeam On Light.......................................3-50
Fuel Gage...................................................3-50
Driver Information Center (DIC).......................3-51
DIC Operation and Displays...........................3-52
DIC Warnings and Messages.........................3-57
Other Messages...........................................3-74
DIC Vehicle Personalization............................3-75Audio System(s).............................................3-84
Setting the Clock..........................................3-85
Radio(s)......................................................3-85
Using an MP3..............................................3-98
XM Radio Messages...................................3-102
Navigation/Radio System..............................3-103
Theft-Deterrent Feature................................3-103
Audio Steering Wheel Controls......................3-103
Radio Reception.........................................3-104
Diversity Antenna System.............................3-105
XM™ Satellite Radio Antenna System............3-105
Section 3 Instrument Panel
3-2
Page 151 of 432
Exterior Lamps
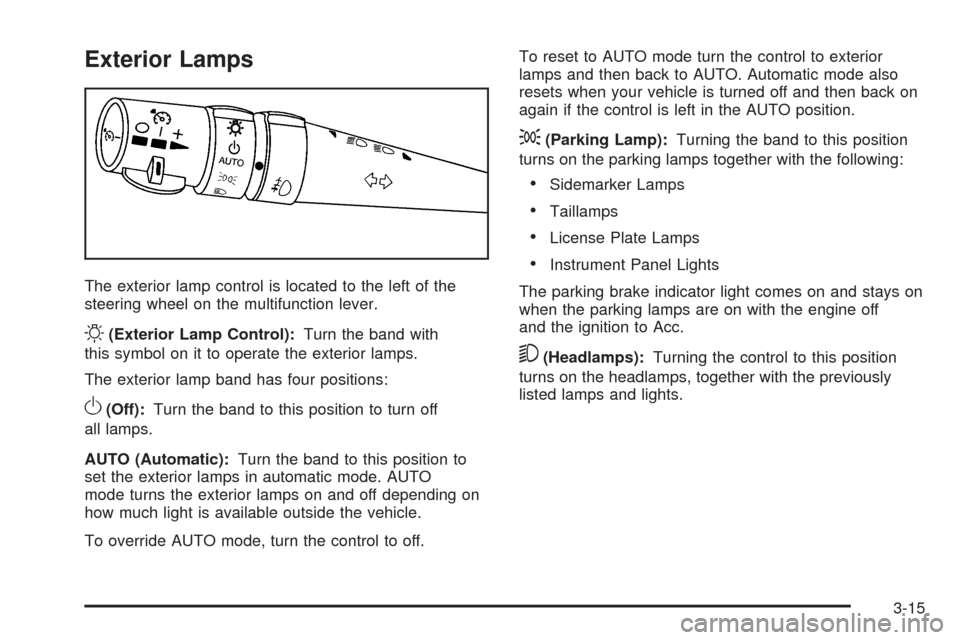
The exterior lamp control is located to the left of the
steering wheel on the multifunction lever.
O(Exterior Lamp Control):Turn the band with
this symbol on it to operate the exterior lamps.
The exterior lamp band has four positions:
O(Off):Turn the band to this position to turn off
all lamps.
AUTO (Automatic):Turn the band to this position to
set the exterior lamps in automatic mode. AUTO
mode turns the exterior lamps on and off depending on
how much light is available outside the vehicle.
To override AUTO mode, turn the control to off.To reset to AUTO mode turn the control to exterior
lamps and then back to AUTO. Automatic mode also
resets when your vehicle is turned off and then back on
again if the control is left in the AUTO position.
;(Parking Lamp):Turning the band to this position
turns on the parking lamps together with the following:
Sidemarker Lamps
Taillamps
License Plate Lamps
Instrument Panel Lights
The parking brake indicator light comes on and stays on
when the parking lamps are on with the engine off
and the ignition to Acc.
5(Headlamps):Turning the control to this position
turns on the headlamps, together with the previously
listed lamps and lights.
3-15
Page 155 of 432
Exterior Lighting Battery Saver
If the manual parking lamps or headlamps have been
left on, the exterior lamps will turn off as soon as
the ignition is turned off or Retained Accessory Power
(RAP) is active. This protects against draining the
battery in case you have accidentally left the headlamps
or parking lamps on. The battery saver does not work
if the headlamps are turned on after the ignition switch is
turned to off.
If you need to leave the lamps on, use the exterior lamp
control to turn the lamps back on.
Instrument Panel Brightness
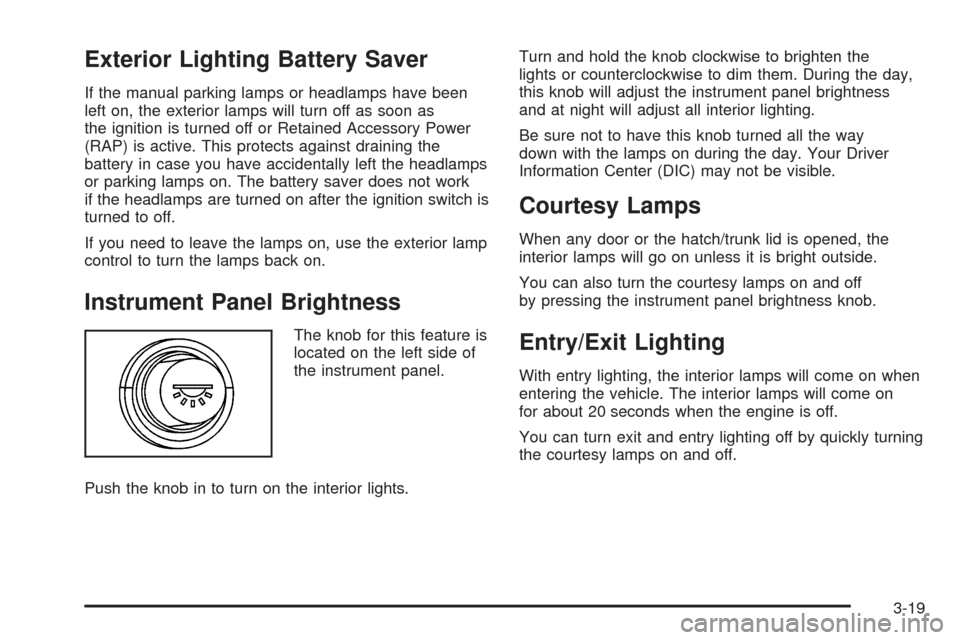
The knob for this feature is
located on the left side of
the instrument panel.
Push the knob in to turn on the interior lights.Turn and hold the knob clockwise to brighten the
lights or counterclockwise to dim them. During the day,
this knob will adjust the instrument panel brightness
and at night will adjust all interior lighting.
Be sure not to have this knob turned all the way
down with the lamps on during the day. Your Driver
Information Center (DIC) may not be visible.
Courtesy Lamps
When any door or the hatch/trunk lid is opened, the
interior lamps will go on unless it is bright outside.
You can also turn the courtesy lamps on and off
by pressing the instrument panel brightness knob.
Entry/Exit Lighting
With entry lighting, the interior lamps will come on when
entering the vehicle. The interior lamps will come on
for about 20 seconds when the engine is off.
You can turn exit and entry lighting off by quickly turning
the courtesy lamps on and off.
3-19
Page 157 of 432

Manual Paddle Shift Gear Indicator (If Equipped)
These displays on the HUD are for use when
using the manual paddle shift controls to shift
the transmission. See “Manual Paddle Shift” in
Automatic Transmission Operation on page 2-26.
Shift Light
This light is used for performance driving to indicate
that the vehicle’s best performance level has
been reached to shift the transmission into the next
higher gear. An arrow pointing up will light up on
the display just prior to reaching the engine fuel
cut-off mode. This cut-off is about 6,500 RPM for
the LS3 engine and 7,000 RPM for the LS7 engine.
Check Gages Warning
Engine Coolant Temperature Gage
Transmission Fluid Temperature Gage,
(Automatic Transmission Vehicles Only)
Engine Oil Temperature Gage
Engine Oil Pressure Gage
G-Force Gage
Audio Functions, Street Mode Only
Navigation, Only with Navigation Radio,
Turn-by-Turn GuidanceThere are three HUD modes that you can choose to view
in the HUD display. By pressing the MODE button, you
can scroll through these modes in the following order:
Street Mode supports
audio and navigation
functions with your choice
of tachometer settings.
Track Mode 1 supports the
G-Force gage and minor
gages with a circular
tachometer.
Track Mode 2 supports
G-Force gages and minor
gages with a linear
tachometer.
3-21
Page 158 of 432
When the desired HUD display has been selected,
release the MODE button.
Within each mode, the display, can be further
customized by pressing the PAGE button. Pressing this
button in each mode will turn off and on the following:
Street Mode — No tachometer, circular tachometer,
and linear tachometer.
Track Modes 1 and 2 — No minor gage, coolant
temperature, transmission oil temperature, engine
oil temperature, and engine oil pressure.
While in Track Mode 1 or 2, the maximum G value
achieved during the current ignition cycle can be
displayed by pressing and holding the PAGE button.
The maximum G display will be shown until the
PAGE button is released. The maximum G value
display will be identical to the normal G value
display, except the maximum G gage digits (X.XX G)
and corresponding G gage bar will overwrite the
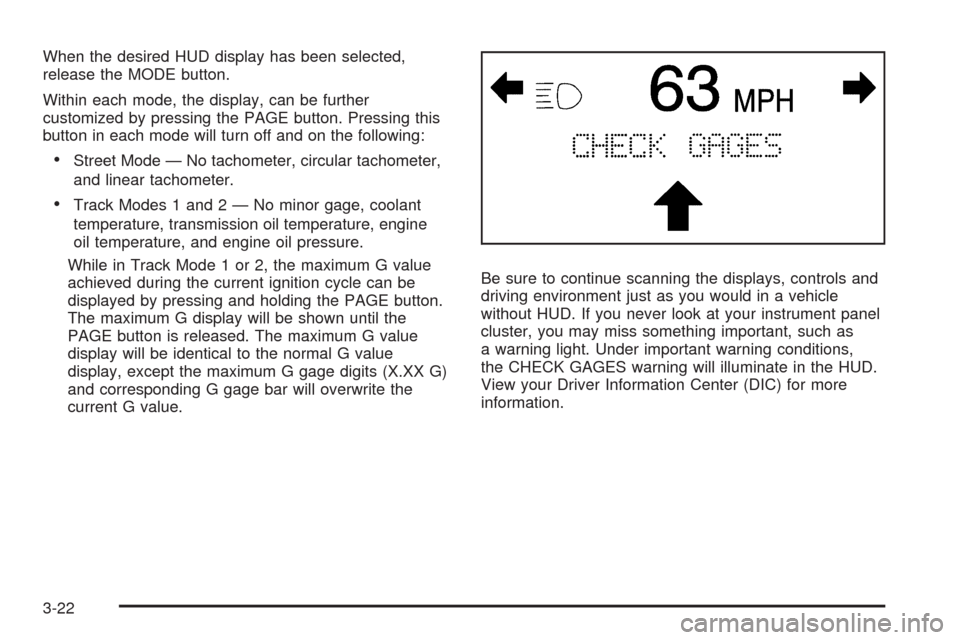
current G value.Be sure to continue scanning the displays, controls and
driving environment just as you would in a vehicle
without HUD. If you never look at your instrument panel
cluster, you may miss something important, such as
a warning light. Under important warning conditions,
the CHECK GAGES warning will illuminate in the HUD.
View your Driver Information Center (DIC) for more
information.
3-22
Page 159 of 432
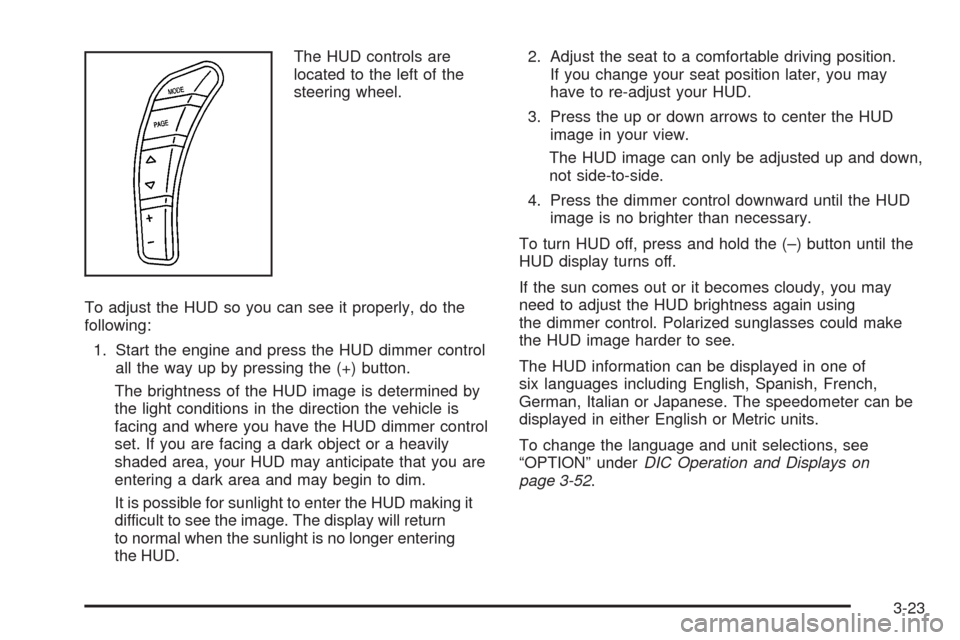
The HUD controls are
located to the left of the
steering wheel.
To adjust the HUD so you can see it properly, do the
following:
1. Start the engine and press the HUD dimmer control
all the way up by pressing the (+) button.
The brightness of the HUD image is determined by
the light conditions in the direction the vehicle is
facing and where you have the HUD dimmer control
set. If you are facing a dark object or a heavily
shaded area, your HUD may anticipate that you are
entering a dark area and may begin to dim.
It is possible for sunlight to enter the HUD making it
difficult to see the image. The display will return
to normal when the sunlight is no longer entering
the HUD.2. Adjust the seat to a comfortable driving position.
If you change your seat position later, you may
have to re-adjust your HUD.
3. Press the up or down arrows to center the HUD
image in your view.
The HUD image can only be adjusted up and down,
not side-to-side.
4. Press the dimmer control downward until the HUD
image is no brighter than necessary.
To turn HUD off, press and hold the (–) button until the
HUD display turns off.
If the sun comes out or it becomes cloudy, you may
need to adjust the HUD brightness again using
the dimmer control. Polarized sunglasses could make
the HUD image harder to see.
The HUD information can be displayed in one of
six languages including English, Spanish, French,
German, Italian or Japanese. The speedometer can be
displayed in either English or Metric units.
To change the language and unit selections, see
“OPTION” underDIC Operation and Displays on
page 3-52.
3-23
Page 164 of 432
x9w(Fan):Press the button with the fan symbol
to manually increase or decrease the fan speed.
Keep pressing the up or down arrow on this switch until
the desired fan speed appears on the display.
Pressing the arrows will delete AUTO from the digital
display. The fan graphics with the fan speed bars will be
shown. To increase the fan speed so that more air
�ows into the vehicle, press the up arrow on the
fan switch. To decrease the fan speed and air�ow,
press the down arrow. The AUTO button must be
pressed to return to the automatic fan control.
If the air�ow seems low when the fan speed is at the
highest setting, the passenger compartment air �lter
may need to be replaced. For more information,
seePassenger Compartment Air Filter on page 3-32
andScheduled Maintenance on page 6-4.
?(Recirculation):Press this button to turn the
recirculation mode on or off. When the climate control
system is in recirculation mode an indicator light will
come on. This mode prevents outside air from entering
your vehicle. It can be used to prevent outside air and
odors from entering your vehicle and to help cool the air
inside your vehicle more quickly. Recirculation mode is
not available in defrost or defog mode.
^(Air Conditioning Off):Press this button to turn the
air conditioning compressor off. Press AUTO to return
to automatic operation. When in AUTO, the air
conditioning compressor will come on automatically,
as needed.
Air conditioning does not operate at temperatures below
about 35°F to 40°F (2°C to 4°C). In temperatures
above 40°F (4°C), the air conditioning cannot be turned
off in defrost and defog, as it helps to remove moisture
from the vehicle. It also helps to keep the windows clear.
You may notice a slight change in engine performance
when the air-conditioning compressor shuts off and
turns on again. This is normal. The system is designed
to make adjustments to help with fuel economy while
still maintaining the selected temperature.
On hot days, open the windows to let hot inside air
escape; then close them. This helps to reduce the time
it takes for your vehicle to cool down. It also helps
the system to operate more efficiently.
3-28