2008 CHEVROLET AVEO maintenance schedule
[x] Cancel search: maintenance schedulePage 1 of 384

Seats and Restraint Systems........................... 1-1
Front Seats
............................................... 1-2
Rear Seats
............................................... 1-7
Safety Belts
.............................................1-14
Child Restraints
.......................................1-32
Airbag System
.........................................1-56
Restraint System Check
............................1-72
Features and Controls..................................... 2-1
Keys
........................................................ 2-2
Doors and Locks
....................................... 2-6
Windows
.................................................2-12
Theft-Deterrent Systems
............................2-14
Starting and Operating Your Vehicle
...........2-17
Mirrors
....................................................2-32
Storage Areas
.........................................2-34
Sunroof
..................................................2-36
Instrument Panel............................................. 3-1
Instrument Panel Overview
.......................... 3-4
Climate Controls
......................................3-20
Warning Lights, Gages, and Indicators
........3-26
Secondary Information Center (SIC)
............3-43
Audio System(s)
.......................................3-54Driving Your Vehicle....................................... 4-1
Your Driving, the Road, and Your Vehicle
........ 4-2
Towing
...................................................4-27
Service and Appearance Care.......................... 5-1
Service
..................................................... 5-3
Fuel
......................................................... 5-5
Checking Things Under the Hood
...............5-10
Headlamp Aiming
.....................................5-40
Bulb Replacement
....................................5-41
Windshield Wiper Blade Replacement
.........5-49
Tires
......................................................5-50
Appearance Care
.....................................5-79
Vehicle Identification
.................................5-88
Electrical System
......................................5-88
Capacities and Specifications
.....................5-99
Normal Maintenance Replacement Parts
......5-100
Maintenance Schedule..................................... 6-1
Maintenance Schedule
................................ 6-2
Customer Assistance Information.................... 7-1
Customer Assistance and Information
........... 7-2
Reporting Safety Defects
...........................7-16
Vehicle Data Recording and Privacy
...........7-18
Index................................................................ 1
2008 Chevrolet Aveo Owner ManualM
Page 76 of 384
Restraint System Check
Checking the Restraint Systems
Safety Belts
Now and then, make sure the safety belt reminder light
and all your belts, buckles, latch plates, retractors
and anchorages are working properly.
Look for any other loose or damaged safety belt system
parts. If you see anything that might keep a safety
belt system from doing its job, have it repaired. Torn
or frayed safety belts may not protect you in a crash.
They can rip apart under impact forces. If a belt is torn
or frayed, get a new one right away.
Make sure the safety belt reminder light is working.
SeeSafety Belt Reminders on page 3-30for more
information.
Keep safety belts clean and dry. SeeCare of Safety
Belts on page 5-82.
Airbags
The airbag system does not need regularly scheduled
maintenance or replacement. Make sure the airbag
readiness light is working. SeeAirbag Readiness Light
on page 3-30for more information.
Notice:If an airbag covering is damaged, opened,
or broken, the airbag may not work properly. Do not
open or break the airbag coverings. If there are any
opened or broken airbag covers, have the airbag
covering and/or airbag module replaced. For the
location of the airbag modules, seeWhat Makes an
Airbag Inflate? on page 1-63. See your dealer/retailer
for service.
1-72
Page 153 of 384
This can happen if you have recently replaced the battery
or if the battery has run down. The diagnostic system is
designed to evaluate critical emission control systems
during normal driving. This can take several days of
routine driving. If you have done this and your vehicle
still does not pass the inspection for lack of OBD system
readiness, your dealer/retailer can prepare the vehicle for
inspection.
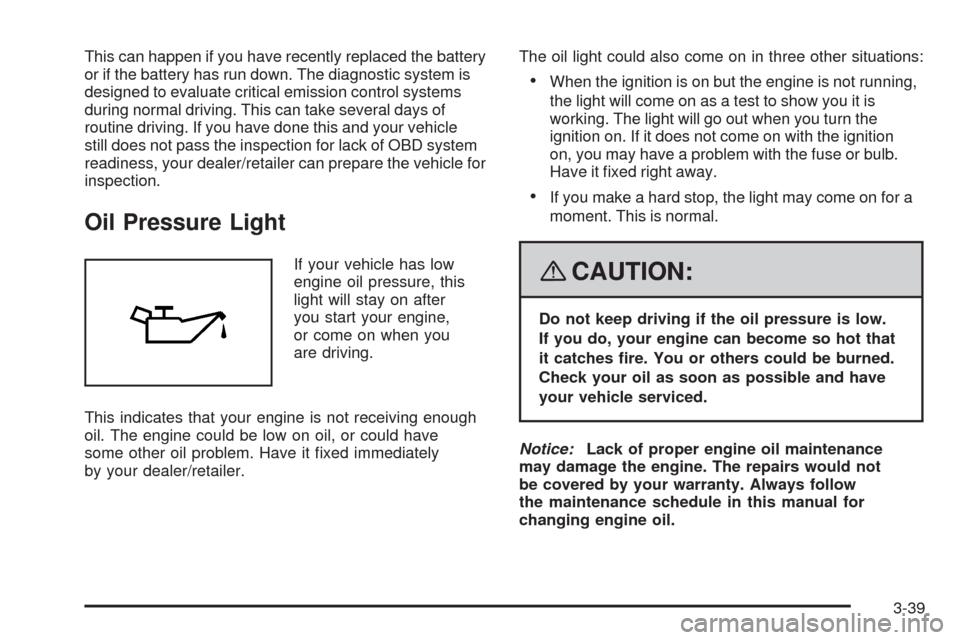
Oil Pressure Light
If your vehicle has low
engine oil pressure, this
light will stay on after
you start your engine,
or come on when you
are driving.
This indicates that your engine is not receiving enough
oil. The engine could be low on oil, or could have
some other oil problem. Have it fixed immediately
by your dealer/retailer.The oil light could also come on in three other situations:
•When the ignition is on but the engine is not running,
the light will come on as a test to show you it is
working. The light will go out when you turn the
ignition on. If it does not come on with the ignition
on, you may have a problem with the fuse or bulb.
Have it fixed right away.
•If you make a hard stop, the light may come on for a
moment. This is normal.
{CAUTION:
Do not keep driving if the oil pressure is low.
If you do, your engine can become so hot that
it catches �re. You or others could be burned.
Check your oil as soon as possible and have
your vehicle serviced.
Notice:Lack of proper engine oil maintenance
may damage the engine. The repairs would not
be covered by your warranty. Always follow
the maintenance schedule in this manual for
changing engine oil.
3-39
Page 166 of 384
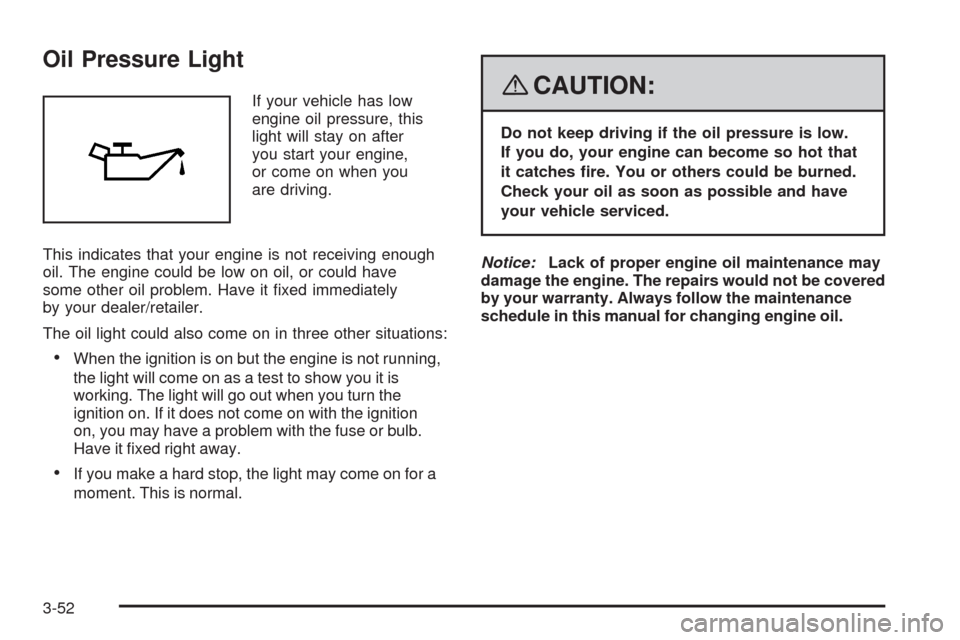
Oil Pressure Light
If your vehicle has low
engine oil pressure, this
light will stay on after
you start your engine,
or come on when you
are driving.
This indicates that your engine is not receiving enough
oil. The engine could be low on oil, or could have
some other oil problem. Have it fixed immediately
by your dealer/retailer.
The oil light could also come on in three other situations:
•When the ignition is on but the engine is not running,
the light will come on as a test to show you it is
working. The light will go out when you turn the
ignition on. If it does not come on with the ignition
on, you may have a problem with the fuse or bulb.
Have it fixed right away.
•If you make a hard stop, the light may come on for a
moment. This is normal.
{CAUTION:
Do not keep driving if the oil pressure is low.
If you do, your engine can become so hot that
it catches �re. You or others could be burned.
Check your oil as soon as possible and have
your vehicle serviced.
Notice:Lack of proper engine oil maintenance may
damage the engine. The repairs would not be covered
by your warranty. Always follow the maintenance
schedule in this manual for changing engine oil.
3-52
Page 238 of 384
If you are in an area of extreme cold, where the
temperature falls below−20°F (−29°C), it is
recommended that you use either an SAE 5W-30
synthetic oil or an SAE 0W-30 oil. Both provide easier
cold starting and better protection for the engine at
extremely low temperatures.
Engine Oil Additives
Do not add anything to the oil. The recommended oils
with the starburst symbol that meet GM Standard
GM6094M are all you need for good performance and
engine protection.
When to Change Engine Oil
If any one of these is true for you, use the short trip/city
maintenance schedule:
•Most trips are less than 5 miles (8 km). This is
particularly important when outside temperatures
are below freezing.
•Most trips include extensive idling, such as frequent
driving in stop-and-go traffic.
•You frequently use a carrier on top of your vehicle.
•The vehicle is used for delivery service, police,
taxi, or other commercial application.
Driving under these conditions causes engine oil to
break down sooner. If any one of these is true for your
vehicle, you need to change the oil and filter every
3,000 miles (5 000 km) or 3 months, whichever
occurs first.
If none of them is true, use the long trip/highway
maintenance schedule. Change the oil and filter every
7,500 miles (12 500 km) or 12 months, whichever occurs
first. Driving a vehicle with a fully warmed engine
under highway conditions will cause engine oil to break
down slower.
5-16
Page 240 of 384
When to Inspect the Engine
Air Cleaner/Filter
Inspect the engine air cleaner/filter every
15,000 miles (25 000 km) and replace it every
30,000 miles (50 000 km). If you are driving in
dusty/dirty conditions, inspect the filter at each
engine oil change.
How to Inspect the Engine
Air Cleaner/Filter
To inspect the engine air cleaner/filter remove the filter
from the vehicle and lightly shake the filter to release
loose dust and dirt. If the filter remains caked with dirt,
a new filter is required.
To inspect or replace the filter, do the following:
1. Remove the screws and lift off the cover.
2. Inspect or replace the engine air cleaner/filter.
3. Put the cover back on tightly and tighten the screws.
SeePart A: Scheduled Maintenance Services on
page 6-4for replacement intervals.
{CAUTION:
Operating the engine with the air cleaner/�lter
off can cause you or others to be burned.
The air cleaner not only cleans the air; it helps
to stop �ames if the engine back�res. If it is
not there and the engine back�res, you could
be burned. Do not drive with it off, and be
careful working on the engine with the air
cleaner/�lter off.
Notice:If the air cleaner/�lter is off, a back�re
can cause a damaging engine �re. And, dirt
can easily get into your engine, which will damage
it. Always have the air cleaner/�lter in place
when you are driving.
5-18
Page 242 of 384
Checking the Fluid Level
Prepare your vehicle as follows:
1. Park your vehicle on a level place. Keep the engine
running.
2. With the parking brake applied, place the shift lever
in PARK (P).
3. With your foot on the brake pedal, move the shift
lever through each gear range, pausing for about
three seconds in each range. Then, position
the shift lever in PARK (P).
4. Let the engine run at idle for three to five minutes.
Then, without shutting off the engine, follow these steps:
The automatic transmission dipstick is located toward
the front of the engine compartment, near the power
steering fluid reservoir. SeeEngine Compartment
Overview on page 5-12for more information on location.
1. Pull out the dipstick and wipe it with a clean rag
or paper towel.
2. Push the dipstick back in all the way, wait three
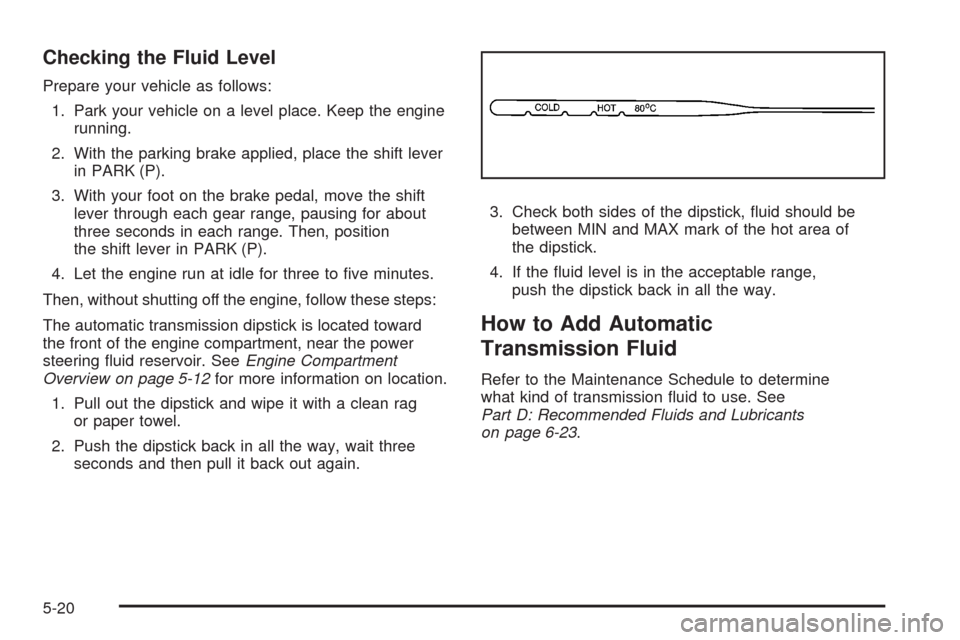
seconds and then pull it back out again.3. Check both sides of the dipstick, fluid should be
between MIN and MAX mark of the hot area of
the dipstick.
4. If the fluid level is in the acceptable range,
push the dipstick back in all the way.
How to Add Automatic
Transmission Fluid
Refer to the Maintenance Schedule to determine
what kind of transmission fluid to use. See
Part D: Recommended Fluids and Lubricants
on page 6-23.
5-20
Page 243 of 384
If the fluid level is low, add only enough of the proper
fluid to bring the level into the area between the
two dimples in the hot range on the dipstick.
1. Pull out the dipstick.
2. Using a long-neck funnel, add enough fluid at the
dipstick hole to bring it to the proper level.
It does not take much fluid, generally less than
one pint (0.5 L). Do not overfill.
Notice:Use of the incorrect automatic transmission
�uid may damage your vehicle, and the damages may
not be covered by your warranty. Always use the
automatic transmission �uid listed inPart D:
Recommended Fluids and Lubricants on page 6-23.
3. After adding fluid, recheck the fluid level as
described under “How to Check Automatic
Transmission Fluid,” earlier in this section.
4. When the correct fluid level is obtained, push the
dipstick back in all the way.Manual Transmission Fluid
It is not necessary to check the transmission fluid level.
A transmission fluid leak is the only reason for fluid loss.
If a leak occurs, take the vehicle to the dealer/retailer
service department and have it repaired as soon as
possible. SeePart D: Recommended Fluids and
Lubricants on page 6-23for the proper fluid to use.
Hydraulic Clutch
There is one reservoir for both the brake and the
hydraulic clutch fluid. SeeBrakes on page 5-32for
more information.
The hydraulic clutch linkage in your vehicle is
self-adjusting. The master cylinder reservoir is filled
with hydraulic fluid.
A fluid loss in this system could indicate a problem.
Have the system inspected and repaired.
When to Check and What to Use
Refer to the Maintenance Schedule to determine
how often you should check the fluid level in your
master cylinder reservoir and for the proper fluid.
SeePart B: Owner Checks and Services on page 6-18
andPart D: Recommended Fluids and Lubricants
on page 6-23.
5-21