2008 AUDI S5 lights
[x] Cancel search: lightsPage 38 of 294
Downloaded from www.Manualslib.com manuals search engine Driver information system 36Brake pads worn
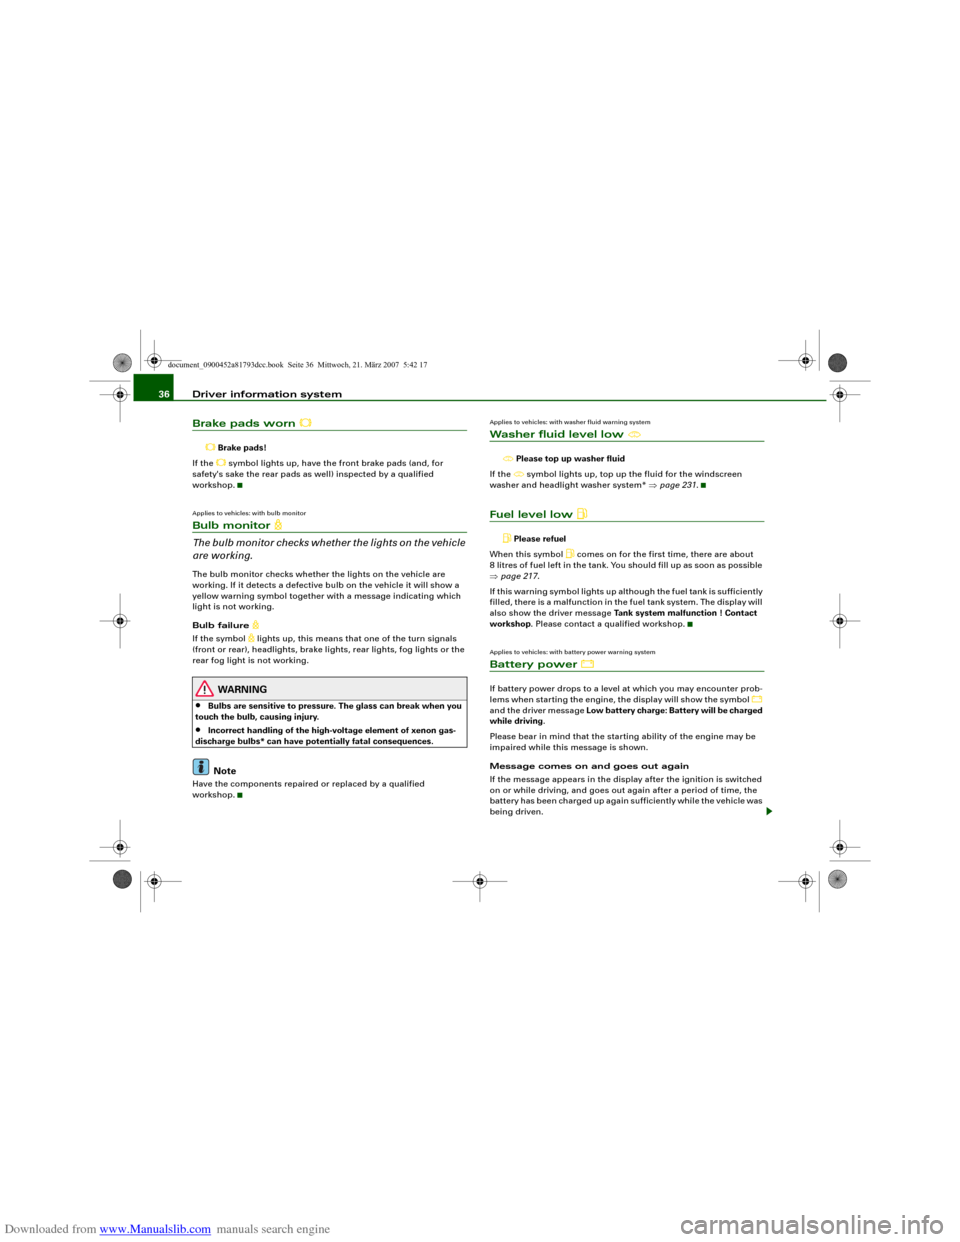
Brake pads!
If the symbol lights up, have the front brake pads (and, for
safety's sake the rear pads as well) inspected by a qualified
workshop.
Applies to vehicles: with bulb monitorBulb monitor
The bulb monitor checks whether the lights on the vehicle
are working.The bulb monitor checks whether the lights on the vehicle are
working. If it detects a defective bulb on the vehicle it will show a
yellow warning symbol together with a message indicating which
light is not working.
Bulb failure
If the symbol
lights up, this means that one of the turn signals
(front or rear), headlights, brake lights, rear lights, fog lights or the
rear fog light is not working.
WARNING
•
Bulbs are sensitive to pressure. The glass can break when you
touch the bulb, causing injury.
•
Incorrect handling of the high-voltage element of xenon gas-
discharge bulbs* can have potentially fatal consequences.Note
Have the components repaired or replaced by a qualified
workshop.
Applies to vehicles: with washer fluid warning systemWasher fluid level low
Please top up washer fluid
If the symbol lights up, top up the fluid for the windscreen
washer and headlight washer system* ⇒page 231.
Fuel level low
Please refuel
When this symbol
comes on for the first time, there are about
8 litres of fuel left in the tank. You should fill up as soon as possible
⇒page 217.
If this warning symbol lights up although the fuel tank is sufficiently
filled, there is a malfunction in the fuel tank system. The display will
also show the driver message Tank system malfunction ! Contact
workshop. Please contact a qualified workshop.
Applies to vehicles: with battery power warning systemBattery power
If battery power drops to a level at which you may encounter prob-
lems when starting the engine, the display will show the symbol
and the driver message Low battery charge: Battery will be charged
while driving.
Please bear in mind that the starting ability of the engine may be
impaired while this message is shown.
Message comes on and goes out again
If the message appears in the display after the ignition is switched
on or while driving, and goes out again after a period of time, the
battery has been charged up again sufficiently while the vehicle was
being driven.
document_0900452a81793dcc.book Seite 36 Mittwoch, 21. März 2007 5:42 17
Page 39 of 294
Downloaded from www.Manualslib.com manuals search engine Driver information system37
Controls
Safety
Driving tips
General maintenance
Self-help
Technical data Message comes on and does not go out
If the message appears in the display after the ignition is switched
on or while driving, and does not go out again, the battery is not
being maintained at the proper power level. Starting reliability may
be impaired. You should have the battery checked by a qualified
workshop as soon as possible.
Check engine oil level
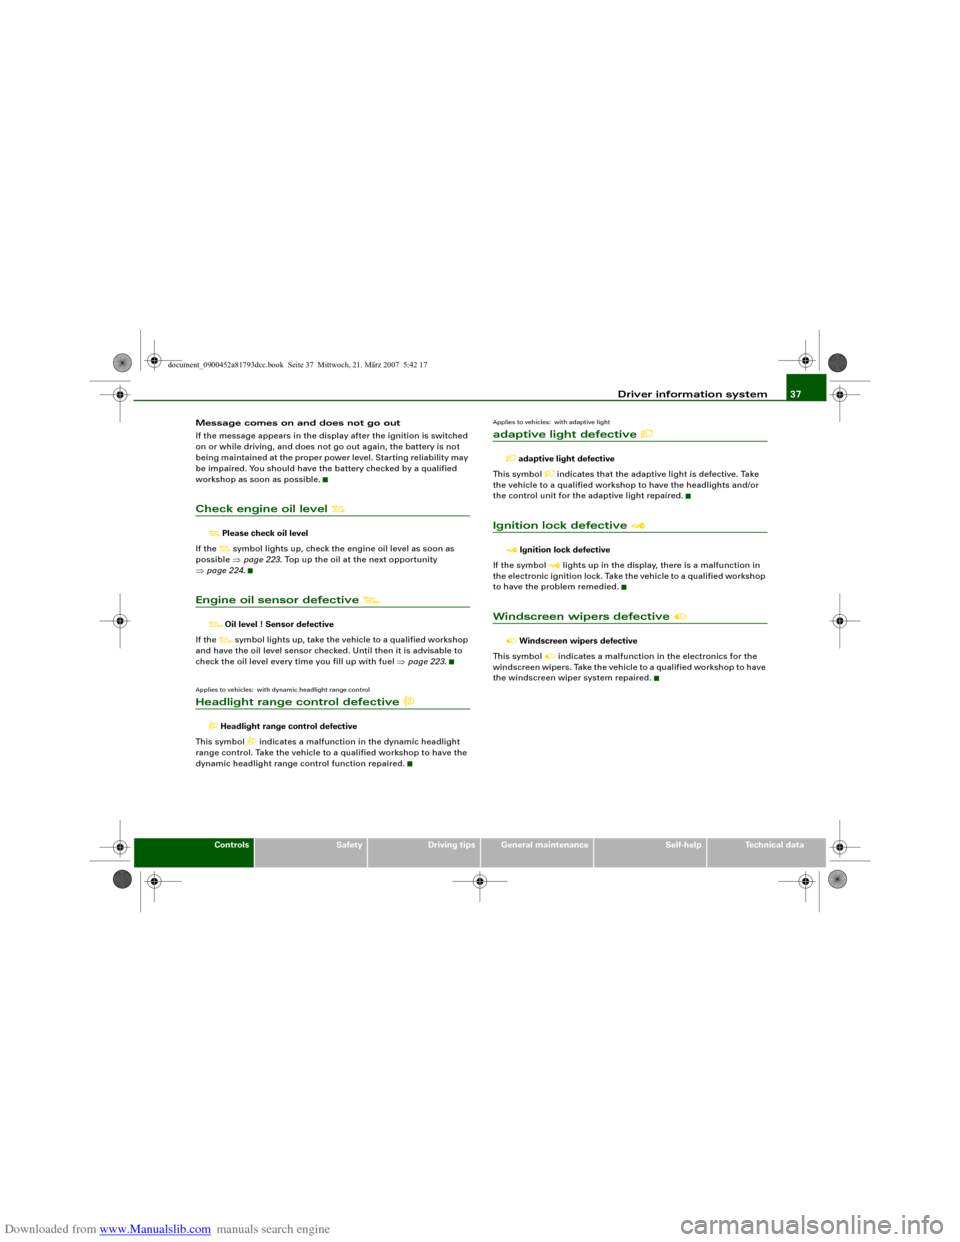
Please check oil level
If the symbol lights up, check the engine oil level as soon as
possible ⇒page 223. Top up the oil at the next opportunity
⇒page 224.
Engine oil sensor defective
Oil level ! Sensor defective
If the
symbol lights up, take the vehicle to a qualified workshop
and have the oil level sensor checked. Until then it is advisable to
check the oil level every time you fill up with fuel ⇒page 223.
Applies to vehicles: with dynamic headlight range controlHeadlight range control defective
Headlight range control defective
This symbol
indicates a malfunction in the dynamic headlight
range control. Take the vehicle to a qualified workshop to have the
dynamic headlight range control function repaired.
Applies to vehicles: with adaptive lightadaptive light defective
adaptive light defective
This symbol
indicates that the adaptive light is defective. Take
the vehicle to a qualified workshop to have the headlights and/or
the control unit for the adaptive light repaired.
Ignition lock defective
Ignition lock defective
If the symbol
lights up in the display, there is a malfunction in
the electronic ignition lock. Take the vehicle to a qualified workshop
to have the problem remedied.
Windscreen wipers defective
Windscreen wipers defective
This symbol
indicates a malfunction in the electronics for the
windscreen wipers. Take the vehicle to a qualified workshop to have
the windscreen wiper system repaired.
document_0900452a81793dcc.book Seite 37 Mittwoch, 21. März 2007 5:42 17
Page 41 of 294
Downloaded from www.Manualslib.com manuals search engine Doors and windows39
Controls
Safety
Driving tips
General maintenance
Self-help
Technical data
WARNING
•
Always switch off the ignition and take the key with you when
leaving the vehicle - even if you only intend to be gone for a short
time. This is especially important if children are left in the car. They
might otherwise be able to start the engine or use power-operated
equipment such as the electric windows - this could lead to inju-
ries.
•
Wait for the vehicle to come to a standstill before removing the
ignition key from the lock. Otherwise the steering lock could
engage suddenly, causing an accident.Note
The function of the remote control key may be impaired by interfer-
ence from other nearby radio signals (for example from a mobile
telephone or TV transmitter) if these are in the same frequency
range.Indicator lamp on remote control key
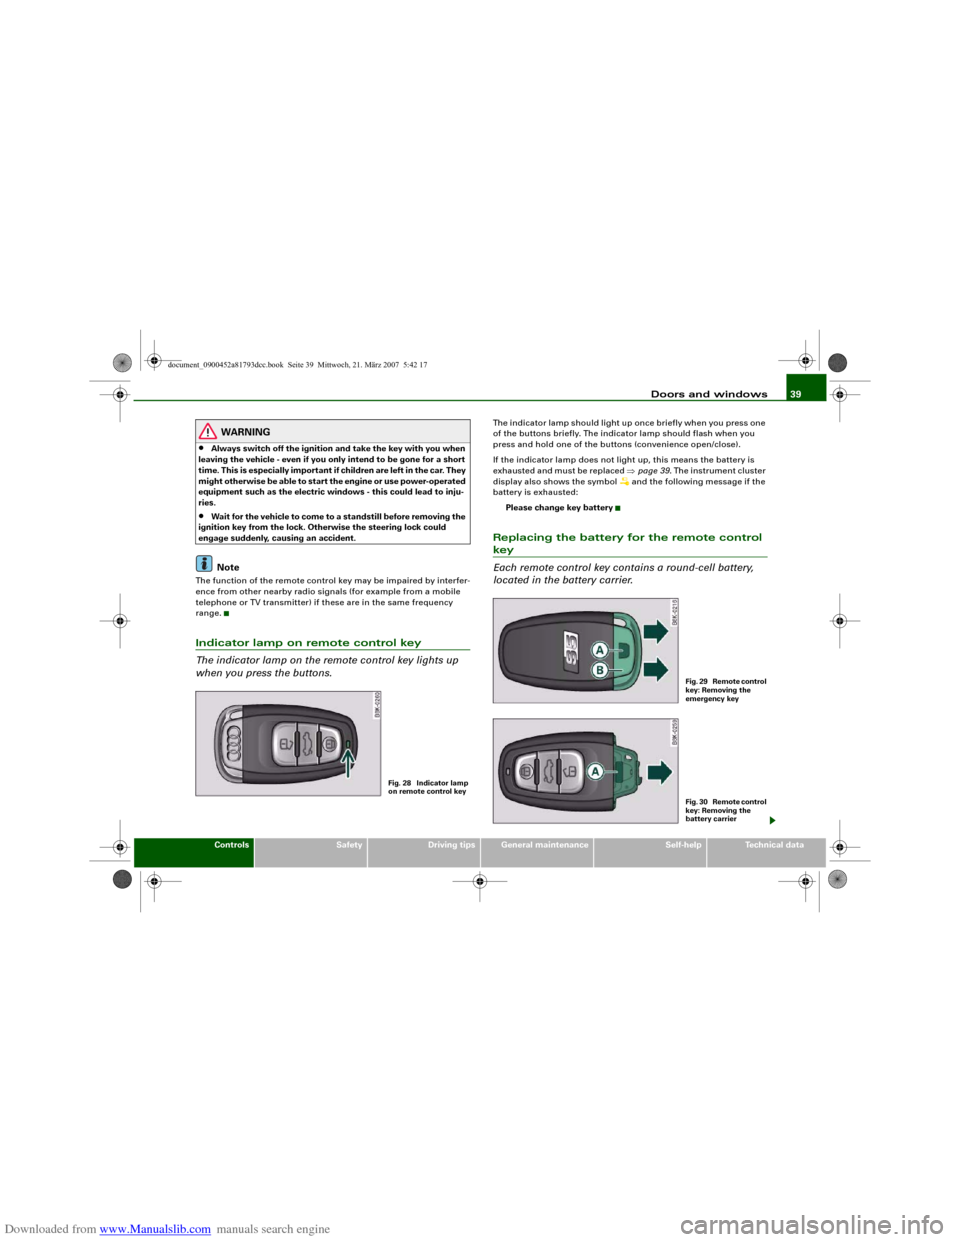
The indicator lamp on the remote control key lights up
when you press the buttons.
The indicator lamp should light up once briefly when you press one
of the buttons briefly. The indicator lamp should flash when you
press and hold one of the buttons (convenience open/close).
If the indicator lamp does not light up, this means the battery is
exhausted and must be replaced ⇒page 39. The instrument cluster
display also shows the symbol
and the following message if the
battery is exhausted:
Please change key battery
Replacing the battery for the remote control key
Each remote control key contains a round-cell battery,
located in the battery carrier.
Fig. 28 Indicator lamp
on remote control key
F i g . 2 9 R e m o t e c o n t r o l
key: Removing the
emergency keyF i g . 3 0 R e m o t e c o n t r o l
key: Removing the
battery carrier
document_0900452a81793dcc.book Seite 39 Mittwoch, 21. März 2007 5:42 17
Page 45 of 294
Downloaded from www.Manualslib.com manuals search engine Doors and windows43
Controls
Safety
Driving tips
General maintenance
Self-help
Technical data
WARNING
Do not leave anyone (especially children) in the car if it is locked
from the outside and the deadlock mechanism is activated: the
doors and windows cannot then be opened from the inside.
Locked doors could delay assistance in an emergency, potentially
putting lives at risk.
Note
•
Never leave any valuable items in the vehicle unattended. Even a
locked vehicle is not a safe.
•
If the diode on the driver's window sill lights up for about 30
seconds when the vehicle is locked, the central locking system or
anti-theft alarm* is not working properly. Please have the malfunc-
tion repaired by an Audi dealer or qualified workshop.
•
The interior monitor of the anti-theft alarm* system will only
function as intended if the windows and the tilting panorama roof*
are closed.
Setting the central locking system
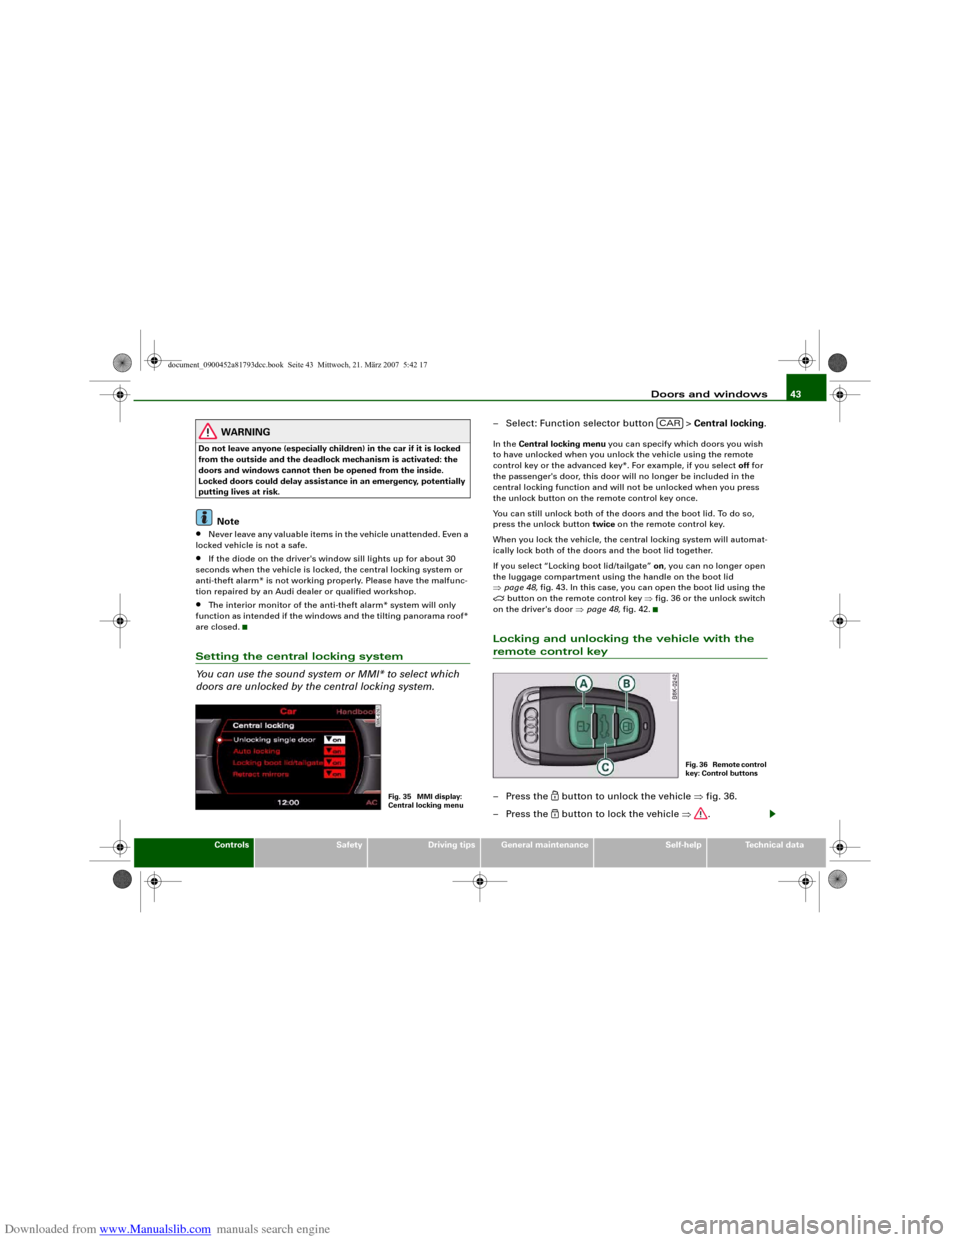
You can use the sound system or MMI* to select which
doors are unlocked by the central locking system.
– Select: Function selector button > Central locking.In the Central locking menu you can specify which doors you wish
to have unlocked when you unlock the vehicle using the remote
control key or the advanced key*. For example, if you select off for
the passenger's door, this door will no longer be included in the
central locking function and will not be unlocked when you press
the unlock button on the remote control key once.
You can still unlock both of the doors and the boot lid. To do so,
press the unlock button twice on the remote control key.
When you lock the vehicle, the central locking system will automat-
ically lock both of the doors and the boot lid together.
If you select “Locking boot lid/tailgate” on, you can no longer open
the luggage compartment using the handle on the boot lid
⇒page 48, fig. 43. In this case, you can open the boot lid using the
button on the remote control key ⇒fig. 36 or the unlock switch
on the driver's door ⇒page 48, fig. 42.
Locking and unlocking the vehicle with the remote control key– Press the
button to unlock the vehicle ⇒fig. 36.
– Press the button to lock the vehicle ⇒.
Fig. 35 MMI display:
Central locking menu
CAR
F i g . 3 6 R e m o t e c o n t r o l
key: Control buttons
document_0900452a81793dcc.book Seite 43 Mittwoch, 21. März 2007 5:42 17
Page 48 of 294
Downloaded from www.Manualslib.com manuals search engine Doors and windows 46
WARNING
Do not leave anyone (especially children) in the car if it is locked
from the outside and the deadlock mechanism is activated: the
doors and windows cannot then be opened from the inside.
Locked doors could delay assistance in an emergency, potentially
putting lives at risk.
Note
•
The central locking switch and the release button for the boot lid
will function after the ignition is switched on.
•
If the vehicle is locked with the key when the central locking
system is operational, it is only possible to unlock all the doors and
the boot lid centrally with the key within the next 45 seconds. After
this period, the key will only unlock the driver's door.
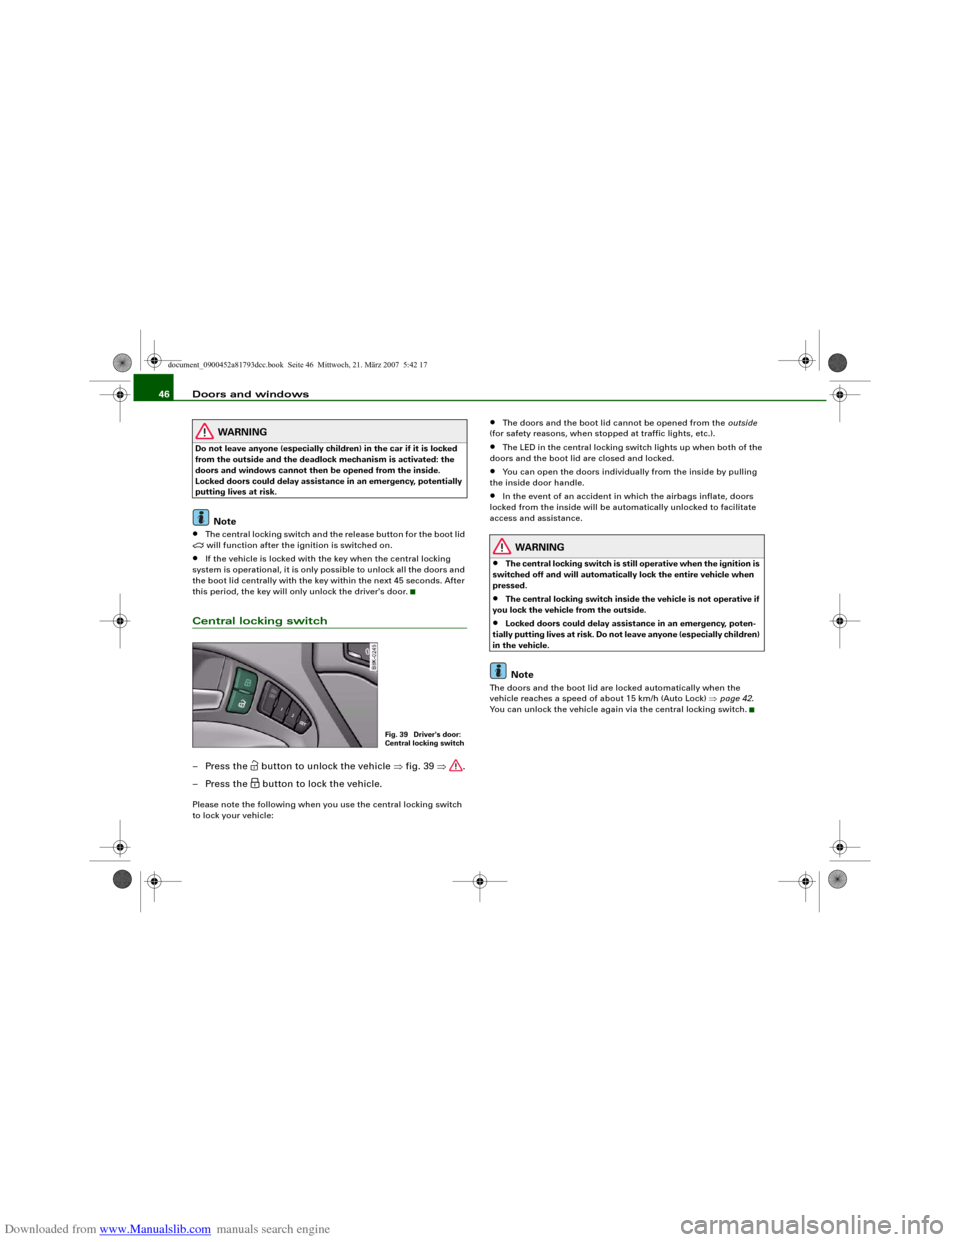
Central locking switch– Press the
button to unlock the vehicle ⇒fig. 39 ⇒.
– Press the button to lock the vehicle.
Please note the following when you use the central locking switch
to lock your vehicle:
•
The doors and the boot lid cannot be opened from the outside
(for safety reasons, when stopped at traffic lights, etc.).
•
The LED in the central locking switch lights up when both of the
doors and the boot lid are closed and locked.
•
You can open the doors individually from the inside by pulling
the inside door handle.
•
In the event of an accident in which the airbags inflate, doors
locked from the inside will be automatically unlocked to facilitate
access and assistance.
WARNING
•
The central locking switch is still operative when the ignition is
switched off and will automatically lock the entire vehicle when
pressed.
•
The central locking switch inside the vehicle is not operative if
you lock the vehicle from the outside.
•
Locked doors could delay assistance in an emergency, poten-
tially putting lives at risk. Do not leave anyone (especially children)
in the vehicle.Note
The doors and the boot lid are locked automatically when the
vehicle reaches a speed of about 15 km/h (Auto Lock) ⇒page 42.
You can unlock the vehicle again via the central locking switch.
Fig. 39 Driver's door:
Central locking switch
document_0900452a81793dcc.book Seite 46 Mittwoch, 21. März 2007 5:42 17
Page 56 of 294
Downloaded from www.Manualslib.com manuals search engine Lights and vision 54Lights and visionLightsSwitching lights on and off
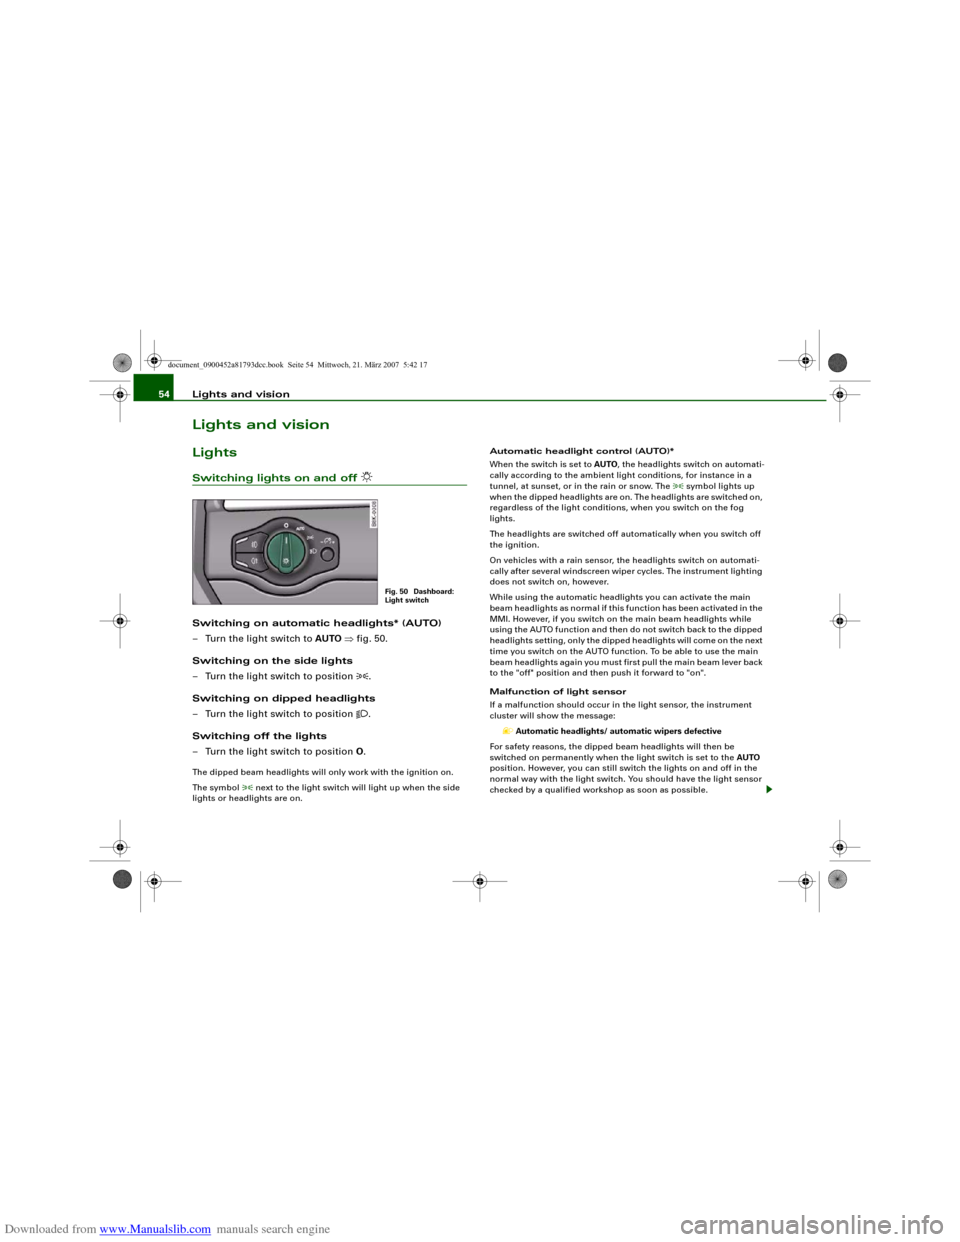
Switching on automatic headlights* (AUTO)
– Turn the light switch to AUTO ⇒fig. 50.
Switching on the side lights
– Turn the light switch to position
.
Switching on dipped headlights
– Turn the light switch to position
.
Switching off the lights
– Turn the light switch to position O.
The dipped beam headlights will only work with the ignition on.
The symbol
next to the light switch will light up when the side
lights or headlights are on.Automatic headlight control (AUTO)*
When the switch is set to AUTO, the headlights switch on automati-
cally according to the ambient light conditions, for instance in a
tunnel, at sunset, or in the rain or snow. The
symbol lights up
when the dipped headlights are on. The headlights are switched on,
regardless of the light conditions, when you switch on the fog
lights.
The headlights are switched off automatically when you switch off
the ignition.
On vehicles with a rain sensor, the headlights switch on automati-
cally after several windscreen wiper cycles. The instrument lighting
does not switch on, however.
While using the automatic headlights you can activate the main
beam headlights as normal if this function has been activated in the
MMI. However, if you switch on the main beam headlights while
using the AUTO function and then do not switch back to the dipped
headlights setting, only the dipped headlights will come on the next
time you switch on the AUTO function. To be able to use the main
beam headlights again you must first pull the main beam lever back
to the "off" position and then push it forward to "on".
Malfunction of light sensor
If a malfunction should occur in the light sensor, the instrument
cluster will show the message:
Automatic headlights/ automatic wipers defective
For safety reasons, the dipped beam headlights will then be
switched on permanently when the light switch is set to the AUTO
position. However, you can still switch the lights on and off in the
normal way with the light switch. You should have the light sensor
checked by a qualified workshop as soon as possible.
Fig. 50 Dashboard:
Light switch
document_0900452a81793dcc.book Seite 54 Mittwoch, 21. März 2007 5:42 17
Page 57 of 294
Downloaded from www.Manualslib.com manuals search engine Lights and vision55
Controls
Safety
Driving tips
General maintenance
Self-help
Technical data
WARNING
The automatic headlights are only intended to assist the driver.
The driver must always ensure that the headlights are used when
required, and may have to switch them on manually when the light
conditions or visibility are poor. For example, the light sensors are
not able to detect fog. Therefore, you should always switch on the
headlights
in these conditions and when driving after dark.
Note
•
The light sensor for automatic headlight control is located in the
mounting for the interior mirror. Do not affix any stickers on this
section of the windscreen to avoid malfunctioning of the sensor.
•
The default sensitivity of the light sensor, which is set at the
factory, can be changed in the MMI menu Auto headlights
⇒page 56.
•
If the lights are left on after the key has been taken out of the
ignition lock, a buzzer sounds when the driver's door is opened.
•
The use of the lighting described here is subject to the relevant
statutory requirements.
•
The coming home/leaving home function is active only when the
light switch is set to AUTO.
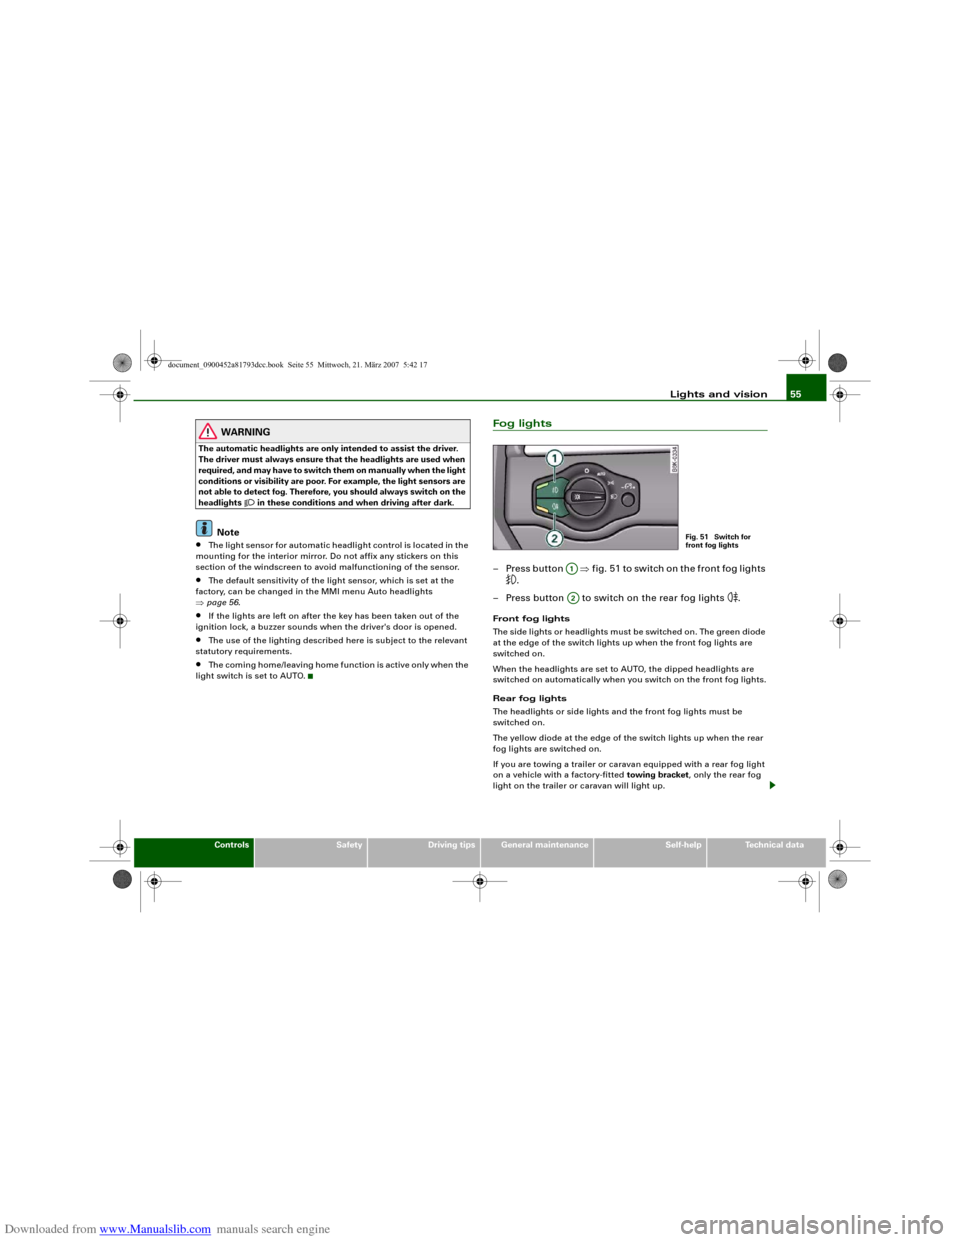
Fog lights– Press button ⇒fig. 51 to switch on the front fog lights
.
– Press button to switch on the rear fog lights
.
Front fog lights
The side lights or headlights must be switched on. The green diode
at the edge of the switch lights up when the front fog lights are
switched on.
When the headlights are set to AUTO, the dipped headlights are
switched on automatically when you switch on the front fog lights.
Rear fog lights
The headlights or side lights and the front fog lights must be
switched on.
The yellow diode at the edge of the switch lights up when the rear
fog lights are switched on.
If you are towing a trailer or caravan equipped with a rear fog light
on a vehicle with a factory-fitted towing bracket, only the rear fog
light on the trailer or caravan will light up.
Fig. 51 Switch for
front fog lights
A1A2
document_0900452a81793dcc.book Seite 55 Mittwoch, 21. März 2007 5:42 17
Page 58 of 294
Downloaded from www.Manualslib.com manuals search engine Lights and vision 56
CautionTo avoid dazzling the traffic behind you, the rear fog light should
only be used in accordance with statutory regulations.Exterior lighting settings
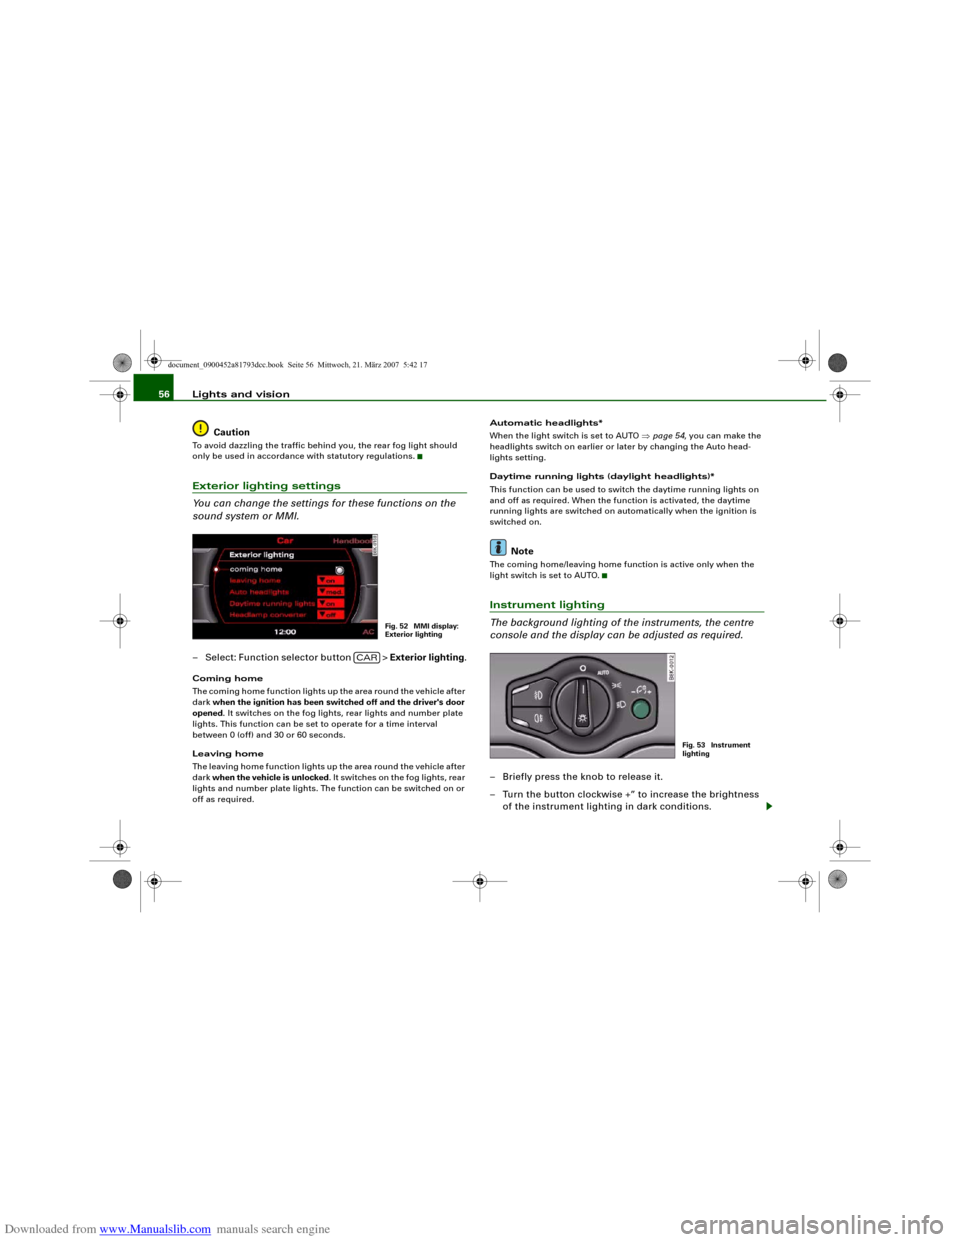
You can change the settings for these functions on the
sound system or MMI.– Select: Function selector button > Exterior lighting.Coming home
The coming home function lights up the area round the vehicle after
dark when the ignition has been switched off and the driver's door
opened. It switches on the fog lights, rear lights and number plate
lights. This function can be set to operate for a time interval
between 0 (off) and 30 or 60 seconds.
Leaving home
The leaving home function lights up the area round the vehicle after
dark when the vehicle is unlocked. It switches on the fog lights, rear
lights and number plate lights. The function can be switched on or
off as required.Automatic headlights*
When the light switch is set to AUTO ⇒page 54, you can make the
headlights switch on earlier or later by changing the Auto head-
lights setting.
Daytime running lights (daylight headlights)*
This function can be used to switch the daytime running lights on
and off as required. When the function is activated, the daytime
running lights are switched on automatically when the ignition is
switched on.
Note
The coming home/leaving home function is active only when the
light switch is set to AUTO.Instrument lighting
The background lighting of the instruments, the centre
console and the display can be adjusted as required.– Briefly press the knob to release it.
– Turn the button clockwise +” to increase the brightness
of the instrument lighting in dark conditions.
Fig. 52 MMI display:
Exterior lighting
CAR
Fig. 53 Instrument
lighting
document_0900452a81793dcc.book Seite 56 Mittwoch, 21. März 2007 5:42 17