Page 258 of 422
 8-11
Système d’échappement*Contrôler l’absence de fuite.
Resserrer si nécessaire.
Remplacer tout joint défectueux.Pare-étincellesNettoyer.Circuit d’alimentation*Contrôler la durite d")
8-11
Système d’échappement*Contrôler l’absence de fuite.
Resserrer si nécessaire.
Remplacer tout joint défectueux.Pare-étincellesNettoyer.Circuit d’alimentation*Contrôler la durite de carburant et s’assurer de l’absence de craquelures
ou autre endommagement.
Remplacer si nécessaire.Huile moteurChanger (chauffer le moteur avant de vidanger).Cartouche de filtre à huileRemplacer.Huile de couple conique
arrièreContrôler le niveau d’huile et l’absence de fuite.
Remplacer.Huile de différentiel
Frein avant*Contrôler le fonctionnement, l’usure des plaquettes et l’absence de fui-
te. Voir N.B. page 8-12.
Corriger si nécessaire. Remplacer les plaquettes si usées jusqu’à la li-
mite.Frein arrière*Contrôler le fonctionnement, l’usure des plaquettes et l’absence de fui-
te. Voir N.B. page 8-12.
Corriger si nécessaire. Remplacer les plaquettes si usées jusqu’à la li-
mite.Pédale d’accélérateur*Contrôler le fonctionnement et la garde.Courroie trapézoïdale*Contrôler le fonctionnement.
Contrôler l’usure, les craquelures ou autre endommagement.Roues*Contrôler l’équilibre, l’endommagement et le voile.
Réparer si nécessaire.Roulements de roue*Contrôler l’absence de jeu et d’endommagement.
Remplacer en cas d’endommagement.Suspension avant et arrière*Contrôler le fonctionnement et l’absence de fuite.
Corriger si nécessaire.Direction*Contrôler le fonctionnement et le jeu. Remplacer en cas d’endommage-
ment.
Contrôler le pincement. Régler si nécessaire.
ÉLÉMENT VÉRIFICATIONLe plus court
des deux
intervallesINITIAL CHAQUE
mois136612
km
(mi)320
(200)1.200
(750)2.400
(1.500)2.400
(1.500)4.800
(3.000)
heures 20 75 150 150 300
EE.book Page 11 Friday, August 4, 2006 12:02 PM
Page 270 of 422
8-23
EVU00701
Engine oil and oil filter cartridge
The engine oil level should be checked before
each operation. In addition, the oil must be
changed and the oil filter cartridge replaced at the
intervals specified in the periodic maintenance and
lubrication chart.
To check the engine oil level
1. Place the vehicle on a level surface.
2. Remove the console. (See page 8-21 for
console removal and installation proce-
dures.)
3. Check the engine oil level on a cold engine.NOTE:If the engine was started before checking the oil
level, be sure to warm up the engine sufficiently,
and then wait at least ten minutes until the oil set-
tles for an accurate reading.
EE.book Page 23 Friday, August 4, 2006 12:02 PM
Page 272 of 422
8-25 1. Maximum level mark 2. Minimum level mark
3. Dipstick 4. Engine oil filler cap
1. Repère de niveau maximum 2. Repère de niveau minimum
3. Jauge
4. Bouchon de remplissage de l’huile moteur
1. Marca de nivel máximo 2. Marca de nivel mínimo
3. Varilla de medición
4. Tapón de llenado de aceite del motor
4. Remove the engine oil filler cap and wipe off
the dipstick with a clean rag.
5. Insert the dipstick in the oil filler hole (without
screwing it in), and then remove it again to
check the oil level.NOTE:_ The engine oil should be between the minimum
and maximum level marks. _6. If the engine oil is at or below the minimum
level mark, add sufficient oil of the recom-
mended type to raise it to the correct level.
7. Insert the dipstick into the oil filler hole, and
then tighten the oil filler cap.
8. Install the console.
EE.book Page 25 Friday, August 4, 2006 12:02 PM
Page 274 of 422
8-27 1. Engine oil drain bolt
1. Vis de vidange d’huile moteur
1. Perno de vaciado del aceite del motor
1. Oil filter cartridge 2. Oil filter wrench
1. Cartouche de filtre à huile 2. Clé pour filtre à huile
1. Cartucho del filtro de aceite 2. Llave para filtros de aceite
To change the engine oil (with or without oil fil-
ter cartridge replacement)
1. Remove the console. (See page 8-21 for
console removal and installation proce-
dures.)
2. Place an oil pan under the engine to collect
the used oil, and then remove the engine oil
filler cap.
3. Remove the engine oil drain bolt to drain the
oil from the crankcase.NOTE:_ Skip steps 4–6 if the oil filter cartridge is not being
replaced. _4. Remove the oil filter cartridge with an oil filter
wrench.NOTE:_ An oil filter wrench is available at a nearby
Yamaha dealer. _
EE.book Page 27 Friday, August 4, 2006 12:02 PM
Page 276 of 422
8-29 1. O-ring
1. Joint torique
1. Junta tórica
1. Oil filter cartridge 2. Torque wrench
1. Cartouche de filtre à huile 2. Clé dynamométrique
1. Cartucho del filtro de aceite 2. Llave dinamométrica
5. Apply a light coat of engine oil to the O-ring of
the new oil filter cartridge.NOTE:_ Make sure the O-ring is seated properly. _6. Install the new oil filter cartridge with an oil fil-
ter wrench, and then tighten it to the specified
torque with a torque wrench.
7. Install the engine oil drain bolt, and then tight-
en it to the specified torque.
8. Add the specified amount of recommended
engine oil, and then install the engine oil filler
cap and tighten it. Tightening torque:
Oil filter cartridge:
17 Nm (1.7 m·kgf, 12 ft·lbf)
Tightening torque:
Engine oil drain bolt:
30 Nm (3.0 m·kgf, 22 ft·lbf)
EE.book Page 29 Friday, August 4, 2006 12:02 PM
Page 278 of 422
8-31
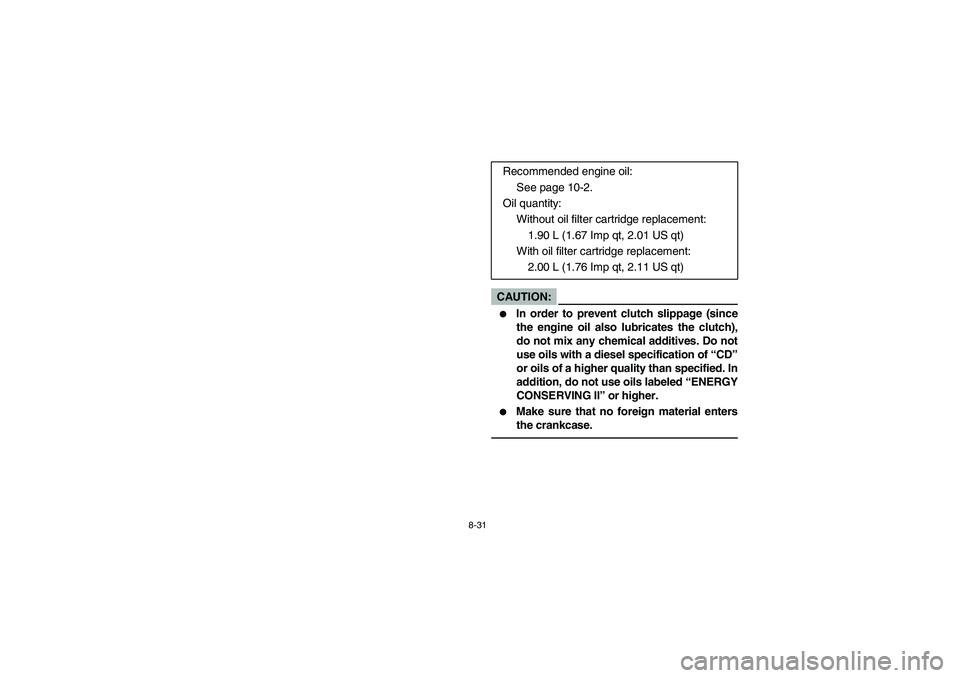
CAUTION:_ �
In order to prevent clutch slippage (since
the engine oil also lubricates the clutch),
do not mix any chemical additives. Do not
use oils with a diesel specification of “CD”
or oils of a higher quality than specified. In
addition, do not use oils labeled “ENERGY
CONSERVING II” or higher.
�
Make sure that no foreign material enters
the crankcase.
_
Recommended engine oil:
See page 10-2.
Oil quantity:
Without oil filter cartridge replacement:
1.90 L (1.67 Imp qt, 2.01 US qt)
With oil filter cartridge replacement:
2.00 L (1.76 Imp qt, 2.11 US qt)
EE.book Page 31 Friday, August 4, 2006 12:02 PM
Page 280 of 422
8-33
9. Start the engine, and then let it idle for sever-
al minutes while checking it for oil leakage. If
oil is leaking, immediately turn the engine off
and check for the cause.
10. Turn the engine off, wait at least ten minutes,
and then check the oil level and correct it if
necessary.
11. Install the console.
EE.book Page 33 Friday, August 4, 2006 12:02 PM
Page 282 of 422
8-35 1. Final gear oil filler bolt 2. Final gear oil
3. Correct oil level
1. Vis de remplissage de l’huile de couple conique arrière
2. Huile de couple conique arrière
3. Niveau d’huile correct
1. Perno de llenado de aceite del engranaje final
2. Aceite del engranaje final
3. Nivel de aceite correcto
EVU00710
Final gear oil
Checking the final gear oil level
1. Place the vehicle on a level surface.
2. Remove the oil filler bolt, and then check the
oil level in the final gear case.NOTE:_ The oil level should be at the brim of the filler hole. _3. If the oil is below the brim of the filler hole,
add sufficient oil of the recommended type to
raise it to the correct level.CAUTION:_ Be sure no foreign material enters the final
gear case. _4. Install the oil filler bolt, and then tighten it to
the specified torque.
Tightening torque:
Final gear oil filler bolt:
23 Nm (2.3 m·kgf, 17 ft·lbf)
EE.book Page 35 Friday, August 4, 2006 12:02 PM
 8-23
EVU00701
Engine oil and oil filter cartridge
The engine oil level should be checked before
each operation. In addition, the oil must be
changed and the oil filter cartridge replaced at the
interv")
 8-25 1. Maximum level mark 2. Minimum level mark
3. Dipstick 4. Engine oil filler cap
1. Repère de niveau maximum 2. Repère de niveau minimum
3. Jauge
4. Bouchon de remplissage de l’huile moteur
1")
 8-27 1. Engine oil drain bolt
1. Vis de vidange d’huile moteur
1. Perno de vaciado del aceite del motor
1. Oil filter cartridge 2. Oil filter wrench
1. Cartouche de filtre à huile 2. Clé pour filt")
 8-29 1. O-ring
1. Joint torique
1. Junta tórica
1. Oil filter cartridge 2. Torque wrench
1. Cartouche de filtre à huile 2. Clé dynamométrique
1. Cartucho del filtro de aceite 2. Llave dinamométri")
 8-33
9. Start the engine, and then let it idle for sever-
al minutes while checking it for oil leakage. If
oil is leaking, immediately turn the engine off
and check for the cause.
10. Turn the engine")
 8-35 1. Final gear oil filler bolt 2. Final gear oil
3. Correct oil level
1. Vis de remplissage de l’huile de couple conique arrière
2. Huile de couple conique arrière
3. Niveau d’huile correct")