Page 39 of 140

5-1
1
2
3
45
6
7
8
9
10
11
EBU19200
PRE-OPERATION CHECKS
EBU19220
Pre-operation check list
Before operating this ATV, be sure to check the items listed in the following table.
NOTE:
The maintenance of some items in the table has to be performed by a Yamaha dealer. Refer to the “Periodic
maintenance and lubrication chart” on page 8-3 to determine which service should be performed by a
Yamaha dealer.
ITEM ROUTINE PAGE
Fuel
�
Check fuel level in fuel tank, and add recommended fuel if neces-
sary.
�
Check fuel line for leakage. Correct if necessary.4-8, 5-4
Transmission oil
�
Check oil level in transmission case, and add recommended oil to
specified level if necessary.
�
Check ATV for oil leakage. Correct if necessary.5-4, 8-9
Coolant
�
Check coolant level in reservoir, and add recommended coolant to
specified level if necessary.
�
Check cooling system for leakage. Correct if necessary.5-4, 8-11
Front brake
�
Check operation. If soft or spongy, have Yamaha dealer bleed
hydraulic system.
�
Check brake pads for wear, and replace if necessary.
�
Check brake fluid level in reservoir, and add recommended brake
fluid to specified level if necessary.
�
Check hydraulic system for leakage. Correct if necessary.5-4, 8-31, 8-32, 8-33
Page 42 of 140

5-4
1
2
3
45
6
7
8
9
10
11
EBU19550
Fuel and 2-stroke engine oil mixing
ratio
If Yamalube “R” oil is not available, select an oil
from the following list.
CAUTION:
ECB00140
Never mix two types of 2-stroke engine oil in
the same batch. Always use the same type of
oil to ensure maximum engine performance.
EBU19580
Transmission oil
Make sure that the transmission oil is at the speci-
fied level. Add oil as necessary. (See page 8-9.)
EBU19630
Coolant
Make sure that the coolant is at the specified level.
Add coolant as necessary. (See page 8-11.)
NOTE:
The coolant level must be checked on a cold en-
gine since the level varies with engine tempera-
ture.WARNING
EWB00510
Wait for the engine and radiator to cool before
removing the radiator cap. You could be
burned by hot fluid and steam blown out under
pressure. Always put a thick rag over the cap
when opening. Allow any remaining pressure
to escape before completely removing the cap.
EBU19710
Front and rear brakes
Brake lever and brake pedal
�
Check that there is no free play in the brake le-
ver. If there is free play, have a Yamaha dealer
check the brake system.
�
Check for correct brake pedal height. (See Recommended 2-stroke engine oil:
Yamalube “R” (Yamalube Racing 2-cycle oil)
Mixing ratio:
24:1
Recommended 2-stroke engine oil Mixing ratio
Castrol R30
20:1 Castrol A545
Castrol A747
Page 47 of 140

6-1
1
2
3
4
56
7
8
9
10
11
EBU19880
OPERATION
EBU19900
Read the Owner’s Manual carefully before riding
the ATV.
WARNING
EWB00630
Read the Owner’s Manual carefully to become
familiar with all controls in order to help pre-
vent any loss of control, which could cause an
accident or injury. If there is a control or func-
tion you do not understand, ask your Yamaha
dealer.
EBU20281
Starting a cold engine
WARNING
EWB00640
Always make sure all control cables work
smoothly before you begin riding in cold
weather. If the control cables are frozen or do
not work smoothly, you could be unable to
control the ATV, which could lead to an acci-
dent or collision.
CAUTION:
ECB00150
See the “Engine break-in” section on page 6-4
prior to operating the engine for the first time.
1. Set the parking brake.
2. Turn the fuel cock to “ON”.
3. Turn the main switch to “ON” and the engine
stop switch to “RUN”.
4. Shift the transmission into neutral.
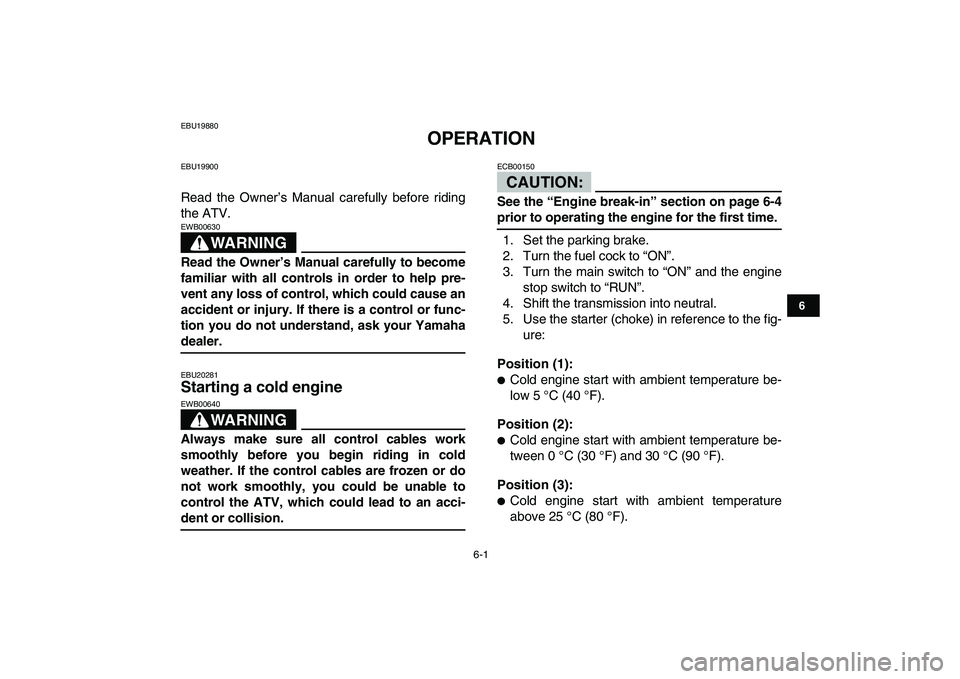
5. Use the starter (choke) in reference to the fig-
ure:
Position (1):
�
Cold engine start with ambient temperature be-
low 5 °C (40 °F).
Position (2):
�
Cold engine start with ambient temperature be-
tween 0 °C (30 °F) and 30 °C (90 °F).
Position (3):
�
Cold engine start with ambient temperature
above 25 °C (80 °F).
Page 51 of 140
6-5
1
2
3
4
56
7
8
9
10
11
polish themselves to the correct operating clear-
ances. During this period, prolonged full-throttle
operation or any condition that might result in en-
gine overheating must be avoided.
0–160 km (0–100 mi) or 0–10 hours
Avoid prolonged operation above 1/2 throttle. Vary
the speed of the ATV regularly. Do not operate it at
one set throttle position.
160–320 km (100–200 mi) or 10–20 hours
Avoid prolonged operation above 3/4 throttle. Rev
the engine through the gears freely, but do not use
full throttle at any time.
320 km (200 mi) or 20 hours and beyond
The ATV can now be operated normally.
CAUTION:
ECB00220
If any engine trouble should occur during the
engine break-in period, immediately have a
Yamaha dealer check the ATV.
EBU20721
Parking
When parking the ATV, stop the engine, shift into
first gear, apply the parking brake, and then turnthe fuel cock to “OFF”.
1. Button
2. Parking brake lock plate
1
2
Page 79 of 140

8-3
1
2
3
4
5
6
78
9
10
11
EBU22403
Periodic maintenance and lubrication chart
NOTE:
�
For ATVs not equipped with an odometer or an hour meter, follow the month maintenance intervals.
�
For ATVs equipped with an odometer or an hour meter, follow the km (mi) or hours maintenance inter-
vals. However, keep in mind that if the ATV isn’t used for a long period of time, the month maintenance
intervals should be followed.
�
Items marked with an asterisk should be performed by a Yamaha dealer as they require special tools,
data and technical skills.
NO. ITEMCHECK OR MAINTENANCE
JOBINITIAL EVERY
Whichev-
er comes
firstmonth136612
km
(mi)320
(200)1200
(750)2400
(1500)2400
(1500)4800
(3000)
hours 20 75 150 150 3001
*
Fuel line
�
Check fuel hoses for cracks or other damage, and
replace if necessary.
√√√
2 Spark plugs
�
Replace.
√√√√√
3 Air filter element
�
Clean and replace if necessary.Every 20–40 hours (more often in wet or
dusty areas)
4
*
Clutch
�
Check operation and adjust if necessary.
√ √√√
5
*
Front brake
�
Check operation and correct if necessary.
�
Check fluid level and ATV for fluid leakage, and
correct if necessary.
√√√√√
�
Replace brake pads. Whenever worn to the limit
Page 97 of 140

8-21
1
2
3
4
5
6
78
9
10
11
touching exhaust components.
EBU23992
Changing the carburetor settings
In extremely cold weather, it is necessary to
change the carburetor settings to maintain opti-
mum engine performance and to prevent engine
damage.
WARNING
EWB01990
�
Improperly servicing or adjusting the carbu-
retors could cause them to malfunction with
the possibility of an accident, or the carbure-
tors could leak fuel, which would be a fire
hazard.
�
Carburetor adjustments should only be per-
formed by a Yamaha dealer. Do not attempt
to perform these procedures unless you
have mechanical knowledge and the neces-
sary tools.
�
Do not perform this procedure while the en-
gine is hot. Place a rag under each carbure-
tor to catch any fuel. Wipe up any spilled fuel
completely.
�
After servicing the carburetors, always
check the throttle lever operation before op-erating the ATV to make sure it is working
correctly.
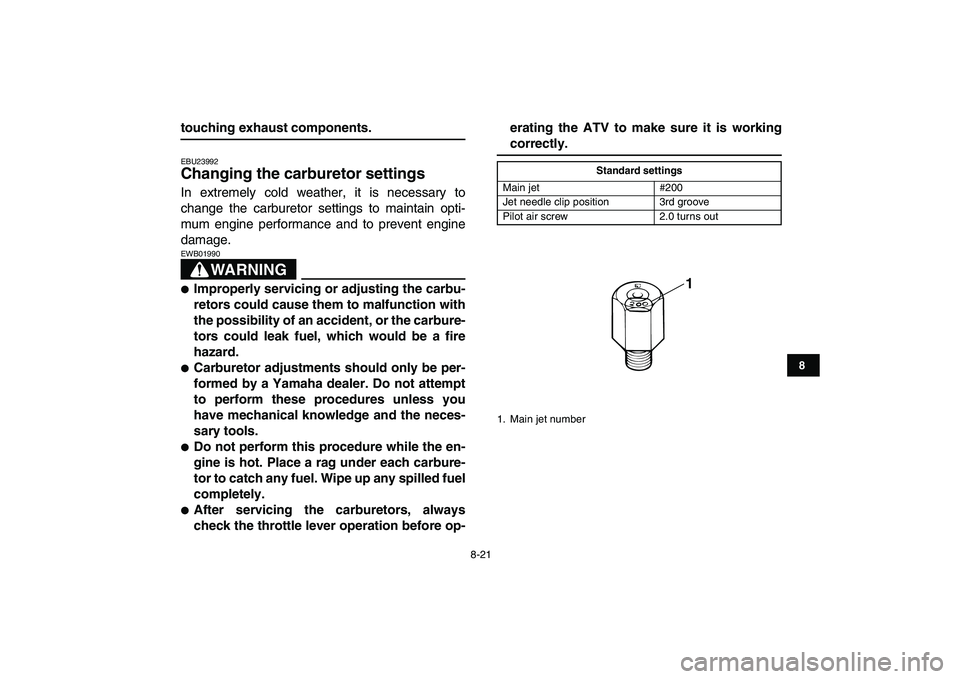
Standard settings
Main jet #200
Jet needle clip position 3rd groove
Pilot air screw 2.0 turns out
1. Main jet number
1
Page 99 of 140
8-23
1
2
3
4
5
6
78
9
10
11
Changing the settings of the carburetors
To change the settings of the carburetors, you
need to disassemble and remove them. Follow the
procedures for both carburetors.
Disassembling and removing the carburetors
1. Turn the fuel cock to the “OFF” position.
2. Turn out the carburetor drain screw to drain
the fuel.
3. Remove the seat.
4. Remove the radiator cover and side cover by
removing the screws.5. Disconnect the fuel hoses.
6. Remove the fuel tank by removing the bolts.
7. Remove the air filter case cover by unhooking
the holders.
1. Radiator cover
2. Fuel tank
3. Screw
1
2 3 3
3
3
1. Fuel tank
2. Bolt
2
1
2
22
Page 104 of 140
8-28
1
2
3
4
5
6
78
9
10
11
2. Push the throttle lever forward until it stops
and hold it in this position.
3. Check through each carburetor window to see
if the punch mark on the throttle valve is at the
specified position.
4. If not, loosen the locknut and turn the adjust-
ing nut until the specified position is obtained.5. Move the throttle lever a few times and re-
check the position.
6. Install the fuel tank, side cover, radiator cover
and air filter case cover.
7. Connect the fuel hoses.
8. Install the seat.
EBU24020
Adjusting the engine idling speed
The engine idling speed must be checked and, if
necessary, adjusted as follows at the intervals
specified in the periodic maintenance and lubrica-
1. Punch mark
2. Specified position: 0–1mm
1
2
1. Adjusting nut
2. Locknut
1
2