2007 VOLVO S40 door lock
[x] Cancel search: door lockPage 103 of 208

NOTE
This message will only be displayed if the start control is in position I or II.
The message will be erased from the display and the audible signal will stop when the remote control has been
returned to the vehicle and one of the following has occurred:
A door has been opened and closed
The start control has been turned to position 0
The READ button (see page 55 for the location of this button) has been pressed.
CAUTION
Keyless drive remote controls should never be left in the vehicle. In the event of a break-in, a remote found in the
vehicle could make it possible to start the engine.
Electromagnetic fields or metal obstructions can interfere with the keyless drive system. Avoid placing the remote
control near cellular phones, metallic objects or e.g., in a metal briefcase.
Canada - IC:267T- 5WK48952, 267T- 5WK48964, 267T-5WK48891
NOTE
This device complies with RSS -210 of Industry Canada. Operation is subject to the following two conditions: (1)
This device may not cause harmful interference, and (2) this device must accept interference received, including
interference that may cause undesired operation.
CAUTION
Changes or modifications not expressly approved by the manufacturer could void the user's authority to operate the
equipment.
114 05 Locks and alarm
Keyless drive (option as available)
USA - FCC ID:KR55WK48952, KR55WK48964
NOTE
This device complies with part 15 of the FCC Rules. Operation is subject to the following two conditions: (1) This
device may not cause harmful interference, and (2) this device must accept interference received, including
interference that may cause undesired operation.
CAUTION
Changes or modifications not expressly approved by the manufacturer could void the user's authority to operate the
equipment. Siemens VDO
5WK48891
Tested To Comply With FCC Standards For Automobile Use
115 05 Locks and alarm
Locking and unlocking
Locking/unlocking the car from the inside
ProCarManuals.com
Page 104 of 208

The switches near the door opening handles on the driver's and front passenger's doors can be used to lock or unlock
all doors and the trunk, and to set the alarm.
Unlocking:
Press in the upper section in the lock button. A long press (at least two seconds) also opens all the side windows.
Locking :
Press in the lower section of the lock button.
NOTE
The doors cannot be opened by pulling up the lock button.
Each door can also be locked manually using the lock button on that particular door. This applies only if the car
has not been locked from the outside.
The doors can also be unlocked (and the door opened) by pulling the handle in the door twice.
Opening the trunk from the inside
1
The vehicle is equipped with a florescent handle on the inside of the trunk lid, which can be used in an emergency
situation to open the trunk from the inside.
Pull the handle down to release the trunk lid. After use, the handle must be pushed back into its original position
before the trunk can be closed.
1 U.S. models only
116 05 Locks and alarm
ProCarManuals.com
Page 105 of 208

Locking the glove compartment, Child safety locks
Locking the glove compartment
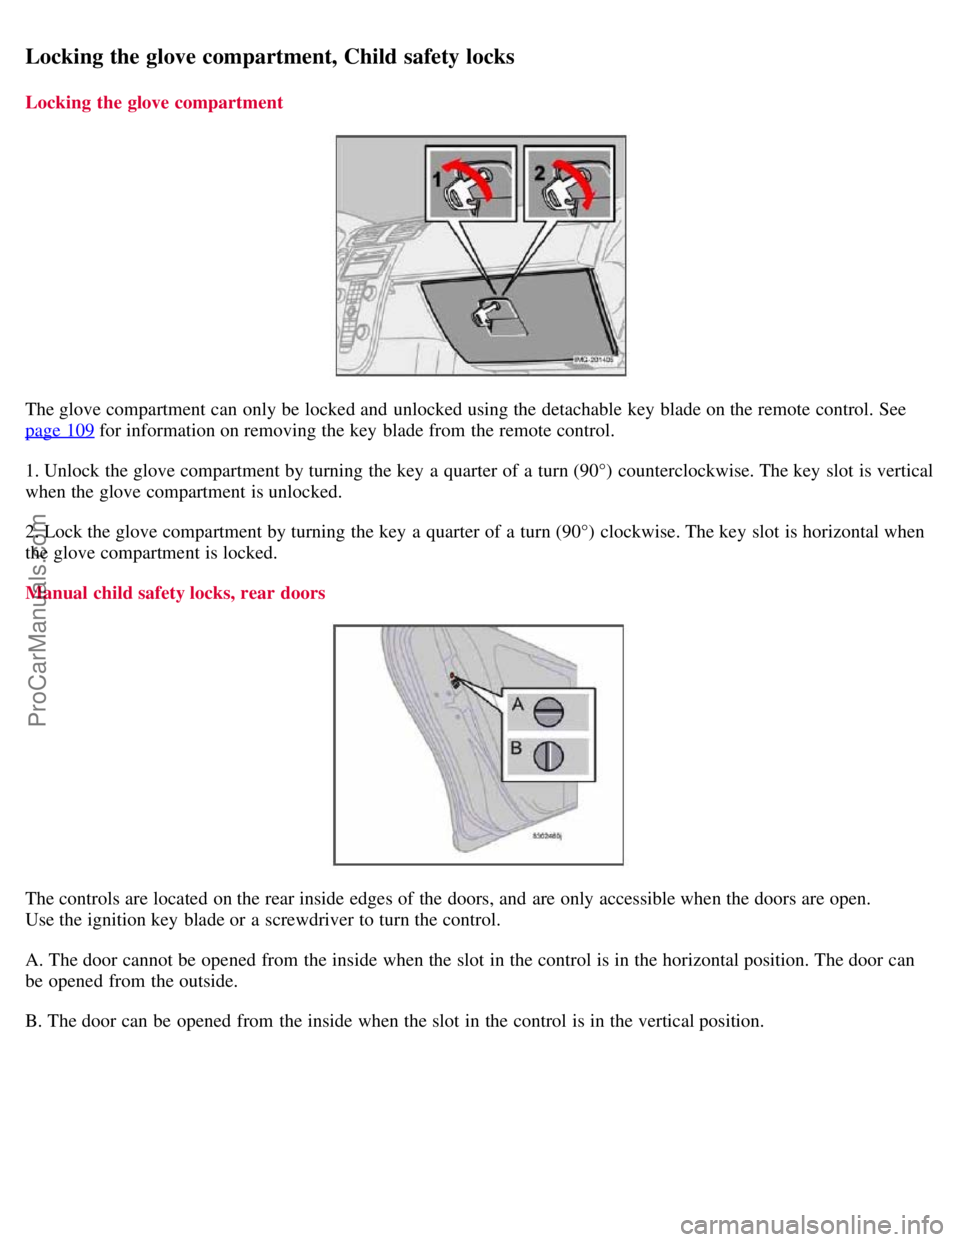
The glove compartment can only be locked and unlocked using the detachable key blade on the remote control. See
page 109
for information on removing the key blade from the remote control.
1. Unlock the glove compartment by turning the key a quarter of a turn (90°) counterclockwise. The key slot is vertical
when the glove compartment is unlocked.
2. Lock the glove compartment by turning the key a quarter of a turn (90°) clockwise. The key slot is horizontal when
the glove compartment is locked.
Manual child safety locks, rear doors
The controls are located on the rear inside edges of the doors, and are only accessible when the doors are open.
Use the ignition key blade or a screwdriver to turn the control.
A. The door cannot be opened from the inside when the slot in the control is in the horizontal position. The door can
be opened from the outside.
B. The door can be opened from the inside when the slot in the control is in the vertical position.
ProCarManuals.com
Page 106 of 208

117 05 Locks and alarm
Alarm
The alarm system
The alarm is automatically armed whenever the car is locked with the remote control, or if a front lock button is
depressed.
When armed, the alarm continuously monitors a number of points on the car. The following conditions will trigger the
alarm:
The hood is forced open.
The trunk is forced open.
A door is forced open.
The ignition switch is tampered with
An attempt is made to start the car with a non-approved key (a key not coded to the car's ignition).
If there is movement in the passenger compartment (if the car is equipped with the optional movement sensor).
The car is lifted or towed (if the car is equipped with the optional inclination sensor)
The battery is disconnected (while the alarm is armed).
The siren is disconnected when the alarm is disarmed.
The alarm indicator light
The status of the alarm system is indicated by the indicator light on at the top of the dashboard (see illustration):
Indicator light off - the alarm is not armed
ProCarManuals.com
Page 107 of 208

The indicator light flashes every two seconds - the alarm is armed
The indicator light flashes rapidly before the ignition is switched on - the alarm has been triggered. The message
"ALARM TRIGGERED, CHECK CAR" will also be displayed.
Fault in the alarm system : If a fault has been detected in the alarm system, a message will be shown in the
information display. Contact your Volvo retailer to have the alarm system inspected and repaired if necessary.
Arming the alarm
Press the LOCK button on the remote control, or press the central lock button on one of the front doors with the door
open. One long flash of the turn signals will confirm that the alarm is armed.
Disarming the alarm
Press the UNLOCK button on the remote control or insert the key in the ignition
1 to disarm the alarm. Two short
flashes from the car's direction indicators confirm that the alarm has been deactivated and that all doors are unlocked.
Turning off (stopping) the alarm
If the alarm is sounding, it can be stopped by pressing the UNLOCK button on the remote control or by inserting the
key in the ignition
1 On vehicles with the optional keyless drive, press in the start control in the ignition switch.
118 05 Locks and alarm
Alarm
switch. The driver's door must first be unlocked with the key blade.
NOTE
On vehicles equipped with the optional keyless drive, the start control must be removed from the ignition switch
before the key can be inserted. See page 131
for instructions.
Audible/visual alarm signal
An audible alarm signal is given by a battery powered siren. The alarm cycle lasts for 30 seconds.
NOTE
The visual alarm signal is given by flashing all turn signals and turning on the interior lighting for approximately 5
minutes.
Temporarily turning off the accessory alarm sensor(s)
ProCarManuals.com
Page 108 of 208

In certain situations it may be desirable to turn off the accessory inclination and movement alarm sensors if, for
example, you drive your vehicle onto a ferry where the rocking of the boat could trigger the alarm or if a pet is left in
the vehicle with the doors locked.
1. From position II or higher, turn the ignition key to 0 and remove it from the ignition switch
1
2. Press the button (1). The LED in the button will remain on for one minute after the key has been removed from the
ignition switch or until the car is locked.
1 The optional keyless drive start control does not need to be removed.
CAUTION
The accessory sensors are automatically reconnected to the alarm system the next time the vehicle is unlocked and
then locked again.
This function will not turn off the vehicle's standard alarm
U.S.A. FCC ID: MAYDA 5823(3)
This device complies with part 15 of the FCC rules. Operation is subject to the following conditions: (1) This device
may not cause harmful interference, and (2) this device must accept any interference received, including interference
that may cause undesired operation.
Canada IC: 4405A-DA 5823(3)
Movement sensor DA5823 by Dynex Operation is subject to the following conditions: (1) this device may not cause
interference, and (2) this device must accept any interference, including interference that may cause undesired
operation of the device.
119 05 Locks and alarm
This page left intentionally blank.
Contents | Top of Page
ProCarManuals.com
Page 115 of 208

These may include:
standing upwind away from the filler nozzle while refueling
refueling only at gas stations with vapor recovery systems that fully seal the mouth of the filler neck during
refueling
wearing neoprene gloves while handling a fuel filler nozzle.
WARNING
Carbon monoxide is a poisonous, colorless, and odorless gas. It is present in all exhaust gases. If you ever smell
exhaust fumes inside the vehicle, make sure the passenger compartment is ventilated, and immediately return the
vehicle to your retailer for correction.
Use of Additives
With the exception of fuel line antifreeze during winter months, do not add solvents, thickeners, or other store -bought
additives to your vehicle's fuel, cooling, or lubricating systems. Overuse may damage your engine, and some of these
additives contain organically volatile chemicals. Do not needlessly expose yourself to these chemicals.
Fuel filler door
Press the button on the light switch panel (see the illustration on page 58
) with the ignition switched off to unlock the
fuel filler door. Please note that the fuel filler door will remain unlocked until the vehicle begins to move forward. An
audible click will be heard when the fuel filler door relocks.
127 06 Starting and driving
Fuel requirements
If you intend to leave your vehicle while it is being refueled, this feature enables you to lock the doors/trunk while
leaving the fuel filler door unlocked.
You can also keep the vehicle locked if you remain inside it during refueling. The central locking button does not lock
the fuel filler door.
Be sure the fuel filler door is not obstructed and is completely closed after refueling.
Open the fuel filler cap slowly during hot weather.
Refueling
The fuel tank is designed to hold approximately 15.9 US gallons (60 liters)
1 with sufficient volume left over to
accommodate possible expansion of the fuel in hot weather. Be aware that the "usable" tank capacity will be somewhat
less than the specified maximum. When the fuel level is low, such factors as ambient temperature, the fuel's "Reid
vapor pressure" characteristics, and terrain can affect the fuel pump's ability to supply the engine with an adequate
supply of fuel.
Therefore, it is advisable to refuel as soon as possible when the needle nears the red zone, or when the fuel warning
light comes on.
1Models with All Wheel Drive have a tank volume of 15 US gallons (57 liters).
Models with engine code 39 have a fuel tank capacity of 14 US gallons (53 liters). This code is the 6th and 7th digits from the left in your vehicle's
VIN number. See page 227
for the location of the VIN plate.
ProCarManuals.com
Page 117 of 208

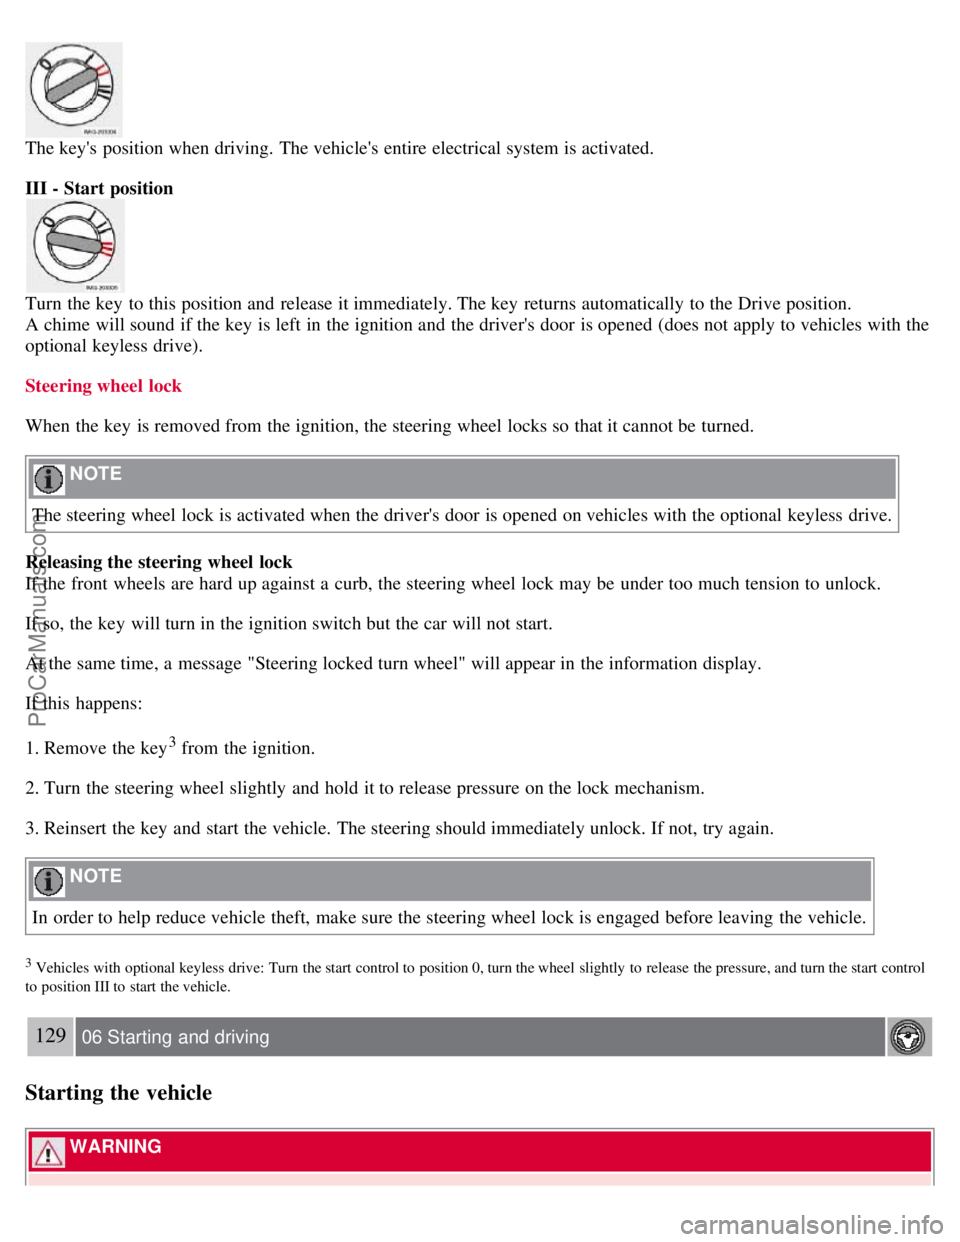
The key's position when driving. The vehicle's entire electrical system is activated.
III - Start position
Turn the key to this position and release it immediately. The key returns automatically to the Drive position.
A chime will sound if the key is left in the ignition and the driver's door is opened (does not apply to vehicles with the
optional keyless drive).
Steering wheel lock
When the key is removed from the ignition, the steering wheel locks so that it cannot be turned.
NOTE
The steering wheel lock is activated when the driver's door is opened on vehicles with the optional keyless drive.
Releasing the steering wheel lock
If the front wheels are hard up against a curb, the steering wheel lock may be under too much tension to unlock.
If so, the key will turn in the ignition switch but the car will not start.
At the same time, a message "Steering locked turn wheel" will appear in the information display.
If this happens:
1. Remove the key
3 from the ignition.
2. Turn the steering wheel slightly and hold it to release pressure on the lock mechanism.
3. Reinsert the key and start the vehicle. The steering should immediately unlock. If not, try again.
NOTE
In order to help reduce vehicle theft, make sure the steering wheel lock is engaged before leaving the vehicle.
3 Vehicles with optional keyless drive: Turn the start control to position 0, turn the wheel slightly to release the pressure, and turn the start control
to position III to start the vehicle.
129 06 Starting and driving
Starting the vehicle
WARNING
ProCarManuals.com