2007 VOLKSWAGEN GOLF PLUS reverse
[x] Cancel search: reversePage 54 of 541
Homelink® Universal Transmitter
this sectio n information on the lowing:
Programming the garage door opener . . . . . . . . . 54
Operating the garage door opener . . . . . . . . . . . . . 55
The HomeLink ® Transmiu er in your can be used to an automatic rage door or gate, activa te a house alarm, or trol a vice s come with a hand-held remot e
help you program the
H omeLink ® to a garage door ope ner o r ot her dev ice so
th at you not have to use the hand-held re m ote
co ntr ol ins ide your vehicle.
Fixed code or
Transm iner must be
54.
Compatibility
Volkswagen recomm end s that
swage n Se rvice Facility about compatible devi ces
before you buy a ga rage door opener or othe r vice Tran smiuer.
Th e Hom
eLink® Transmiue r can be
programmed to the radi o freque ncy codes of most currenl hand- held remote controls.
Safety switches
are mand atory for garage door
o pen ers.
Opening and closing
Improper u se ofthe HomeLink ® can cause serious or even fatal sonal injury.
Never let anyo ne get in the way of a garage door when it is opening or clo sing.
vent serious perso na l injury or property
damage.
on a
garage door opener with a rolling code, yo u will need to stand o n a ladder or step-s tool. Always
take extra precautions to prevent falls and rious injury.
Never usc the HomcLink ®
tured befor e April!, 1982.
A garage door opener that cannot detect an
object, signaling the door to sto p and reverse,
docs not meet current fed eral safety standards. a garage door opener without these
Follow the installation manual and the
turer when u sin g th e remote-contr olled garage
door opener or it s electrical
52
Page 135 of 541
mirror
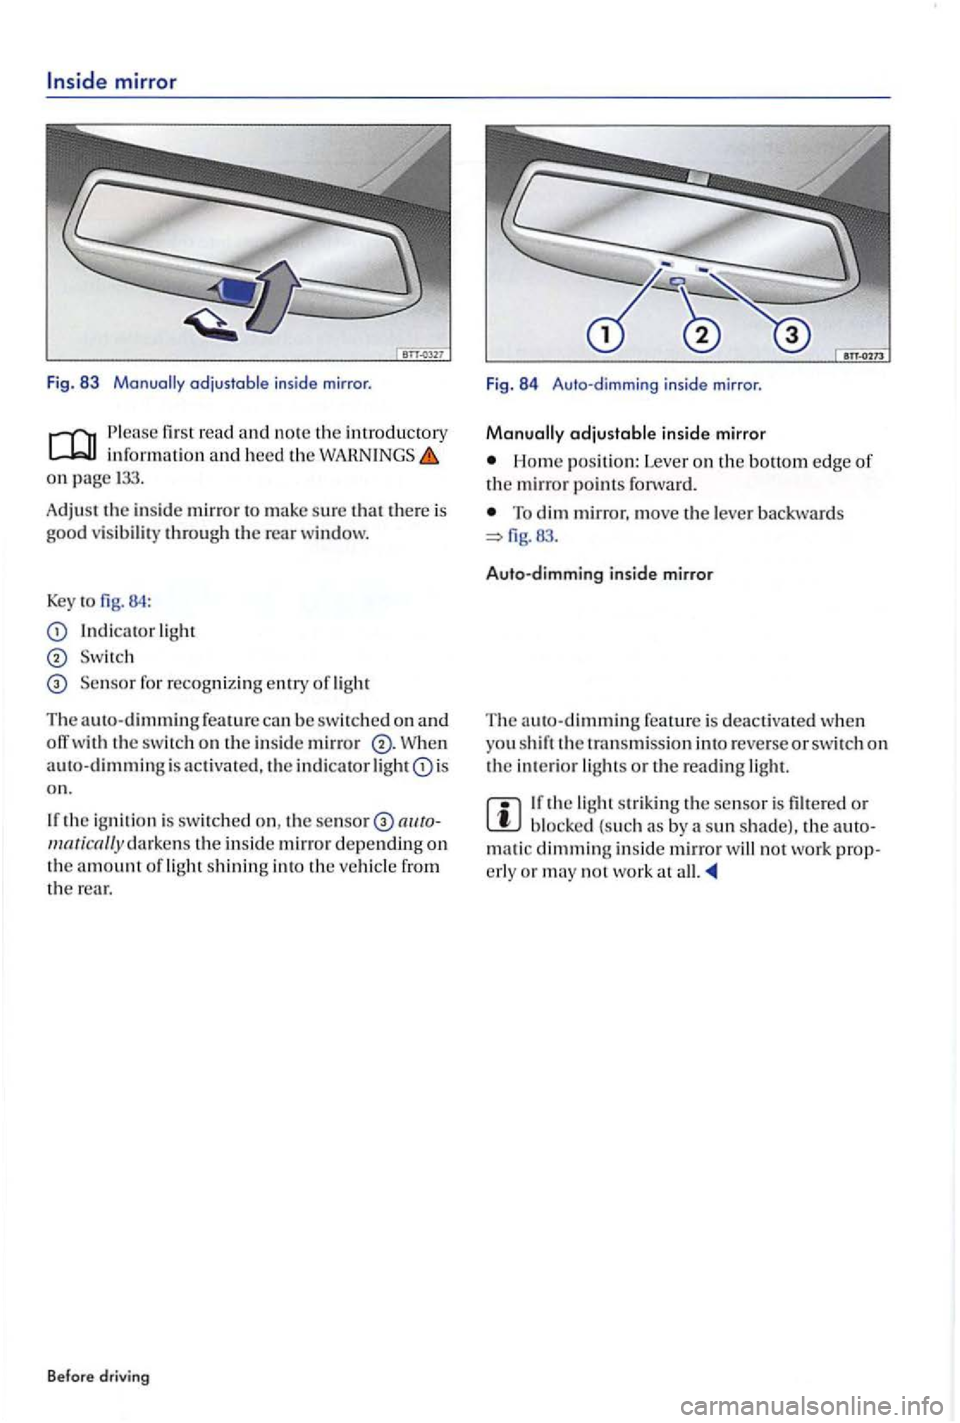
Fig. 83
read informatio n and heed the on page
Adjust the in sid e mirror to make su re that there is good v is ibilit y throug h the rear window.
Key to 84 :
light
Se nsor for recognizin g e ntry of ligh t
The auto-dimming feature b e swit ched o n and th e switch on th e in side mirror W hen
a u to-dimm in g is activate d , th e indicator light is
o n.
the ig nition is switched on , the se nsor the insid e mirror depending on th e amount of light shining into the vehicle from the
Before driv ing F
ig.
84 Auto -dimmi ng inside mirror .
adjustable insid e mirror
Home position: Lever on the bottom edge of the mirror point s forward.
To dim mirror, move lever b ac kwards
Auto -d imm ing inside mirro r
T he a uto-
dimming feature is deactiva ted when
you shift th e tra nsm issio n int o reverse or switch o n the in terior lights or the reading light.
the light striking the sensor is filt ere d or bl ocke d (suc h as by sun shade). the matic dimming insid e mirror no t work o r may not work at
Page 136 of 541
Outside mirrors
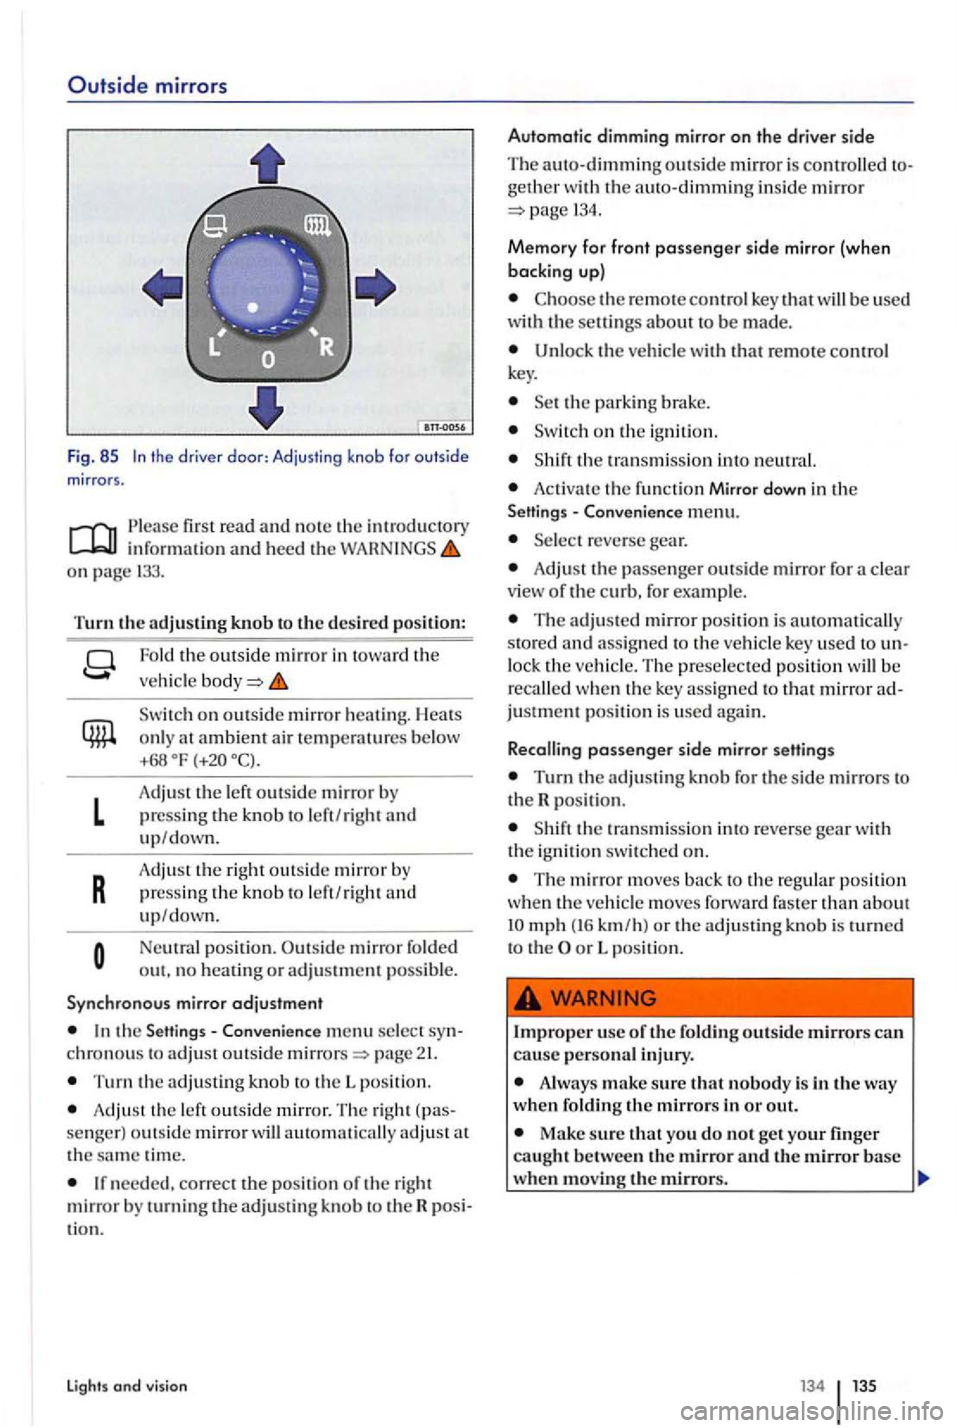
Fig. 85 the driver doo r: Adjusting knob for outside mirror s.
o n page 133.
Turn the adjusting knob to the desired po siti on :
L
R
Fold the outsi de mirror in toward the
veh i
cle
on outsid e mirror heating. Heats
o nl y at ambient air tempe ratures b e low +68
A dju st the left outside mirro r press ing the knob to le ft/righ t
pressing the knob to le ft/rig h t and up/down.
Neutral position . mirror fo ld ed out. no heatin g or adjustment possib le .
Syn ch rono us mirror adjustment
the Sett ing s- Conveni ence men u select chronous to adju st outside page
T urn the adj ustin g knob to th e L positi on.
Adjust th e left outs ide m irror. Th e righ t
th e sa m e tim e.
needed, correct the positi on of the right mirror turning the adjust in g kn ob to th e tio n.
Lights and vision
Automatic dimming mirror on the drive r side
Th e auto-dimming outs ide mirror is contr olled geth e r w ith the auto-dimming inside mirror 13 4.
Memory for front passenger sid e mirror (when
backing up)
the re m ote contr ol key that will be use d
with th e settin gs about be made.
Unloc k the veh icle with tha t re mote control
k ey.
o n the ign ition.
the transmiss ion into ne ut ral.
Acti vate the fun ctio n Mirror down in the - C onvenience menu.
reverse gear.
Adjus t the passenge r outsid e mirror for a clear view of the curb, for example.
The adjusted mirror positio n is automatically
s to red and ass igned to the ve hicl e key used to lock the vehicle. The preselecte d po sit ion w ill recalled w hen the ke y ass igned to that mirror justment pos it io n is used again .
Recalling
passenger s id e mirror setting s
Turn the adjusting for the sid e mirrors to the R posit ion.
T he mirror m ove s back to the re g ul ar position wh en the ve hicl e m oves forward faster than about mph (16 km /h) or the adjusting knob is to th e or L po sition.
use of the foldin g outside mirrors can cause persona l injury.
Alway s make sure that nobody is in the way w hen f oldin g the mirrors in or out.
Make sure that you do not get yo ur finger caught between the mirror and the mirror base when moving the mirrors.
Page 183 of 541
first rea d and not e the introductory informatio n and heed the on page
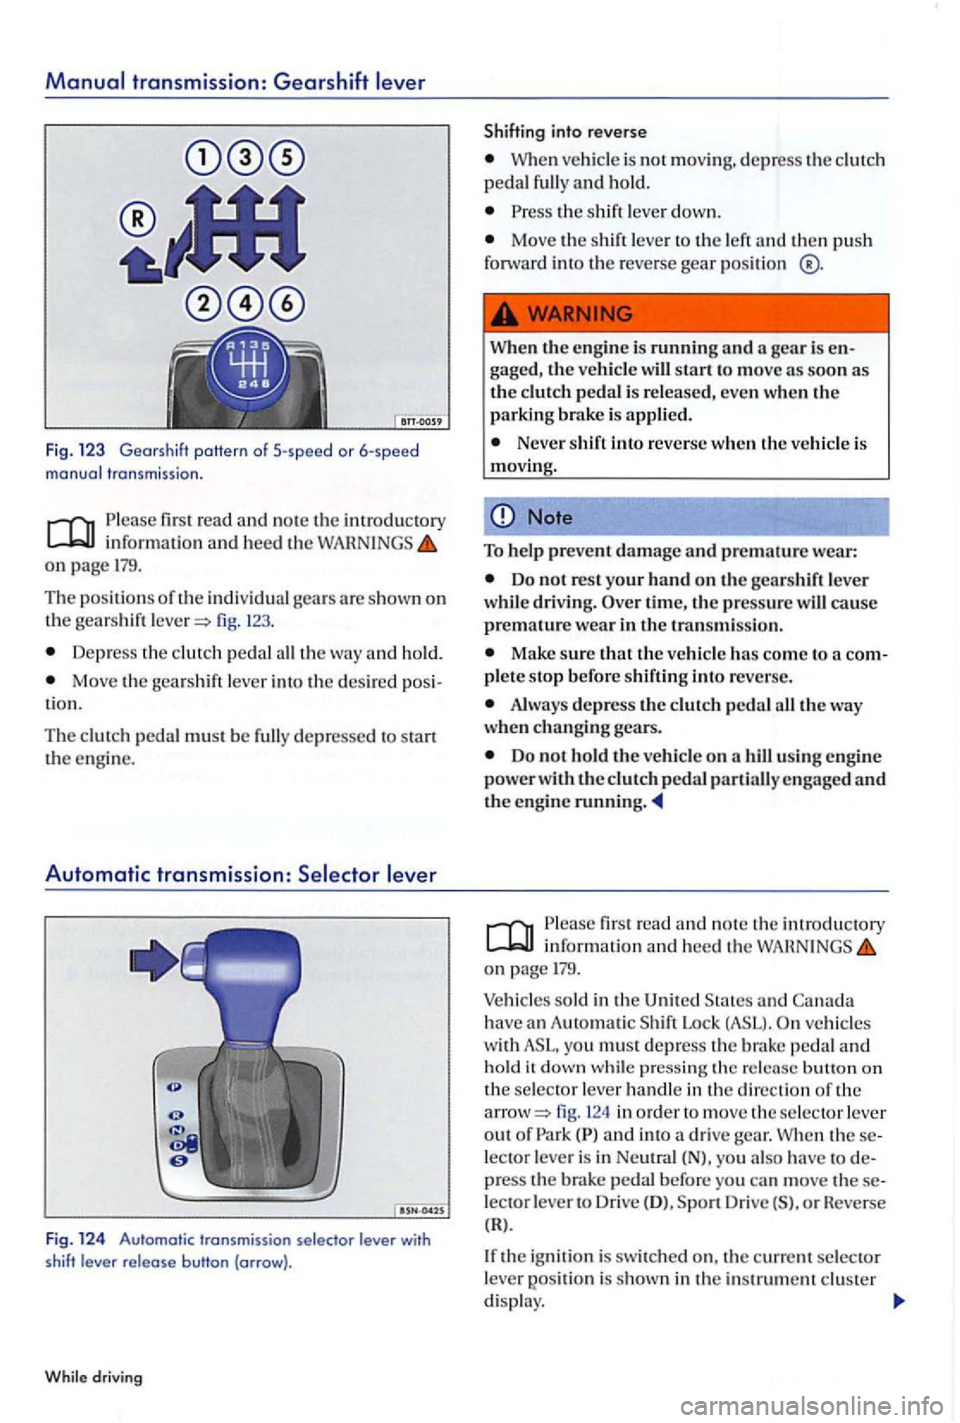
The pos ition s of the indiv idual gea rs are s hown on th e gea rs h ift fig.
Dep ress the pedal th e way and ho ld.
Move the lev er in to the des ired tion.
Th e clut ch
pedal mus t be depresse d to stan the eng ine.
Automatic transmission :
Fig . 124 Au tom atic transmissio n selector lever with
shift
When vehicle is not m ovin g. depress th e and ho ld.
th e shift le ve r d own.
Move the leve r to the and th en push
forwar d int o the reverse gear position
When the engine running and a gear gaged , th e vehicle will start to mov e as soon as the pedal is released, even when the parking brake is appli ed.
Never shift into reve rse when th e vehicle is
moving.
Note
T o h elp prevent damage and premature wear:
Do not re st your hand on the gear shift leve r
whil e dri ving.
Make sure th at the vehicle has come to a
Always depress th e pedal
Do not hold the ve hicl e on a
fir st rea d and no te t he int roduc tory information and hee d th e on page
sold in the United and have an Automatic Lock ve hicles with you must depress the brake pedal and ho ld it d ow n whil e press ing th e rclense
fig. in ord er to move th e selec to r leve r
o ut of and int o drive gea r. W hen lector leve r is in Ne utral (N). you also have to press th e brak e pedal before you can move lecto r leve r to Dr ive (D ), Drive o r neverse (R).
If th e ignition is switched on. the c urrent selec tor lever
Page 184 of 541
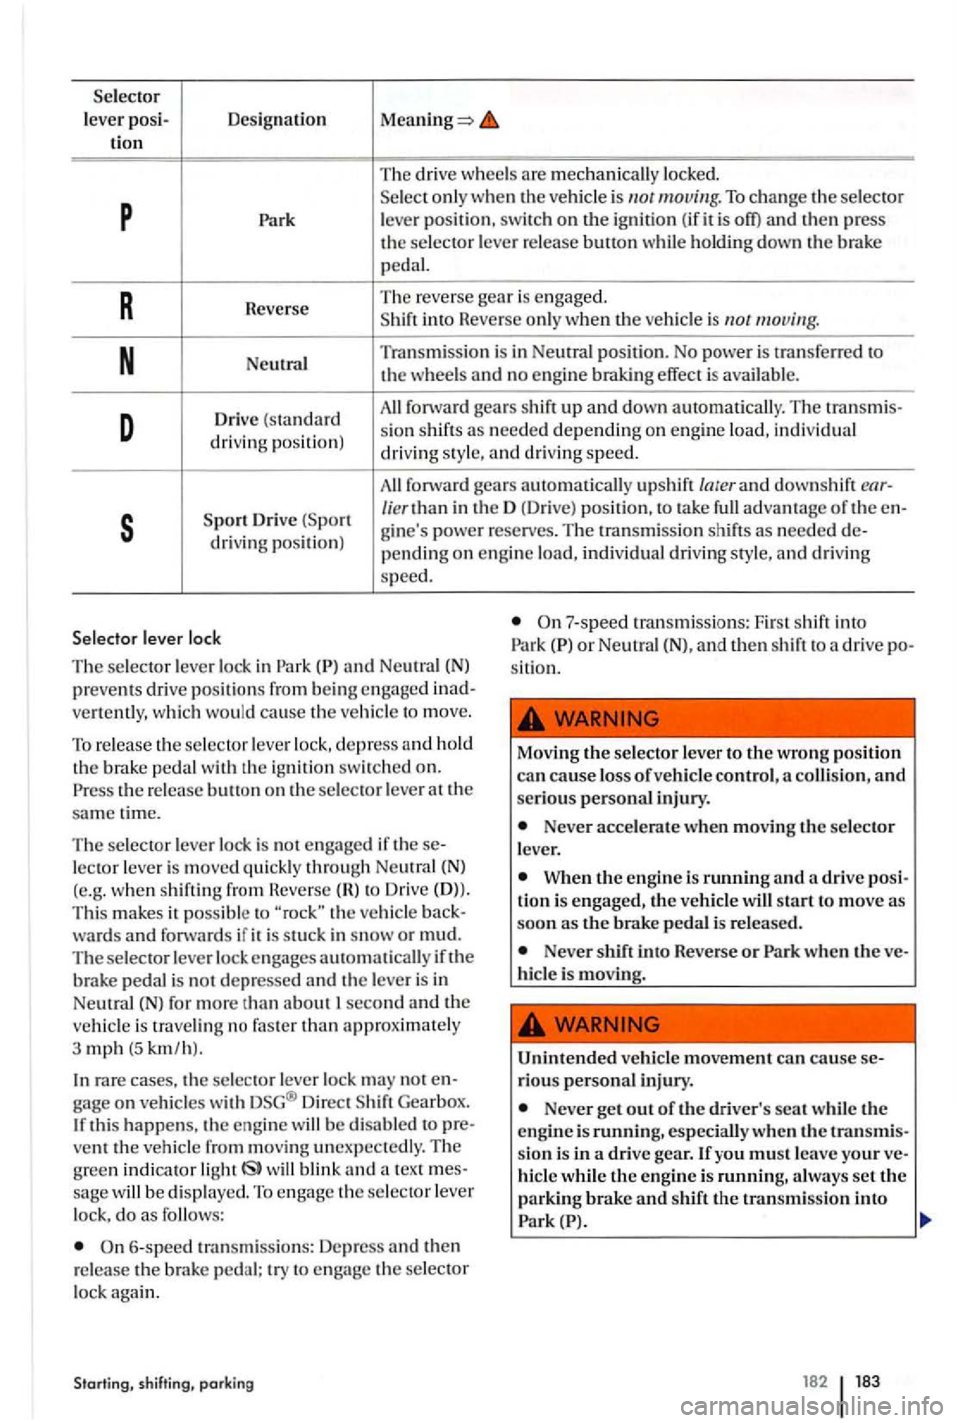
Selector lever posi- Designation tion
The drive wheels are mecha nica lly locked.
p Se le c t only when the ve hicle is
N Neutral Tran
smissio n i s in Ne utral positi on. No power is tra nsferre d to
th e wheels and no e ng in e brakin g effect is available.
D Driv e (standard All forwa rd gears shift up and d ow n automatically. The tran smi s-
dri vin g pos ition) s
ion shift s as nee ded dep endin g on engin e load , indiv idual dri vin g sty le, and dri ving speed.
A
ll f orwa rd gea rs aut omatically up shift/aterand dow nshift ear-
s Sport Dri ve
leve r lock
Th e
selector leve r lo ck in
the re le ase button on th e selec tor leve r a t th e sam e time .
Th e se lec to r leve r l
ock is no t e ngaged if these
(R) to Dri ve (D)).
T hi s makes it possibl e to
second and th e
ve hicl e is tra velin g no faste r than approx imate ly
3 mph (5 km /h).
ra re cases. the Dir ect Gea rbox. thi s ha ppens, th e eng ine w ill be disab led to pre
ve nt the vehicle from m oving unexpec te dly. Th e
gree n ind ica tor light will blink and text mes
sage will be di sp layed. To e n gage th e selec tor lever lock, do as follows:
6-speed trans missions: Depress and then re le a se the brak e pedal; try to e ngage th e se lector l oc k again.
Starting, shifting, parking
Never accelerate when m ovi ng the selector lever.
Whe n the en gin e is running and a drive positio n is engaged, the ve hicle will start to move as soon as the brake pedal is re leased.
Never shift into Reverse or
Never get out of the driver's seat whil e the engine is running, especially when the tra nsmi s
s ion is in a drive gear. lfyou m ust leave your ve
hicl e while the engi ne is running, alwa ys set the
p a rkin g brake and shift the transmi ssio n into (P).
182
Page 187 of 541
Driving with automatic transmission
Please fir st read and n ote the int rod uctory informatio n and heed th e WARN INGS on page 179.
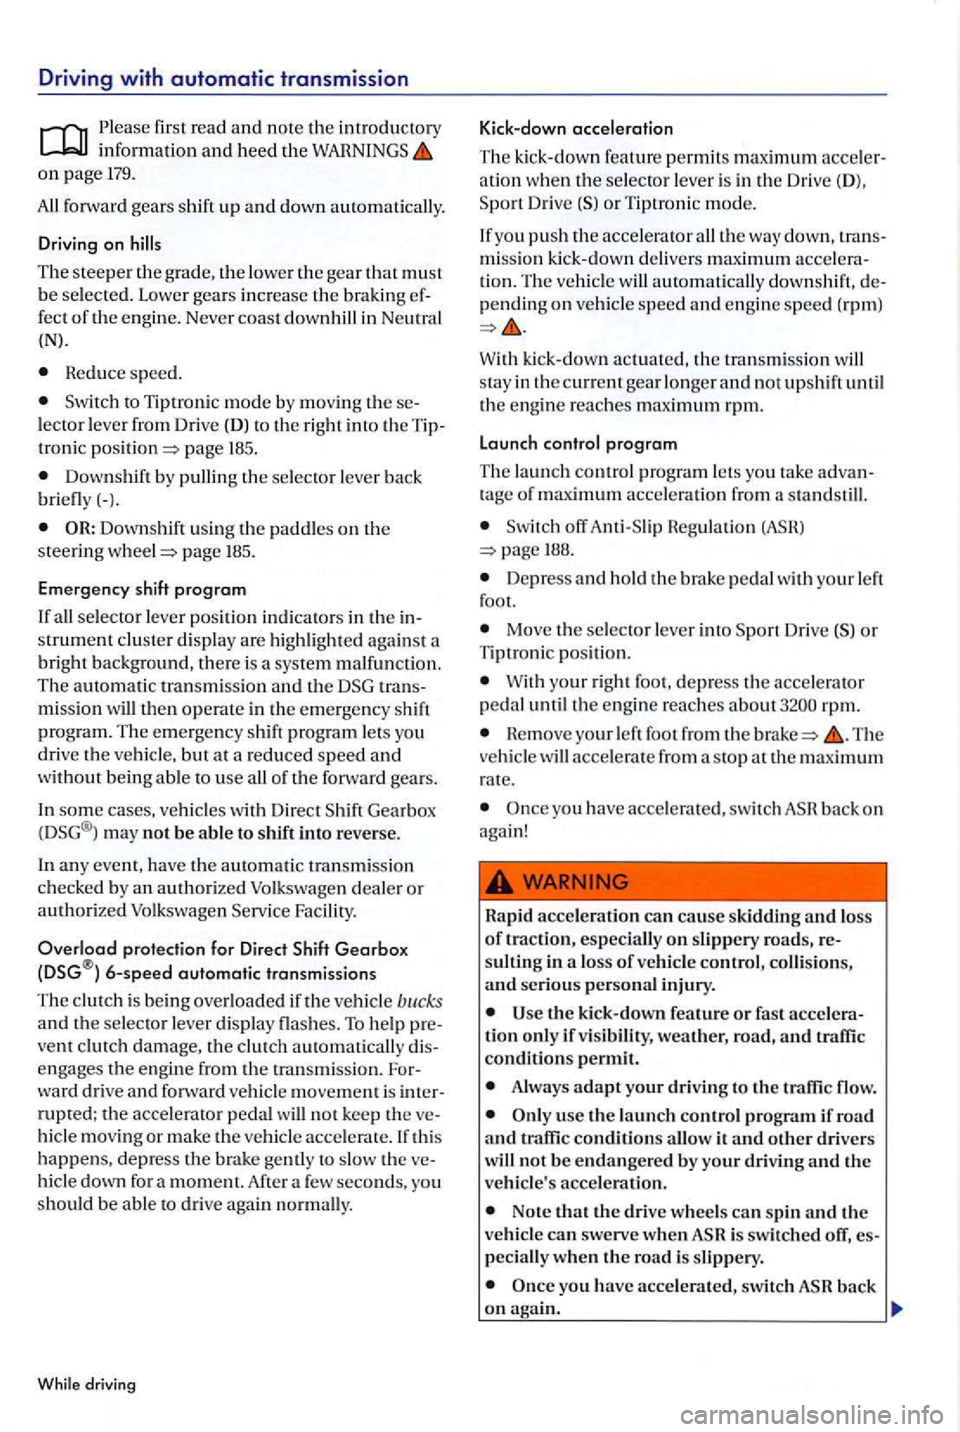
All forwa rd gea rs shift up and down automatically.
Driving on
Th e steeper grade, lower the gea r that must be selec te d. Lowe r gea rs in crease the b raking ef
fect o f th e e ng ine. Neve r coast downhill in (N).
Heduce sp eed.
Switch to Tiptron ic mod e by m oving theselecto r l eve r fro m Drive (D) t o the rig ht into the Tipp age 185.
Dow nshift by pullin g th e selec to r l ever back briefly(-).
page 185.
Emergency shift
program
trans
m issio n will th en operate in th e em ergency shif t
p rogram. The emergency shift progra m lets you drive th e ve hicle, bu t at a re duced speed and w ithout bein g able to use all of th e forwa rd gears.
I n
som e cases, vehicles with Direct Gearbox (DSG® ) may not be able to shift into reverse.
I n
any event, have the automatic tra nsm iss ion checke d by an authorized Volkswage n dealer or authorized Volkswage n Service Facility.
O verload prot ection for Direct
Drive
With k ick-down actu ate d , t he tran sm iss io n will stay in th e current gear lo nge r an d not ups hift un til
t h e e ng ine reaches m aximum rpm.
Launch control
program
The launch control p rogra m lets you ta ke ad van
t age of maximum acce lera tion from a standstill.
Switc h off Anti -Sli p H egulation 188.
De press and ho ld th e bra ke pedal with your le ft
foot.
Move th e selector leve r in to Dr ive
W ith your rig ht foot, depress the accelerator
pedal un til the engine reaches rpm.
Hemove you r left foo t from the stop at the m aximum rate.
y o u h ave acce le rated, swit ch back on aga in!
H apid
accele rati on ca n cause skidding and loss of trac ti o n, esp eciall y on slippery roa ds, re
s ultin g in loss of ve hicl e co ntrol , co llisio ns,
and se rious pe rso na l injury .
Use th e kic k-down feature or fa st acceleration only if vis ibilit y, weather, road , and traffic conditions permit.
A lways adapt your dri vin g to th e tr affi c flow.
use the launc h contro l progra m if road and traffic co nditi ons a llow it and oth er dri ve rs
w ill no t b e endangered by your drivin g and th e
ve hicle's accele rati on .
Note tha t th e drive whee ls ca n spin and the
ve hicle can swerve when
back
Page 206 of 541
Park Distance (PDC)
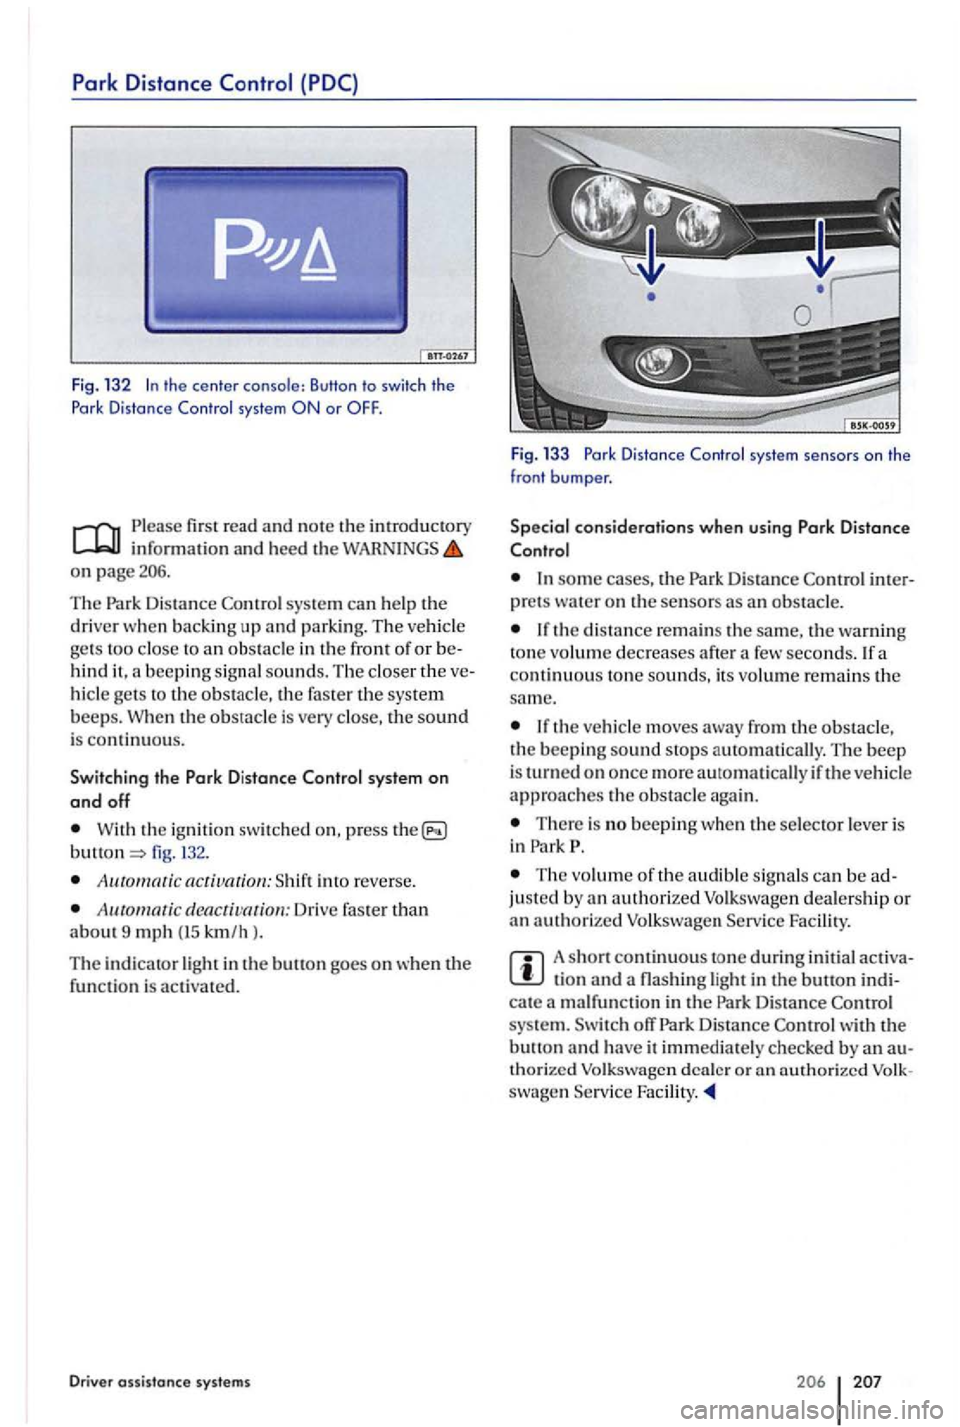
Fig. 13 2 the center console: Button to switch th e
P ork Distance Control system
Please first read and note the introductory information and heed the on page
system can help the driver when backing up and parking. The ve hicle
ge ts too close to an obstacle in th e front of or behind it , a beeping sig nal sounds. Th e closer the ve
hicl e gets to the obstacle, the faster the system beeps. W hen the obstacle is very clo se, the sound is conti n uous.
Switch in g the D istance Contr ol sys te m on
a
nd off
W ith the ignit ion switc hed on, press the fig. 132.
A u into reverse .
denctivatiou: Drive faster than about 9 mph (15 km/h ).
T he indi cator
light in the button goes on
Distance Control
some the Park Distance Control interpret s wa te r o n the sensors as an obstacle.
I f th e dista nce remains the same, the warnin g
ton e volume decreases after a
There is no beeping when the selector lever is
in Park P.
The vo lume of the audib le s ig n als can be ad
justed by an authorized Volk swage n dealership or an authorized Volkswagen Service Facility.
A short continuous tone during initi al activation and a light in the button indicate a malfunction in the Park Distance system. Switch off Park Distance Control w ith the button and have it immediate ly checked by an au
thori zed Volkswagen deale r or
Page 211 of 541
consid erations
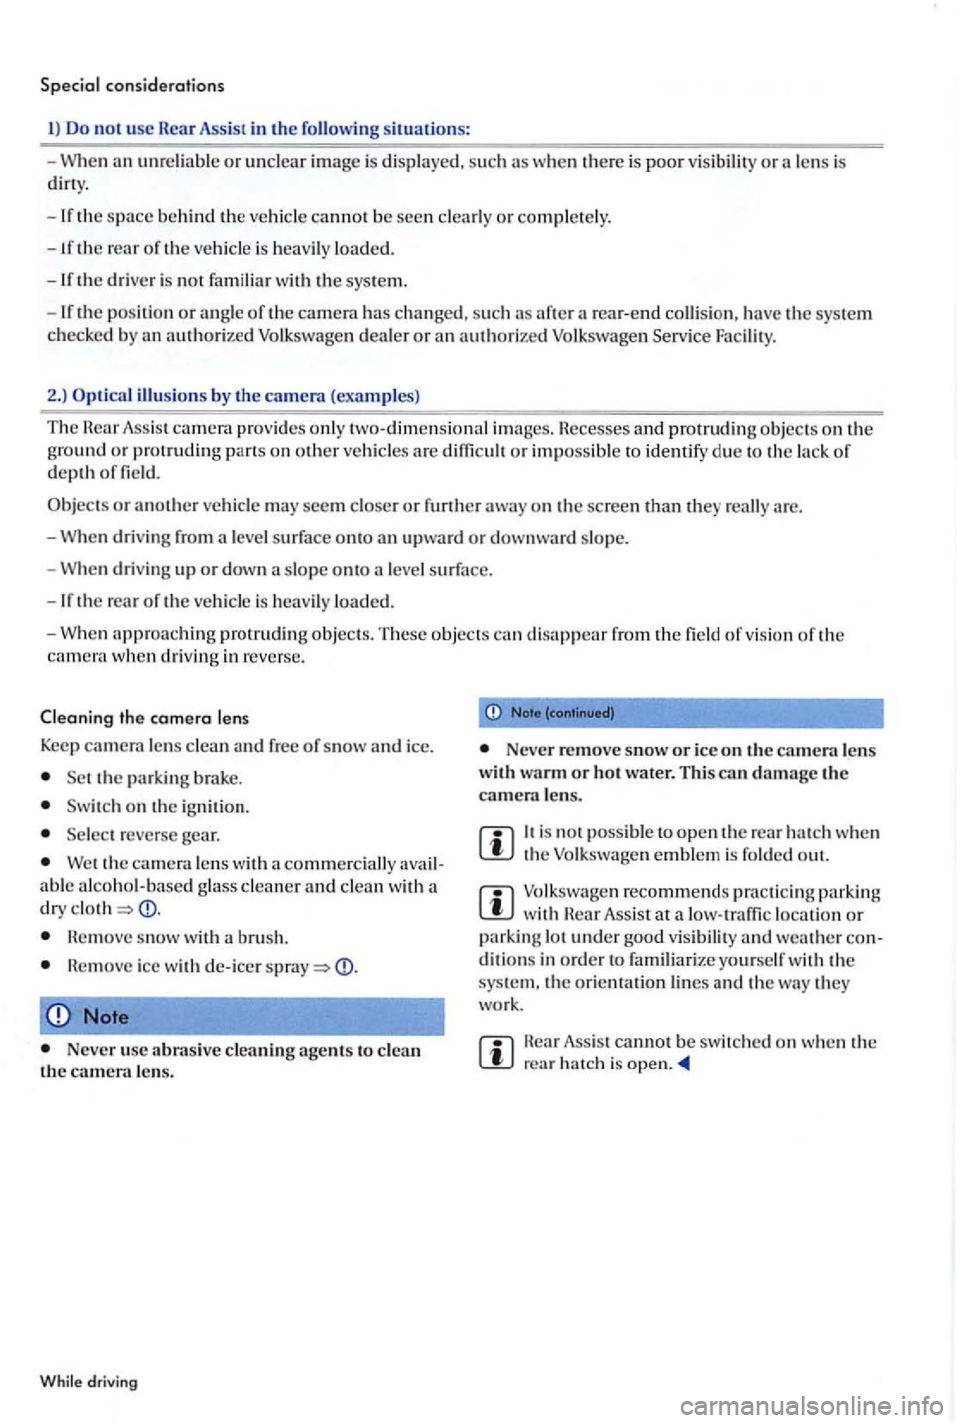
Do not usc Rear Assist in the situations:
-When
cannot be see n
is heavily loade d.
the driver is no t fam il ia r with the sys te m .
- If
the positio n or an g le of the camera has c hanged, su ch as Facili ty.
2.) illusions by the camera (examples)
The Assis t pro vides only two-d imensio nal im ages. necesscs and pro trud ing objects on th e
ground o r prot ruding part s on other a re diffi cult or impossib le to id entify due to th e of
d e pth o f field .
or anothe r v ehicl e may seem or furth er are.
- W hen driv ing from a leve l s
urface onto an upwa rd or slope.
-Wh en driving up or d own slope onto level
the rear of the ve hicle is loaded.
- W he n approaching pro truding objects. These objects c an disappear from the field o f v is ion of th e cam era w hen driving in reverse.
Cleaning
the camera l e ns
Keep
camera le ns free of snow and ice.
th e pa rking brake.
o n th e ig nit ion.
Wet the cam le n s w ith a commerci ally able g lass cleaner an d d ry
m ove sn ow with a brush.
nemovc icc with de- icer
Note
Neve r usc agents to clean the cam era le ns.
Whil e driving
Neve r remove snow or ice on t h e camera lens with warm o r h ot water. This can damage the camera le n s.
It is not possibl e to open th e when the emblem is folded out.
Volk swage n recommends practicin g park ing with weather di tion s in order to familiarize yourself w ith the
sys te m, the orientatio n lines and th e way they work .
rea r hatc h is