Page 63 of 458

63
�Do not use the seat belt extender
when installing a child restraint
system on the front or rear passen-
ger seat. If installing a child re-
straint system with the seat belt
extender connected to the seat belt,
the seat belt will not securely hold
the child restraint system, which
could cause death or serious injury
to the child or other passengers in
the event of collision.
22p008
To connect the extender to the seat
belt, insert the tab into the seat belt
buckle so that the “PRESS” signs on
the buckle release buttons of the ex-
tender and the seat belt are both facing
outward as shown.
You will hear a click when the tab locks
into the buckle.
When releasing the seat belt, press on
the buckle release button on the extender,
not on the seat belt. This helps prevent
damage to the vehicle interior and extend-
er itself.As far as the seat belt extender on the
front passenger side is concerned, do not
fail to disconnect the extender from the
seat belt after the above operation in or-
der to activate the front passenger airbag
correctly when getting into the vehicle
next time.
When not in use, remove the extender
and store in the vehicle for future use.
CAUTION
�After inserting the tab, make sure
the tab and buckle are locked and
that the lap and shoulder portions
of the belt and the seat belt extend-
er are not twisted.
�Do not insert coins, clips, etc. in
the buckle as this may prevent you
from properly latching the tab and
buckle.
�If the seat belt does not function
normally, immediately contact your
Toyota dealer. Do not use the seat
until the seat belt is fixed, because
it cannot protect an adult occupant
or your child from death or serious
injury.
Page 237 of 458
237
27p334
Microphone
It is unnecessary to speak directly into
the microphone when giving a com-
mand.This system has a function which dis-
plays the voice recognition help screen.
You can see the command list and op-
erating guide on it.
27p361
(a) Command List
1. Touch the “Command List” tab on the upper side of the screen.
2. Select the desired category by touching the buttons on the right
side of the “Command List” screen.*
3. You can scroll through the command
list by touching “
” or “”
switch.
*: For the vehicles without Navigation Sys-
tem, “Tel” only is shown.
Touch the “OK” switch after you check it.
—Help screen
Page 238 of 458
238
27p362
(b) Operating Guide1. Touch the “Operating Guide” tab on the upper side of the screen.
2. Select the desired category by touching the buttons on the right
side of the “Operating Guide”
screen.*
3. You can scroll through the list of the
operating guide by touching “
” or
“
” switch.
*: For the vehicles without Navigation Sys-
tem, “Tel” only is shown.
Touch the “OK” switch after you check it.
Adjustment
26p024a
Type 1 Type 2 and Type
3
Push the “DISPLAY” button to display
the “Display” screen.
27p142a
Type 1 and Type 2
26p026b
Ty p e 3
Page 248 of 458
248
Ty p e 3
Push the “AM”, “AM·SAT”, “FM”,
“DISC” or “DISC·AUX” button to turn
on that mode. The selected mode turns
on directly.
Push these buttons if you want to switch
from one mode to another.
If the disc is not set, the compact disc
player does not turn on.
26p260
Radio (Type 1)
Radio (Type 2)
26p136a
Radio (Type 3)
Page 252 of 458
252
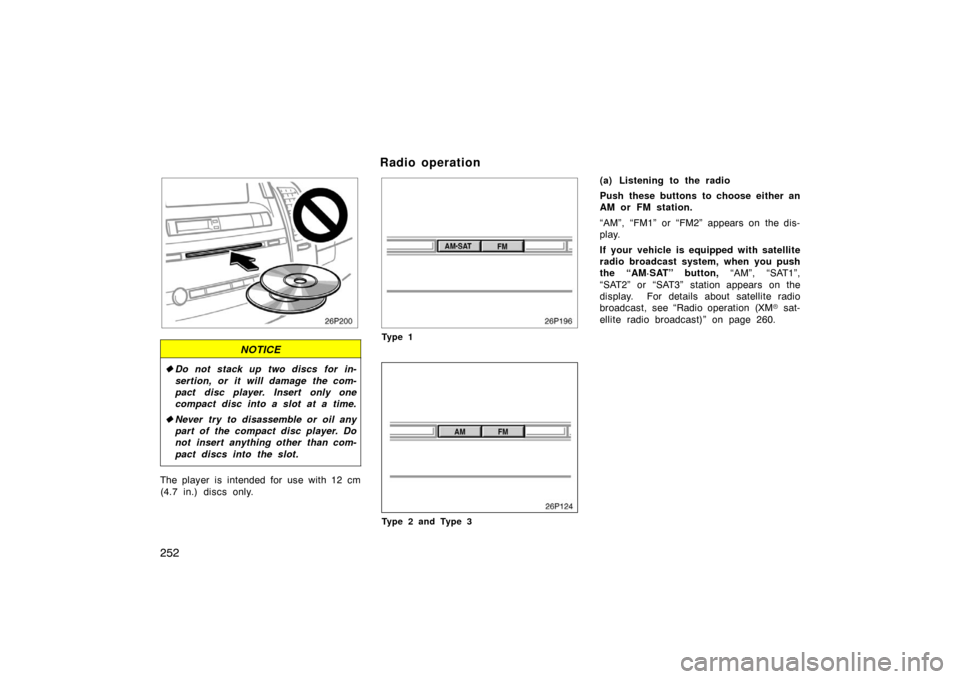
NOTICE
�Do not stack up two discs for in-
sertion, or it will damage the com-
pact disc player. Insert only one
compact disc into a slot at a time.
� Never try to disassemble or oil any
part of the compact disc player. Do
not insert anything other than com-
pact discs into the slot.
The player is intended for use with 12 cm
(4.7 in.) discs only.
Ty p e 1
26p124
Type 2 and Type 3
(a) Listening to the radio
Push these buttons to choose either an
AM or FM station.
“AM”, “FM1” or “FM2” appears on the dis-
play.
If your vehicle is equipped with satellite
radio broadcast system, when you push
the “AM·SAT” button, “AM”, “SAT1”,
“SAT2” or “SAT3” station appears on the
display. For details about satellite radio
broadcast, see “Radio operation (XM � sat-
ellite radio broadcast)” on page 260.
Radio operation
Page 292 of 458
292
27p156
Type 1 and Type 2
27p111a
Ty p e 3
SETTING OPERATION—automatic con-
trol1. Touch the “AUTO” switch.
The indicator located in the instrument
cluster will come on.
Air conditioning is turned on if not oper-
ated.
Air flow quantity, switching of the diffus-
ers, and switching of the air intake be-
tween RECIRCULATED AIR and OUTSIDE
AIR are automatically adjusted. The opera-
tion status is shown by each indicator.
However, if the RECIRCULATED AIR
mode is selected manually, control
changes to give priority to manual set-
tings. When one of the manual control buttons
is depressed while operating in automatic
mode, the mode relevant to the depressed
button is set. Other conditions continue to
be adjusted automatically. However, oper-
ating the air flow outlets or fan speed will
turn off the automatic control.
Touch the “OFF” switch to turn the air
conditioning off.
(a) Climate control
Page 309 of 458
 is manufactured
under license from HomeLink\f and can
be programmed to operate garage
doors, gates, entry")
309
28p128
Indicator light
Buttons
The garage door opener ( HomeLink
\f
Universal Transceiver) is manufactured
under license from HomeLink\f and can
be programmed to operate garage
doors, gates, entry doors, door locks,
home lighting systems, and security
systems, etc. (a) Programing the HomeLink
\f
The HomeLink\f in your vehicle has 3
buttons and you can store one program
for each button.
To ensure correct programing into the
HomeLink
\f, install a new battery in the
hand− held transmitter prior to program-
ming.
The battery side of the hand −held trans-
mitter must be pointed away from the
HomeLink
\f during the programming pro-
cess.
For Canadian users, follow the procedure
in “Programming an entrance gate/Pro-
gramming all devices in the Canadian
market”. When the programming the HomeLink
\f for
the first time, erase the HomeLink\f
memory once before following the steps
below to program the HomeLink\f. (See
“(c) Erasing the entire HomeLink\f
memory” on page 312. When carrying out
(c), do not hold the buttons for longer
than 30 seconds.)
When registering the second and third sig-
nals, simply follow the steps listed below.
If you erase the HomeLink
\f memory
again, any signals registered previously
will be erased.
1. Decide which of 3 HomeLink
\f buttons
you want to program.
Garage door opener
Page 310 of 458

Hand−held
garage transmitter
2. Place your hand− held garage transmit-
ter 25 to 75 mm (1 to 3 in.) away from
the surface of the HomeLink
\f.
Keep the")
310
28p130aHomeLink\f25 to 75 mm
(1 to 3 in.)
Hand−held
garage transmitter
2. Place your hand− held garage transmit-
ter 25 to 75 mm (1 to 3 in.) away from
the surface of the HomeLink
\f.
Keep the red indicator light on the
HomeLink
\f in view while programming.
28p131
3. Simultaneously press and hold the hand− held garage transmitter button
along with the selected HomeLink
\f but-
ton.
Do not release the buttons until step 4
has been completed. 4. When the indicator light on the HomeLink
\f changes from a slow to a
rapid flash, you can release both but-
tons.
28p132
5. Test the operation of the HomeLink\f by
pressing the newly programmed button.
If programming a garage door opener,
check to see if the garage door opens
and closes.
If the garage door does not operate, iden-
tify if your garage transmitter is of the
“Rolling Code” type. Press and hold the
programmed HomeLink
\f button. The ga-
rage door has the rolling code feature if
the indicator light (on the HomeLink
\f)
flashes rapidly and then remains lit after
2 seconds. If your garage transmitter is
the “Rolling Code” type, proceed to the
heading “Programming a rolling code sys-
tem”.

 Operating Guide1. Touch the “Operating Guide” tab on the upper side of the screen.
2. Select the desired category by touching the buttons on the right
side of the “Operating Guid")