2007 SUZUKI GRAND VITARA light
[x] Cancel search: lightPage 97 of 211

Downloaded from www.Manualslib.com manuals search engine 4-35 INSTRUMENT PANEL
66J21-03E
Selecting the reception band
Press the band switch button (1).
Each time the button is pressed, the recep-
tion band is switched as follows:
66J098
Seek tuning
Press the seek up button (2) or the seek
down button (3).
The unit stops searching for a station at a
frequency where a broadcast station is
available.
Manual tuning
Turn the manual tuning knob (4).
The frequency being received is displayed.
Preset memory
1) Select the desired station.
2) Select the preset button (5) to which
you want to store the station and press
and hold the button for 2 seconds or
longer.Auto store
Press and hold the auto store button (6) for
2 seconds or longer.
Six stations in total are automatically
stored to the preset buttons (5) in sequen-
tial order, starting from the lower frequen-
cies.
NOTE:
When the auto store is performed, the
station previously stored in the memory
at the position is overwritten.
When there are fewer than 6 stations
that can be stored even if 2 rounds of
auto store operation are performed, the
stations previously stored at the remain-
ing preset buttons (5) are not overwrit-
ten.
Scan tuning
1) Press the scan button (6).
Stations are automatically sought for in
a sequential order, starting from a sta-
tion being currently received, and scan
stops for 5 seconds at a frequency
where there is a station available.
2) Press the scan button (6) again to stop
scanning at the frequency being cur-
rently received.
Receiving a stereo broadcast station
If a stereo broadcast station is received,
the stereo indicator will light.
Radio ReceptionRadio reception can be affected by envi-
ronment, atmospheric conditions, or radio
signal’s power and distance from the sta-
tion. Nearby mountains and buildings may
interfere or deflect radio reception, causing
poor reception. Poor reception or radio
static can also be caused by electric cur-
rent from overhead wires or high voltage
power lines.
Audio Systems:
Page 100 of 211

Downloaded from www.Manualslib.com manuals search engine 4-38 INSTRUMENT PANEL
66J21-03E
NOTE:
About Single CDs (8 cm CDs)
No adapter is required to play a single
CD.
A single CD is inserted from the center
of the CD insertion slot.
Since an ejected single CD is not auto-
matically reloaded, be sure to remove
the ejected single CD.Loading a CD
Insert a CD in the CD insertion slot (1).
When a CD is loaded, play starts and the
CD indicator (A) lights.
Ejecting a CD
Press the CD eject button (2).
If you left a CD ejected for a period of
about 15 seconds, it will be automatically
drawn inside the unit. (Auto reload func-
tion)
The backup eject function:
This function allows you to eject a CD with
the power turned off by pressing the CD
eject button (2).
Listening to a CD
When a CD is inserted, it is automatically
played back.
When a CD is already inside the unit,
press the disc button (3) to play back the
CD. When a CD is inside the unit, the CD
indicator (A) is lit on the display unit.Selecting a track
Press the track up button (4) to listen to
the next track.
Press the track down button (5) twice to
listen to the previous track.
When the track down button (5) is
pressed once, the track being currently
played will return to the beginning.
Fast forwarding/Rewinding a track
Hold in the fast forward button (4) to
advance a track rapidly.
Hold in the rewind button (5) to rewind a
track.
Repeat play
Press the repeat button (6).
The repeat indicator (D) lights and the
track currently being played is played
repeatedly.
Press the repeat button (6) again to cancel
repeat play.
CAUTION
If you forcefully try to push an
ejected CD inside the unit before auto
reloading, the disc surface might be
scratched.
Audio Systems:
Page 102 of 211
Downloaded from www.Manualslib.com manuals search engine 4-40 INSTRUMENT PANEL
66J21-03E
NOTE:
About Single CDs (8 cm CDs)
Since the unit is not compatible with a
single CD, do not load it into the unit.
Keep in mind the fact that a single CD
cannot be played even using a single
CD adaptor for the unit.
When a single CD is loaded into the unit
accidentally, it will be ejected immedi-
ately. Please be sure to remove it.
If you forcefully try to push it into the unit
without removing it, the CD cannot be
ejected. This will result in a damage to
the mechanism. Please never do this.Loading one CD
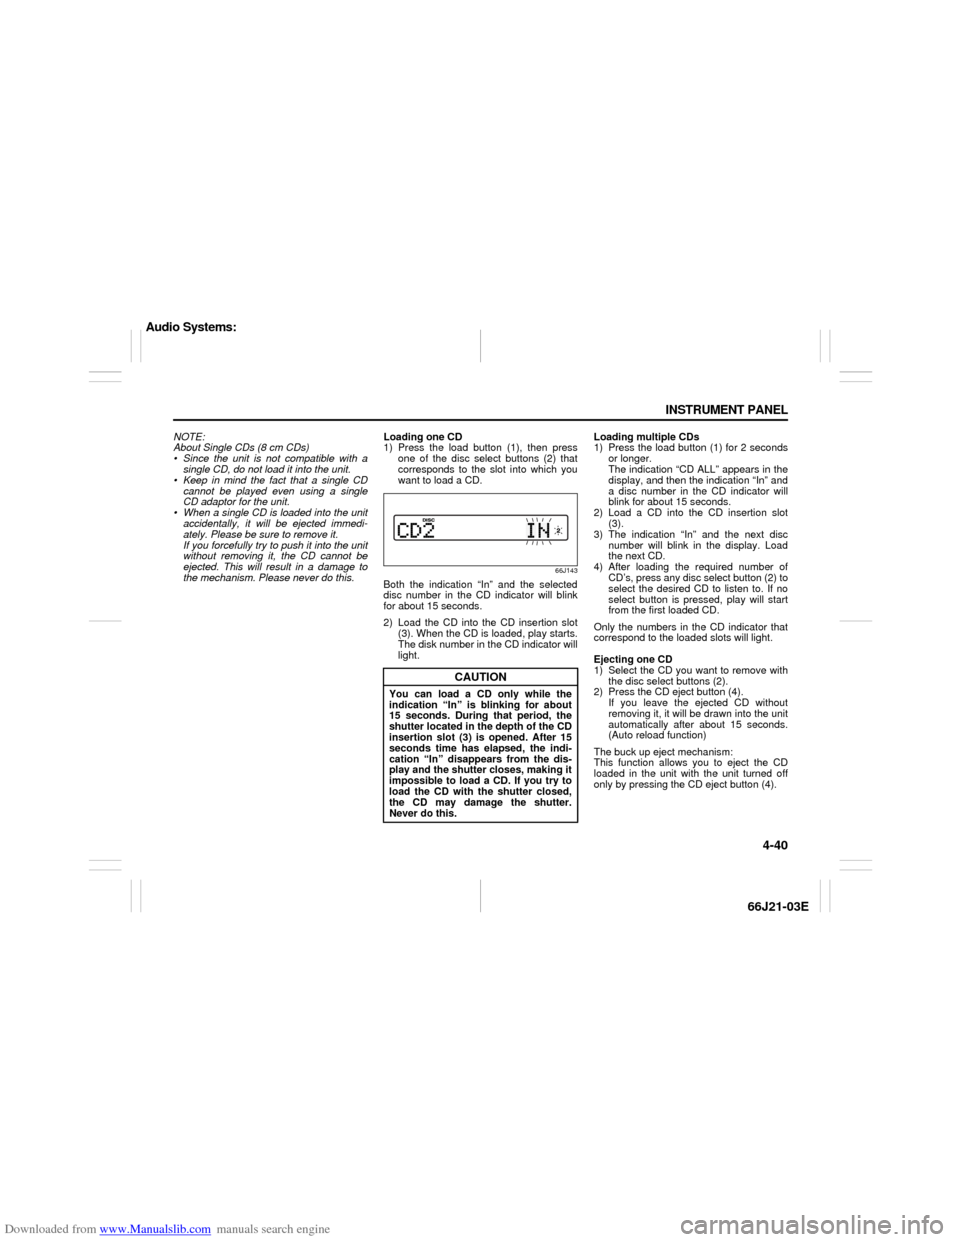
1) Press the load button (1), then press
one of the disc select buttons (2) that
corresponds to the slot into which you
want to load a CD.
66J143
Both the indication “In” and the selected
disc number in the CD indicator will blink
for about 15 seconds.
2) Load the CD into the CD insertion slot
(3). When the CD is loaded, play starts.
The disk number in the CD indicator will
light.Loading multiple CDs
1) Press the load button (1) for 2 seconds
or longer.
The indication “CD ALL” appears in the
display, and then the indication “In” and
a disc number in the CD indicator will
blink for about 15 seconds.
2) Load a CD into the CD insertion slot
(3).
3) The indication “In” and the next disc
number will blink in the display. Load
the next CD.
4) After loading the required number of
CD’s, press any disc select button (2) to
select the desired CD to listen to. If no
select button is pressed, play will start
from the first loaded CD.
Only the numbers in the CD indicator that
correspond to the loaded slots will light.
Ejecting one CD
1) Select the CD you want to remove with
the disc select buttons (2).
2) Press the CD eject button (4).
If you leave the ejected CD without
removing it, it will be drawn into the unit
automatically after about 15 seconds.
(Auto reload function)
The buck up eject mechanism:
This function allows you to eject the CD
loaded in the unit with the unit turned off
only by pressing the CD eject button (4).
CAUTION
You can load a CD only while the
indication “In” is blinking for about
15 seconds. During that period, the
shutter located in the depth of the CD
insertion slot (3) is opened. After 15
seconds time has elapsed, the indi-
cation “In” disappears from the dis-
play and the shutter closes, making it
impossible to load a CD. If you try to
load the CD with the shutter closed,
the CD may damage the shutter.
Never do this.
Audio Systems:
Page 103 of 211
Downloaded from www.Manualslib.com manuals search engine 4-41 INSTRUMENT PANEL
66J21-03E
Ejecting all the CDs
Press the CD eject button (4) for 2 sec-
onds or longer. All the CDs will be ejected
from the unit in a sequential manner.
Please prepare a location where
removed CDs can be stored.
If you leave the ejected CD without
removing it, it will be drawn into the unit
automatically after about 15 seconds.
(Auto reload function)
The buck up eject mechanism:
This function allows you to eject the CD
loaded in the unit with the unit turned off
only by pressing the CD eject button (4).Listening to a CD
1) When a CD is inserted, it is automati-
cally played back.
When a CD is already inside the unit,
press the disc button (5) to play back
the CD. When a CD is inside the unit,
the CD indicator (A) is lit on the display
unit.
2) If you want to play another CD, select it
with the disc select buttons (2).
Play starts from the point on the disc
that the unit played last (Last position
memory).
Selecting a track
Press the track up button (6) to listen to
the next track.
Press the track down button (7) twice to
listen to the previous track.
When the track down button (7) is
pressed once, the track being currently
played will return to the beginning.
Fast forwarding/Rewinding a track
Hold in the fast forward button (6) to
advance a track rapidly.
Hold in the rewind button (7) to rewind a
track.Repeat play
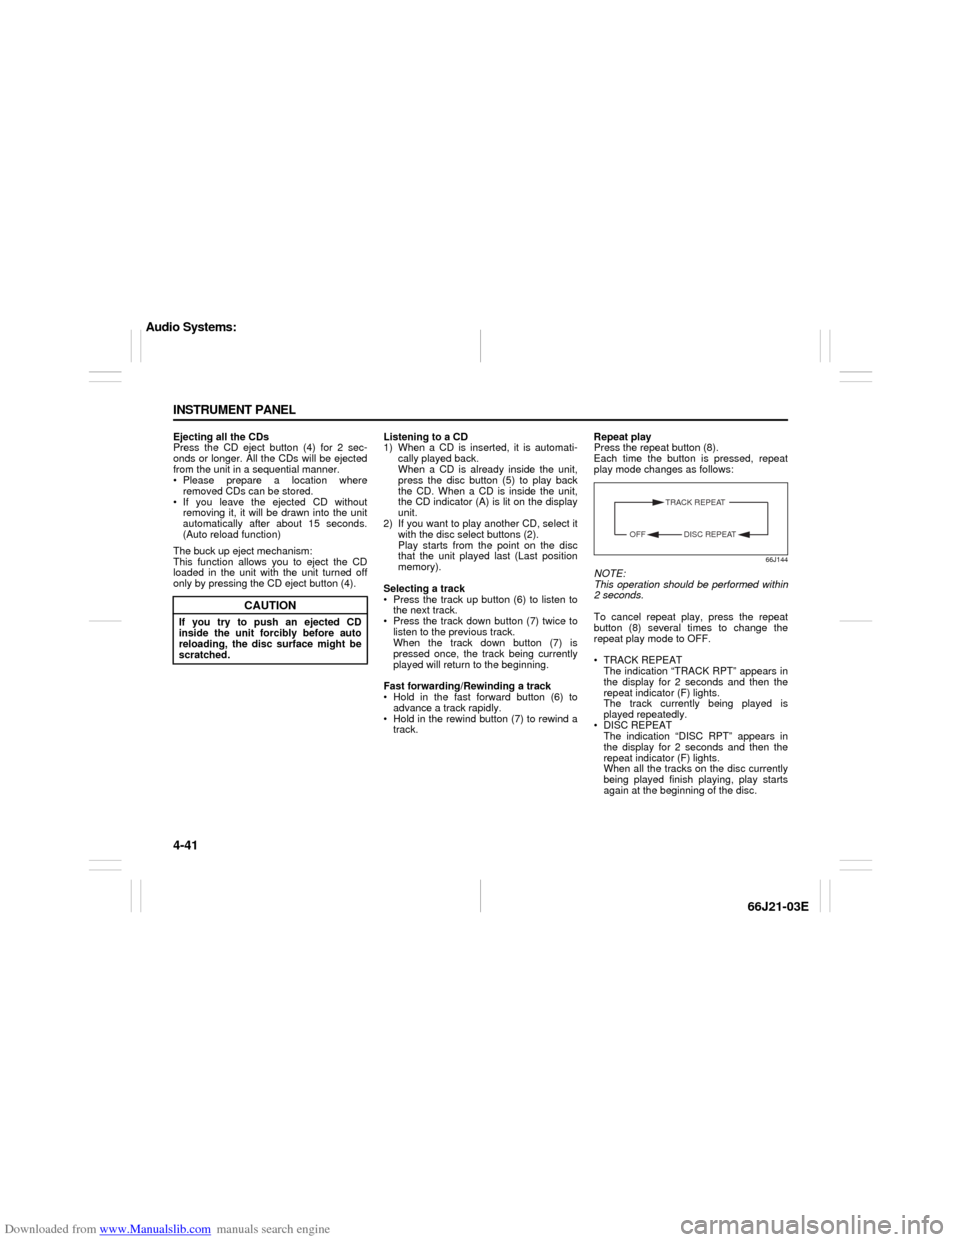
Press the repeat button (8).
Each time the button is pressed, repeat
play mode changes as follows:
66J144
NOTE:
This operation should be performed within
2 seconds.
To cancel repeat play, press the repeat
button (8) several times to change the
repeat play mode to OFF.
TRACK REPEAT
The indication “TRACK RPT” appears in
the display for 2 seconds and then the
repeat indicator (F) lights.
The track currently being played is
played repeatedly.
DISC REPEAT
The indication “DISC RPT” appears in
the display for 2 seconds and then the
repeat indicator (F) lights.
When all the tracks on the disc currently
being played finish playing, play starts
again at the beginning of the disc.
CAUTION
If you try to push an ejected CD
inside the unit forcibly before auto
reloading, the disc surface might be
scratched.
TRACK REPEAT
DISC REPEAT OFF
Audio Systems:
Page 105 of 211
Downloaded from www.Manualslib.com manuals search engine 4-43 INSTRUMENT PANEL
66J21-03E
MP3/WMA MODE
Selecting a folder
Turn the sound control knob (1) to select a
folder.
Repeat play
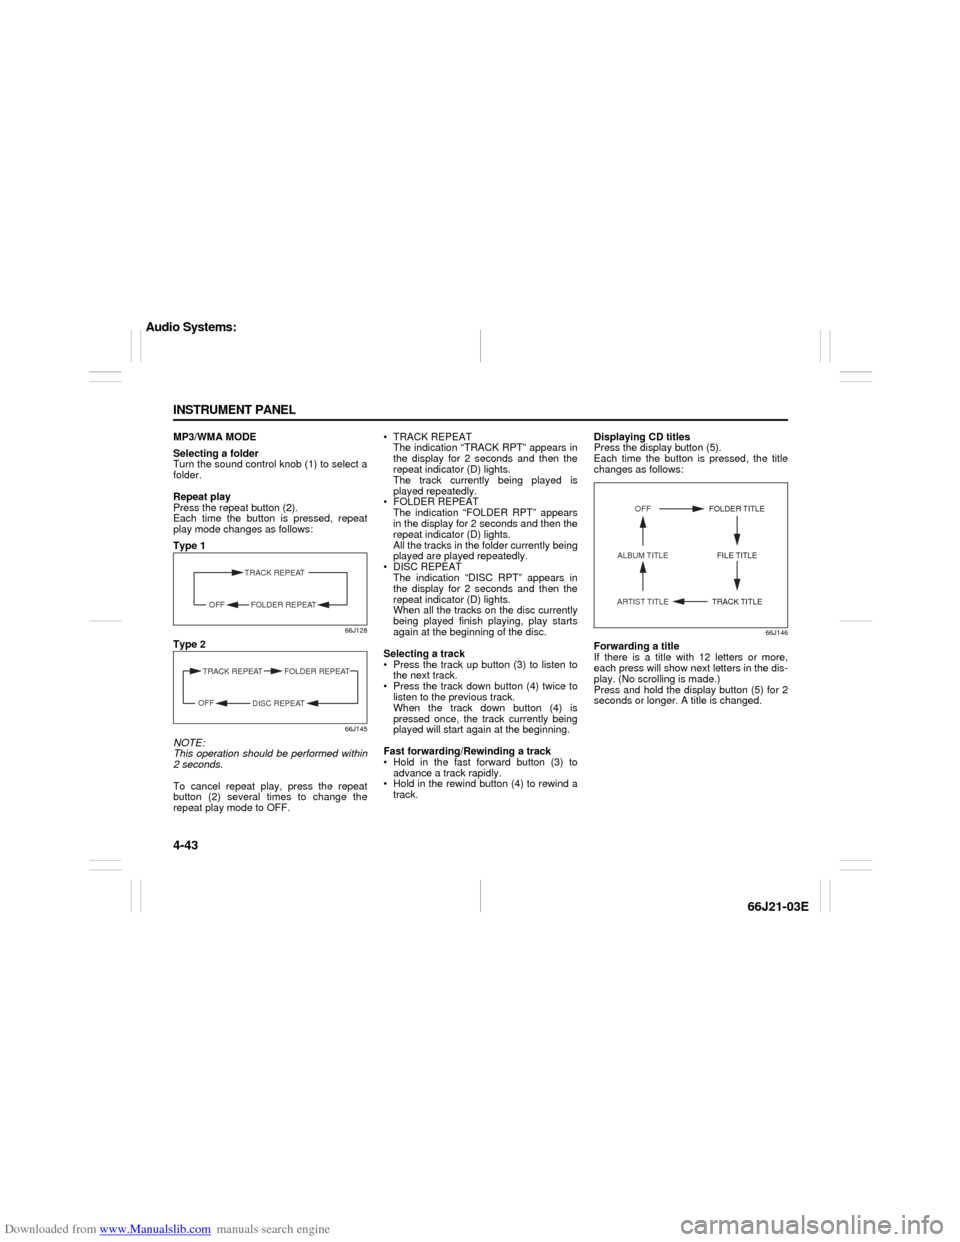
Press the repeat button (2).
Each time the button is pressed, repeat
play mode changes as follows:
Type 1
66J128
Type 2
66J145
NOTE:
This operation should be performed within
2 seconds.
To cancel repeat play, press the repeat
button (2) several times to change the
repeat play mode to OFF. TRACK REPEAT
The indication “TRACK RPT” appears in
the display for 2 seconds and then the
repeat indicator (D) lights.
The track currently being played is
played repeatedly.
FOLDER REPEAT
The indication “FOLDER RPT” appears
in the display for 2 seconds and then the
repeat indicator (D) lights.
All the tracks in the folder currently being
played are played repeatedly.
DISC REPEAT
The indication “DISC RPT” appears in
the display for 2 seconds and then the
repeat indicator (D) lights.
When all the tracks on the disc currently
being played finish playing, play starts
again at the beginning of the disc.
Selecting a track
Press the track up button (3) to listen to
the next track.
Press the track down button (4) twice to
listen to the previous track.
When the track down button (4) is
pressed once, the track currently being
played will start again at the beginning.
Fast forwarding/Rewinding a track
Hold in the fast forward button (3) to
advance a track rapidly.
Hold in the rewind button (4) to rewind a
track.Displaying CD titles
Press the display button (5).
Each time the button is pressed, the title
changes as follows:
66J146
Forwarding a title
If there is a title with 12 letters or more,
each press will show next letters in the dis-
play. (No scrolling is made.)
Press and hold the display button (5) for 2
seconds or longer. A title is changed.
TRACK REPEAT
FOLDER REPEAT OFF
TRACK REPEAT FOLDER REPEAT
DISC REPEAT OFF
TRACK TITLE FOLDER TITLE
ARTIST TITLEOFF
FILE TITLE ALBUM TITLE
Audio Systems:
Page 107 of 211
Downloaded from www.Manualslib.com manuals search engine 4-45 INSTRUMENT PANEL
66J21-03E
XM MODE
Selecting a band
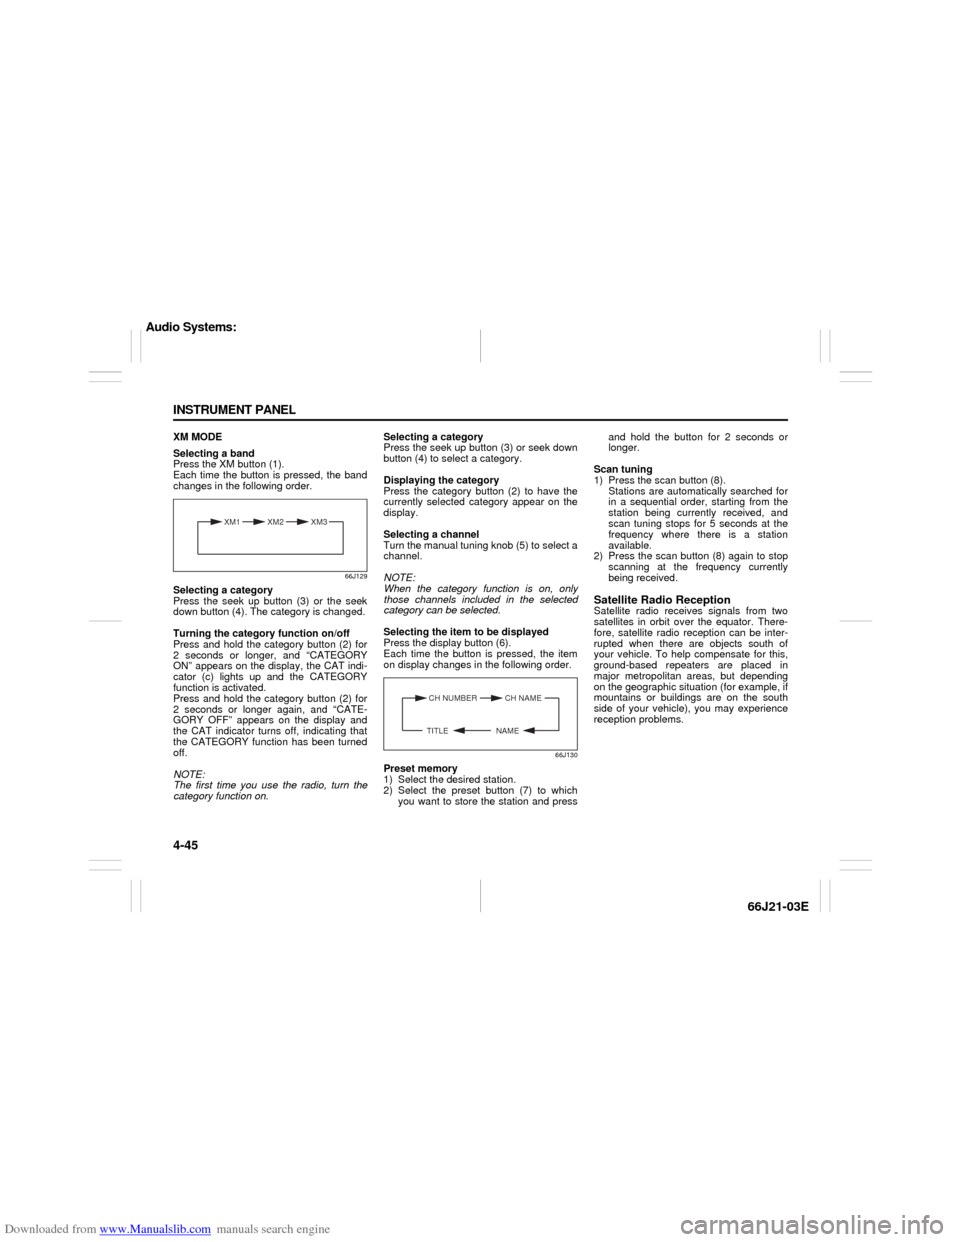
Press the XM button (1).
Each time the button is pressed, the band
changes in the following order.
66J129
Selecting a category
Press the seek up button (3) or the seek
down button (4). The category is changed.
Turning the category function on/off
Press and hold the category button (2) for
2 seconds or longer, and “CATEGORY
ON” appears on the display, the CAT indi-
cator (c) lights up and the CATEGORY
function is activated.
Press and hold the category button (2) for
2 seconds or longer again, and “CATE-
GORY OFF” appears on the display and
the CAT indicator turns off, indicating that
the CATEGORY function has been turned
off.
NOTE:
The first time you use the radio, turn the
category function on.Selecting a category
Press the seek up button (3) or seek down
button (4) to select a category.
Displaying the category
Press the category button (2) to have the
currently selected category appear on the
display.
Selecting a channel
Turn the manual tuning knob (5) to select a
channel.
NOTE:
When the category function is on, only
those channels included in the selected
category can be selected.
Selecting the item to be displayed
Press the display button (6).
Each time the button is pressed, the item
on display changes in the following order.
66J130
Preset memory
1) Select the desired station.
2) Select the preset button (7) to which
you want to store the station and pressand hold the button for 2 seconds or
longer.
Scan tuning
1) Press the scan button (8).
Stations are automatically searched for
in a sequential order, starting from the
station being currently received, and
scan tuning stops for 5 seconds at the
frequency where there is a station
available.
2) Press the scan button (8) again to stop
scanning at the frequency currently
being received.
Satellite Radio ReceptionSatellite radio receives signals from two
satellites in orbit over the equator. There-
fore, satellite radio reception can be inter-
rupted when there are objects south of
your vehicle. To help compensate for this,
ground-based repeaters are placed in
major metropolitan areas, but depending
on the geographic situation (for example, if
mountains or buildings are on the south
side of your vehicle), you may experience
reception problems.
XM1 XM2
XM3
CH NUMBER CH NAME
NAME TITLE
Audio Systems:
Page 111 of 211
Downloaded from www.Manualslib.com manuals search engine 4-49 INSTRUMENT PANEL
66J21-03E
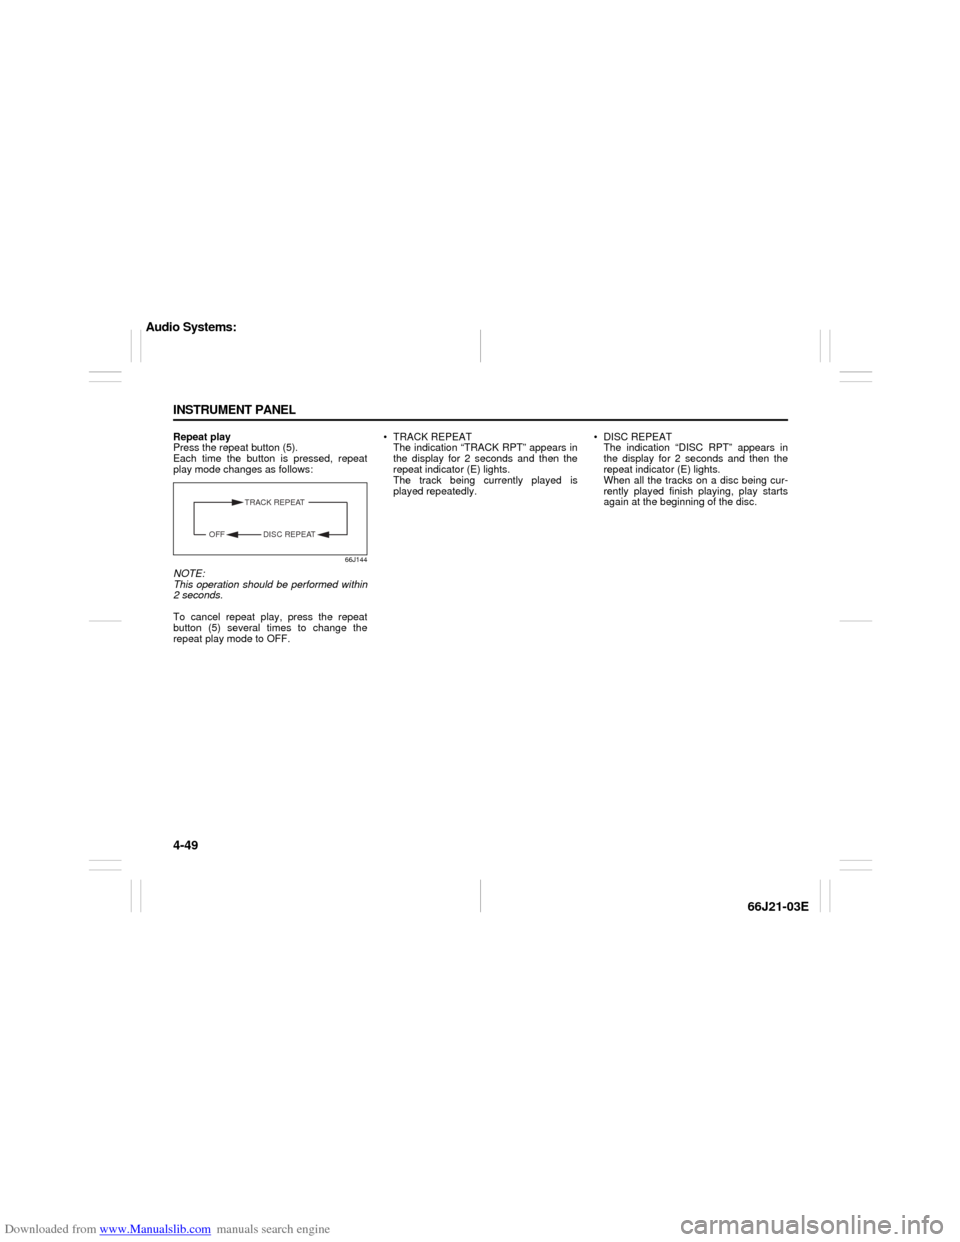
Repeat play
Press the repeat button (5).
Each time the button is pressed, repeat
play mode changes as follows:
66J144
NOTE:
This operation should be performed within
2 seconds.
To cancel repeat play, press the repeat
button (5) several times to change the
repeat play mode to OFF. TRACK REPEAT
The indication “TRACK RPT” appears in
the display for 2 seconds and then the
repeat indicator (E) lights.
The track being currently played is
played repeatedly. DISC REPEAT
The indication “DISC RPT” appears in
the display for 2 seconds and then the
repeat indicator (E) lights.
When all the tracks on a disc being cur-
rently played finish playing, play starts
again at the beginning of the disc.
TRACK REPEAT
DISC REPEAT OFF
Audio Systems:
Page 122 of 211

Downloaded from www.Manualslib.com manuals search engine 7-4 DRIVING TIPS
66J21-03E
Off-Road DrivingYour vehicle has specific design character-
istics for off-road driving. When you leave
the pavement, you will encounter driving
surfaces of all kinds which may change
continually as you drive. In most cases, off-
road driving requires the use of 4-wheel
drive. If your vehicle is a 2-wheel drive
vehicle, you should limit your off-road driv-
ing only to hard, flat, nonslippery surfaces.
2-wheel drive vehicles have far less trac-
tion on off-road surfaces than 4-wheel
drive vehicles. It is important when driving
off-road to follow the guidelines below.
Use Caution on Steep Inclines
Always inspect hills before you attempt to
drive up them. Know what is on the other
side and how you will get back down. If you
have any doubt that it is safe, do not
attempt to drive over a hill. Never drive
your vehicle up an extremely steep incline.
Coming down a steep hill can be trickier
than getting up one. Keep the vehicle
heading straight down the hill and use low
gear. Do not lock the brakes. If the vehicle
begins to slide, accelerate slightly to regain
steering control.Do Not Turn on or Drive Across the Side
of Hills
Turning on or driving across the side of a
hill can be extremely hazardous. Most of
the vehicle’s weight will be transferred to
the downhill tires, which could result in the
vehicle rolling sideways. Whenever possi-
ble, avoid this potential hazard. Also, if you
have to exit your vehicle on a side-hill,
always get out on the uphill side.
Wear Your Seat Belts at All Times
You and your passengers should use the
seat belts at all times when driving off-
road. For proper seat belt use, refer to the
“Seat Belts and Child Restraint Systems”
section in this manual.
Avoid Sudden Reactions in Mud, Ice or
Snow
Be careful when off-road conditions are
slick. Reduce your speed and avoid sud-
den movements of the vehicle. If your vehi-
cle is a 2-wheel drive vehicle, do not drive
in deep snow or mud. If your vehicle is a 4-
wheel drive vehicle, be aware that driving
in deep snow or mud can cause a loss of
traction and an increase in the resistance
to the vehicle’s forward motion. Use 4WD
low gear (4L) and maintain a steady but
moderate speed with a light touch on the
steering wheel and brakes.Do not drive in the field covered with
grown grass
If you drive in the field covered with grass,
it may cause unexpected accident or vehi-
cle damage by getting caught in grown
grass.
If Your Vehicle Gets Stuck
If your vehicle gets stuck in snow, mud or
sand, follow the directions below:
1) (For vehicles equipped with transfer
switch) Turn the transfer switch to “4H
LOCK” or “4L LOCK”.
2) Shift the transmission back and forth
between a forward range (or first gear
for manual transmission) and reverse.
This will create a rocking motion which
may give you enough momentum to
free the vehicle. Press gently on the
accelerator to keep wheel spin to a min-
imum. Remove your foot from the
accelerator while shifting.
Do not race the engine. Excessive
wheel spin will cause the tires to dig
deeper, making it more difficult to free
the vehicle.
3) If your vehicle remains stuck after a few
minutes of rocking, get another vehicle
to pull you out.
Off-Road Driving: NO