Page 45 of 211
Downloaded from www.Manualslib.com manuals search engine 2-31 BEFORE DRIVING
66J21-03E
65D234
65D235
4) Try moving the child restraint system in
all directions, to make sure it is securely
installed. If you need to tighten the belt,
pull more webbing toward the retractor.To revert from ALR to ELR
65D267
When you unbuckle the seat belt and allow
it to retract to a certain length, the retractor
will automatically revert back to the normal
ELR mode.
Installation with the LATCH System
66J162
Rear seat
64J027
Your vehicle is equipped with lower
anchors for securing up to two standard
LATCH-type child restraints in the rear
seats. (LATCH stands for Lower Anchors
EXAMPLE
Move to check
EXAMPLE
Pull to tighten
EXAMPLE
Rigid lower connecting
bar typeFlexible lower connecting
strap type
Seat Belts and Child Restraint Systems: 14
Page 47 of 211

Downloaded from www.Manualslib.com manuals search engine 2-33 BEFORE DRIVING
66J21-03E
65D342
5) Make sure the child restraint is securely
fastened by trying to move the child
restraint system in all directions, espe-
cially forward.If your LATCH restraint has rigid lower con-
necting bars, these general instructions
apply:
1) If possible, fold the seatback rearward
for easier installation.
2) Place the child restraint in the rear seat,
inserting the connecting bars through
the slots in the seat cushion or the slots
in the seatback bottom.
54G183
3) Use your hands to carefully align the
connecting bar tips with the anchors.
Take care not to pinch your fingers.
54G184
4) Push the child restraint toward the
anchors so that the connecting bar tips
are partially hooked to the anchors.
Use your hands to confirm the position.
WARNING
The seatback should always be
securely latched in a fairly upright
position when any type of child seat
is installed. An unlatched or reclined
seatback will reduce the intended
effectiveness of the child restraint
system.EXAMPLE
EXAMPLE
EXAMPLE
Seat Belts and Child Restraint Systems: 14
Page 134 of 211

Downloaded from www.Manualslib.com manuals search engine 8-8 VEHICLE LOADING AND TOWING
66J21-03E
Before towing
64J147
Vehicles equipped with a transfer switch
may be towed from the front with all four
wheels on the ground. Be sure to use
proper towing equipment designed for rec-
reational towing and make sure that towing
speed does not exceed 90 km/h (55 mph).To tow a vehicle equipped with a trans-
fer switch with all four wheels on the
ground:
1) Turn the ignition key to the “ON” posi-
tion.
2) Place the transmission in “N” (Neutral)
and depress the brake pedal and the
clutch pedal fully (if equipped).
3) Use the transfer switch to shift into neu-
tral.
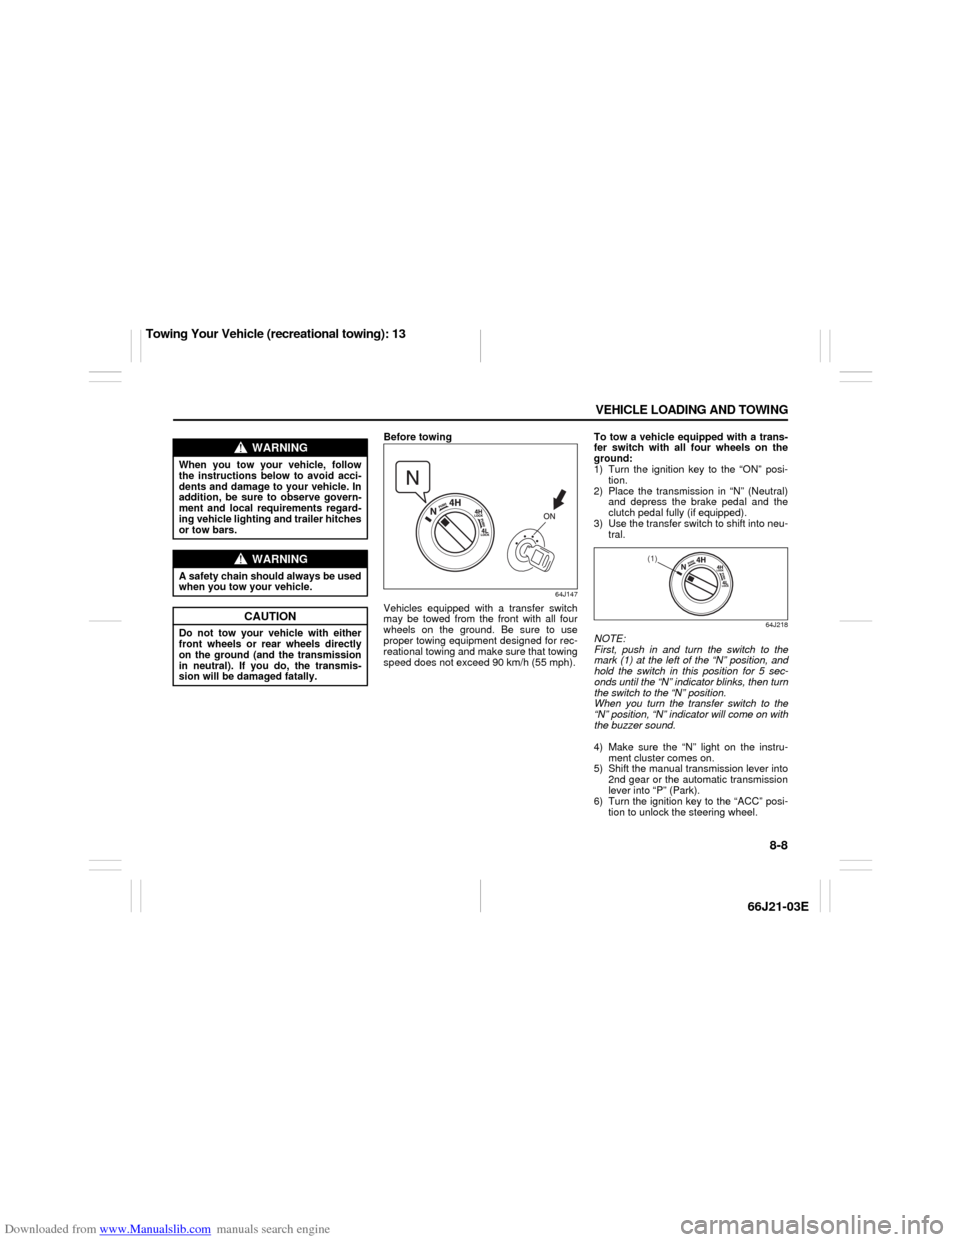
64J218
NOTE:
First, push in and turn the switch to the
mark (1) at the left of the “N” position, and
hold the switch in this position for 5 sec-
onds until the “N” indicator blinks, then turn
the switch to the “N” position.
When you turn the transfer switch to the
“N” position, “N” indicator will come on with
the buzzer sound.
4) Make sure the “N” light on the instru-
ment cluster comes on.
5) Shift the manual transmission lever into
2nd gear or the automatic transmission
lever into “P” (Park).
6) Turn the ignition key to the “ACC” posi-
tion to unlock the steering wheel.
WARNING
When you tow your vehicle, follow
the instructions below to avoid acci-
dents and damage to your vehicle. In
addition, be sure to observe govern-
ment and local requirements regard-
ing vehicle lighting and trailer hitches
or tow bars.
WARNING
A safety chain should always be used
when you tow your vehicle.
CAUTION
Do not tow your vehicle with either
front wheels or rear wheels directly
on the ground (and the transmission
in neutral). If you do, the transmis-
sion will be damaged fatally.
(1)
Towing Your Vehicle (recreational towing): 13