2007 SUZUKI GRAND VITARA ignition
[x] Cancel search: ignitionPage 81 of 211

Downloaded from www.Manualslib.com manuals search engine 4-19 INSTRUMENT PANEL
66J21-03E
Instantaneous fuel consumption (a)
If you selected instantaneous fuel con-
sumption the last time you drove the vehi-
cle, the display indicates “--.-” when the
ignition switch is turned to the “ACC” or
“ON” position. Unless the vehicle is mov-
ing, the display will indicate “--.-”.
Average fuel consumption (b)
If you selected average fuel consumption
the last time you drove the vehicle, the dis-
play shows the last value of average fuel
consumption when the ignition switch is
turned to the “ACC” or “ON” position.
Unless you reset the value of average fuel
consumption, the display will show the
value of average fuel consumption which
includes average fuel consumption during
previous driving.
To reset the value of average fuel con-
sumption, hold in the “DISP” button (6) for
more than 2 seconds when the display
shows an average fuel consumption value.
The display will indicate “--.-” and then will
show a new average fuel consumption
value after driving for a short time.
Driving range (c)
If you selected driving range the last time
you drove the vehicle, the display shows “-
-.-” for a few seconds and then shows the
current driving range when the ignition
switch is turned to the “ON” position.
The driving range shown in the display is
the approximate distance you can driveuntil the fuel gauge indicates “E” based a
current driving conditions.
When the remaining fuel in fuel tank
reaches a low level, the display “--.-” will
appear.
If the low fuel warning light comes on, fill
the fuel tank immediately regardless of the
value of driving range shown in the dis-
play.
As the driving range after refueling is cal-
culated based on the last driving condition,
the value is different each time you refuel.
NOTE:
When you reconnect the negative (–)
terminal to the battery, the value of driv-
ing range will be shown after driving for a
while.
For new vehicle with low mileage, the
driving range may not be shown
promptly in the display when beginning
to drive. The driving range will be shown
after a while.
NOTE:
The values of fuel consumption and driving
range shown in the display are affected by
conditions such as the following;
road condition
surrounding traffic condition
driving condition
vehicle condition
when the malfunction indicator light
comes on or blinksUnit indication of fuel consumption and
driving range
You can change the unit indication of fuel
consumption when selecting instanta-
neous fuel consumption or average fuel
consumption in the display.
You can also change the unit indication of
driving range when selecting driving range
in the display.
To change the unit indication in the dis-
play, follow the instructions below.
You should operate the display before the
vehicle moves.
1) Turn the ignition switch to the “ACC” or
“ON” position while holding in the
“DISP” button (6). The unit display of
the thermometer will blink.
2) Push the “M” button (5), and the unit
display of fuel consumption or driving
range will blink.
Fuel consumption
66J201
Information Display:
Page 82 of 211
Downloaded from www.Manualslib.com manuals search engine 4-20 INSTRUMENT PANEL
66J21-03E
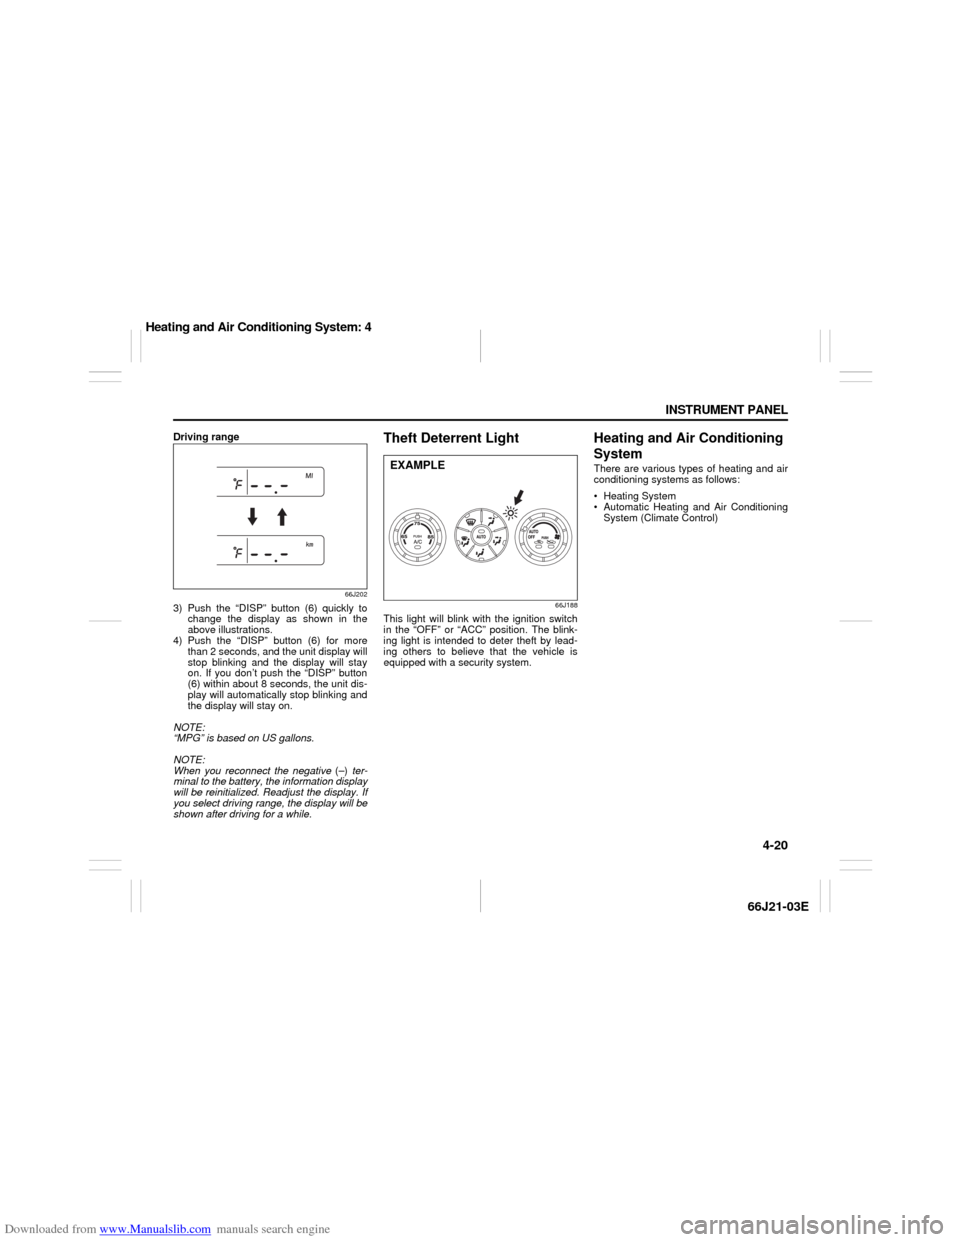
Driving range
66J202
3) Push the “DISP” button (6) quickly to
change the display as shown in the
above illustrations.
4) Push the “DISP” button (6) for more
than 2 seconds, and the unit display will
stop blinking and the display will stay
on. If you don’t push the “DISP” button
(6) within about 8 seconds, the unit dis-
play will automatically stop blinking and
the display will stay on.
NOTE:
“MPG” is based on US gallons.
NOTE:
When you reconnect the negative (–) ter-
minal to the battery, the information display
will be reinitialized. Readjust the display. If
you select driving range, the display will be
shown after driving for a while.
Theft Deterrent Light
66J188
This light will blink with the ignition switch
in the “OFF” or “ACC” position. The blink-
ing light is intended to deter theft by lead-
ing others to believe that the vehicle is
equipped with a security system.
Heating and Air Conditioning
SystemThere are various types of heating and air
conditioning systems as follows:
Heating System
Automatic Heating and Air Conditioning
System (Climate Control)
EXAMPLE
Heating and Air Conditioning System: 4
Page 115 of 211
Downloaded from www.Manualslib.com manuals search engine 4-53 INSTRUMENT PANEL
66J21-03E
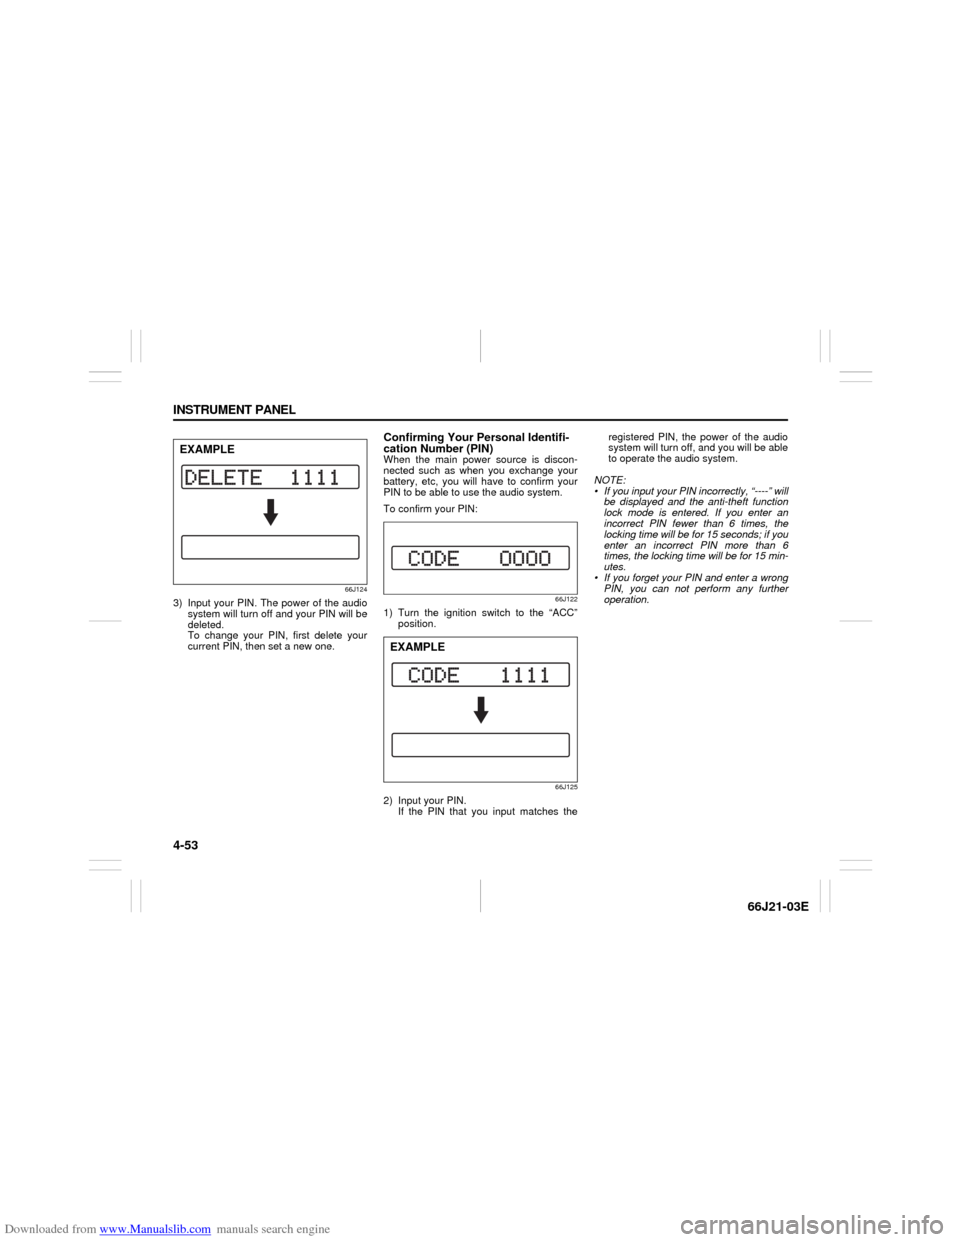
66J124
3) Input your PIN. The power of the audio
system will turn off and your PIN will be
deleted.
To change your PIN, first delete your
current PIN, then set a new one.
Confirming Your Personal Identifi-
cation Number (PIN)When the main power source is discon-
nected such as when you exchange your
battery, etc, you will have to confirm your
PIN to be able to use the audio system.
To confirm your PIN:
66J122
1) Turn the ignition switch to the “ACC”
position.
66J125
2) Input your PIN.
If the PIN that you input matches theregistered PIN, the power of the audio
system will turn off, and you will be able
to operate the audio system.
NOTE:
If you input your PIN incorrectly, “----” will
be displayed and the anti-theft function
lock mode is entered. If you enter an
incorrect PIN fewer than 6 times, the
locking time will be for 15 seconds; if you
enter an incorrect PIN more than 6
times, the locking time will be for 15 min-
utes.
If you forget your PIN and enter a wrong
PIN, you can not perform any further
operation.
EXAMPLE
EXAMPLE
Page 123 of 211

Downloaded from www.Manualslib.com manuals search engine 7-5 DRIVING TIPS
66J21-03E
Tire ChainsTire chains should only be used if they are
needed to increase traction or are required
by law. Make sure that the chains you use
are small-link chains or cable-type chains
and are the correct size for your vehicle’s
tires. Also make sure that there is enough
clearance between the fenders and the
chains as installed on the tires.
Install the chains on the rear tires tightly,
according to the chain manufacturer’s
instructions. Retighten the chains after
driving about 1.0 km (1/2 mile) if neces-
sary. With the chains installed, drive slowly.Do not drive through deep or rushing
water
Driving in deep or rushing water can be
hazardous. You could lose control of the
vehicle and the occupants could drown.
Also, your vehicle could be seriously dam-
aged. To avoid these risks, observe the fol-
lowing instructions and precautions.
Do not drive through deep or rushing
water. Deep or rushing water, such as
fast-moving streams or floodwaters,
could carry your vehicle away from your
intended path. The water is too deep if it
covers your wheel hubs, axles or
exhaust tailpipe. Know the depth of the
water before you attempt to drive
through it.
If water blocks the tailpipe, the engine
may not start or run. If the water is deep
enough to get drawn into the engine
intake system, the engine will be badly
damaged.
Submerged brakes will have poor brak-
ing performance. Drive slowly and care-
fully. Driving slowly will also help avoid
water splashing onto the ignition system,
which could cause the engine to stall.
Even when driving through shallow or
still waters, drive carefully since the
water may be hiding ground hazards
such as holes, ditches or bumps.
WARNING
Do not allow anyone to stand near
the vehicle when you are rocking it,
and do not spin the wheels faster
than an indicated 40 km/h (25 mph)
on the speedometer. Personal
injury and/or vehicle damage may
result from spinning the wheels too
fast.
Be sure to turn the transfer switch
from “4H” to “4H LOCK” or “4L
LOCK” when the tires slip in “4H”.
The continuing tires slip in “4H”
can cause the limited slip differen-
tial gear damage in the center dif-
ferential.
CAUTION
Release the accelerator pedal when
operating the gearshift lever. Operat-
ing the lever with the engine racing
can damage the gears.
CAUTION
Do not continue rocking the vehicle
for more than a few minutes. Pro-
longed rocking can cause engine
overheating, transmission or trans-
fer case damage or tire damage.
CAUTION
If you hear the chains hitting against
the vehicle body while driving, stop
and tighten them.
Off-Road Driving: NO
Page 134 of 211
Downloaded from www.Manualslib.com manuals search engine 8-8 VEHICLE LOADING AND TOWING
66J21-03E
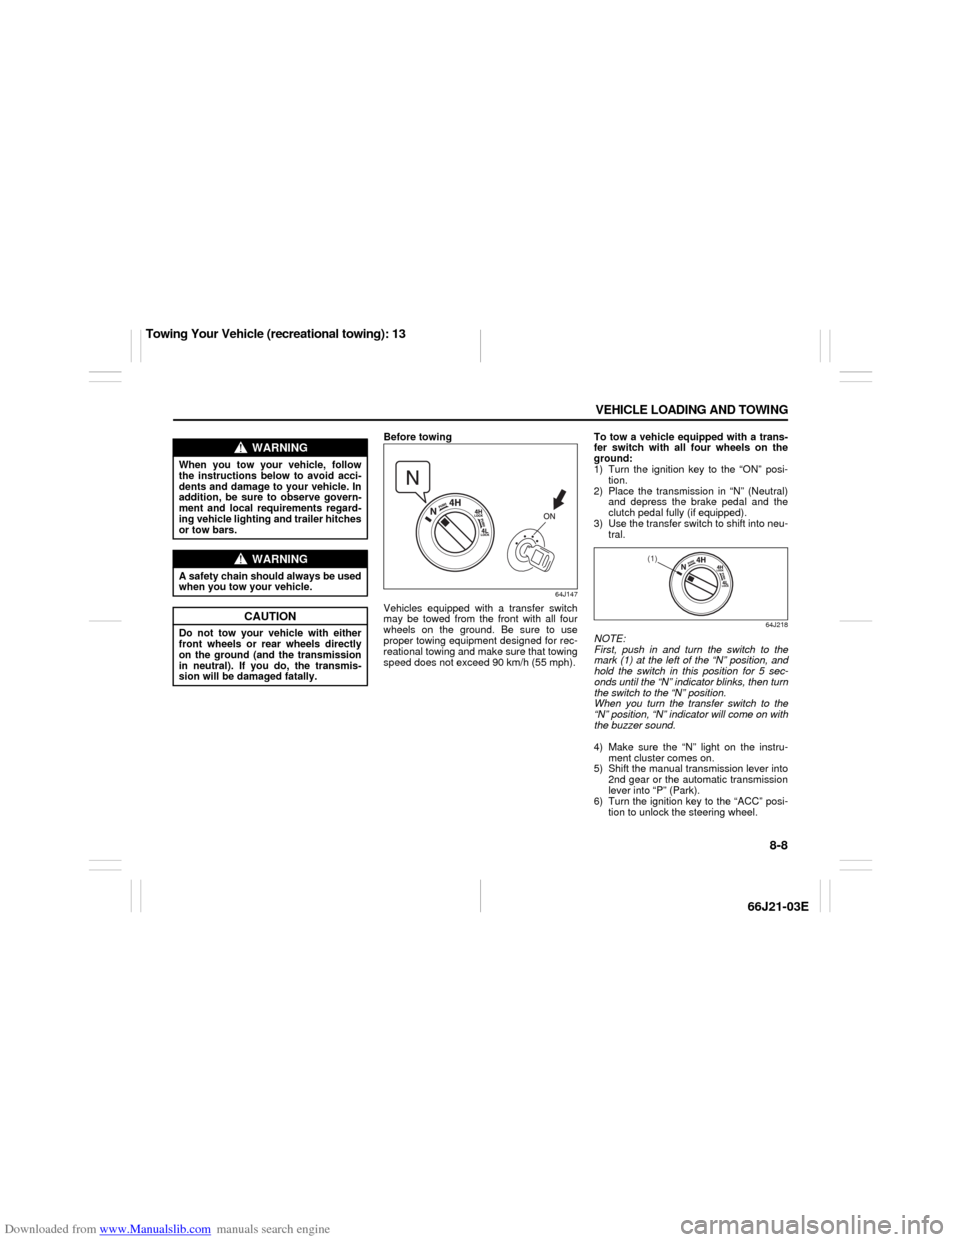
Before towing
64J147
Vehicles equipped with a transfer switch
may be towed from the front with all four
wheels on the ground. Be sure to use
proper towing equipment designed for rec-
reational towing and make sure that towing
speed does not exceed 90 km/h (55 mph).To tow a vehicle equipped with a trans-
fer switch with all four wheels on the
ground:
1) Turn the ignition key to the “ON” posi-
tion.
2) Place the transmission in “N” (Neutral)
and depress the brake pedal and the
clutch pedal fully (if equipped).
3) Use the transfer switch to shift into neu-
tral.
64J218
NOTE:
First, push in and turn the switch to the
mark (1) at the left of the “N” position, and
hold the switch in this position for 5 sec-
onds until the “N” indicator blinks, then turn
the switch to the “N” position.
When you turn the transfer switch to the
“N” position, “N” indicator will come on with
the buzzer sound.
4) Make sure the “N” light on the instru-
ment cluster comes on.
5) Shift the manual transmission lever into
2nd gear or the automatic transmission
lever into “P” (Park).
6) Turn the ignition key to the “ACC” posi-
tion to unlock the steering wheel.
WARNING
When you tow your vehicle, follow
the instructions below to avoid acci-
dents and damage to your vehicle. In
addition, be sure to observe govern-
ment and local requirements regard-
ing vehicle lighting and trailer hitches
or tow bars.
WARNING
A safety chain should always be used
when you tow your vehicle.
CAUTION
Do not tow your vehicle with either
front wheels or rear wheels directly
on the ground (and the transmission
in neutral). If you do, the transmis-
sion will be damaged fatally.
(1)
Towing Your Vehicle (recreational towing): 13
Page 136 of 211
Downloaded from www.Manualslib.com manuals search engine 8-10 VEHICLE LOADING AND TOWING
66J21-03E
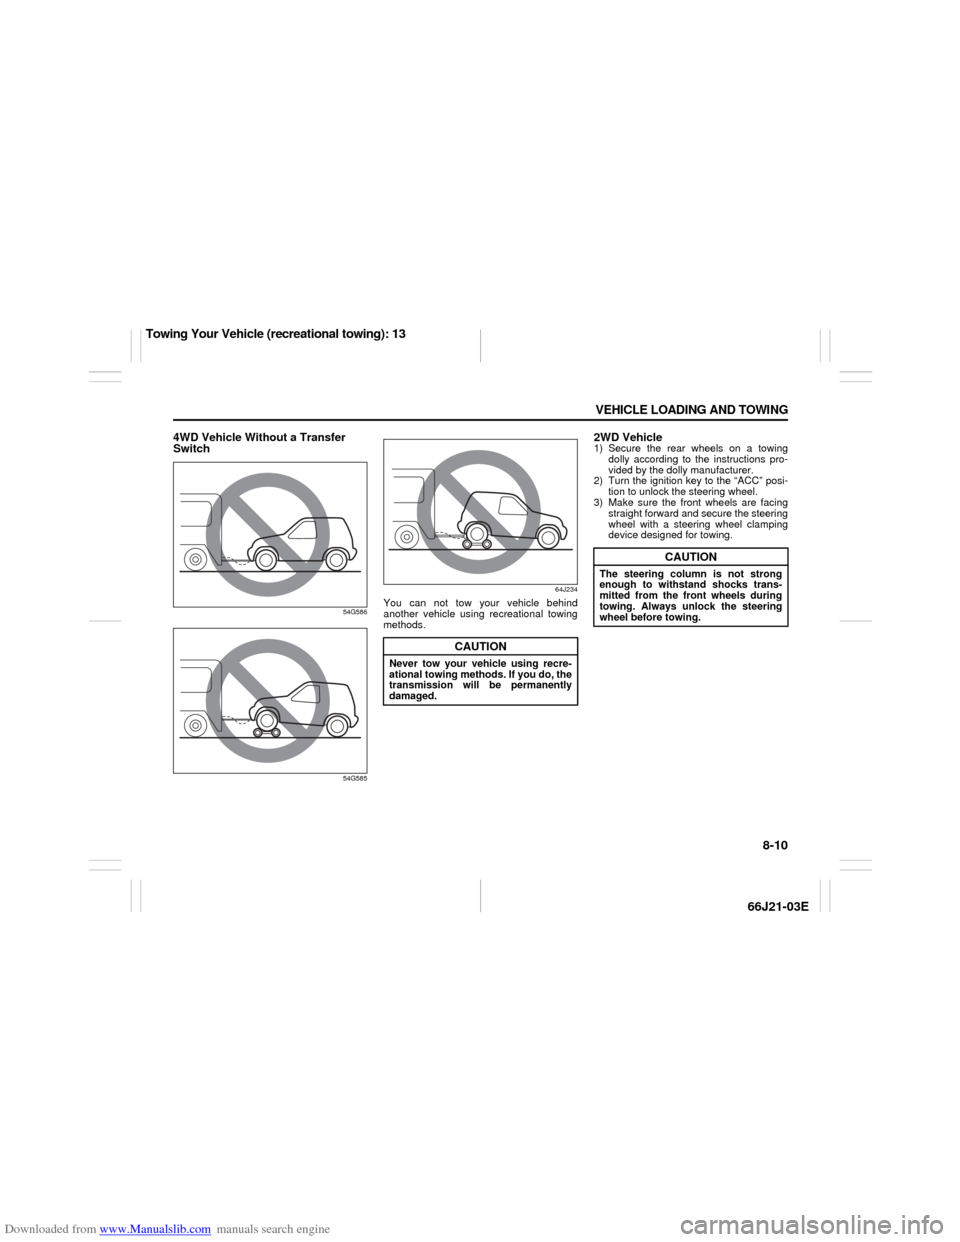
4WD Vehicle Without a Transfer
Switch
54G586
54G58564J234
You can not tow your vehicle behind
another vehicle using recreational towing
methods.
2WD Vehicle1) Secure the rear wheels on a towing
dolly according to the instructions pro-
vided by the dolly manufacturer.
2) Turn the ignition key to the “ACC” posi-
tion to unlock the steering wheel.
3) Make sure the front wheels are facing
straight forward and secure the steering
wheel with a steering wheel clamping
device designed for towing.
CAUTION
Never tow your vehicle using recre-
ational towing methods. If you do, the
transmission will be permanently
damaged.
CAUTION
The steering column is not strong
enough to withstand shocks trans-
mitted from the front wheels during
towing. Always unlock the steering
wheel before towing.
Towing Your Vehicle (recreational towing): 13
Page 139 of 211
Downloaded from www.Manualslib.com manuals search engine 9-1 INSPECTION AND MAINTENANCE
66J21-03E
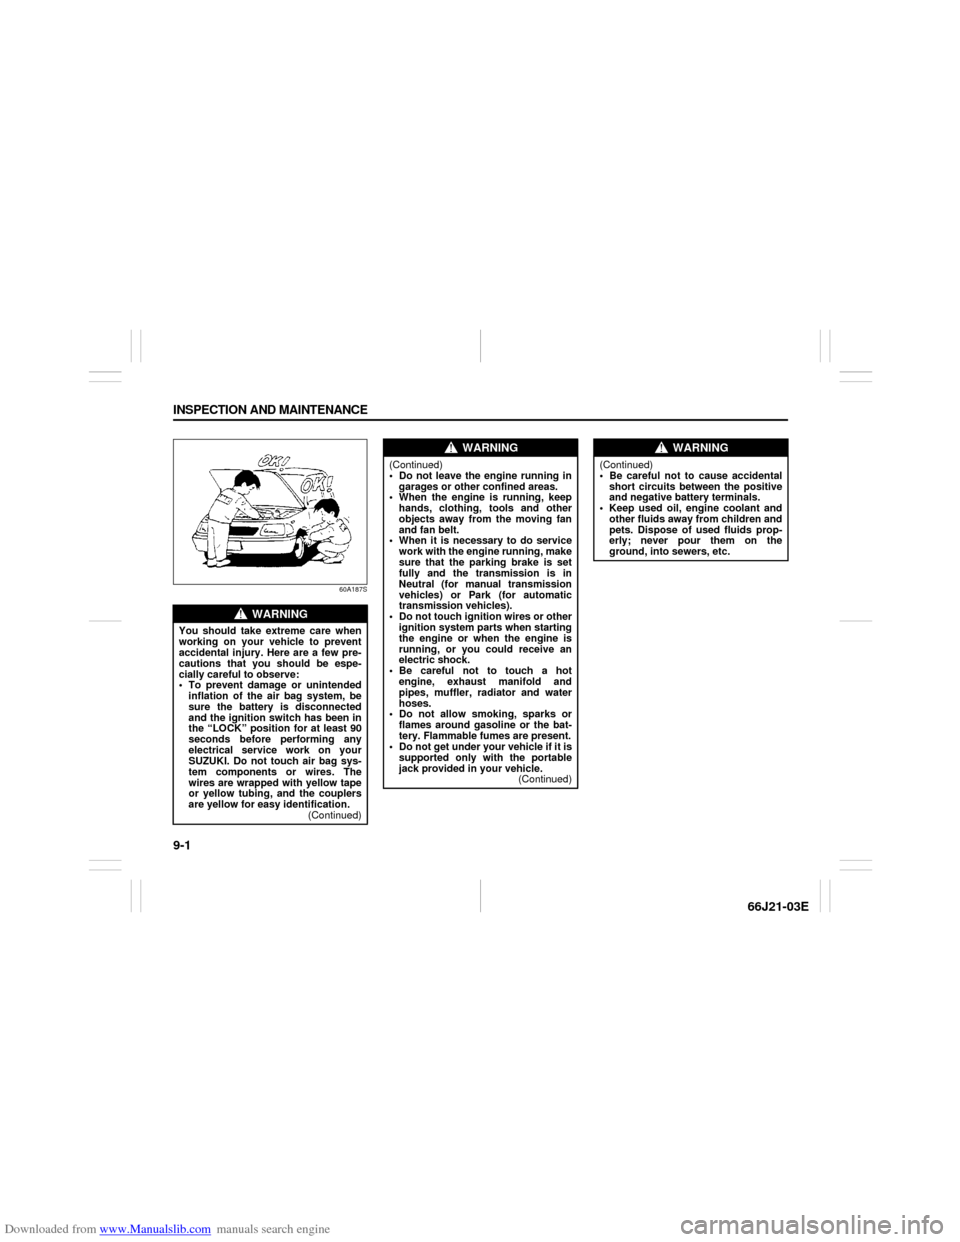
60A187S
WARNING
You should take extreme care when
working on your vehicle to prevent
accidental injury. Here are a few pre-
cautions that you should be espe-
cially careful to observe:
To prevent damage or unintended
inflation of the air bag system, be
sure the battery is disconnected
and the ignition switch has been in
the “LOCK” position for at least 90
seconds before performing any
electrical service work on your
SUZUKI. Do not touch air bag sys-
tem components or wires. The
wires are wrapped with yellow tape
or yellow tubing, and the couplers
are yellow for easy identification.
(Continued)
WARNING
(Continued)
Do not leave the engine running in
garages or other confined areas.
When the engine is running, keep
hands, clothing, tools and other
objects away from the moving fan
and fan belt.
When it is necessary to do service
work with the engine running, make
sure that the parking brake is set
fully and the transmission is in
Neutral (for manual transmission
vehicles) or Park (for automatic
transmission vehicles).
Do not touch ignition wires or other
ignition system parts when starting
the engine or when the engine is
running, or you could receive an
electric shock.
Be careful not to touch a hot
engine, exhaust manifold and
pipes, muffler, radiator and water
hoses.
Do not allow smoking, sparks or
flames around gasoline or the bat-
tery. Flammable fumes are present.
Do not get under your vehicle if it is
supported only with the portable
jack provided in your vehicle.
(Continued)
WARNING
(Continued)
Be careful not to cause accidental
short circuits between the positive
and negative battery terminals.
Keep used oil, engine coolant and
other fluids away from children and
pets. Dispose of used fluids prop-
erly; never pour them on the
ground, into sewers, etc.
Page 141 of 211

Downloaded from www.Manualslib.com manuals search engine 9-3 INSPECTION AND MAINTENANCE
66J21-03E
Periodic Maintenance ScheduleR: Replace or change
I : Inspect and correct, replace or lubricate if necessaryInterval: This interval should be judged by odometer
reading or months, whichever comes first.miles (x 1000) 7.5 15 22.5 30 37.5 45 52.5 60 67.5 75
km (x 1000) 12.52537.55062.57587.5100112.5125
months 7.5 1522.53037.54552.56067.575ENGINE & EMISSION CONTROL
1. Drive belt
Tension check, *adjustment, *replacement
–
–
–
I
–
–
–
R
–
–
*2. Valve lash (clearance) – – I – – I – – I –
3.Engine oil and oil filter
R
R
R
R
R
R
R
R
R
R
*4. Cooling system hoses and connections – – – I – – – I – –
5.Engine coolant
–
–
–
R
–
–
–
R
–
–
*6. Exhaust pipes and mountings – – – I – – – I&(R) – –
*7.
EVAP canister
Replace every 250000 km (150000 miles) or 180 months
*8. Emission-related hoses & tubes – – – – – – – I – –
9.Spark plugs
–
–
–
–
–
–
–
R
–
–
*10. Ignition coil (Plug cap) – – – I – – – I – –
*11.
Fuel tank & cap
–
–
–
I
–
–
–
I
–
–
12. Air cleaner filter element – – – R – – – R – –
*13.
Fuel filter
–
–
–
–
–
–
–
–
–
–
*14. Fuel lines and connections – – – I – – – I – –
*15.
Canister air suction filter
Replace every 250000 km (150000 miles) or 180 months
Periodic Maintenance Schedule: 1, 2, 3, 4, 5, 6, 9, 10