2007 NISSAN QUEST key
[x] Cancel search: keyPage 188 of 384

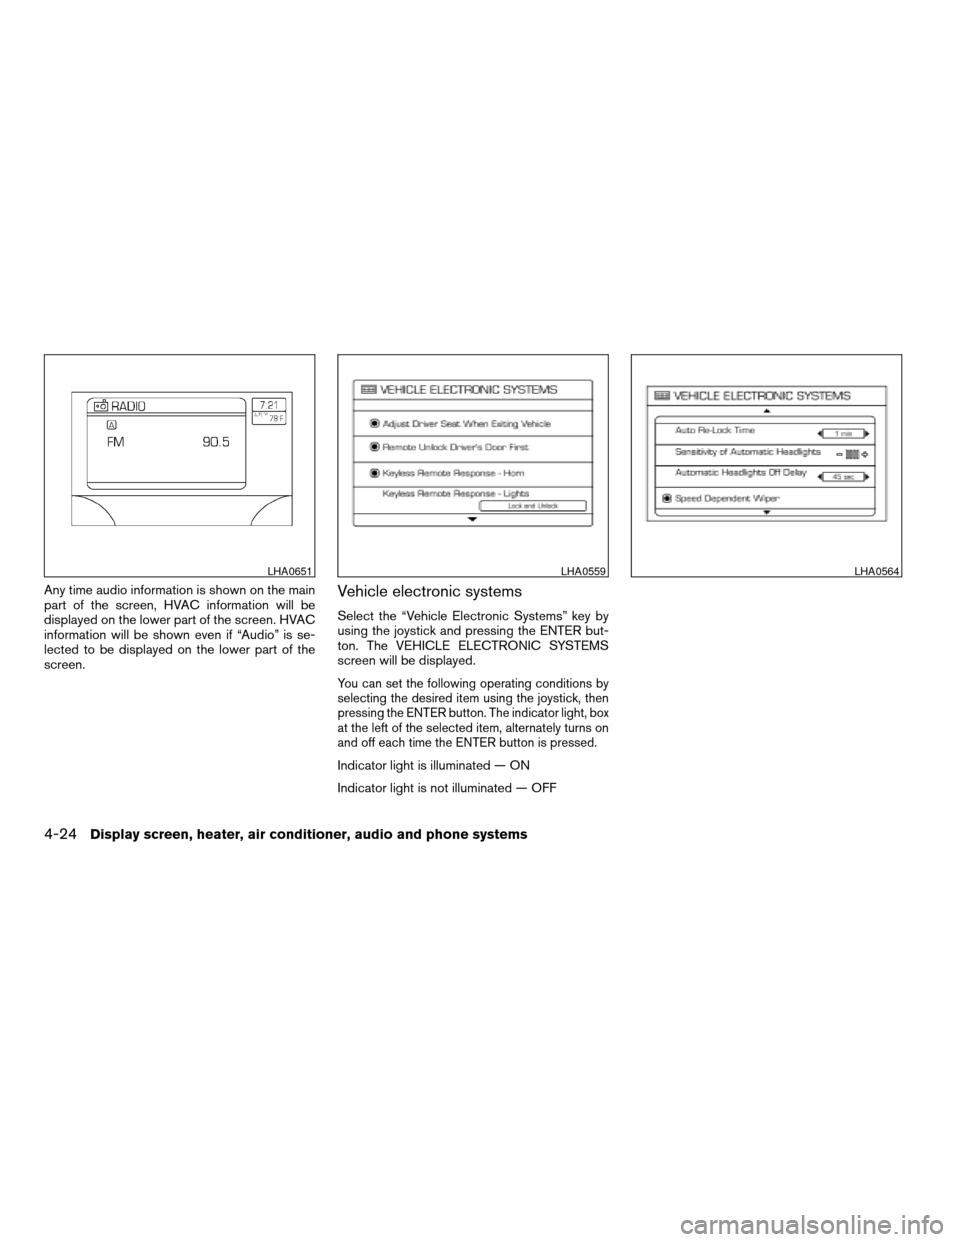
Any time audio information is shown on the main
part of the screen, HVAC information will be
displayed on the lower part of the screen. HVAC
information will be shown even if “Audio” is se-
lected to be displayed on the lower part of the
screen.Vehicle electronic systems
Select the “Vehicle Electronic Systems” key by
using the joystick and pressing the ENTER but-
ton. The VEHICLE ELECTRONIC SYSTEMS
screen will be displayed.
You can set the following operating conditions by
selecting the desired item using the joystick, then
pressing the ENTER button. The indicator light, box
at the left of the selected item, alternately turns on
and off each time the ENTER button is pressed.
Indicator light is illuminated — ON
Indicator light is not illuminated — OFF
LHA0651LHA0559LHA0564
4-24Display screen, heater, air conditioner, audio and phone systems
ZREVIEW COPYÐ2007 Quest(van)
Owners ManualÐUSA_English(nna)
02/27/06Ðdebbie
X
Page 189 of 384

Adjust driver seat when exiting vehicle:Se-
lect so the driver’s seat automatically moves back
and returns to the original position for ease of exit
and entry.
Remote unlock driver’s door first:Select to
change which doors will unlock first during an
unlocking operation:
Only the driver’s doorÃ!All the doors
Keyless remote response — horn:Select to
turn on or turn off the horn chirp mode used when
the LOCK or UNLOCK button on the keyfob is
pressed.
NOTE:
If you change the horn beep or the lamp
flash feature with the keyfob, the display
screen will not show the current mode. Use
the keyfob to return to the previous mode
and re-enable the display screen control.
Keyless remote response — lights:Select to
turn on or turn off the hazard indicator flash mode
used when the LOCK or UNLOCK button on the
keyfob is pressed.NOTE:
If you change the horn beep or the lamp
flash feature with the keyfob, the mode will
not be changed with the display. Use the
keyfob to return to the previous mode and
re-enable the display control.
Auto re-lock time:Select to set the length of
time before doors automatically re-lock.
Sensitivity of automatic headlights:Select
to change the sensitivity setting of the automatic
headlights:
cLower: less sensitive, automatic headlights
will take longer to come on when the head-
light sensor senses less ambient light.
cHigher: more sensitive, automatic headlights
will come on quicker when the headlight
sensor senses less ambient light.
LHA0565
Display screen, heater, air conditioner, audio and phone systems4-25
ZREVIEW COPYÐ2007 Quest(van)
Owners ManualÐUSA_English(nna)
02/27/06Ðdebbie
X
Page 190 of 384

Automatic headlights off delay:Select to
change the setting for the length of time the
automatic headlights remain on after exiting the
vehicle.
Speed dependent wiper:Select to turn on or
turn off the driving speed dependent intermittent
wiper function.
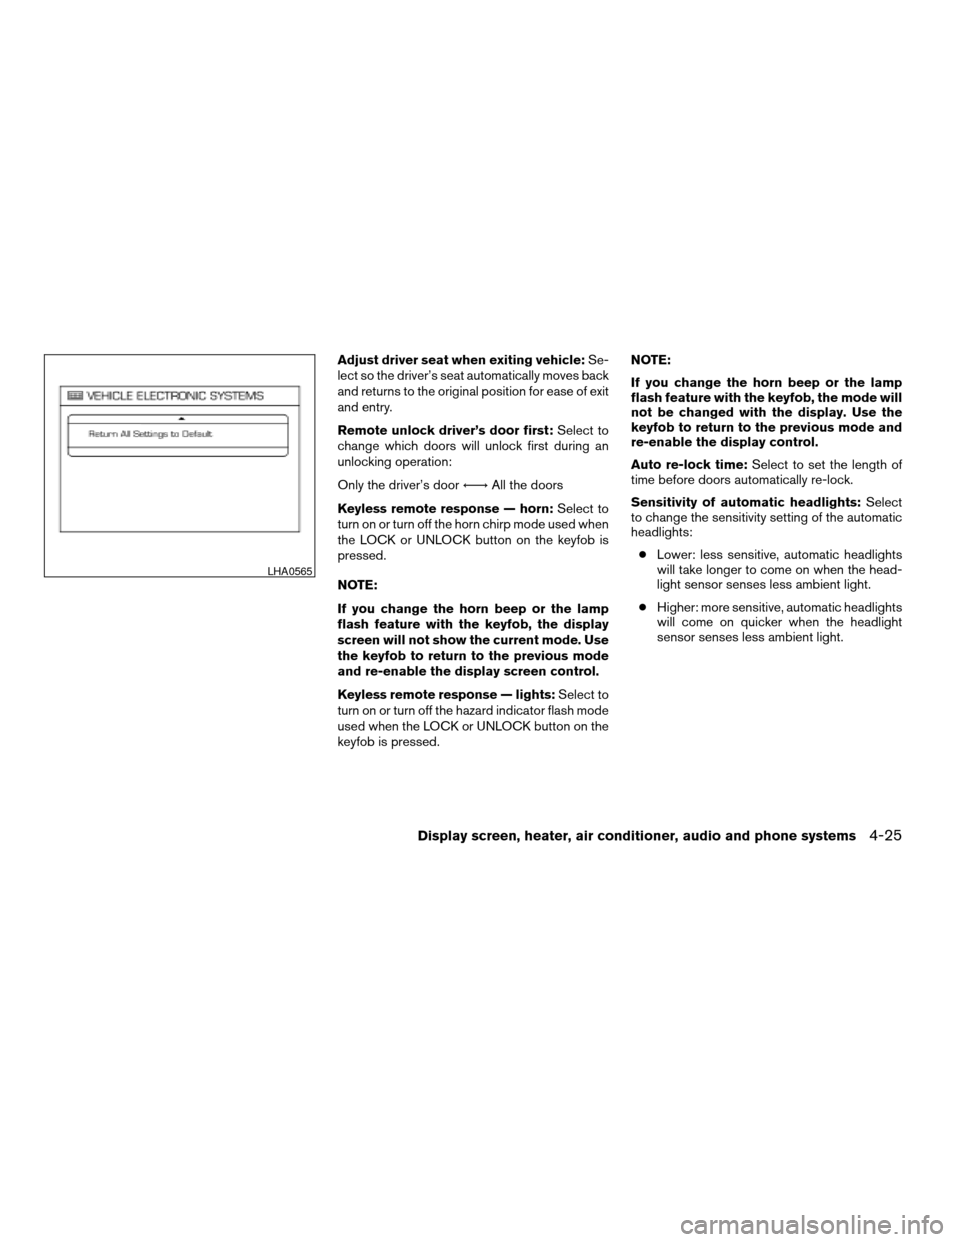
Return all settings to default:Select to
change all VEHICLE ELECTRONICS SYSTEMS
to their default settings.
System settings
Select the “System Settings” key by using the
joystick and pressing the ENTER button. The
SYSTEM SETTINGS screen will be displayed.
Language/unit
The LANGUAGE/UNIT screen will appear when
selecting the “Language/Unit” key and pressing
the ENTER button.
Language: English or French
Unit: US — mile, °F, MPG
Metric — km, °C, L/100 kmYou can select the language and unit using the
joystick or pressing the ENTER button.
The settings are automatically saved when you
exit the menu by pressing the BACK button or
any other mode button.
LHA0561
4-26Display screen, heater, air conditioner, audio and phone systems
ZREVIEW COPYÐ2007 Quest(van)
Owners ManualÐUSA_English(nna)
02/27/06Ðdebbie
X
Page 191 of 384

Clock
Adjusting the time:
Select the “Hours” or “Minutes” key and move the
joystick to the right or left to adjust the time.
The time will change step by step.
The new settings are automatically saved when
you exit the setting screen by pressing the BACK
button or any other mode button.Setting daylight savings time:
Use the “Daylight Saving Time” key to adjust the
clock to daylight savings time.
ON: The displayed time advances by 1 hour.
OFF: The current time is displayed.Adjusting the time to the GPS:
Select the “Auto Adjust” key.
The time will be reset to the GPS time.
LHA0562LHA0566LHA0567
Display screen, heater, air conditioner, audio and phone systems4-27
ZREVIEW COPYÐ2007 Quest(van)
Owners ManualÐUSA_English(nna)
02/27/06Ðdebbie
X
Page 192 of 384

Selecting the time zone:
1. Select the “Select Time Zone” key.
The TIME ZONE screen will appear.2. Select one of the following zones, depend-
ing on the current location.
cPacific zone
cMountain zone
cCentral zone
cEastern zone
cAtlantic zone
cNewfoundland zone
After selection, the CLOCK SETTINGS screen
will appear.The GPS time (manual time) corresponding to
the selected zone will be displayed. Pacific zone
has been set as the initial (default) setting.
Beep setting
With this option ON, a beep will sound if any
audio button is pressed.
Navigation settings
Refer to the separate Navigation System Own-
er’s Manual for information regarding these set-
tings.
Guidance voice settings
Refer to the separate Navigation System Own-
er’s Manual for information regarding these set-
tings.
BUTTON
To change the display brightness, press
thebutton. Pressing the button again will
change the display to “DAY” or “NIGHT” display.
Then, adjust the brightness by moving the joy-
stick right or left.
If no operation is done within 10 seconds, or if the
BACK button is pressed, the display will return to
the previous display.
LHA0568LHA0563
4-28Display screen, heater, air conditioner, audio and phone systems
ZREVIEW COPYÐ2007 Quest(van)
Owners ManualÐUSA_English(nna)
02/27/06Ðdebbie
X
Page 194 of 384

ADJUSTING THE SCREEN
To adjust the quality of the screen, refer to “HOW
TO USE THE SETTING BUTTON” in this section.
cWhen it is difficult to see in the rearward
direction due to shady conditions, press the
ENTER button to make objects in the moni-
tor brighter.
cTo change the brightness, press the ENTER
button again, turn the key switch OFF or shift
to R (Reverse) and wait for 10 seconds.
OPERATING TIPS
cWhen the selector lever is shifted to R (Re-
verse) , the monitor screen automatically
changes to the rearview monitor mode.
However, the radio can be heard.
cIt may take some time until the rearview
monitor is displayed after the selector lever
has been shifted to R (Reverse) . Objects
may be distorted momentarily until the rear-
view monitor screen is displayed completely.
When the selector lever is returned to a
position other than R (Reverse) , it may take
some time until the screen changes. Objects
on the screen may be distorted until they are
completely displayed.cWhen the temperature is extremely high or
low, the screen may not clearly display ob-
jects. This is not a malfunction.
cWhen strong light directly enters the cam-
era, objects may not be displayed clearly.
cVertical lines may be seen in objects on the
screen. This is due to strong reflected light
from the bumper. This is not a malfunction.
cThe screen may flicker under fluorescent
light. This is not a malfunction.
cThe colors of objects on the rearview moni-
tor may differ somewhat from those of the
actual object.
cWhen the contrast of objects is low at night,
pressing the ENTER button may not change
the brightness.
cObjects on the monitor may not be clear in a
dark place or at night.
cIf dirt, rain or snow attaches to the camera,
the rearview monitor may not display ob-
jects. Clean the camera.
cDo not use alcohol, benzine or thinner to
clean the camera. This will cause discolora-
tion. To clean the camera, wipe with a cloth
dampened with a diluted mild cleaning agent
and then wipe with a dry cloth.cDo not damage the camera as the monitor
screen may be adversely affected.
cDo not use body wax on the camera window.
Wipe off the wax with a clean cloth damp-
ened with mild detergent diluted with water.
4-30Display screen, heater, air conditioner, audio and phone systems
ZREVIEW COPYÐ2007 Quest(van)
Owners ManualÐUSA_English(nna)
02/27/06Ðdebbie
X
Page 207 of 384

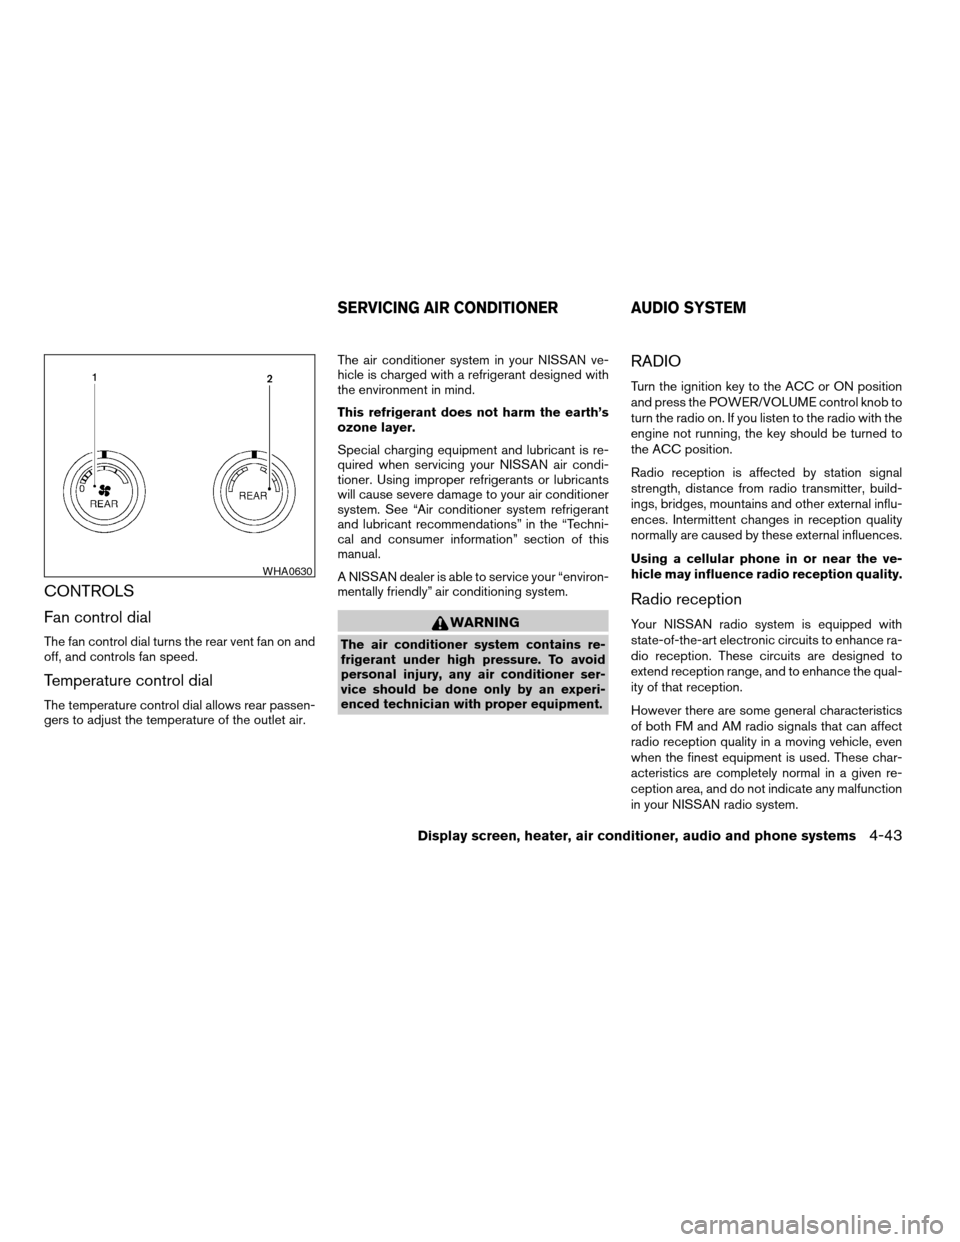
CONTROLS
Fan control dial
The fan control dial turns the rear vent fan on and
off, and controls fan speed.
Temperature control dial
The temperature control dial allows rear passen-
gers to adjust the temperature of the outlet air.The air conditioner system in your NISSAN ve-
hicle is charged with a refrigerant designed with
the environment in mind.
This refrigerant does not harm the earth’s
ozone layer.
Special charging equipment and lubricant is re-
quired when servicing your NISSAN air condi-
tioner. Using improper refrigerants or lubricants
will cause severe damage to your air conditioner
system. See “Air conditioner system refrigerant
and lubricant recommendations” in the “Techni-
cal and consumer information” section of this
manual.
A NISSAN dealer is able to service your “environ-
mentally friendly” air conditioning system.
WARNING
The air conditioner system contains re-
frigerant under high pressure. To avoid
personal injury, any air conditioner ser-
vice should be done only by an experi-
enced technician with proper equipment.
RADIO
Turn the ignition key to the ACC or ON position
and press the POWER/VOLUME control knob to
turn the radio on. If you listen to the radio with the
engine not running, the key should be turned to
the ACC position.
Radio reception is affected by station signal
strength, distance from radio transmitter, build-
ings, bridges, mountains and other external influ-
ences. Intermittent changes in reception quality
normally are caused by these external influences.
Using a cellular phone in or near the ve-
hicle may influence radio reception quality.
Radio reception
Your NISSAN radio system is equipped with
state-of-the-art electronic circuits to enhance ra-
dio reception. These circuits are designed to
extend reception range, and to enhance the qual-
ity of that reception.
However there are some general characteristics
of both FM and AM radio signals that can affect
radio reception quality in a moving vehicle, even
when the finest equipment is used. These char-
acteristics are completely normal in a given re-
ception area, and do not indicate any malfunction
in your NISSAN radio system.
WHA0630
SERVICING AIR CONDITIONER AUDIO SYSTEM
Display screen, heater, air conditioner, audio and phone systems4-43
ZREVIEW COPYÐ2007 Quest(van)
Owners ManualÐUSA_English(nna)
02/27/06Ðdebbie
X
Page 216 of 384

No satellite radio reception is available and “NO
SAT” is displayed when the SAT button is
pressed unless optional satellite receiver and
antenna are installed, and an XMTor SIRIUS™
satellite radio service subscription is active. Sat-
ellite radio not available in Alaska, Hawaii and
Guam.
Audio main operation
Power/Volume control:
Turn the ignition key to ACC or ON, and then
press the POWER/VOLUME control knob while
the system is off to call up the mode (radio or CD)
which was playing immediately before the system
was turned off.
To turn the system off, press the
POWER/VOLUME control knob.
Turn the POWER/VOLUME control knob to ad-
just the volume.
This vehicle may be equipped with Speed Sen-
sitive Volume (SSV) for audio. The audio volume
changes as the driving speed changes.
AUDIO button (BASS, MID, TREBLE, FADE,
BALANCE and SSV if so equipped):
Press the AUDIO button to change the mode as
follows:BASS!MID!TREBLE!FADE!BALANCE
!SSV (if so equipped)
To adjust Bass, Mid, Treble, Fade and Balance,
press the AUDIO button until the desired mode
appears in the display. Press the TUNE button to
adjust Bass, Mid and Treble to the desired level.
You can also use the TUNE Button to adjust
Fader and Balance modes. Fader adjusts the
sound level between the front and rear speakers
and Balance adjusts the sound between the right
and left speakers.
To change the SSV mode to OFF, LOW, MID or
HIGH, press the TUNE button.
Once you have adjusted the sound quality to the
desired level, press the AUDIO button repeatedly
until the radio or CD display reappears. Other-
wise, the radio or CD display will automatically
reappear after about 10 seconds.
DISP (display) button:
This DISP (display) button will show text about
MP3 (if so equipped) , CD or SAT information in
the audio display.
CD display mode
To change the text displayed while playing a CD
with text, press the DISP button. The DISP button
will allow you to scroll through CD text as follows:
Track numberÃ!Disc titleÃ!Track title.To change the default display mode, press the
AUDIO button repeatedly until DISPLAY MODE
appears on the display, then press the TUNE
button to select the following display modes:
Disc titleÃ!Track titleÃ!Track number.
Once the display mode is selected press the
AUDIO button again to store the setting.
cTrack title mode displays the title of the se-
lected CD track.
cDisc title mode displays the title of the CD
being played.
cTrack number mode displays the number
selected disc and the track that is currently
being played on the disc.
MP3 display mode (if so equipped)
To change the text displayed when listening to an
MP3 with MP3 text (when CD with text is being
used) , press the DISP button. The DISP button
will scroll through the CD text as follows: Folder,
Artist and Track titleÃ!Folder titleÃ!Artist
title!Track title.
To change the default display mode, press the
AUDIO button repeatedly until DISPLAY MODE
appears on the display, then press the TUNE
button to select the following display modes:
Folder numberÃ!Disc number.
4-52Display screen, heater, air conditioner, audio and phone systems
ZREVIEW COPYÐ2007 Quest(van)
Owners ManualÐUSA_English(nna)
02/27/06Ðdebbie
X