2007 NISSAN FRONTIER stop start
[x] Cancel search: stop startPage 235 of 336
WARNING
cDo not continue to drive if your vehicle
overheats. Doing so could cause engine
damage or a vehicle fire.
cTo avoid the danger of being scalded,
never remove the radiator or coolant
reservoir cap while the engine is still
hot. When the radiator or coolant reser-
voir cap is removed, pressurized hot
water will spurt out, possibly causing
serious injury.
cDo not open the hood if steam is com-
ing out.
If your vehicle is overheating (indicated by an
extremely high temperature gauge reading and
the illumination of the engine oil pressure/engine
coolant temperature high indicator light) , or if you
feel a lack of engine power, detect abnormal
noise, etc. take the following steps.
1. Move the vehicle safely off the road, apply
the parking brake and move the shift lever to
P (Park) .
Do not stop the engine.
2. Turn off the air conditioner. Open all the
windows, move the heater or air conditioner
temperature control to maximum hot and fan
control to high speed.3. Get out of the vehicle. Look and listen for
steam or coolant escaping from the radiator
before opening the hood. (If steam or cool-
ant is escaping, turn off the engine.) Do not
open the hood further until no steam or
coolant can be seen.
4. Open the engine hood.
WARNING
If steam or water is coming from the en-
gine, stand clear to prevent getting
burned.
5. Visually check drive belts for damage or
looseness. Also check if the cooling fan is
running. The radiator hoses and radiator
should not leak water. If coolant is leaking,
the water pump belt is missing or loose, or
the cooling fan does not run, stop the en-
gine.
WARNING
Be careful not to allow your hands, hair,
jewelry or clothing to come into contact
with, or get caught in, engine belts or the
engine cooling fan. The engine cooling
fan can start at any time when the coolant
temperature is high.6. After the engine cools down, check the cool-
ant level in the engine coolant reservoir tank
with the engine running. Add coolant to the
engine coolant reservoir tank if necessary.
Have your vehicle repaired at a NISSAN
dealer.
IF YOUR VEHICLE OVERHEATS
In case of emergency6-11
ZREVIEW COPYÐ2007 Truck/Frontier(d22)
Owners ManualÐUSA_English(nna)
12/13/06Ðcathy
X
Page 266 of 336
To remove the air cleaner filter Type B:
1. Unlatch the clips
sA,sB,sC.
2. Push down half of air cleaner to clear the
bottom retainers.
3. Lift up on half of air cleaner to remove the air
cleaner filter
WARNING
cOperating the engine with the air
cleaner removed can cause you or oth-
ers to be burned. The air cleaner not
only cleans the air, it stops the flame if
the engine backfires. If it isn’t there, and
the engine backfires, you could be
burned. Do not drive with the air cleaner
removed, and be careful when working
on the engine with the air cleaner
removed.
cNever pour fuel into the throttle body or
attempt to start the engine with the air
cleaner removed. Doing so could result
in serious injury.
IN-CABIN MICROFILTER
The in-cabin microfilter restricts the entry of air-
borne dust and pollen particles and reduces
some objectionable outside odors. The filter is
located behind the glove box. Refer to the
“NISSAN Service and Maintenance Guide” for
change intervals.
To replace the filter, perform the following proce-
dure:1. Open the glove box and press in on the
sides so that it will open completely allowing
it to hang by the cord.
Type B
LDI0465LDI0442
8-20Maintenance and do-it-yourself
ZREVIEW COPYÐ2007 Truck/Frontier(d22)
Owners ManualÐUSA_English(nna)
12/13/06Ðcathy
X
Page 319 of 336
Pre-towing tips
cBe certain your vehicle maintains a level
position when a loaded and/or unloaded
trailer is hitched. Do not drive the vehicle if it
has an abnormal nose-up or nose-down
condition; check for improper tongue load,
overload, worn suspension or other possible
causes of either condition.
cAlways secure items in the trailer to prevent
load shift while driving.
c
Keep the cargo load as low as possible in the
trailer to keep the trailer center of gravity low.
cLoad the trailer so approximately 60% of the
trailer load is in the front half and 40% is in
the back half. Also make sure the load is
balanced side to side.
cCheck your hitch, trailer tire pressure, ve-
hicle tire pressure, trailer light operation, and
trailer wheel lug nuts every time you attach a
trailer to the vehicle.
cBe certain your rearview mirrors conform to
all federal, state or local regulations. If not,
install any mirrors required for towing before
driving the vehicle.
cDetermine the overall height of the vehicle
and trailer so the required clearance is
known.
Trailer towing tips
In order to gain skill and an understanding of the
vehicle’s behavior, you should practice turning,
stopping and backing up in an area which is free
from traffic. Steering stability and braking perfor-
mance will be somewhat different than under
normal driving conditions.
cAlways secure items in the trailer to prevent
load shift while driving.
cLock the trailer hitch coupler with a pin or
lock to prevent the coupler from inadvert-
ently becoming unlatched.
cAvoid abrupt starts, acceleration or stops.
cAvoid sharp turns or lane changes.
cAlways drive your vehicle at a moderate
speed.
cWhen backing up, hold the bottom of the
steering wheel with one hand. Move your
hand in the direction in which you want the
trailer to go. Make small corrections and
back up slowly. If possible, have someone
guide you when you are backing up.
Always block the wheels on both vehicle and
trailer when parking. Parking on a slope is not
recommended; however, if you must do so:
CAUTION
If you move the shift selector lever to the P
(Park) position before blocking the
wheels and applying the parking brake,
transmission damage could occur.
1. Apply and hold the brake pedal.
2. Have someone place blocks on the downhill
side of the vehicle and trailer wheels.
3. After the wheel blocks are in place, slowly
release the brake pedal until the blocks ab-
sorb the vehicle load.
4. Apply the parking brake.
5. Shift the transmission into P (Park) .
6. Make sure the
indicator light (if so
equipped) indicates the transfer case is in
4H, 4L, or 2H and that the ATP light is off. If
the
indicator light is flashing, or the
ATP light is ON, make sure the transmission
is in P (Park) (AT) and turn the 4WD switch
to 2WD or 4H. See9Automatic transmission
park warning light9in the9Instruments and
controls9section and9Using four wheel
drive9in the9Starting and driving9section.
7. Turn off the engine.
Technical and consumer information9-31
ZREVIEW COPYÐ2007 Truck/Frontier(d22)
Owners ManualÐUSA_English(nna)
12/21/06Ðdebbie
X
Page 320 of 336

To drive away:
1. Start the vehicle.
2. Apply and hold the brake pedal.
3. Shift the transmission into gear.
4. Release the parking brake.
5. Drive slowly until the vehicle and trailer are
clear from the blocks.
6. Apply and hold the brake pedal.
7. Have someone retrieve and store the blocks.
cWhen going down a hill, shift into a lower
gear and use the engine braking effect.
When going up a long grade, downshift the
transmission to a lower gear and reduce
speed to reduce chances of engine over-
loading and/or overheating. However, for
long steep grades, do not stay in 1st gear
when driving above 35 MPH (56 km/h) or
2nd gear when driving above 58 MPH (93
km/h) .
cIf the engine coolant rises to an extremely
high temperature when the air conditioner
system is on, turn off the air conditioner.
Coolant heat can be additionally vented by
opening the windows, switching the fan
control to high and setting the temperature
control to the HOT position.cTrailer towing requires more fuel than normal
circumstances.
cAvoid towing a trailer for your vehicle’s first
500 miles (805 km) .
cFor the first 500 miles (805 km) that you do
tow, do not drive over 50 MPH (80 km/h) .
cHave your vehicle serviced more often than
at intervals specified in the recommended
Maintenance Schedule in the “NISSAN Ser-
vice and Maintenance Guide”.
cWhen making a turn, your trailer wheels will
be closer to the inside of the turn than your
vehicle wheels. To compensate for this,
make a larger than normal turning radius
during the turn.
cCrosswinds and rough roads will adversely
affect vehicle/trailer handling, possibly caus-
ing vehicle sway. When being passed by
larger vehicles, be prepared for possible
changes in crosswinds that could affect ve-
hicle handling.Do the following if the trailer begins to sway:
1. Take your foot off the accelerator pedal to
allow the vehicle to coast and steer as
straight ahead as the road conditions allow.
This combination will help stabilize the ve-
hicle
- Do not correct trailer sway by steering or
applying the brakes.
2. When the trailer sway stops, gently apply the
brakes and pull to the side of the road in a
safe area.
3. Try to rearrange the trailer load so it is bal-
anced as described earlier in this section.
cBe careful when passing other vehicles.
Passing while towing a trailer requires con-
siderably more distance than normal pass-
ing. Remember, the length of the trailer must
also pass the other vehicle before you can
safely change lanes.
cDown shift the transmission to a lower gear
for engine braking when driving down steep
or long hills. This will help slow the vehicle
without applying the brakes.
cTo maintain engine braking efficiency and
electrical charging performance, do not use
overdrive.
9-32Technical and consumer information
ZREVIEW COPYÐ2007 Truck/Frontier(d22)
Owners ManualÐUSA_English(nna)
12/14/06Ðcathy
X
Page 321 of 336
cAvoid holding the brake pedal down too long
or too frequently. This could cause the
brakes to overheat, resulting in reduced
braking efficiency.
cIncrease your following distance to allow for
greater stopping distances while towing a
trailer. Anticipate stops and brake gradually
cDo not use cruise control while towing a
trailer.
cSome states or provinces have specific
regulations and speed limits for vehicles that
are towing trailers. Obey the local speed
limits.
cCheck your hitch, trailer wiring harness con-
nections, and trailer wheel lug nuts after 50
miles (80 km) of travel and at every break.
cWhen stopped in traffic for long periods of
time in hot weather, put the vehicle in the P
(Park) position.
cWhen launching a boat, don’t allow the wa-
ter level to go over the exhaust tail pipe or
rear bumper.
cMake sure you disconnect the trailer lights
before backing the trailer into the water or
the trailer lights may burn out.When towing a trailer, final drive gear oil
should be replaced and transmission
oil/fluid should be changed more fre-
quently. For additional information, see the
“Maintenance and do-it-yourself” section
earlier in this manual.
FLAT TOWING
Towing your vehicle with all four wheels on the
ground is sometimes called flat towing. This
method is sometimes used when towing a vehicle
behind a recreational vehicle, such as a motor
home.
CAUTION
cFailure to follow these guidelines can
result in severe transmission damage.
cWhenever flat towing your vehicle, al-
ways tow forward, never backward.
cDO NOT tow any automatic transmis-
sion vehicle with all four wheels on the
ground (flat towing) . Doing so WILL
DAMAGE internal transmission parts
due to lack of transmission lubrication.
cFor emergency towing procedures refer
to “Towing recommended by NISSAN”
in the “In case of emergency” section of
this manual.
Automatic Transmission
To tow a vehicle equipped with an automatic
transmission, an appropriate vehicle dollyMUST
be placed under the towed vehicle’s drive
wheels.Alwaysfollow the dolly manufacturer’s
recommendations when using their product.
Manual Transmission
cAlways tow with the manual transmission in
Neutral.
cOn four-wheel drive vehicles, place the
transfer case in the 2H range. Failure to do
so will cause the powertrain to bind up.
cAfter towing 500 miles (805 km) , start and
idle the engine with the transmission in Neu-
tral for two minutes. Failure to idle the engine
after every 500 miles (805 km) of towing
may cause damage to internal transmission
parts.
Technical and consumer information9-33
ZREVIEW COPYÐ2007 Truck/Frontier(d22)
Owners ManualÐUSA_English(nna)
12/21/06Ðdebbie
X
Page 324 of 336
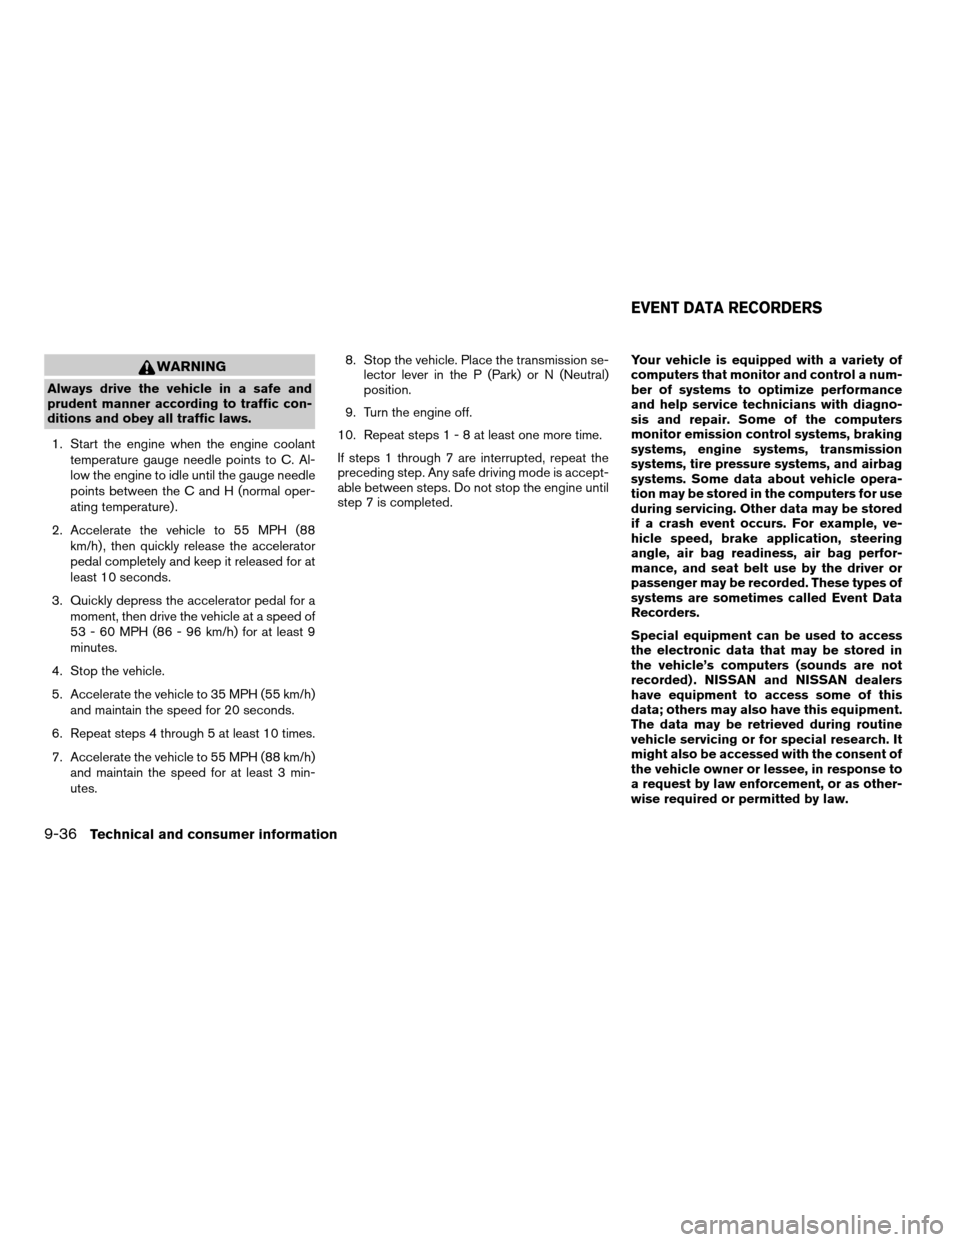
WARNING
Always drive the vehicle in a safe and
prudent manner according to traffic con-
ditions and obey all traffic laws.
1. Start the engine when the engine coolant
temperature gauge needle points to C. Al-
low the engine to idle until the gauge needle
points between the C and H (normal oper-
ating temperature) .
2. Accelerate the vehicle to 55 MPH (88
km/h) , then quickly release the accelerator
pedal completely and keep it released for at
least 10 seconds.
3. Quickly depress the accelerator pedal for a
moment, then drive the vehicle at a speed of
53 - 60 MPH (86 - 96 km/h) for at least 9
minutes.
4. Stop the vehicle.
5. Accelerate the vehicle to 35 MPH (55 km/h)
and maintain the speed for 20 seconds.
6. Repeat steps 4 through 5 at least 10 times.
7. Accelerate the vehicle to 55 MPH (88 km/h)
and maintain the speed for at least 3 min-
utes.8. Stop the vehicle. Place the transmission se-
lector lever in the P (Park) or N (Neutral)
position.
9. Turn the engine off.
10. Repeat steps1-8atleast one more time.
If steps 1 through 7 are interrupted, repeat the
preceding step. Any safe driving mode is accept-
able between steps. Do not stop the engine until
step 7 is completed.Your vehicle is equipped with a variety of
computers that monitor and control a num-
ber of systems to optimize performance
and help service technicians with diagno-
sis and repair. Some of the computers
monitor emission control systems, braking
systems, engine systems, transmission
systems, tire pressure systems, and airbag
systems. Some data about vehicle opera-
tion may be stored in the computers for use
during servicing. Other data may be stored
if a crash event occurs. For example, ve-
hicle speed, brake application, steering
angle, air bag readiness, air bag perfor-
mance, and seat belt use by the driver or
passenger may be recorded. These types of
systems are sometimes called Event Data
Recorders.
Special equipment can be used to access
the electronic data that may be stored in
the vehicle’s computers (sounds are not
recorded) . NISSAN and NISSAN dealers
have equipment to access some of this
data; others may also have this equipment.
The data may be retrieved during routine
vehicle servicing or for special research. It
might also be accessed with the consent of
the vehicle owner or lessee, in response to
a request by law enforcement, or as other-
wise required or permitted by law.
EVENT DATA RECORDERS
9-36Technical and consumer information
ZREVIEW COPYÐ2007 Truck/Frontier(d22)
Owners ManualÐUSA_English(nna)
12/14/06Ðcathy
X
Page 327 of 336

10 Index
4WD warning light...............2-17
A
Active brake limited slip (ABLS) system
(if so equipped).................5-32
Active Head Restraint..............1-6
Air bag (See supplemental restraint
system).....................1-49
Air bag system
Front (See supplemental front impact
air bag system)...............1-56
Air bag warning labels.............1-64
Air bag warning light...........1-64, 2-19
Air cleaner housing filter............8-19
Air conditioner
Air conditioner operation...........4-5
Air conditioner service............4-9
Air conditioner specification label.....9-11
Air conditioner system refrigerant
and oil recommendations..........9-6
Heater and air conditioner controls.....4-2
Servicing air conditioner...........4-9
Air flow charts..................4-6
Alarm system
(See vehicle security system).........2-23
Anchor point locations.............1-26
Antenna.....................4-26
Anti-lock brake warning light..........2-15
Anti-lock Braking System (ABS)........5-31
Audible reminders................2-23Audio system..................4-10
Compact Disc (CD) changer.......4-23
Compact disc (CD) player.........4-18
FM/AM radio with compact disc (CD)
player....................4-16
FM-AM radio with compact disc (CD)
player....................4-20
Radio....................4-10
Steering wheel audio control switch. . . .4-26
Autolight switch.................2-28
Automatic
Automatic power window switch.....2-48
Automatic transmission position
indicator light................2-19
Driving with automatic transmission. . . .5-12
Transmission selector lever
lock release.................5-14
Automatic anti-glare inside mirror.......3-13
AUX jack.....................4-25
B
Battery......................8-15
Charge warning light............2-16
Before starting the engine...........5-10
Belt (See drive belt)..............8-18
Booster seats..................1-43
Brake
Anti-lock Braking System (ABS)......5-31
Brake fluid..................8-14
Brake light (See stop light).........8-29Brake system................5-30
Brake warning light.............2-16
Brake wear indicators........2-23, 8-23
Parking brake operation..........5-18
Self-adjusting brakes............8-23
Brakes......................8-23
Break-in schedule................5-20
Brightness control
Instrument panel..............2-30
Bulb check/instrument panel..........2-15
Bulb replacement................8-29
C
Capacities and recommended fuel/
lubricants.....................9-2
Car phone or CB radio.............4-27
Cargo light switch...............2-32
Cargo (See vehicle loading information) . . .9-12
CD care and cleaning.............4-25
CD changer (See audio system)........4-23
CD player (See audio system).........4-18
Child restraint with top tether strap......1-24
Child restraints.......1-13, 1-14, 1-20, 1-22
Precautions on child
restraints............1-20, 1-31, 1-43
Top tether strap anchor point locations . .1-26
Child safety rear door lock............3-6
Chimes, audible reminders...........2-23
Cleaning exterior and interior..........7-2
Clock......................4-17
ZREVIEW COPYÐ2007 Truck/Frontier(d22)
Owners ManualÐUSA_English(nna)
12/14/06Ðcathy
X
Page 329 of 336

Fuses......................8-24
Fusible links...................8-25
G
Garage door opener, HomeLinkT
Universal Transceiver..............2-52
Gascap .................3-10, 3-10
Gauge
Engine coolant temperature gauge.....2-8
Engine oil pressure gauge..........2-9
Fuel gauge..................2-9
Odometer...................2-5
Speedometer.................2-5
Tachometer..................2-8
Trip computer.................2-7
Trip odometer.................2-5
Voltmeter..................2-10
General maintenance..............8-2
Glove box....................2-41
H
Hazard warning flasher switch.........2-31
Head restraints..................1-6
Active Head Restraint............1-6
Headlight and turn signal switch........2-27
Headlight control switch............2-27
Headlights....................8-28
Heated seats..................2-33
Heater
Heater and air conditioner controls.....4-2
Heater operation...............4-4
Hill descent control switch...........2-34Hill descent control system..........5-34
Hill start assist (HSA) system.........5-34
HomeLinkTUniversal Transceiver.......2-52
Hood release...................3-9
Horn.......................2-32
I
Ignition switch..................5-8
Immobilizer system.........2-25, 3-2, 5-10
Important vehicle information label.......9-10
In-cabin microfilter...............8-20
Increasing fuel economy............5-21
Indicator lights and audible reminders
(See warning/indicator lights and
audible reminders)...............2-14
Inside automatic anti-glare mirror.......3-13
Inside mirror...................3-13
Instrument brightness control.........2-30
Instrument panel..............0-6, 2-3
Instrument panel dimmer switch........2-30
Interior light...................2-51
ISOFIX child restraints.............1-22
J
Jump seat.....................1-5
Jump starting...................6-8
K
Key ........................3-2
Keyfob battery replacement..........8-27Keyless entry system
(See remote keyless entry system).......3-6
L
Labels
Air conditioner specification label.....9-11
C.M.V.S.S. certification label........9-10
Emission control information label.....9-11
Engine serial number............9-10
F.M.V.S.S. certification label........9-10
Vehicle identification number (VIN)
plate......................9-9
Warning labels (for SRS)..........1-64
LATCH (Lower Anchors and Tethers
for CHildren) System..............1-22
License plate
Installing the license plate.........9-12
Light
Air bag warning light.........1-64, 2-19
Brake light (See stop light).........8-29
Bulb check/instrument panel........2-15
Bulb replacement..............8-29
Charge warning light............2-16
Fog light switch...............2-31
Headlight and turn signal switch......2-27
Headlight control switch..........2-27
Headlights..................8-28
Interior light.................2-51
Light bulbs..................8-28
Low tire pressure warning light......2-17
Low washer fluid warning light.......2-18
Passenger air bag and status light.....1-58
Personal lights...............2-52
Security indicator light...........2-21
10-3
ZREVIEW COPYÐ2007 Truck/Frontier(d22)
Owners ManualÐUSA_English(nna)
01/09/07Ðdebbie
X