2007 NISSAN ALTIMA warning light
[x] Cancel search: warning lightPage 88 of 344

Vehicle Information Display indicator
lights and warnings
1. Door ajar warning
2. Lock warning
3. Low fuel warning4. Low windshield washer fluid warning
5. No key warning
6. Parking brake indicator
7. Shift “P” warning8. Cruise main switch indicator
9. Cruise set switch indicator
10. Engine start operation indicator (automatic
transmission)
LIC1042
2-20Instruments and controls
ZREVIEW COPYÐ2007 Altima(alt)
Owners ManualÐUSA_English(nna)
10/26/06Ðdebbie
X
Page 89 of 344

11. Engine start operation indicator (manual
transmission)
12. Intelligent key insertion indicator
13. Intelligent key removal indicator
14. Intelligent key battery discharge indicator
15. Steering lock release malfunction indicator
16. Engine off indicator
Door Ajar Warning
This warning appears when a door has been
opened. The door ajar warning also appears
when the trunk has been opened.
“LOCK” warning
This warning appears when the selector lever is
moved to the “P” position with the ignition switch
in the ACC position after the SHIFT “P” warning
appears.
To push the ignition switch to the OFF position,
perform the following procedure:
SHIFT “P” warning!(Move the selector lever
to “P”)!LOCK warning!(Push the ignition
switch!ignition switch position is turned to ON)
!LOCK warning!(Push the ignition switch
!ignition switch position is turned to LOCK)Low fuel warning light
This light comes on when the fuel level in the fuel
tank is getting low. Refuel as soon as it is conve-
nient, preferably before the fuel gauge reaches E
(Empty) .There will be a small reserve of fuel
in the tank when the fuel gauge needle
reaches E (Empty) .
Low windshield washer fluid warning light
This light comes on when the windshield washer
fluid is at a low level. Add windshield washer fluid
as necessary. See “Window washer fluid” in the
“Maintenance and do-it-yourself” section of this
manual.
NO KEY warning
This warning appears following 2 conditions:
1. When the ignition switch is pushed and the
Intelligent Key cannot be recognized by the
system with the ignition switch in the LOCK
position. If this indicator appears, you cannot
start the engine.
Check for the following causes and perform
the assigned remedies:
– The battery of the Intelligent Key carried
with you is discharged completely. Re-
place the battery with a new one.– The Intelligent Key carried with you is not
registered to the system. Use the regis-
tered Intelligent Key.
– You do not have an Intelligent Key with
you. Carry an Intelligent Key with you.
2. When the door is closed with the Intelligent
Key left outside the vehicle and the ignition
switch is in the ACC or ON position.
Parking brake indicator
When the ignition switch is pushed to the ON
position, the light comes on when the parking
brake is applied.
SHIFT “P” warning
This warning appears when the ignition switch is
pushed to stop the engine with the selector lever
in any position except in the “P” position.
If this warning appears, the ignition switch is in
the OFF position. Move the selector lever to the
“P” position or push the ignition switch to the ON
position.
An inside warning chime will also sound. See
“Intelligent Key system” in the “3. Pre-driving
checks and adjustments” section.
Cruise main switch indicator light
The light comes on when the cruise control main
switch is pushed. The light goes out when the
Instruments and controls2-21
ZREVIEW COPYÐ2007 Altima(alt)
Owners ManualÐUSA_English(nna)
10/26/06Ðdebbie
X
Page 94 of 344
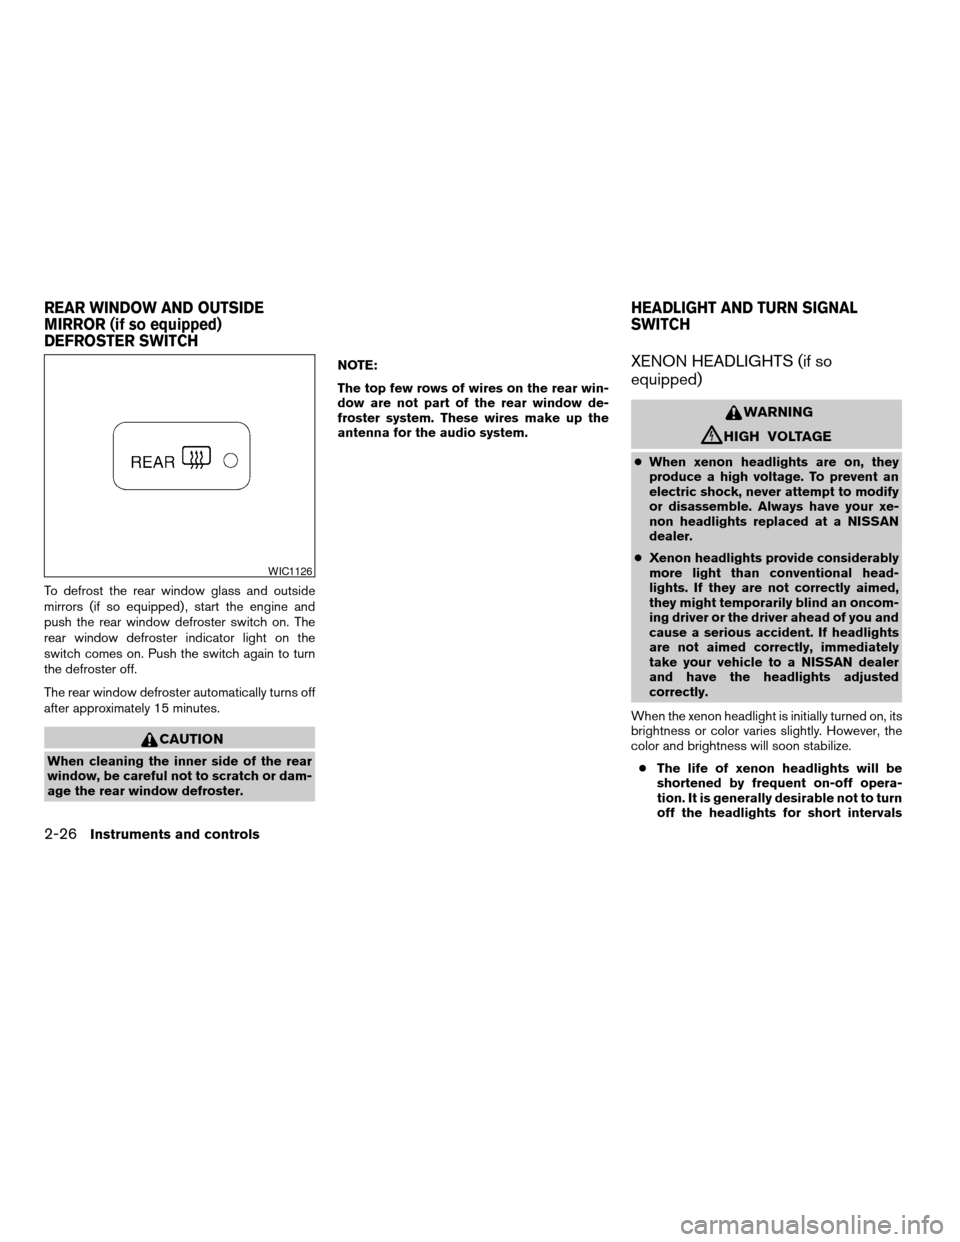
To defrost the rear window glass and outside
mirrors (if so equipped) , start the engine and
push the rear window defroster switch on. The
rear window defroster indicator light on the
switch comes on. Push the switch again to turn
the defroster off.
The rear window defroster automatically turns off
after approximately 15 minutes.
CAUTION
When cleaning the inner side of the rear
window, be careful not to scratch or dam-
age the rear window defroster.NOTE:
The top few rows of wires on the rear win-
dow are not part of the rear window de-
froster system. These wires make up the
antenna for the audio system.
XENON HEADLIGHTS (if so
equipped)
WARNING
cHIGH VOLTAGE
cWhen xenon headlights are on, they
produce a high voltage. To prevent an
electric shock, never attempt to modify
or disassemble. Always have your xe-
non headlights replaced at a NISSAN
dealer.
cXenon headlights provide considerably
more light than conventional head-
lights. If they are not correctly aimed,
they might temporarily blind an oncom-
ing driver or the driver ahead of you and
cause a serious accident. If headlights
are not aimed correctly, immediately
take your vehicle to a NISSAN dealer
and have the headlights adjusted
correctly.
When the xenon headlight is initially turned on, its
brightness or color varies slightly. However, the
color and brightness will soon stabilize.
cThe life of xenon headlights will be
shortened by frequent on-off opera-
tion. It is generally desirable not to turn
off the headlights for short intervals
WIC1126
REAR WINDOW AND OUTSIDE
MIRROR (if so equipped)
DEFROSTER SWITCHHEADLIGHT AND TURN SIGNAL
SWITCH
2-26Instruments and controls
ZREVIEW COPYÐ2007 Altima(alt)
Owners ManualÐUSA_English(nna)
10/26/06Ðdebbie
X
Page 98 of 344
WARNING
When the daytime running light system is
active, tail lights on your vehicle are not
on. It is necessary at dusk to turn on your
headlights. Failure to do so could cause
an accident injuring yourself and others.
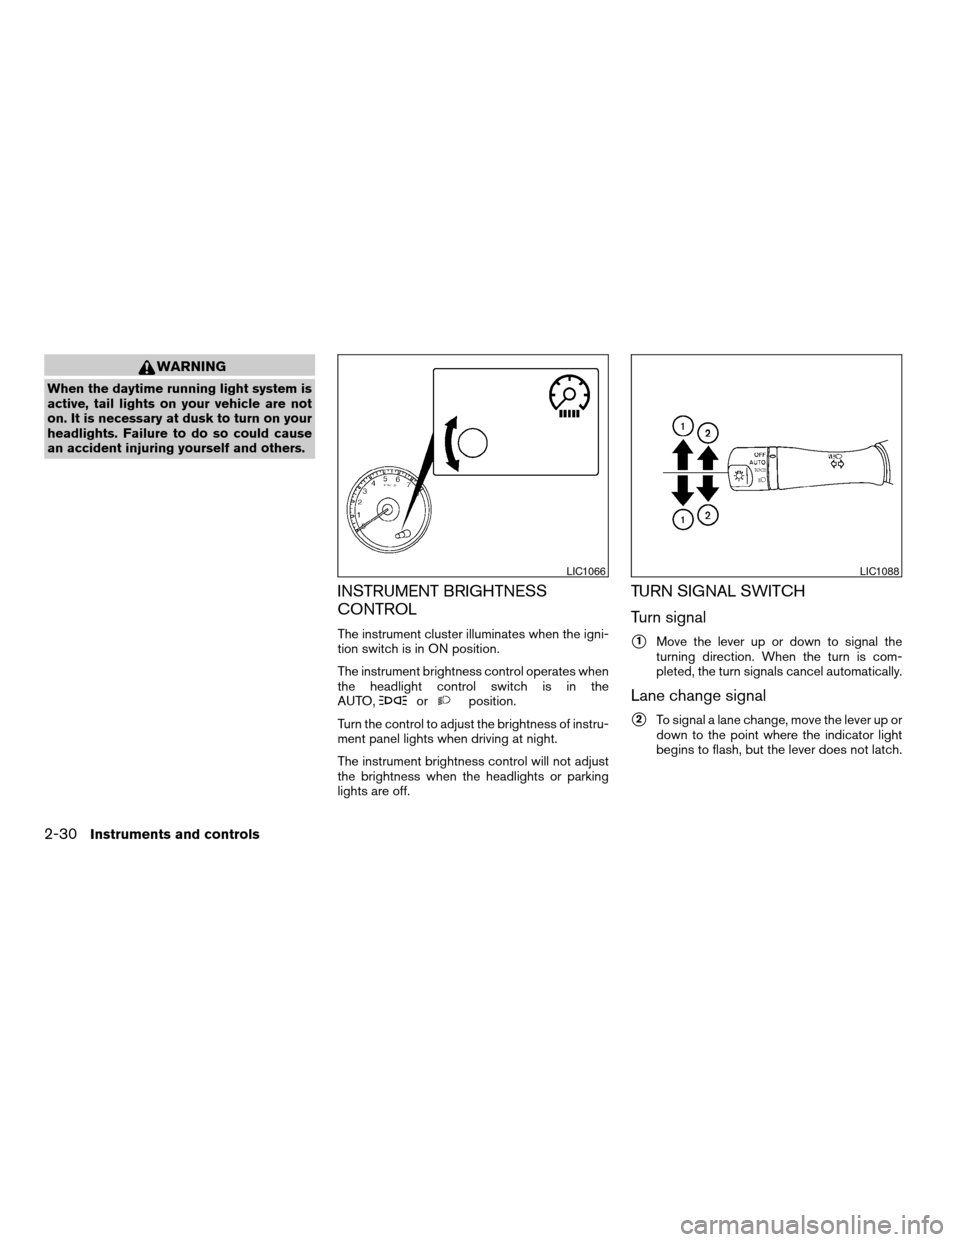
INSTRUMENT BRIGHTNESS
CONTROL
The instrument cluster illuminates when the igni-
tion switch is in ON position.
The instrument brightness control operates when
the headlight control switch is in the
AUTO,
orposition.
Turn the control to adjust the brightness of instru-
ment panel lights when driving at night.
The instrument brightness control will not adjust
the brightness when the headlights or parking
lights are off.
TURN SIGNAL SWITCH
Turn signal
s1Move the lever up or down to signal the
turning direction. When the turn is com-
pleted, the turn signals cancel automatically.
Lane change signal
s2To signal a lane change, move the lever up or
down to the point where the indicator light
begins to flash, but the lever does not latch.
LIC1066LIC1088
2-30Instruments and controls
ZREVIEW COPYÐ2007 Altima(alt)
Owners ManualÐUSA_English(nna)
10/26/06Ðdebbie
X
Page 99 of 344
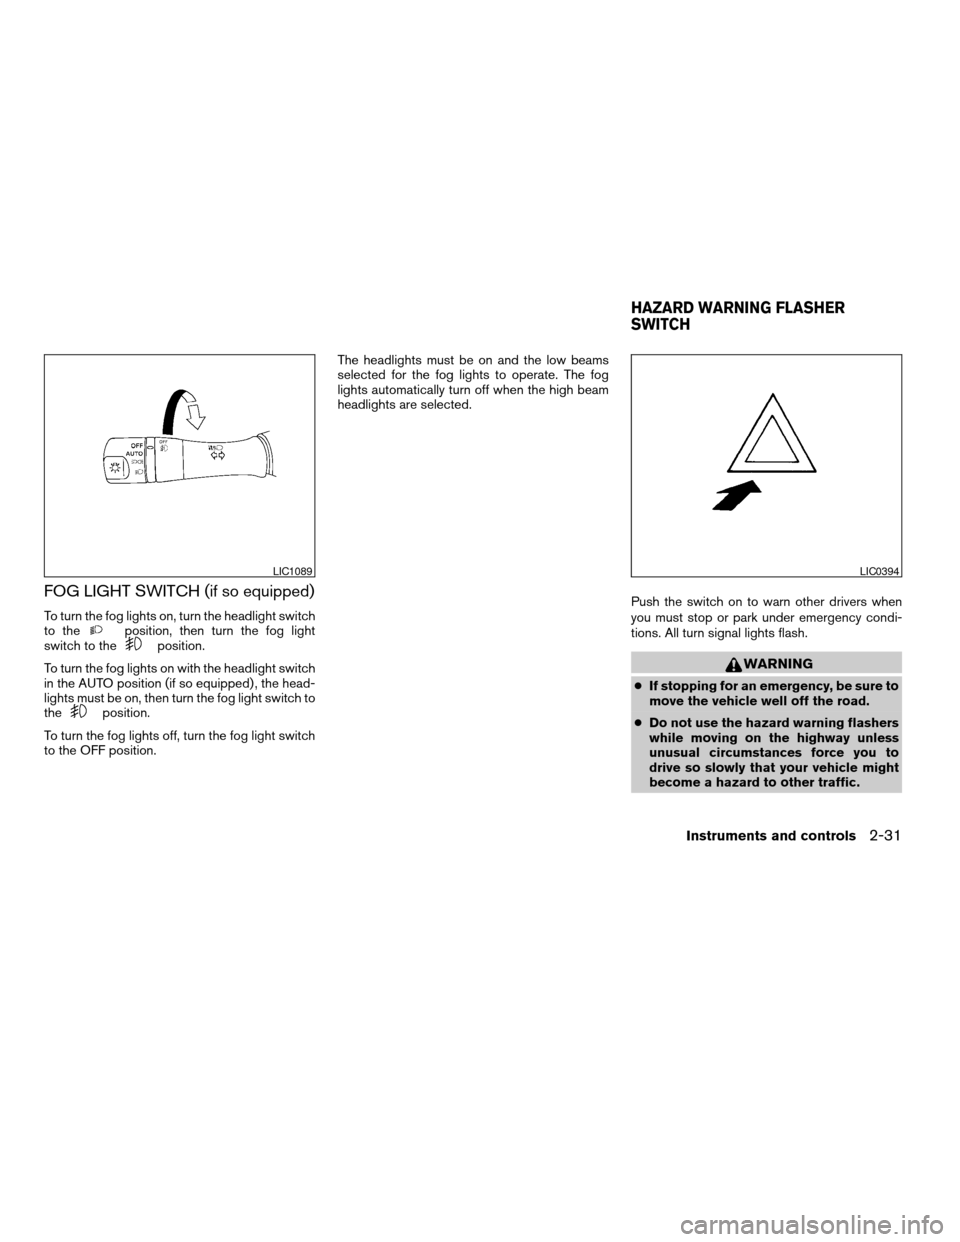
FOG LIGHT SWITCH (if so equipped)
To turn the fog lights on, turn the headlight switch
to theposition, then turn the fog light
switch to theposition.
To turn the fog lights on with the headlight switch
in the AUTO position (if so equipped) , the head-
lights must be on, then turn the fog light switch to
the
position.
To turn the fog lights off, turn the fog light switch
to the OFF position.The headlights must be on and the low beams
selected for the fog lights to operate. The fog
lights automatically turn off when the high beam
headlights are selected.
Push the switch on to warn other drivers when
you must stop or park under emergency condi-
tions. All turn signal lights flash.
WARNING
cIf stopping for an emergency, be sure to
move the vehicle well off the road.
cDo not use the hazard warning flashers
while moving on the highway unless
unusual circumstances force you to
drive so slowly that your vehicle might
become a hazard to other traffic.
LIC1089LIC0394
HAZARD WARNING FLASHER
SWITCH
Instruments and controls2-31
ZREVIEW COPYÐ2007 Altima(alt)
Owners ManualÐUSA_English(nna)
10/27/06Ðdebbie
X
Page 100 of 344
cTurn signals do not work when the haz-
ard warning flasher lights are on.
The flashers will operate with the ignition switch
in any position.
Some state laws may prohibit the use of
the hazard warning flasher switch while
driving.
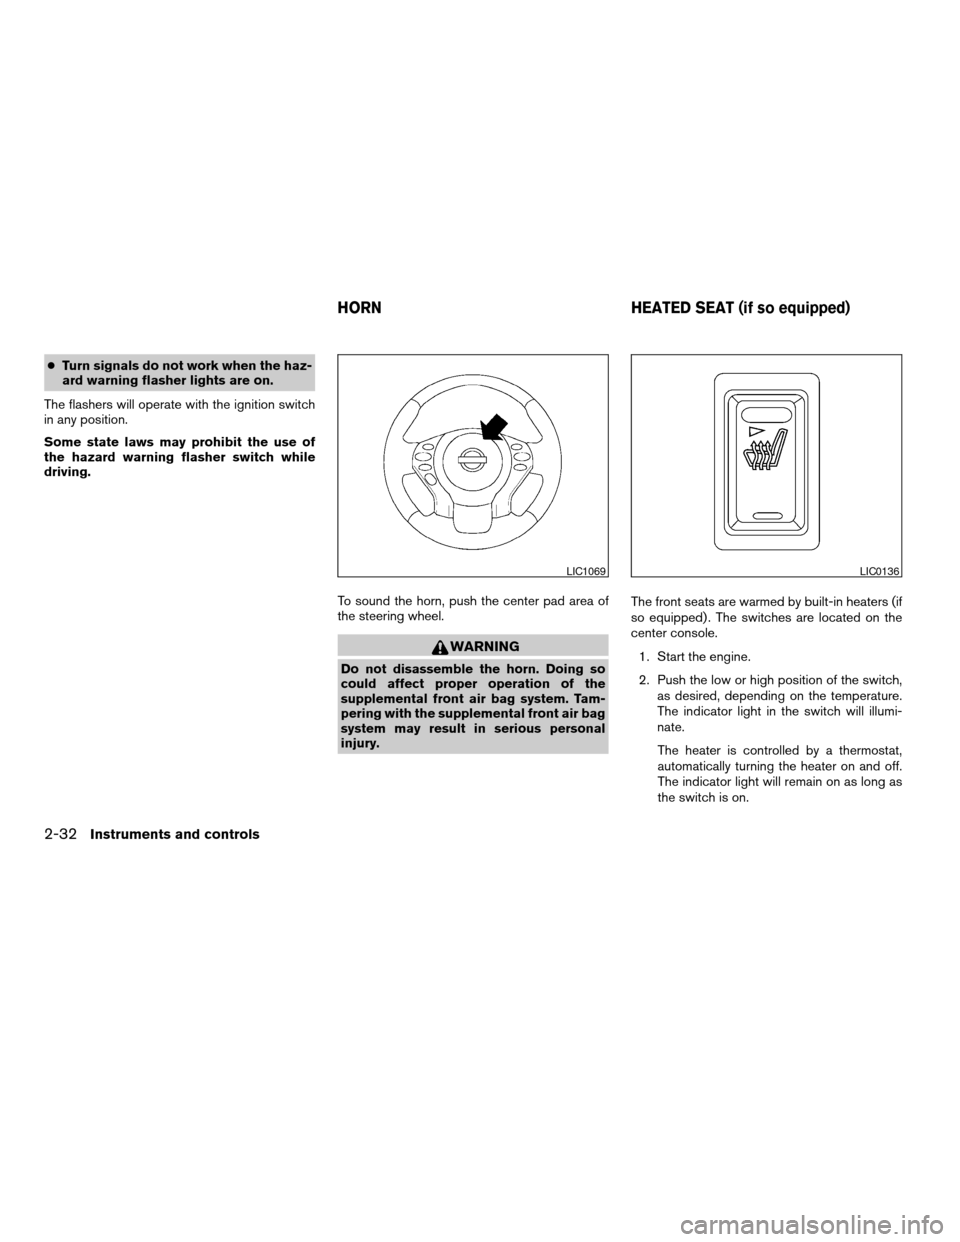
To sound the horn, push the center pad area of
the steering wheel.
WARNING
Do not disassemble the horn. Doing so
could affect proper operation of the
supplemental front air bag system. Tam-
pering with the supplemental front air bag
system may result in serious personal
injury.The front seats are warmed by built-in heaters (if
so equipped) . The switches are located on the
center console.
1. Start the engine.
2. Push the low or high position of the switch,
as desired, depending on the temperature.
The indicator light in the switch will illumi-
nate.
The heater is controlled by a thermostat,
automatically turning the heater on and off.
The indicator light will remain on as long as
the switch is on.
LIC1069LIC0136
HORN HEATED SEAT (if so equipped)
2-32Instruments and controls
ZREVIEW COPYÐ2007 Altima(alt)
Owners ManualÐUSA_English(nna)
10/27/06Ðdebbie
X
Page 104 of 344
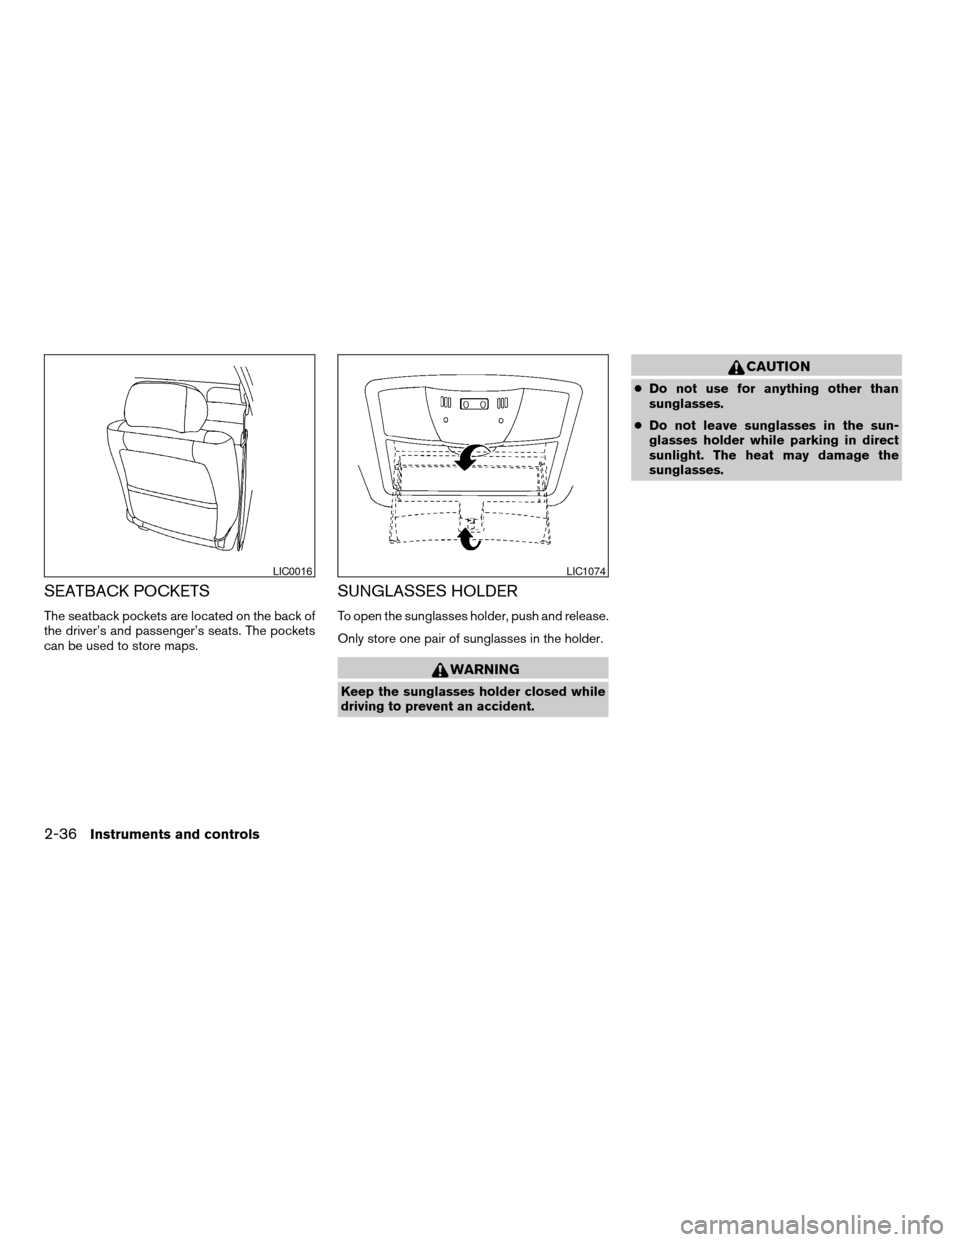
SEATBACK POCKETS
The seatback pockets are located on the back of
the driver’s and passenger’s seats. The pockets
can be used to store maps.
SUNGLASSES HOLDER
To open the sunglasses holder, push and release.
Only store one pair of sunglasses in the holder.
WARNING
Keep the sunglasses holder closed while
driving to prevent an accident.
CAUTION
cDo not use for anything other than
sunglasses.
cDo not leave sunglasses in the sun-
glasses holder while parking in direct
sunlight. The heat may damage the
sunglasses.
LIC0016LIC1074
2-36Instruments and controls
ZREVIEW COPYÐ2007 Altima(alt)
Owners ManualÐUSA_English(nna)
10/26/06Ðdebbie
X
Page 115 of 344
The HomeLinkTUniversal Transceiver provides a
convenient way to consolidate the functions of up
to three individual hand-held transmitters into
one built-in device.
HomeLinkTUniversal Transceiver:
cWill operate most Radio Frequency (RF)
devices such as garage doors, gates, home
and office lighting, entry door locks and se-
curity systems.
cIs powered by your vehicle’s battery. No
separate batteries are required. If the vehi-
cle’s battery is discharged or is discon-
nected, HomeLinkTwill retain all program-
ming.
Once the HomeLinkTUniversal Transceiver
is programmed, retain the original trans-
mitter for future programming procedures
(Example: new vehicle purchases) . Upon
sale of the vehicle, the programmed
HomeLinkTUniversal Transceiver buttons
should be erased for security purposes. For
additional information refer to “Program-
ming HomeLinkT” later in this section.WARNING
cDo not use the HomeLinkTUniversal
Transceiver with any garage door
opener that lacks safety stop and re-
verse features as required by federal
safety standards. (These standards be-
came effective for opener models
manufactured after April 1, 1982) . A ga-
rage door opener which cannot detect
an object in the path of a closing garage
door and then automatically stop and
reverse, does not meet current federal
safety standards. Using a garage door
opener without these features in-
creases the risk of serious injury or
death.
cDuring the programming procedure
your garage door or security gate will
open and close (if the transmitter is
within range) . Make sure that people or
objects are clear of the garage door,
gate, etc. that you are programming.
cYour vehicle’s engine should be turned
off while programming the HomeLinkT
Universal Transceiver.
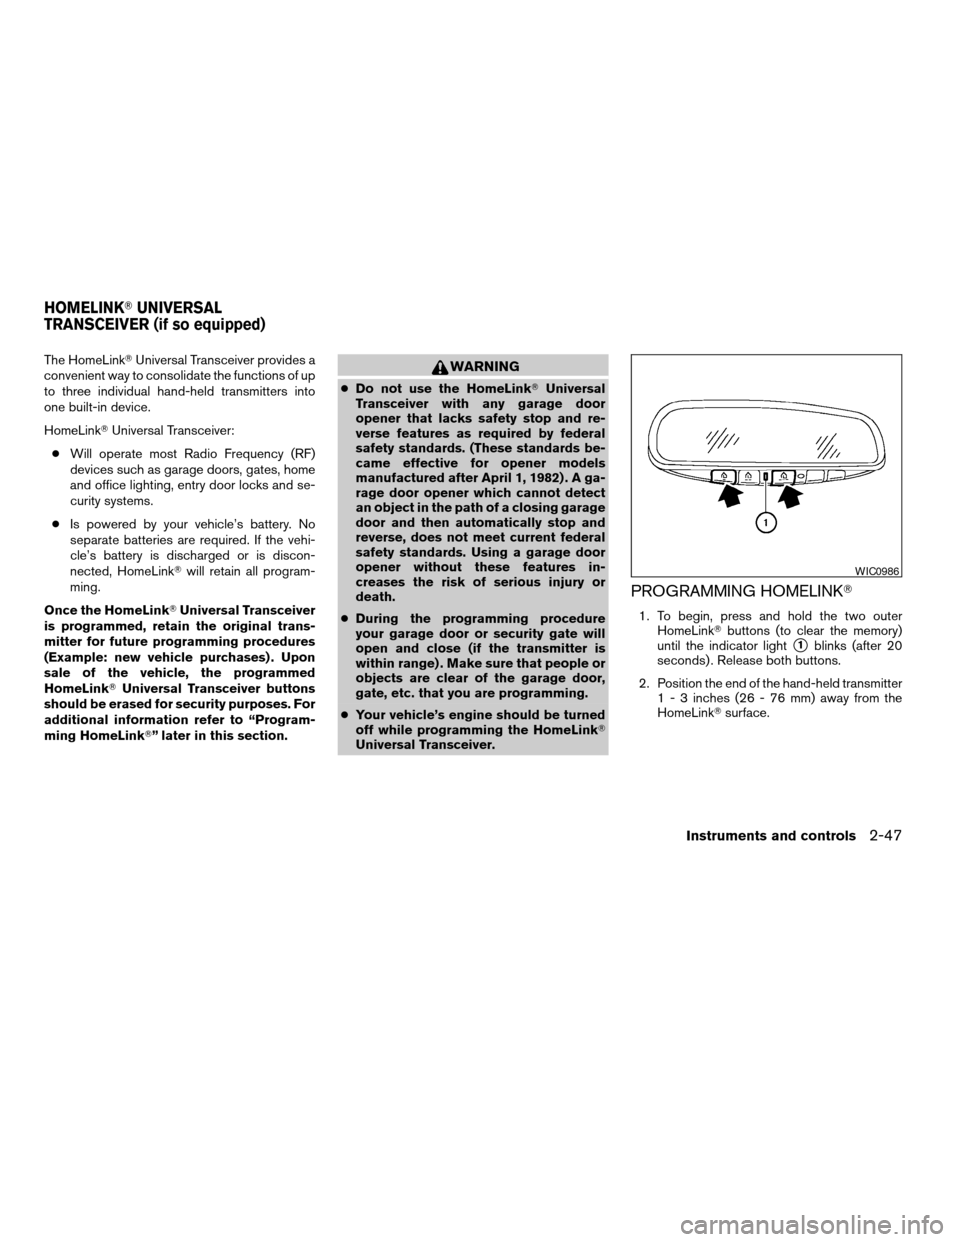
PROGRAMMING HOMELINKT
1. To begin, press and hold the two outer
HomeLinkTbuttons (to clear the memory)
until the indicator light
s1blinks (after 20
seconds) . Release both buttons.
2. Position the end of the hand-held transmitter
1 - 3 inches (26 - 76 mm) away from the
HomeLinkTsurface.
WIC0986
HOMELINKTUNIVERSAL
TRANSCEIVER (if so equipped)
Instruments and controls2-47
ZREVIEW COPYÐ2007 Altima(alt)
Owners ManualÐUSA_English(nna)
10/26/06Ðdebbie
X