Page 44 of 82
GW-44
POWER WINDOW SYSTEM
Revision: 2006 November2007 350Z
Check Power Window Serial LinkNIS00053
1. CHECK POWER WINDOW SWITCH OUTPUT SIGNAL
With CONSULT-III
Check door lock and unlock switch (“LOCK SW DR/AS”, “UNLK SW DR/AS”) in DATA MONITOR mode with
CONSULT-III. Refer to BL-35, "
DATA MONITOR" .
Without CONSULT-III
1. Remove key from ignition switch, and the door of driver side and passenger side is closed.
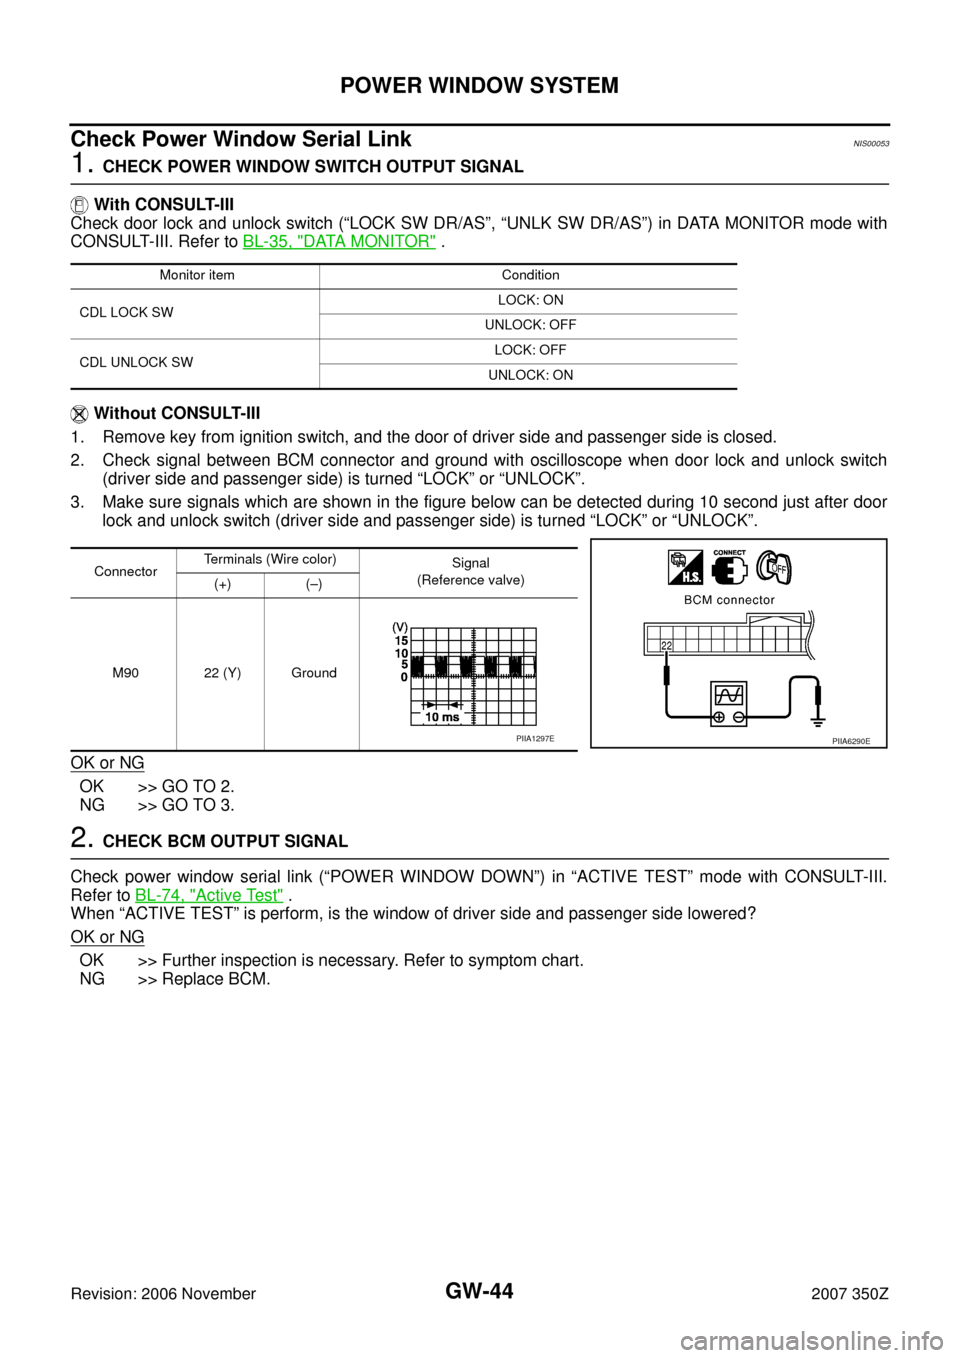
2. Check signal between BCM connector and ground with oscilloscope when door lock and unlock switch
(driver side and passenger side) is turned “LOCK” or “UNLOCK”.
3. Make sure signals which are shown in the figure below can be detected during 10 second just after door
lock and unlock switch (driver side and passenger side) is turned “LOCK” or “UNLOCK”.
OK or NG
OK >> GO TO 2.
NG >> GO TO 3.
2. CHECK BCM OUTPUT SIGNAL
Check power window serial link (“POWER WINDOW DOWN”) in “ACTIVE TEST” mode with CONSULT-III.
Refer to BL-74, "
Active Test" .
When “ACTIVE TEST” is perform, is the window of driver side and passenger side lowered?
OK or NG
OK >> Further inspection is necessary. Refer to symptom chart.
NG >> Replace BCM.
Monitor item Condition
CDL LOCK SWLOCK: ON
UNLOCK: OFF
CDL UNLOCK SWLOCK: OFF
UNLOCK: ON
ConnectorTerminals (Wire color)
Signal
(Reference valve)
(+) (–)
M90 22 (Y) Ground
PIIA6290EPIIA1297E
Page 45 of 82
POWER WINDOW SYSTEM
GW-45
C
D
E
F
G
H
J
K
L
MA
B
GW
Revision: 2006 November2007 350Z
3. CHECK POWER WINDOW SWITCH GROUND
1. Turn ignition switch OFF.
2. Disconnect power window main switch and power window sub-switch connector.
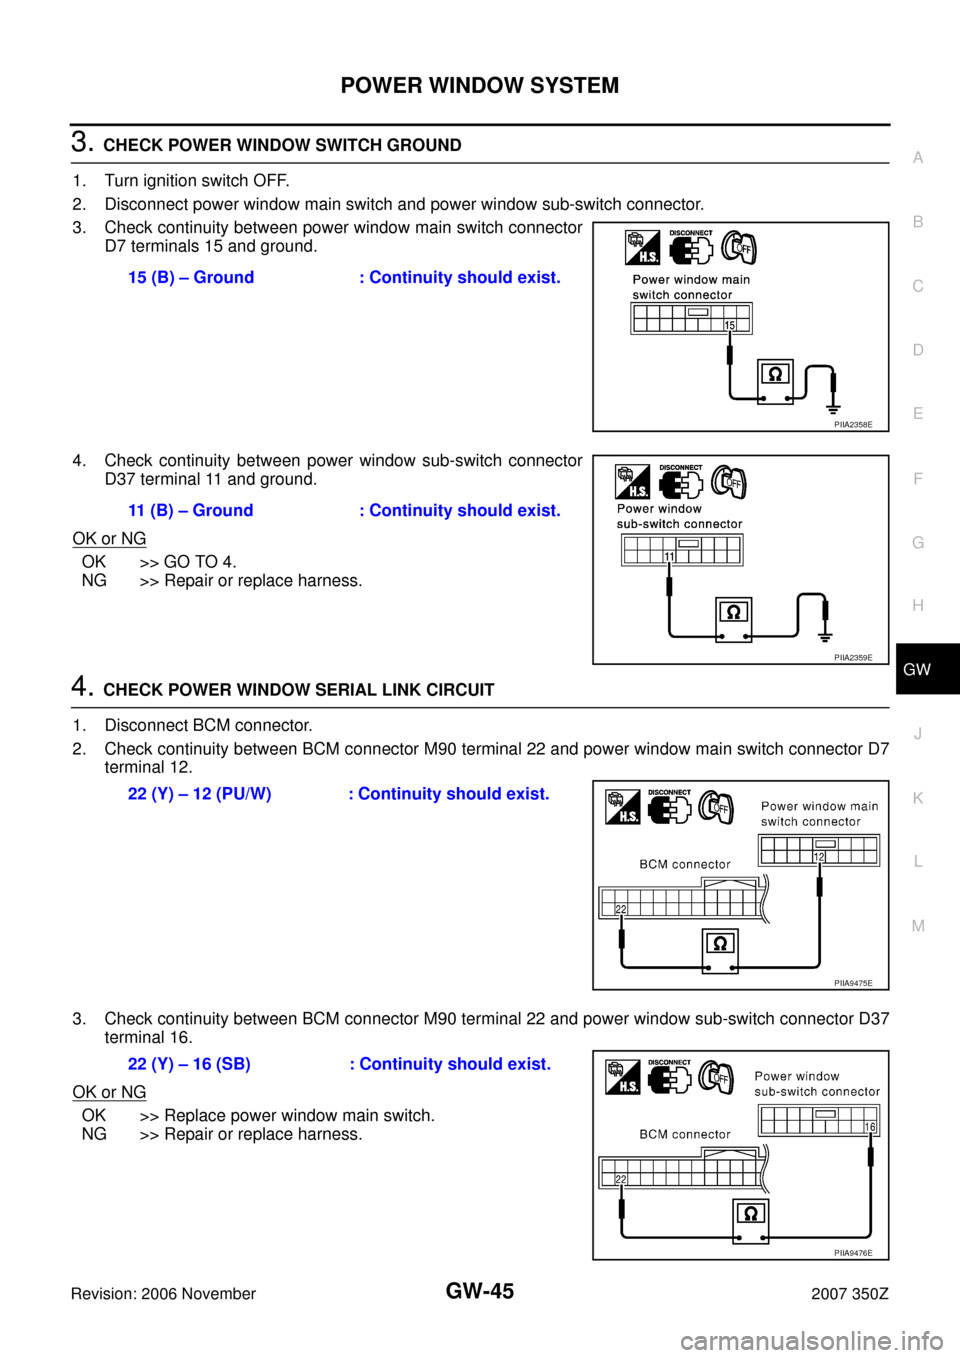
3. Check continuity between power window main switch connector
D7 terminals 15 and ground.
4. Check continuity between power window sub-switch connector
D37 terminal 11 and ground.
OK or NG
OK >> GO TO 4.
NG >> Repair or replace harness.
4. CHECK POWER WINDOW SERIAL LINK CIRCUIT
1. Disconnect BCM connector.
2. Check continuity between BCM connector M90 terminal 22 and power window main switch connector D7
terminal 12.
3. Check continuity between BCM connector M90 terminal 22 and power window sub-switch connector D37
terminal 16.
OK or NG
OK >> Replace power window main switch.
NG >> Repair or replace harness.15 (B) – Ground : Continuity should exist.
PIIA2358E
11 (B) – Ground : Continuity should exist.
PIIA2359E
22 (Y) – 12 (PU/W) : Continuity should exist.
PIIA9475E
22 (Y) – 16 (SB) : Continuity should exist.
PIIA9476E
Page 46 of 82
GW-46
POWER WINDOW SYSTEM
Revision: 2006 November2007 350Z
Check Power Window Main Switch Power Supply and Ground CircuitNIS00054
1. CHECK POWER SUPPLY CIRCUIT
1. Turn ignition switch ON.
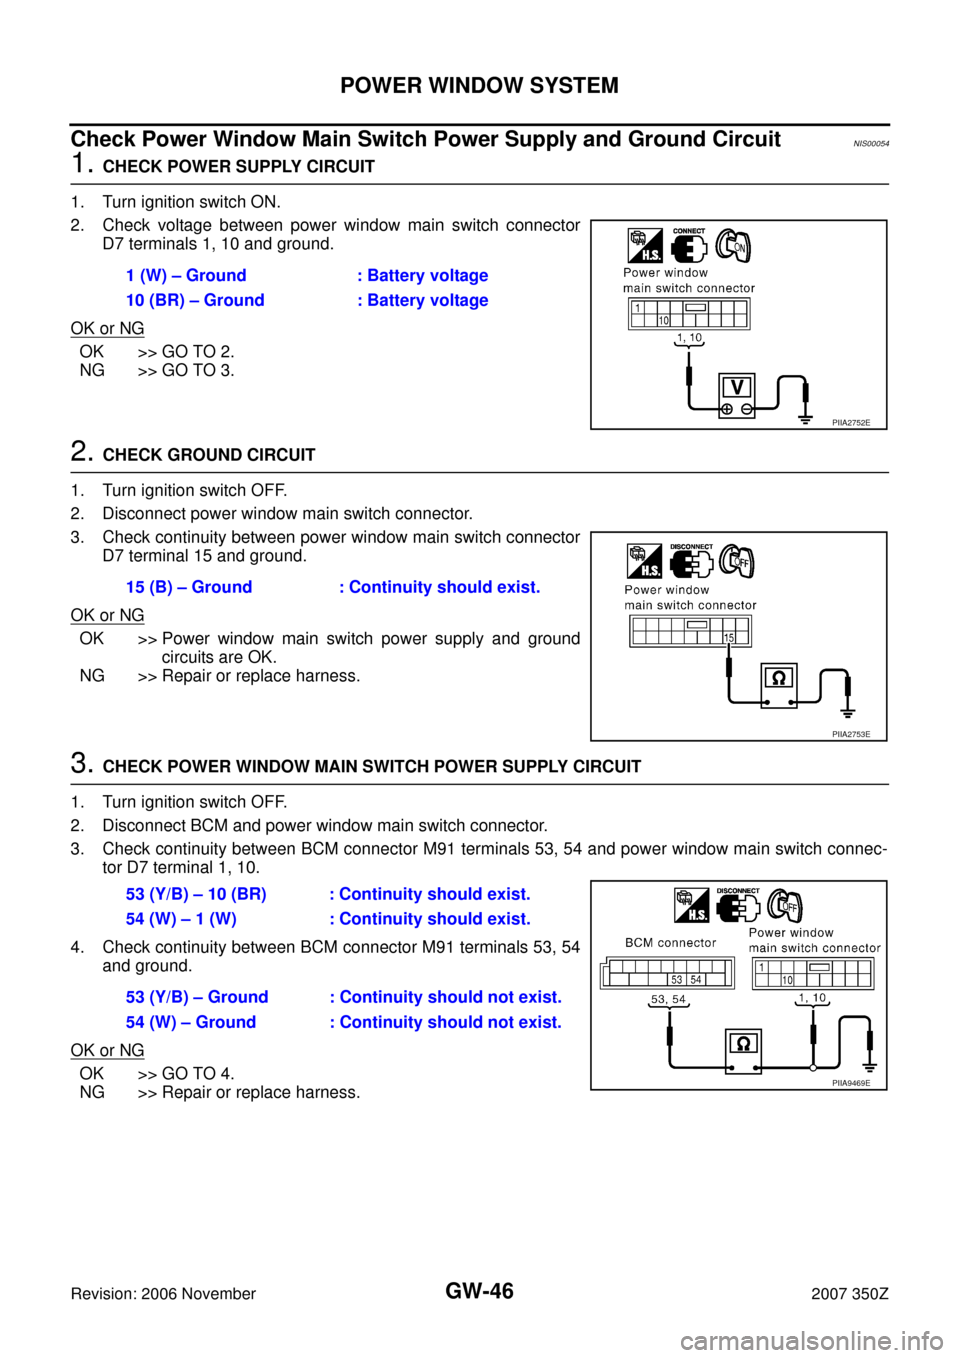
2. Check voltage between power window main switch connector
D7 terminals 1, 10 and ground.
OK or NG
OK >> GO TO 2.
NG >> GO TO 3.
2. CHECK GROUND CIRCUIT
1. Turn ignition switch OFF.
2. Disconnect power window main switch connector.
3. Check continuity between power window main switch connector
D7 terminal 15 and ground.
OK or NG
OK >> Power window main switch power supply and ground
circuits are OK.
NG >> Repair or replace harness.
3. CHECK POWER WINDOW MAIN SWITCH POWER SUPPLY CIRCUIT
1. Turn ignition switch OFF.
2. Disconnect BCM and power window main switch connector.
3. Check continuity between BCM connector M91 terminals 53, 54 and power window main switch connec-
tor D7 terminal 1, 10.
4. Check continuity between BCM connector M91 terminals 53, 54
and ground.
OK or NG
OK >> GO TO 4.
NG >> Repair or replace harness.1 (W) – Ground : Battery voltage
10 (BR) – Ground : Battery voltage
PIIA2752E
15 (B) – Ground : Continuity should exist.
PIIA2753E
53 (Y/B) – 10 (BR) : Continuity should exist.
54 (W) – 1 (W) : Continuity should exist.
53 (Y/B) – Ground : Continuity should not exist.
54 (W) – Ground : Continuity should not exist.
PIIA9469E
Page 47 of 82
POWER WINDOW SYSTEM
GW-47
C
D
E
F
G
H
J
K
L
MA
B
GW
Revision: 2006 November2007 350Z
4. CHECK BCM OUTPUT SIGNAL
1. Connect BCM connector.
2. Turn ignition switch ON.
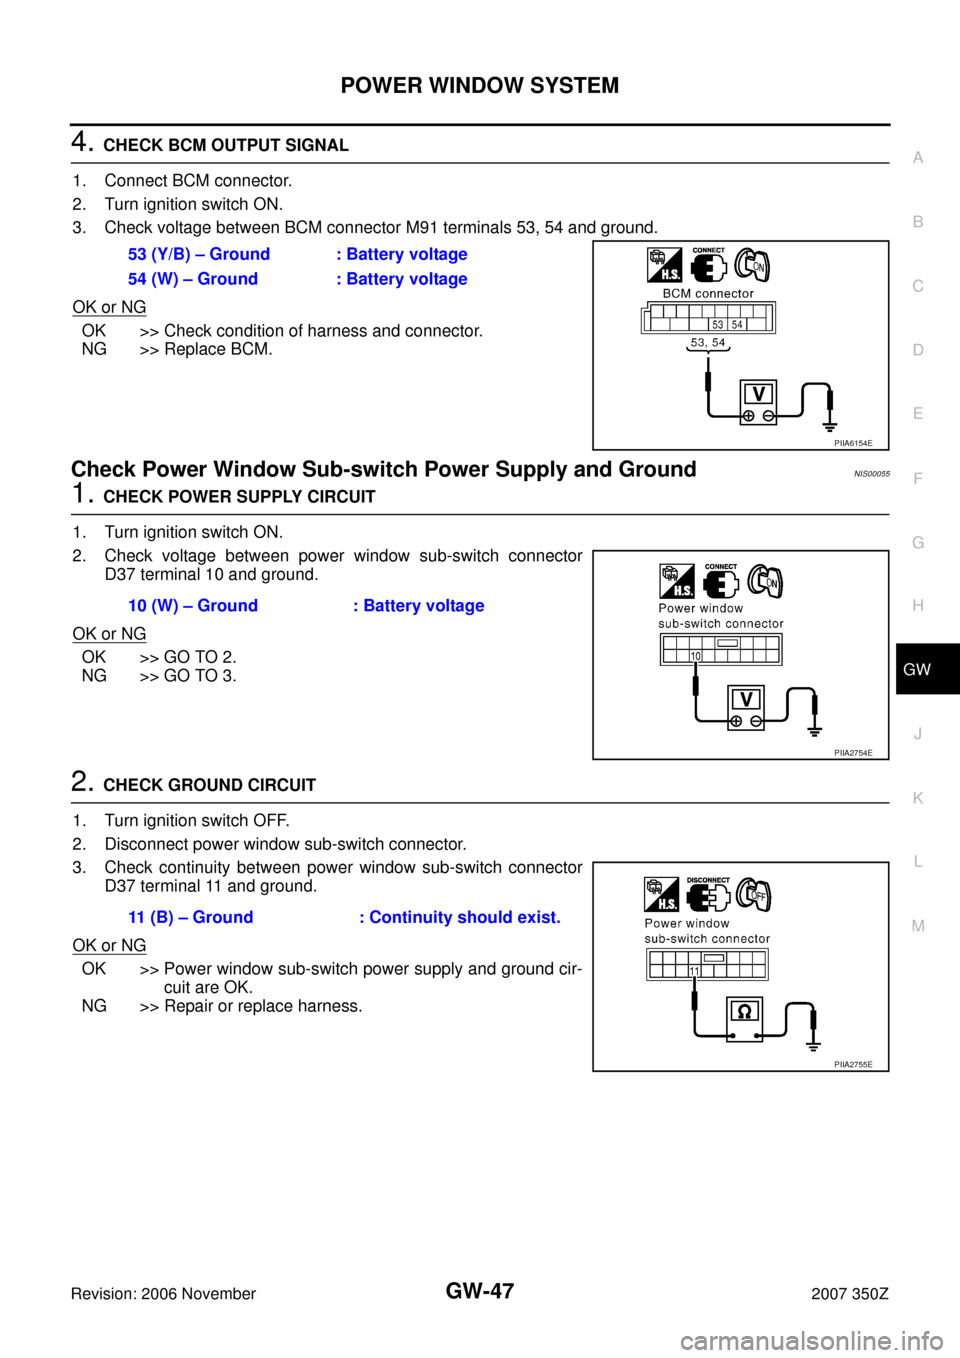
3. Check voltage between BCM connector M91 terminals 53, 54 and ground.
OK or NG
OK >> Check condition of harness and connector.
NG >> Replace BCM.
Check Power Window Sub-switch Power Supply and GroundNIS00055
1. CHECK POWER SUPPLY CIRCUIT
1. Turn ignition switch ON.
2. Check voltage between power window sub-switch connector
D37 terminal 10 and ground.
OK or NG
OK >> GO TO 2.
NG >> GO TO 3.
2. CHECK GROUND CIRCUIT
1. Turn ignition switch OFF.
2. Disconnect power window sub-switch connector.
3. Check continuity between power window sub-switch connector
D37 terminal 11 and ground.
OK or NG
OK >> Power window sub-switch power supply and ground cir-
cuit are OK.
NG >> Repair or replace harness.53 (Y/B) – Ground : Battery voltage
54 (W) – Ground : Battery voltage
PIIA6154E
10 (W) – Ground : Battery voltage
PIIA2754E
11 (B) – Ground : Continuity should exist.
PIIA2755E
Page 48 of 82
GW-48
POWER WINDOW SYSTEM
Revision: 2006 November2007 350Z
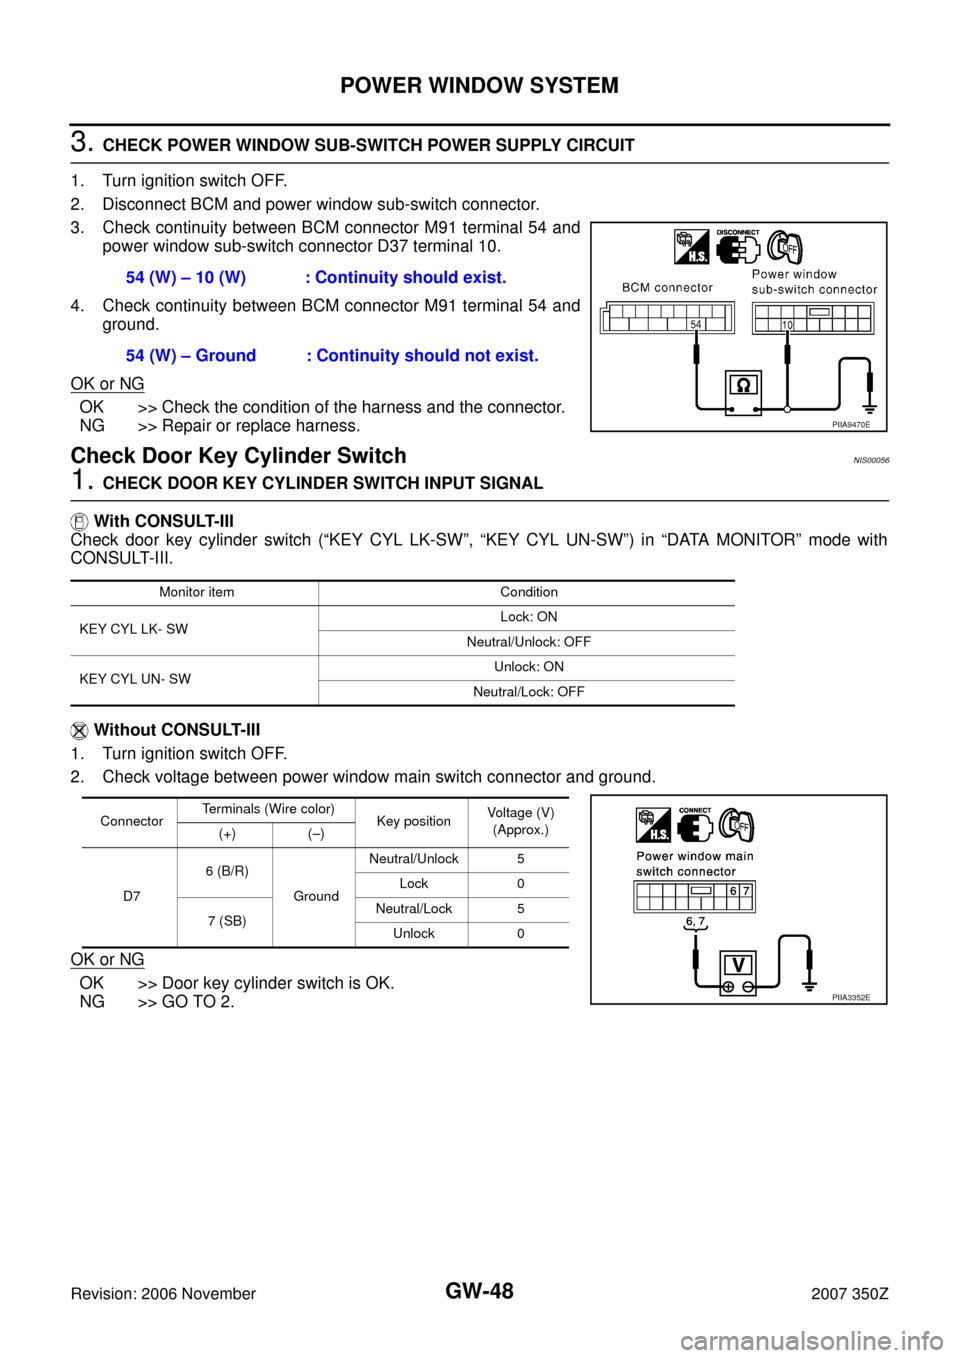
3. CHECK POWER WINDOW SUB-SWITCH POWER SUPPLY CIRCUIT
1. Turn ignition switch OFF.
2. Disconnect BCM and power window sub-switch connector.
3. Check continuity between BCM connector M91 terminal 54 and
power window sub-switch connector D37 terminal 10.
4. Check continuity between BCM connector M91 terminal 54 and
ground.
OK or NG
OK >> Check the condition of the harness and the connector.
NG >> Repair or replace harness.
Check Door Key Cylinder Switch NIS00056
1. CHECK DOOR KEY CYLINDER SWITCH INPUT SIGNAL
With CONSULT-III
Check door key cylinder switch (“KEY CYL LK-SW”, “KEY CYL UN-SW”) in “DATA MONITOR” mode with
CONSULT-III.
Without CONSULT-III
1. Turn ignition switch OFF.
2. Check voltage between power window main switch connector and ground.
OK or NG
OK >> Door key cylinder switch is OK.
NG >> GO TO 2.54 (W) – 10 (W) : Continuity should exist.
54 (W) – Ground : Continuity should not exist.
PIIA9470E
Monitor item Condition
KEY CYL LK- SWLock: ON
Neutral/Unlock: OFF
KEY CYL UN- SWUnlock: ON
Neutral/Lock: OFF
ConnectorTerminals (Wire color)
Key position Voltage (V)
(Approx.)
(+) (–)
D76 (B/R)
GroundNeutral/Unlock 5
Lock 0
7 (SB)Neutral/Lock 5
Unlock 0
PIIA3352E
Page 49 of 82
POWER WINDOW SYSTEM
GW-49
C
D
E
F
G
H
J
K
L
MA
B
GW
Revision: 2006 November2007 350Z
2. CHECK DOOR KEY CYLINDER SWITCH CIRCUIT
1. Turn ignition switch OFF.
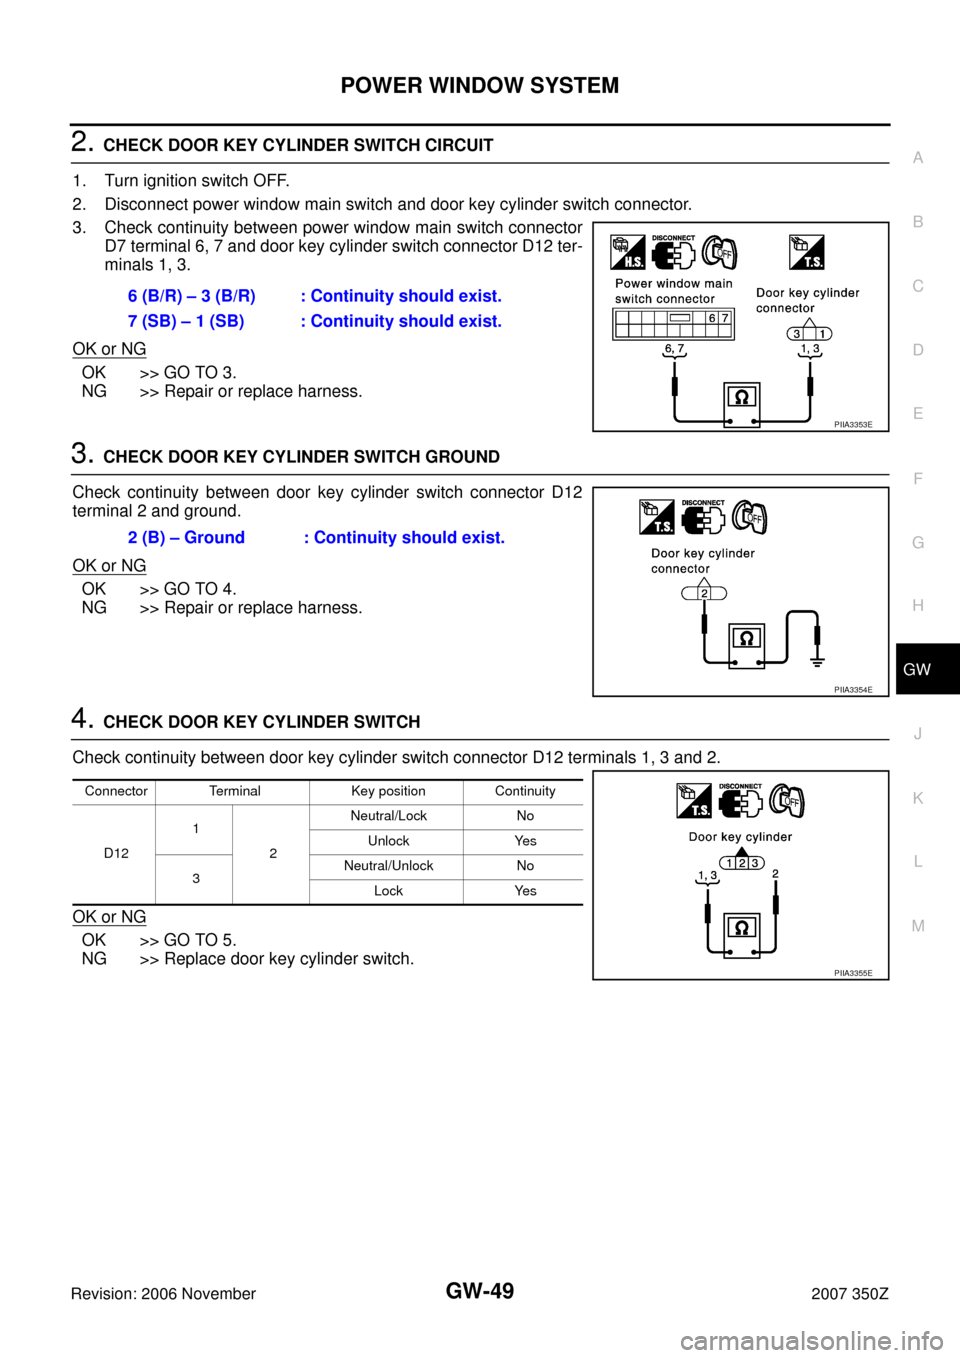
2. Disconnect power window main switch and door key cylinder switch connector.
3. Check continuity between power window main switch connector
D7 terminal 6, 7 and door key cylinder switch connector D12 ter-
minals 1, 3.
OK or NG
OK >> GO TO 3.
NG >> Repair or replace harness.
3. CHECK DOOR KEY CYLINDER SWITCH GROUND
Check continuity between door key cylinder switch connector D12
terminal 2 and ground.
OK or NG
OK >> GO TO 4.
NG >> Repair or replace harness.
4. CHECK DOOR KEY CYLINDER SWITCH
Check continuity between door key cylinder switch connector D12 terminals 1, 3 and 2.
OK or NG
OK >> GO TO 5.
NG >> Replace door key cylinder switch.6 (B/R) – 3 (B/R) : Continuity should exist.
7 (SB) – 1 (SB) : Continuity should exist.
PIIA3353E
2 (B) – Ground : Continuity should exist.
PIIA3354E
Connector Terminal Key position Continuity
D121
2Neutral/Lock No
Unlock Yes
3Neutral/Unlock No
Lock Yes
PIIA3355E
Page 56 of 82
GW-56
REAR WINDOW DEFOGGER
Revision: 2006 November2007 350Z
REAR WINDOW DEFOGGERPFP:25350
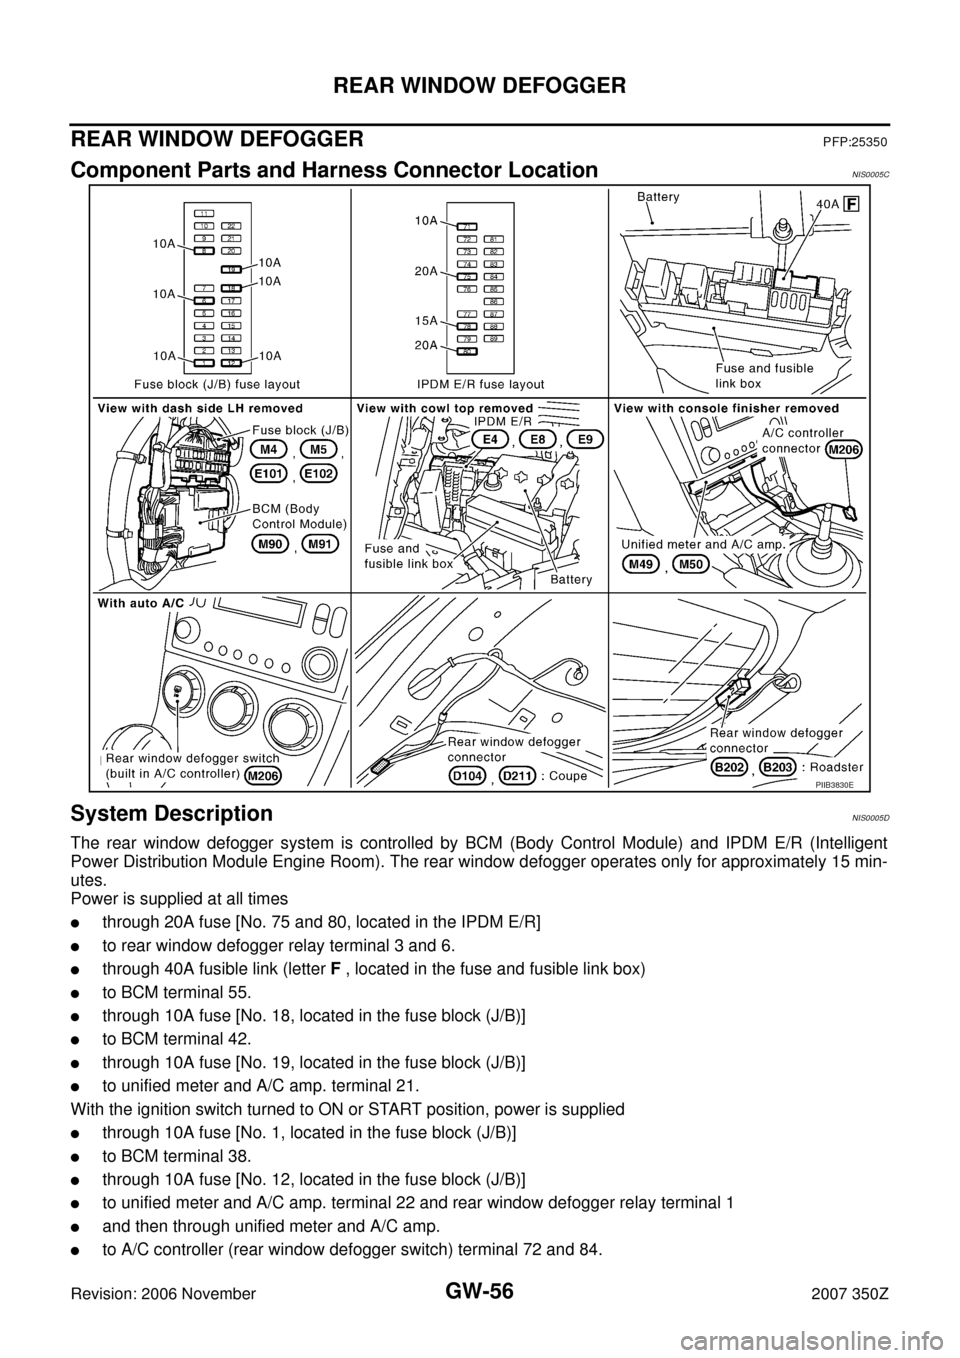
Component Parts and Harness Connector LocationNIS0005C
System DescriptionNIS0005D
The rear window defogger system is controlled by BCM (Body Control Module) and IPDM E/R (Intelligent
Power Distribution Module Engine Room). The rear window defogger operates only for approximately 15 min-
utes.
Power is supplied at all times
�through 20A fuse [No. 75 and 80, located in the IPDM E/R]
�to rear window defogger relay terminal 3 and 6.
�through 40A fusible link (letter F , located in the fuse and fusible link box)
�to BCM terminal 55.
�through 10A fuse [No. 18, located in the fuse block (J/B)]
�to BCM terminal 42.
�through 10A fuse [No. 19, located in the fuse block (J/B)]
�to unified meter and A/C amp. terminal 21.
With the ignition switch turned to ON or START position, power is supplied
�through 10A fuse [No. 1, located in the fuse block (J/B)]
�to BCM terminal 38.
�through 10A fuse [No. 12, located in the fuse block (J/B)]
�to unified meter and A/C amp. terminal 22 and rear window defogger relay terminal 1
�and then through unified meter and A/C amp.
�to A/C controller (rear window defogger switch) terminal 72 and 84.
PIIB3830E
Page 67 of 82

REAR WINDOW DEFOGGER
GW-67
C
D
E
F
G
H
J
K
L
MA
B
GW
Revision: 2006 November2007 350Z
Terminal and Reference Value for BCMNIS0005K
Terminal and Reference Value for IPDM E/R.NIS0005L
Terminal and Reference Value for Unified Meter and A/C Amp.NIS0005M
Te r -
minalWire
ColorItemSignal
input/out-
putConditionVoltage (V)
(Approx.)
9L/RRear window defogger
switch signalOutput Rear window defogger switch: Pressed 0
: OFF 5
11 L GIgnition switch ACC power supply
(ACC or ON)InputIgnition switch
(ACC or ON position)Battery voltage
38 W/LIgnition switch ON power supply
(ON or START)InputIgnition switch
(ON or START position)Battery voltage
39 L CAN-HInput/Out-
put——
40 P CAN-LInput/Out-
put——
42 GY Power source (Fuse) Input — Battery voltage
52 B Ground — — 0
55 R Power source (Fusible link) Input — Battery voltage
Te r -
minalWire
ColorItemSignal
input/out-
putConditionVoltage (V)
(Approx.)
5 P Battery power supply Output — Battery voltage
6 W Battery power supply Output — Battery voltage
38 B Ground (Power) — — 0
48 L CAN-HInput/Out-
put——
49 P CAN-LInput/Out-
put——
52 WRear window defogger relay
control signalInput Rear window defogger switch: ON 0
: OFF Battery voltage
60 B Ground (Signal) — — 0
Te r -
minalWire
ColorItemSignal
input/out-
putConditionVoltage (V)
(Approx.)
21 R/W Power source (Fuse) Input — Battery voltage
22 Y/GIgnition switch ON power supply
(ON or START)InputIgnition switch
(ON or START position)Battery voltage
29 B Ground (Power) — — 0
30 B Ground — — 0
38 L/RRear window defogger
switch signalInput Rear window defogger switch.: Pressed 0
: OFF 5
56 B/WRear window defogger
ON signalInput Rear window defogger switch: ON Battery voltage
: OFF 0
72 — Indicator power supply InputIgnition switch
(ON or START position)5
78 —Rear window defogger
indicator signalInput Rear window defogger switch: ON 0
: OFF 5