Page 120 of 242
118 Satellite radio*
Satellite radio operation
� Satellite radio operation
See “Subscribing to satellite radio” for im-
portant subscription information
(
�page 117).
�Press B to switch to satellite radio
operation.
The message will appear at start up or
when the signal is not available.After the COMAND acquires the
signal, the Satellite radio main menu will
appear. The station last tuned to will begin
to play.
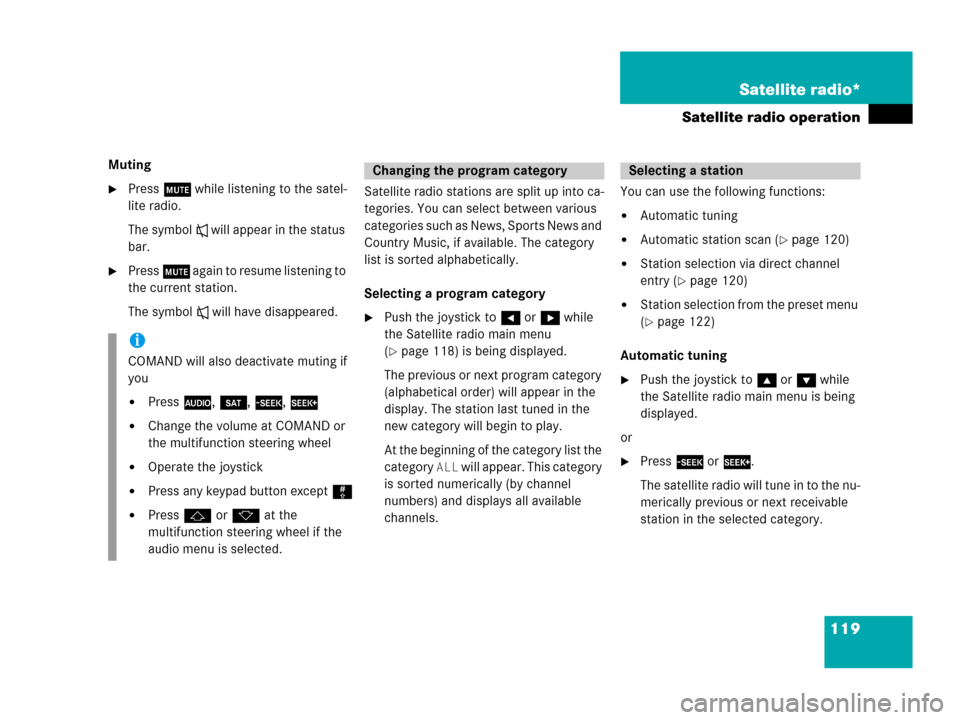
Satellite radio main menu
1Program category
2Station name
3Memory preset selected if available
and channel number
Switching on
i
No Satellite receiver:
The message
No Satellite Radio
will appear in a window.
i
The Sound soft key is available if
COMAND is equipped with a sound
amplifier*.
i
You can display 2 in full:
�Station information (�page 122)
Page 121 of 242

119 Satellite radio*
Satellite radio operation
Muting
�Press J while listening to the satel-
lite radio.
The symbol R will appear in the status
bar.
�Press J again to resume listening to
the current station.
The symbol R will have disappeared.Satellite radio stations are split up into ca-
tegories. You can select between various
c a t e g o r i e s s u c h a s N e w s , S p o r t s N e w s a n d
Country Music, if available. The category
list is sorted alphabetically.
Selecting a program category
�Push the joystick to H or h while
the Satellite radio main menu
(
�page 118) is being displayed.
The previous or next program category
(alphabetical order) will appear in the
display. The station last tuned in the
new category will begin to play.
At the beginning of the category list the
category
ALL will appear. This category
is sorted numerically (by channel
numbers) and displays all available
channels.You can use the following functions:
�Automatic tuning
�Automatic station scan (�page 120)
�Station selection via direct channel
entry (
�page 120)
�Station selection from the preset menu
(
�page 122)
Automatic tuning
�Push the joystick to gor G while
the Satellite radio main menu is being
displayed.
or
�Press d or D.
The satellite radio will tune in to the nu-
merically previous or next receivable
station in the selected category.
i
COMAND will also deactivate muting if
you
�Press A, B, g, h
�Change the volume at COMAND or
the multifunction steering wheel
�Operate the joystick
�Press any keypad button except #
�Press j or k at the
multifunction steering wheel if the
audio menu is selected.
Changing the program categorySelecting a station
Page 122 of 242
120 Satellite radio*
Satellite radio operation
Automatic station scan
The stations in the selected category can
be scanned in numerical order for 8 se-
conds each.
�In the Satellite radio main menu, press
the
Scan soft key.
The scan function will begin.Ending scan function and playing a
station
�Press the Scan soft key again.
The station selected will appear with
the station name.
Scan will appear in
white lettering again.Station selection via direct channel
entry
�Press *.
Input line will appear.
�Enter the desired channel number with
the number keys, e.g. 24 for chan-
nel 24.
The channel you have selected will be-
gin to play. The corresponding station
name will appear, if station is available.
Page 123 of 242

121 Satellite radio*
Satellite radio operation
You can use the following functions:
�Saving stations manually
�Selecting a station from the Satellite
preset memory (
�page 122)
�Selecting a station by entering the
channel number (
�page 120)Saving station manually
In the Satellite radio main menu
�Press one of the number keys, e.g. 2,
longer than 2 seconds.
You will hear a verification beep if the
beep tones option was activated in the
system settings (
�page 222).
The satellite radio saves the current
station at the memory preset selected.
The memory preset selected will ap-
pear in the status line, e.g.
SAT2.
On the memory list
�In the Satellite radio main menu, press
the
Presets soft key.
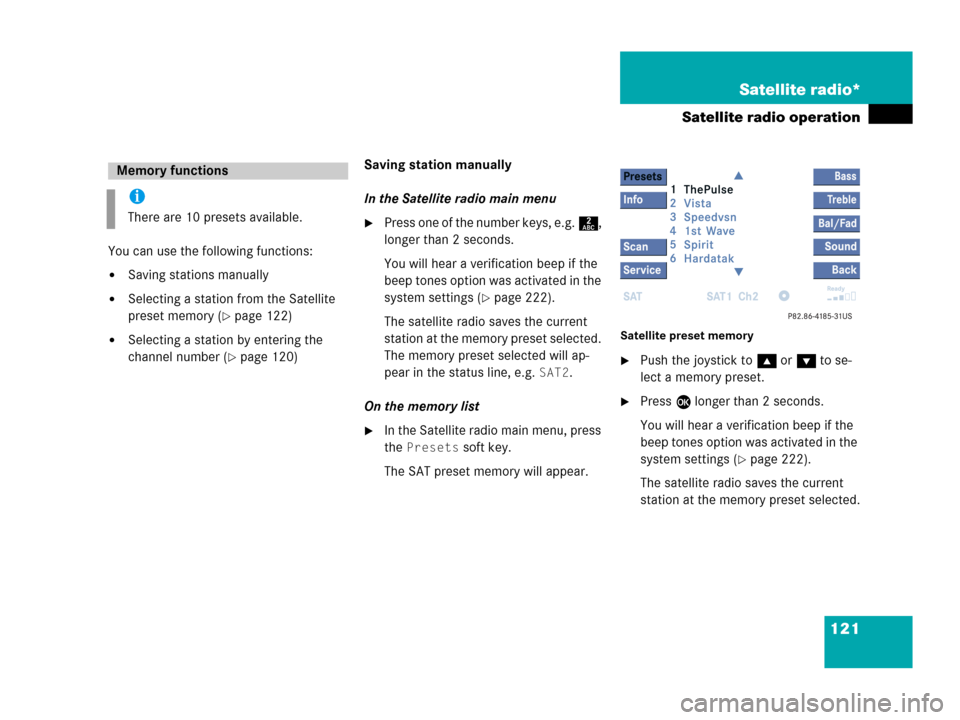
The SAT preset memory will appear.
Satellite preset memory
�Push the joystick to gor G to se-
lect a memory preset.
�Press E longer than 2 seconds.
You will hear a verification beep if the
beep tones option was activated in the
system settings (
�page 222).
The satellite radio saves the current
station at the memory preset selected.
Memory functions
i
There are 10 presets available.
Page 124 of 242
122 Satellite radio*
Satellite radio operation
You will see the Satellite radio main menu
�automatically after 8 seconds
�if you press s.Selecting a station on the memory list
�In the Satellite radio main menu, press
the
Presets soft key.
The Satellite preset memory
(
�page 121) will appear.
�Push the joystick to gor G to high-
light a memory preset.
�Press E.
The Satellite radio main menu will then
appear automatically after 8 seconds,
indicating the memory preset number
in the status line.
�In the Satellite radio main menu, press
the
Info soft key.
The information display will appear.
You will see (if available)
�the full station name
�additional program information
Switching back to the Satellite radio main
menu
�Press the Back soft key.
or
�Press the Info soft key again.
i
An existing entry is overwritten in the
memory list when a new input is given.
If the message
Updating station
list
appears the presets may be over-
written.
Displaying information
Page 125 of 242
123 Satellite radio*
Satellite radio operation
You can call the provider service center for
questions or releases, whenever you need.
�Press the Service soft key.
The Service information display will ap-
pear.
1Phone number of the provider,
(SIRIUS) or “Call Service Provider”
2The Electronical Serial Number (ESN)
of your satellite receiver
�Press the Back soft key to switch back
to the Satellite radio main menu.
While receiving a new channel list the mes-
sage
Updating station list will ap-
pear.
The station last tuned will be muted until
the update is completed. You cannot ope-
rate the satellite radio.
After completion of the update, the
Satellite radio main menu will appear.
The station last tuned to will begin to play.Refer to chapter “At a glance” on how to
adjust sound settings.
�Volume (�page 35)
�Balance control and fader (�page 36)
�Bass and treble control (�page 37)
�Sound functions* (�page 38)
Displaying service information
Station list updates
Sound settings
Page 128 of 242

126 Telephone*
Important notes
� Important notes
In chapter “Telephone”, you will find de-
tailed information regarding the telepho-
ne*, including emergency call.
1 Observe all legal requirements
WarningG
Some jurisdictions prohibit the driver from
using a cellular telephone while driving a ve-
hicle. Whether or not prohibited by law, for
safety reasons, the driver should not use the
cellular telephone while the vehicle is in mo-
tion. Stop the vehicle in a safe location be-
fore answering or placing a call.
If you nonetheless choose to use the cellular
phone while driving, please use the hands-
free device and be sure to pay attention to
the traffic situation at all times. Use the cel-
lular phone
1 only when road, weather and
traffic conditions permit.
Never operate radio transmitters equipped
with a built-in or attached antenna (i.e.
without being connected to an external an-
tenna) from inside the vehicle while the en-
gine is running. Doing so could lead to
malfunction of the vehicle’s electronic sys-
tems, possibly resulting in an accident and
personal injury.
WarningG
Radio transmitters, such as a portable tele-
phone or a citizens band unit should only be
used inside the vehicle if they are connected
to a separate exterior antenna that has been
approved by Mercedes-Benz.
Page 131 of 242
129 Telephone*
Important notes
�The message Telephone being ac-
tivated, please wait
appears.
COMAND prepares the telephone for
use. Select other system functions, e.g.
radio, by pressing the corresponding
button or wait until the telephone is ac-
tive.
�The message Phone not inserted
appears.
�Please connect the mobile phone.
�The message Phone not available
appears.
�Please contact an authorized
Mercedes-Benz Center.GSM mobile phone
�If the message Please insert SIM
card (Emergency Call 911 only
possible with phone)
appears:
�Insert the SIM card into the mobile
phone (Telephone Operating
Manual).
�The message Call failed may
appear if you place an outgoing call
(
�page 137).
�Try again later.