Page 286 of 595
285 Controls in detail
Driving systems
When the highway level is reached, indica-
tor lamp2 (
�page 283) goes out. The
following message appears in the multi-
function display for 5 seconds:Vehicles with enhanced Off-road
Package*
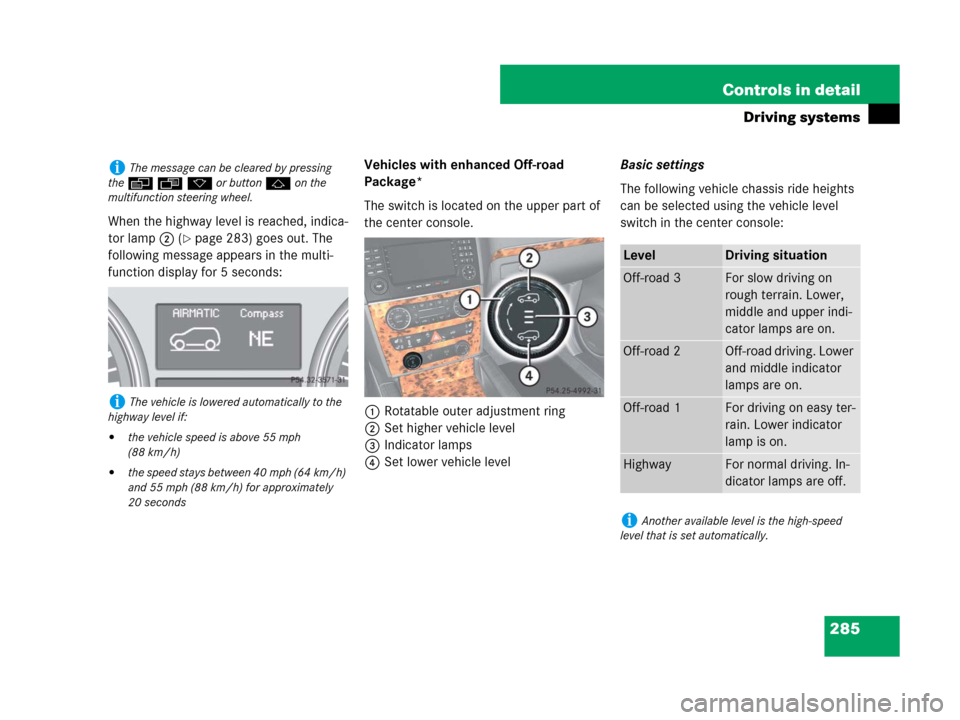
The switch is located on the upper part of
the center console.
1Rotatable outer adjustment ring
2Set higher vehicle level
3Indicator lamps
4Set lower vehicle levelBasic settings
The following vehicle chassis ride heights
can be selected using the vehicle level
switch in the center console:
iThe message can be cleared by pressing
theèÿk or buttonj on the
multifunction steering wheel.
iThe vehicle is lowered automatically to the
highway level if:
�the vehicle speed is above 55 mph
(88 km/h)
�the speed stays between 40 mph (64 km/h)
and 55 mph (88 km/h) for approximately
20 seconds
LevelDriving situation
Off-road 3For slow driving on
rough terrain. Lower,
middle and upper indi-
cator lamps are on.
Off-road 2Off-road driving. Lower
and middle indicator
lamps are on.
Off-road 1For driving on easy ter-
rain. Lower indicator
lamp is on.
HighwayFor normal driving. In-
dicator lamps are off.
iAnother available level is the high-speed
level that is set automatically.
Page 287 of 595
286 Controls in detail
Driving systems
The following is the approximate change in
ride height for each of the level settings:You can only select the off-road levels be-
low a certain speed. At higher speeds, the
message
Level selection not permitted
appears in the multifunction display.
You can select
�Off-road level 1: selectable below
60 mph (96 km/h)
�Off-road level 2: selectable below
40 mph (64 km/h)
�Off-road level 3: selectable below
20 mph (30 km/h)Off-road levels
LevelRide height
Off-road 3+ 4.3 in (110 mm)
Off-road 2+ 3.1 in (80 mm)
Off-road 1+ 1.2 in (30 mm)
Highway+/- 0 in (0 mm)
High-speed- 0.6 in (-15 mm)
iVehicles with ADS*:
Depending on the ADS setting (
�page 280), the
vehicle will be lowered to the high-speed level
when traveling at higher speeds. At speeds be-
low 40 mph (64 km/h) at the latest, it will be re-
turned to the highway level.
iThe high-speed level is not available if tow-
ing a trailer. For more information on towing a
trailer, see “Trailer towing” (
�page 366).
Warning!G
Vehicle off-road level 3 is not intended for
use on paved roads. This vehicle level is only
intended for driving on rough terrain under
special requirements.
�Only select off-road level 3 if you are
driving on rough terrain under especially
difficult conditions.
�Adapt your driving style to the modified
conditions.
�Do not exceed a speed of 20 mph
(30 km/h).
�Avoid extreme, quick steering move-
ments.
�Keep in mind that the vehicle’s driving
characteristics are modified.
You should therefore drive in off-road level 3
with particular caution as it could otherwise
lead to an accident and/or serious injury to
you or others.
Page 288 of 595
287 Controls in detail
Driving systems
If you are driving too fast while using
off-road level 3, you will see the following
message in the multifunction display:
�Reduce speed to
under 20 mph
(30 km/h)
Additional an acoustic signal sounds.
Only use the off-road levels when neces-
sary.
Otherwise:
�fuel consumption may increase
�handling characteristics of the vehicle
may be unfavorable
�Start the engine (�page 41).
�Turn outer adjustment ring1
(
�page 285) repeatedly until indicator
lamp3 (
�page 285) of the desired
level flashes.
�Off-road level 1, lower indicator
lamp flashes
�Off-road level 2, lower and middle
indicator lamps flashes
�Off-road level 3, lower, middle and
upper indicator lamps flashes
The vehicle adjusts to the correspond-
ing off-road level.
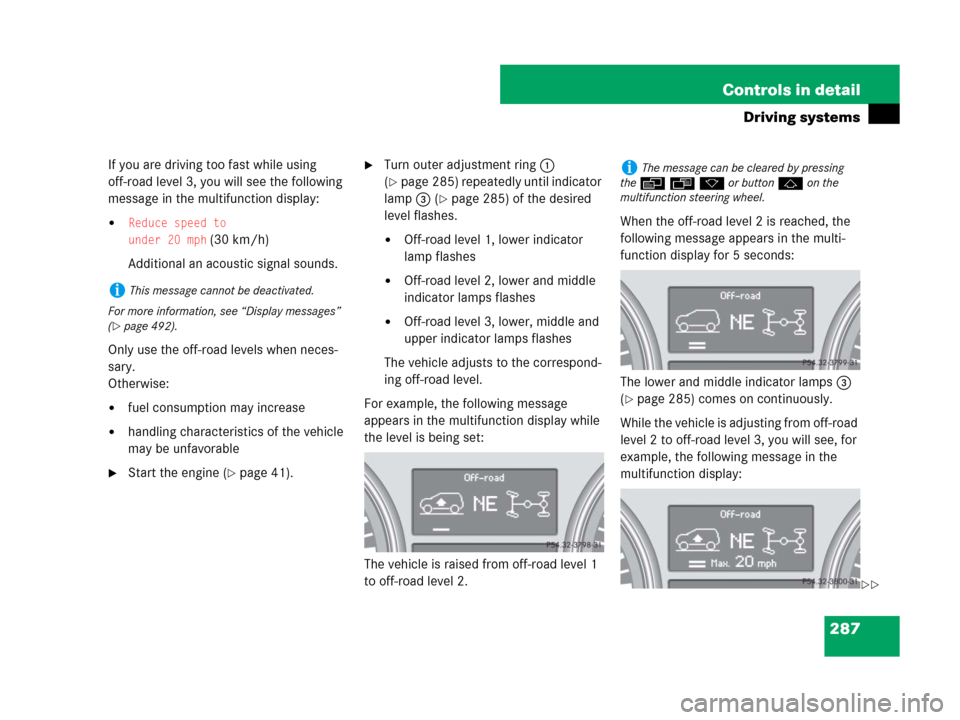
For example, the following message
appears in the multifunction display while
the level is being set:
The vehicle is raised from off-road level 1
to off-road level 2.When the off-road level 2 is reached, the
following message appears in the multi-
function display for 5 seconds:
The lower and middle indicator lamps3
(
�page 285) comes on continuously.
While the vehicle is adjusting from off-road
level 2 to off-road level 3, you will see, for
example, the following message in the
multifunction display:
iThis message cannot be deactivated.
For more information, see “Display messages”
(
�page 492).
iThe message can be cleared by pressing
theèÿk or buttonj on the
multifunction steering wheel.
��
Page 289 of 595
288 Controls in detail
Driving systems
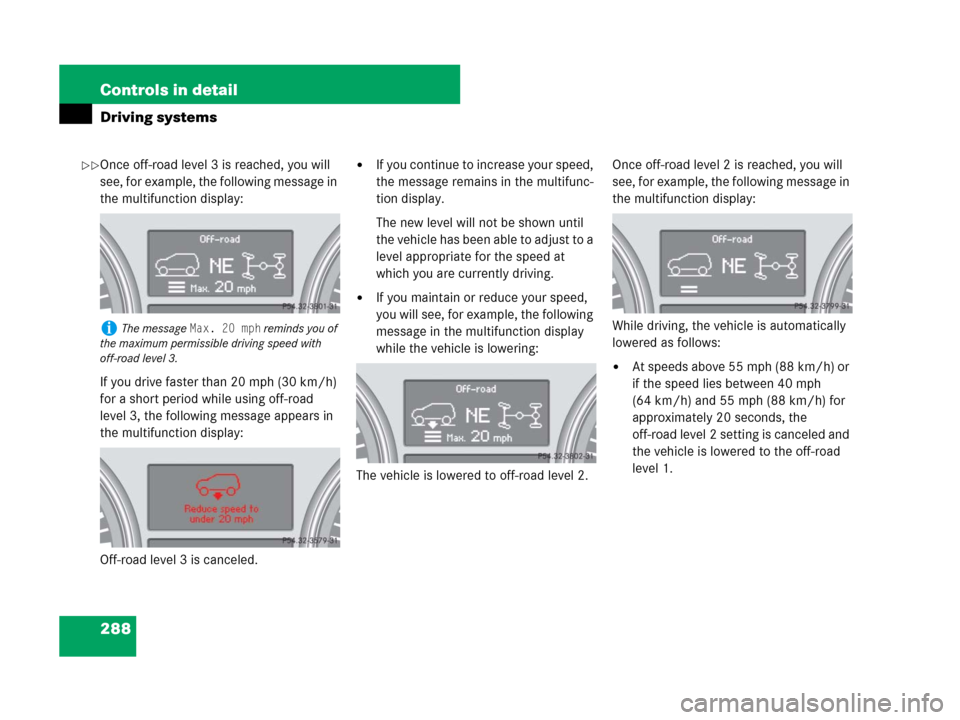
Once off-road level 3 is reached, you will
see, for example, the following message in
the multifunction display:
If you drive faster than 20 mph (30 km/h)
for a short period while using off-road
level 3, the following message appears in
the multifunction display:
Off-road level 3 is canceled.�If you continue to increase your speed,
the message remains in the multifunc-
tion display.
The new level will not be shown until
the vehicle has been able to adjust to a
level appropriate for the speed at
which you are currently driving.
�If you maintain or reduce your speed,
you will see, for example, the following
message in the multifunction display
while the vehicle is lowering:
The vehicle is lowered to off-road level 2.Once off-road level 2 is reached, you will
see, for example, the following message in
the multifunction display:
While driving, the vehicle is automatically
lowered as follows:
�At speeds above 55 mph (88 km/h) or
if the speed lies between 40 mph
(64km/h) and 55mph (88km/h) for
approximately 20 seconds, the
off-road level 2 setting is canceled and
the vehicle is lowered to the off-road
level 1.
iThe message Max. 20 mph reminds you of
the maximum permissible driving speed with
off-road level 3.
��
Page 290 of 595

289 Controls in detail
Driving systems
You will see, for example, the following
message in the multifunction display:
�At speeds above 60 mph (96 km/h)
the off-road level 1 setting is canceled
and the vehicle is lowered to the high-
way level.
You will see, for example, the following
message in the multifunction display:
�Depending on the ADS setting
(
�page 280), the vehicle will be low-
ered to the high-speed level when trav-
eling at higher speeds. At speeds below
25 mph (40 km/h) at the latest, it will
be returned to the highway level.
Highway level
�Start the engine (�page 41).If one or more of the indicator lamps
(
�page 283) are on:
�Press switch2 (�page 285)
repeatedly until all lit indicator
lamps3 flash.
The vehicle adjusts to the highway
level.
The following message appears in the
multifunction display while the level is
being set:
iThe setting is stored when you turn off the
engine.
!Keep in mind that in rough or uneven roads,
adjusting the vehicle to a lower level may cause
the vehicle underbody to come in contact with
the road and result in damage to the vehicle un-
derbody. Always make sure the vehicle has suffi-
cient ground clearance before adjusting it to a
lower level.
iThe message can be cleared by pressing
theèÿk or buttonj on the
multifunction steering wheel.
Page 291 of 595

290 Controls in detail
Driving systems
When the highway level is reached, the in-
dicator lamps3 (
�page 283) goes out.
The following message appears in the mul-
tifunction display for 5 seconds:
Parktronic system*
The Parktronic system is an electronic
parking aid and designed to assist the
driver during parking maneuvers. It visually
and audibly indicates the relative distance
between the vehicle and an obstacle.
The Parktronic system is automatically
activated when you
�switch on the ignition or start the
engine
and
�release the parking brake
and
�set the automatic transmission to
positionD,R, orN
iThe vehicle is lowered automatically to the
highway level if the vehicle speed is above
60 mph (96 km/h).
Warning!G
Parktronic is a supplemental system. It is
not intended to, nor does it replace, the
need for extreme care. The responsibility
during parking and other critical maneuvers
always remains with the driver.
Special attention must be paid to objects
with smooth surfaces or low silhouettes
(e.g. trailer couplings, painted posts, or road
curbs). Such objects may not be detected by
the system and can damage the vehicle.
The operational function of the Parktronic
system can be affected by dirty sensors,
especially at times of snow and ice. See
“Cleaning the Parktronic system sensors”
(
�page 430).
Interference caused by other ultrasonic
signals (e.g. working jackhammers, car
wash, or the air brakes of trucks) can cause
the system to send erratic indications, and
should be taken into consideration.
Warning!G
Make sure no persons or animals are in the
area in which you are maneuvering. You
could otherwise injure them.
Page 296 of 595
295 Controls in detail
Driving systems
Rear view camera*
Warning!G
The rear view camera is only an aid and may
display obstacles from a distorted perspec-
tive or inaccurately, or may not display ob-
stacles at all. The rear view camera does not
relieve you of the responsibility to be cau-
tious, take care and pay careful attention.
The rear view camera may not show objects
which are:
�very close to the rear bumper
�under the rear bumper
�above the tailgate handle
You are responsible for safety at all times
and must continue to pay attention to the
immediate surroundings when parking and
maneuvering. This includes the area behind,
in front of and beside the vehicle. Otherwise
you could endanger yourself or others.
Warning!G
Make sure that no persons or animals are in
or near the area in which you are
parking/maneuvering. Otherwise, they
could be injured.
Warning!G
The rear view camera either will not function
or will not function to its full capability if:
�the tailgate is open
�it is raining very hard, snowing or foggy
�it is night or you are parking/maneuver-
ing your vehicle in an area where it is
very dark
�the camera is exposed to a very bright
white light
�the immediate surroundings are illumi-
nated with fluorescent light (the display
may flicker)
�there is a sudden change in tempera-
ture, e.g. if you drive into a heated ga-
rage from the cold (lens condensation)
�the camera lens is dirty or covered
�the rear of your vehicle is damaged
In this case, have the position and set-
ting of the camera checked by a quali-
fied specialist workshop.
Mercedes-Benz recommends that you
visit a Mercedes-Benz Light Truck
Center for this purpose.
Do not use the rear view camera in these sit-
uations. Otherwise you could injure yourself
or others and/or damage property including
your vehicle while parking/maneuvering.
Page 297 of 595
296 Controls in detail
Driving systems
The rear view camera is an optical parking
aid. It shows you the area behind the vehi-
cle in the COMAND system display when
reverse gearR is engaged, for example
during parallel parking.
The rear view camera is located near the
tailgate handle.
1Rear view cameraSwitching the rear view camera on and
off
�Switch on the ignition (�page 42).
�Shift the automatic transmission in
positionR (
�page 194).
The area behind the vehicle appears in
the COMAND system display.
�Shift the automatic transmission
intoP,N orD to switch off the rear
view camera.
iThe area behind the vehicle is shown in the
COMAND system display as a mirror image, like
in the rear view mirror.
iThe image from the rear view camera will no
longer be displayed if you select another
function on the COMAND system while reverse
gearR is engaged. To display the image again,
disengage and reengage reverse gearR.