Page 11 of 72
15.On/Off/Volume: Press to turn
the audio system on/off. Press and
hold to turn the navigation radio
completely off. Turn to adjust the
volume of the audio system or the
navigation voice prompts as they are
being given.
Note: If a route is active when the navigation radio is turned off, the
route is resumed when the system is turned on again.
After the system initializes, the screen will be divided in two sections:
• Status bar: This is the top portion of screen that displays the clock
or date and useful information, depending on current mode.
• Display area: The interactive screen that is activated by finger touch
and changes depending on current system operation. Graphical
buttons are displayed in this area depending on the current screen for
the user to make choices.
2007 (nv2)
Supplement
USA (fus)
System overview
11
Page 24 of 72

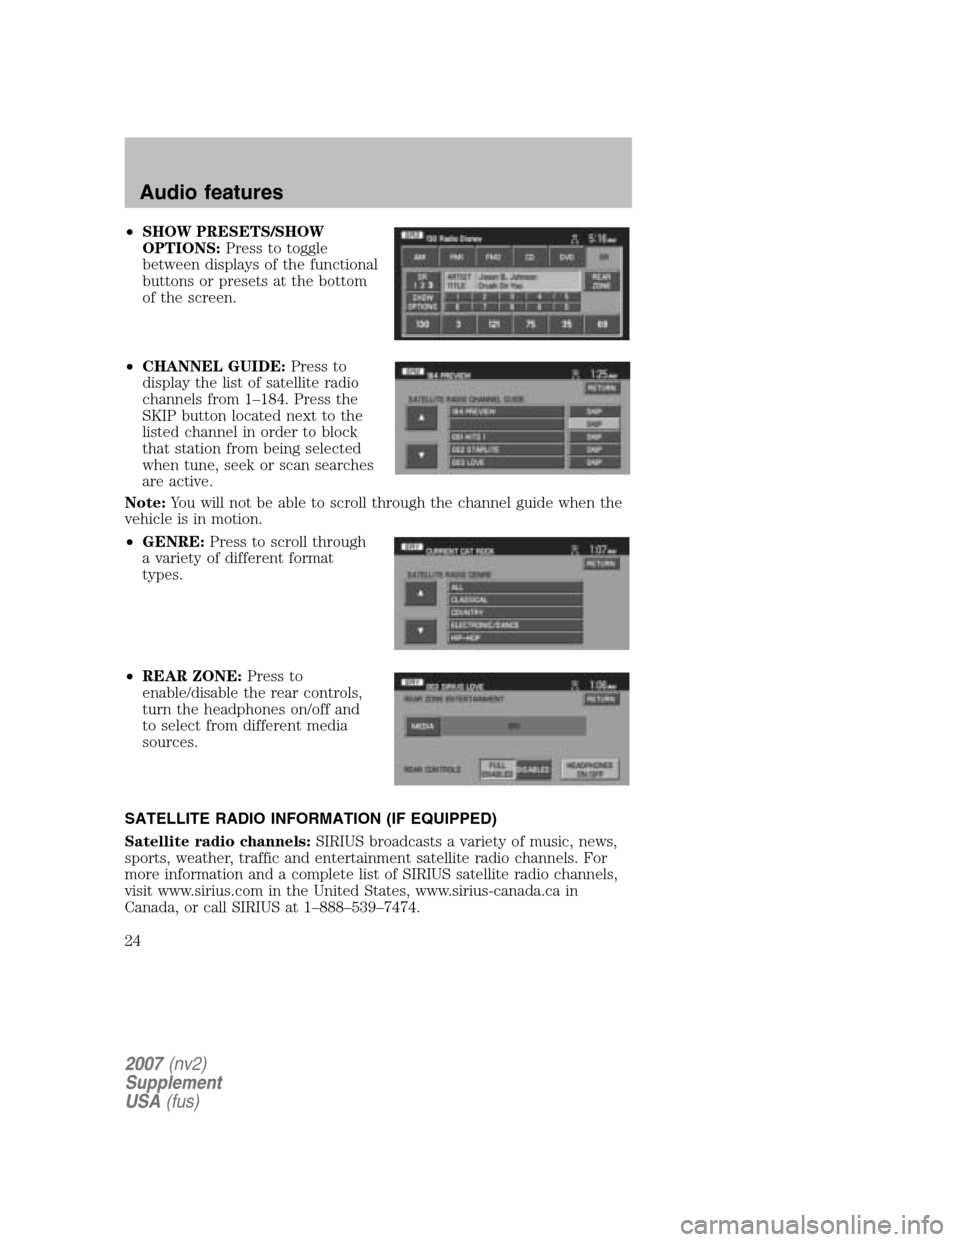
•SHOW PRESETS/SHOW
OPTIONS: Press to toggle
between displays of the functional
buttons or presets at the bottom
of the screen.
• CHANNEL GUIDE: Press to
display the list of satellite radio
channels from 1–184. Press the
SKIP button located next to the
listed channel in order to block
that station from being selected
when tune, seek or scan searches
are active.
Note: You will not be able to scroll through the channel guide when the
vehicle is in motion.
• GENRE: Press to scroll through
a variety of different format
types.
• REAR ZONE: Press to
enable/disable the rear controls,
turn the headphones on/off and
to select from different media
sources.
SATELLITE RADIO INFORMATION (IF EQUIPPED)
Satellite radio channels: SIRIUS broadcasts a variety of music, news,
sports, weather, traffic and entertainment satellite radio channels. For
more information and a complete list of SIRIUS satellite radio channels,
visit www.sirius.com in the United States, www.sirius-canada.ca in
Canada, or call SIRIUS at 1–888–539–7474.
2007 (nv2)
Supplement
USA (fus)
Audio features
24
Page 27 of 72

Radio Display Condition Action Required
NO TEXT Category information not available. Category information not
available at this time on
this channel. The system is working properly.
NO SIGNAL Loss of signal from the SIRIUS satellite orSIRIUS tower to the vehicle antenna. You are in a location that is
blocking the SIRIUS signal (i.e., tunnel, under an
overpass, dense foliage,
etc). The system is working properly. When you move into an open area, thesignal should return.
UPDATING Update of channel programming inprogress. No action required. The
process may take up to three minutes.
CALL SIRIUS
1–888–539–7474 Satellite service has
been deactivated by SIRIUS Satellite Radio. Call SIRIUS at
1–888–539–7474 to
re-activate or resolve subscription issues.
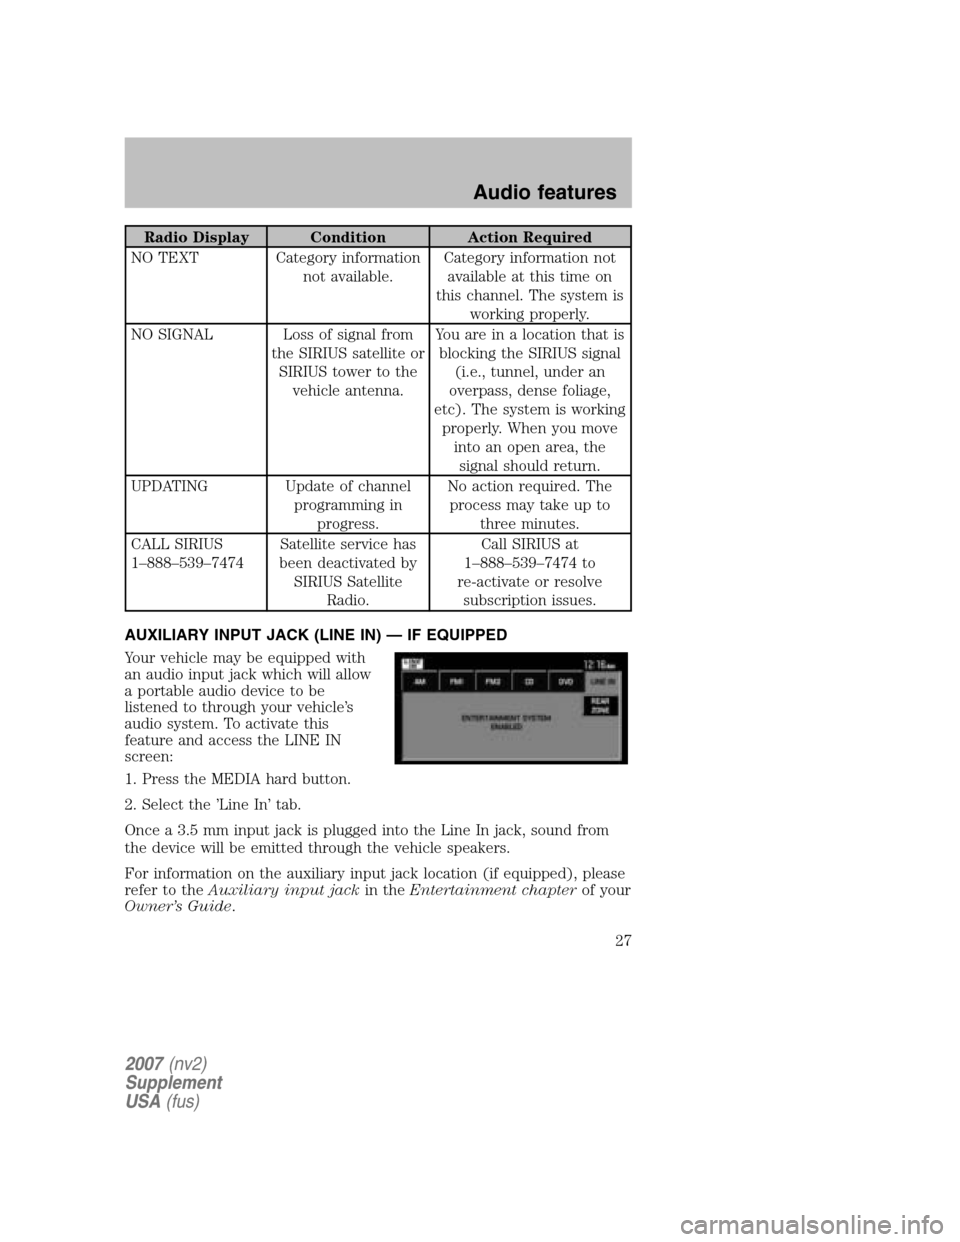
AUXILIARY INPUT JACK (LINE IN) — IF EQUIPPED
Your vehicle may be equipped with
an audio input jack which will allow
a portable audio device to be
listened to through your vehicle’s
audio system. To activate this
feature and access the LINE IN
screen:
1. Press the MEDIA hard button.
2. Select the ’Line In’ tab.
Once a 3.5 mm input jack is plugged into the Line In jack, sound from
the device will be emitted through the vehicle speakers.
For information on the auxiliary input jack location (if equipped), please
refer to the Auxiliary input jack in theEntertainment chapter of your
Owner’s Guide .
2007(nv2)
Supplement
USA (fus)
Audio features
27
Page 29 of 72
•SAMPLE MAP: Shows you how the map will appear with the current
settings
DATE/TIME
To access the date/time settings:
1. Ensure that the navigation system is ON.
2. Press MENU. The Menu screen will display.
3. Press DATE / TIME. You may then select from the following options:
SHOW CLOCK / SHOW CALENDAR: Press to toggle between CLOCK
and CALENDAR screens. Under the CLOCK screen, the following
buttons will be available:
• CLOCK ON/OFF : Press ON to enable the clock display in the status
bar. Press OFF to disable the clock display in the status bar.
• TIME SET BUTTONS: Press + or – to adjust the hours and minutes.
• 24 HOUR FORMAT: If enabled, the system will display military time.
If disabled, the user must select AM or PM.
• DAYLIGHT SAVINGS TIME (if equipped): Automatically prompts
you to adjust the clock according to the daylight savings calendar.
• SHOW CALENDAR: Press to display the calendar screen.
2007(nv2)
Supplement
USA (fus)
System features
29
Page 30 of 72
The calendar screen will display the
current month. Press PREV to view
the previous month or NEXT to
view the next month. Under the
CALENDAR screen, the following
buttons are available:
• GO TO TODAY: Press to highlight the current date.
• SHOW CLOCK: Press to return to the clock screen.
FEEDBACK
To access the feedback screen:
1. Ensure that the navigation system is ON.
2. Press MENU. The Menu screen will display.
3. Press FEEDBACK. The feedback screen will appear. In this screen you
have the following options:
FEEDBACK: One must be selected at all times:
• ALL BUTTONS: Press to hear an audible beep every time any button
on the system is pressed.
• TOUCH SCREEN: Press to hear an audible beep when any touch
screen button is pressed.
2007 (nv2)
Supplement
USA (fus)
System features
30
Page 32 of 72
2. Press MENU.
3. Press SECURITY.
4. Press ENABLE VALET MODE to lock the system using any 4-digit PIN
(Personal Identification Number). When valet mode is activated, the
system will be completely locked. The PIN must be entered in order to
disable Valet Mode and unlock the system. You can select a different PIN
every time the system needs to be locked. If the PIN is forgotten, you
can disable Valet Mode by disconnecting the battery or removing the
appropriate fuse for one minute to reset the system.
HELP
Your system has a special help feature. To access the help feature:
1. Ensure that the system is on.
2007 (nv2)
Supplement
USA (fus)
System features
32
Page 43 of 72

DESTINATION PROGRAMMING
Press DEST to set a destination.
There are nine ways to program a
destination. Most of these will be
restricted when the vehicle is in
motion. One tab for each method
will appear on the screen when
DEST is pressed. An additional tab
with the symbol →or← will be
displayed for additional methods. When entering a destination, the
system uses a Smart Speller, which facilitates entering information
through the keyboard.
Note: The system will not calculate a route to a destination that is
located on the same block as the vehicle’s current location.
QUICK DESTINATION
Press the Quick Destination tab to
view the possible destination
choices when the vehicle is in
motion.
• EMERGENCY: There are two
categories of Hospital and Police
that can be selected under the
Emergency category. They can be
searched for in order of their
distance from the vehicle’s
current location. The maximum
length for the search result will
be 25 items.
2007 (nv2)
Supplement
USA (fus)
Navigation features
43
Page 65 of 72

Symptoms Possible Cause Action
Invalid Disc Detected Dirty DVD Wipe the DVD with a dry, soft cloth from
the center to the outer edge of the disc.
System has detected
incompatible NAV
DVD
Would you like to
change a NEW DVD?
(Popup window) The DVD mechanism
is unable to reproduce the information in the disc inserted in the DVD slot. Eject the currently
loaded disc, and insert the correct map DVD
in the DVD slot. Refer to Loading and
Ejecting Navigation Map DVDs in the
System Features section.
Address not found/
Address range does
not exist. Show the
midpoint of the street?
(Popup window) The house number
entered is not
registered in the database. Press NO and enter a
valid number for the specified street, or
press YES to view the middle point of the street.
Navigation Fault. A
system fault has been
detected that may
cause the navigation
to perform abnormally.
Please contact your
dealership. (Popup
window) System hardware or
software error Contact your dealer.
Error. PINs did not
match. Please re-enter.
(Popup window) A different PIN was
entered to unlock the
system for valet mode. Press OK and try
entering PIN again. If unable, contact your dealer.
Invalid PIN. Please
Re-enter. (Popup
window) System does not
recognize PIN as valid. Press OK and enter
different PIN to lock the system.
2007 (nv2)
Supplement
USA (fus)
Frequently asked questions
65