2007 KIA Sedona light
[x] Cancel search: lightPage 160 of 344
3 151
Features of your vehicle
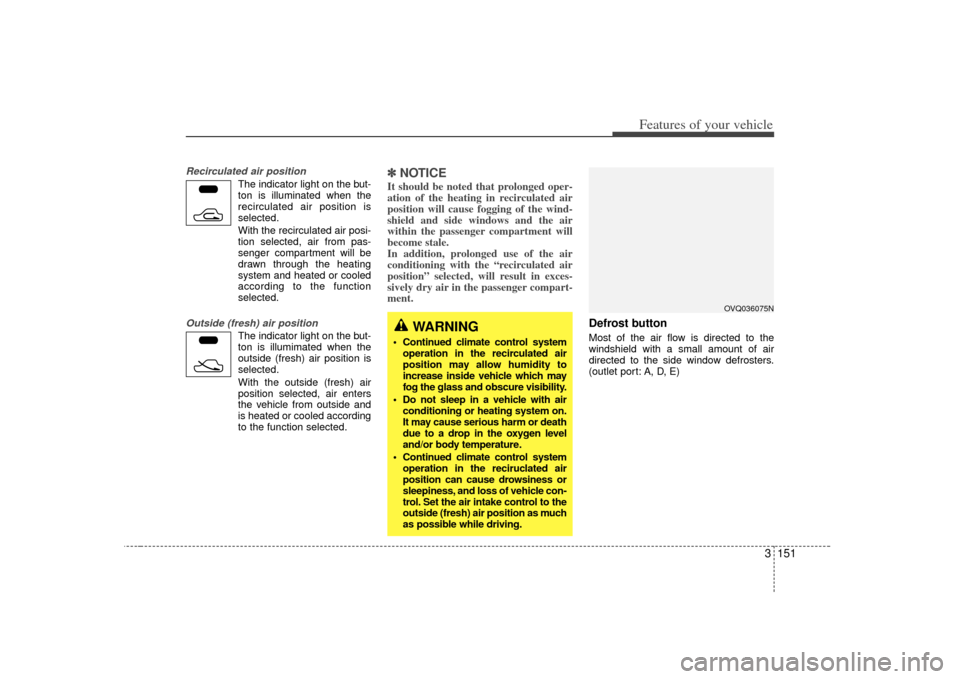
Recirculated air position
The indicator light on the but-
ton is illuminated when the
recirculated air position is
selected.
With the recirculated air posi- tion selected, air from pas-
senger compartment will be
drawn through the heating
system and heated or cooled
according to the function
selected.
Outside (fresh) air position
The indicator light on the but-
ton is illumimated when the
outside (fresh) air position is
selected.
With the outside (fresh) air
position selected, air enters
the vehicle from outside and
is heated or cooled according
to the function selected.
✽ ✽ NOTICEIt should be noted that prolonged oper-
ation of the heating in recirculated air
position will cause fogging of the wind-
shield and side windows and the air
within the passenger compartment will
become stale.
In addition, prolonged use of the air
conditioning with the “recirculated air
position” selected, will result in exces-
sively dry air in the passenger compart-
ment.
Defrost button Most of the air flow is directed to the
windshield with a small amount of air
directed to the side window defrosters.
(outlet port: A, D, E)
WARNING
Continued climate control system
operation in the recirculated air
position may allow humidity to
increase inside vehicle which may
fog the glass and obscure visibility.
Do not sleep in a vehicle with air conditioning or heating system on.
It may cause serious harm or death
due to a drop in the oxygen level
and/or body temperature.
Continued climate control system operation in the reciruclated air
position can cause drowsiness or
sleepiness, and loss of vehicle con-
trol. Set the air intake control to the
outside (fresh) air position as much
as possible while driving.
OVQ036075N
Page 162 of 344
3 153
Features of your vehicle
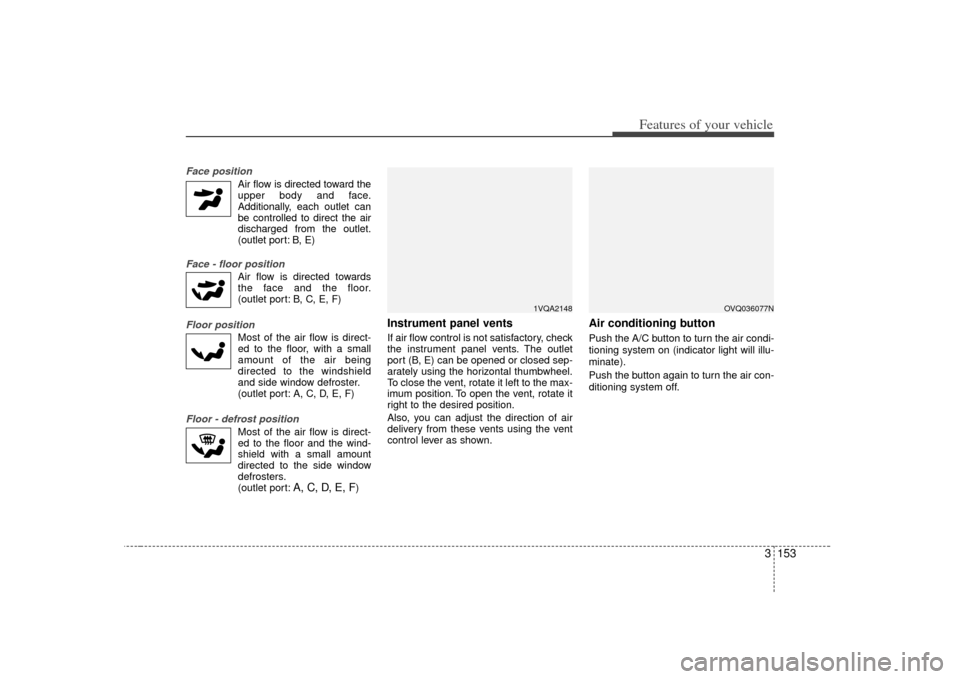
Face position
Air flow is directed toward theupper body and face.
Additionally, each outlet can
be controlled to direct the air
discharged from the outlet.
(outlet port: B, E)
Face - floor position
Air flow is directed towardsthe face and the floor.
(outlet port: B, C, E, F)
Floor position
Most of the air flow is direct-ed to the floor, with a small
amount of the air being
directed to the windshield
and side window defroster.
(outlet port: A, C, D, E, F)
Floor - defrost position
Most of the air flow is direct-ed to the floor and the wind-
shield with a small amount
directed to the side window
defrosters.
(outlet port:
A, C, D, E, F
)
Instrument panel ventsIf air flow control is not satisfactory, check
the instrument panel vents. The outlet
port (B, E) can be opened or closed sep-
arately using the horizontal thumbwheel.
To close the vent, rotate it left to the max-
imum position. To open the vent, rotate it
right to the desired position.
Also, you can adjust the direction of air
delivery from these vents using the vent
control lever as shown.
Air conditioning button Push the A/C button to turn the air condi-
tioning system on (indicator light will illu-
minate).
Push the button again to turn the air con-
ditioning system off.
1VQA2148
OVQ036077N
Page 167 of 344
Features of your vehicle158
3Air conditioning All Kia Air Conditioning Systems are
filled with environmentally friendly
R-134a refrigerant which is not damag-
ing to the ozone layer.
1. Start the engine. Push the air condi-
tioning button.
2. Set the mode to the position.
3. Set the air intake control to the outside air or recirculated air position.
4. Set the temperature control to the desired position.
5. Set the fan speed control to the desired speed.
6. Adjust the fan speed control and tem- perature control to maintain maximum
comfort.
the temperature control to the minimum
LO (17°C/62°F) and set the air intake
to the recirculated air position, then set
the fan speed control to the highest
speed. Air conditioning system operation tips
If the vehicle has been parked in direct
sunlight during hot weather, open the
windows for a short time to let the hot
air inside the vehicle escape.
To help reduce moisture inside of win- dows on rainy humid days, decrease
the humidity inside the vehicle by oper-
ating the air conditioning system.
During air conditioning system opera- tion, you may occasionally notice a
slight change in engine speed as the
air conditioning compressor cycles on.
This is a normal system operation
characteristics.
Use the air conditioning system every month if only for a few minutes to
ensure maximum system perfor-
mance.
When using the air conditioning sys- tem, you may notice clear water drip-
ping (or even puddling) on the ground
under the passenger side of the vehi-
cle. This is a normal system operation
characteristics.
Operating the air conditioning system in the recirculated air position does
provide maximum cooling, however,
continual operation in this mode may
cause the air inside the vehicle to
become stale.
CAUTION
When using the air conditioning system, monitor the temperaturegauge closely while driving uphills or in heavy traffic when out- side temperatures are high. Airconditioning system operationmay cause engine overheating. Continue to use the blower fanbut turn the air conditioning sys- tem off if the temperature gaugeindicates engine overheating.
When opening the windows in humid weather air conditioningmay create water droplets insidethe vehicle. Since excessivewater droplets may cause dam- age to electrical equipment, airconditioning should only be runwith the windows closed.
Page 171 of 344

Features of your vehicle162
3Defogging logicManual climate control systemTo reduce the probability of fogging up
the inside of the windshield, the air intake
control is set to the outside (fresh) air
position automatically if any of following
occur.
The mode is selected to the , or
while the system is activated.
The ignition switch is turned on while the mode is selected to the , or .
The ignition switch is turned off.
The fan is off.
The fan begins to be operated.
Press the air intake control button to
select the recirculated air position while
the ignition switch is on. How to cancel or return defogging logic
of manual climate control system
1. Turn the ignition switch to the “ON”
position.
2. Turn the mode selection knob to the defrost position ( ).
3. Push the air intake control button ( ) at least 5 times within 3 sec-
onds.
The indicator light in the air intake control
button ( ) will blink 3 times with 0.5
second of interval. It indicates that the
defogging logic is canceled or returned to
the programmed status.
If the battery has been discharged or dis-
connected, it is reset as the defog logic
status.
Automatic climate control systemTo reduce the probability of fogging up
inside of the windshield, the air intake
control is set to outside (fresh) air posi-
tion automatically if any of following
occur.
The ignition switch is turned on while the mode is selected to the
,
.
The OFF button is pushed.
The mode is selected to the or position.
Press the air intake control button to
select the recirculated air position while
the ignition switch is on.
OVQ036084N
Page 174 of 344
3 165
Features of your vehicle
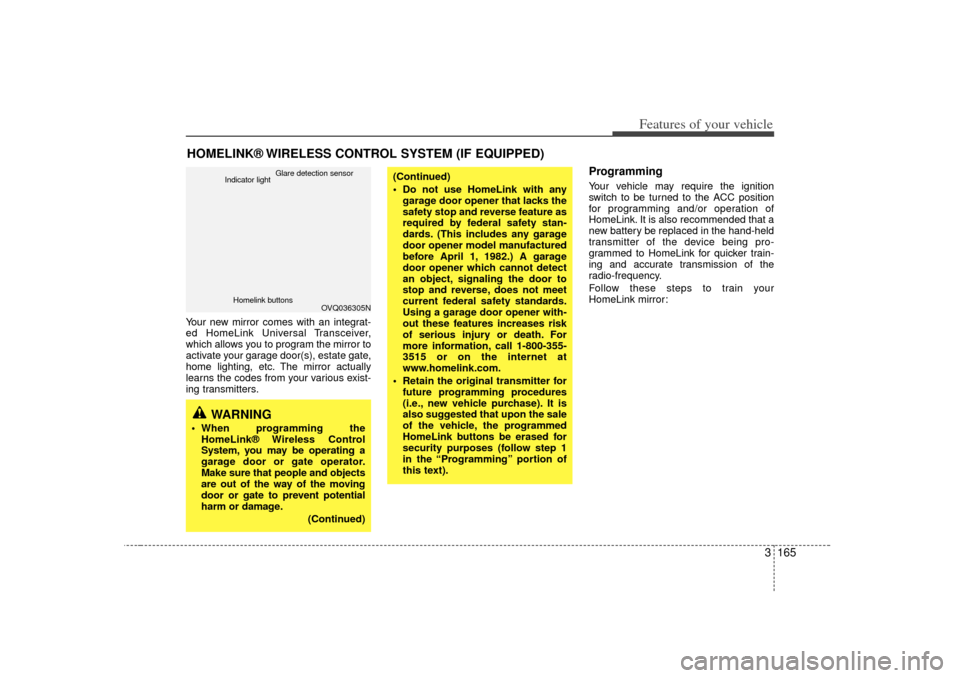
Your new mirror comes with an integrat-
ed HomeLink Universal Transceiver,
which allows you to program the mirror to
activate your garage door(s), estate gate,
home lighting, etc. The mirror actually
learns the codes from your various exist-
ing transmitters.
ProgrammingYour vehicle may require the ignition
switch to be turned to the ACC position
for programming and/or operation of
HomeLink. It is also recommended that a
new battery be replaced in the hand-held
transmitter of the device being pro-
grammed to HomeLink for quicker train-
ing and accurate transmission of the
radio-frequency.
Follow these steps to train your
HomeLink mirror:
HOMELINK® WIRELESS CONTROL SYSTEM (IF EQUIPPED)
WARNING
When programming theHomeLink® Wireless Control
System, you may be operating a
garage door or gate operator.
Make sure that people and objects
are out of the way of the moving
door or gate to prevent potential
harm or damage.
(Continued)
(Continued)
Do not use HomeLink with anygarage door opener that lacks the
safety stop and reverse feature as
required by federal safety stan-
dards. (This includes any garage
door opener model manufactured
before April 1, 1982.) A garage
door opener which cannot detect
an object, signaling the door to
stop and reverse, does not meet
current federal safety standards.
Using a garage door opener with-
out these features increases risk
of serious injury or death. For
more information, call 1-800-355-
3515 or on the internet at
www.homelink.com.
Retain the original transmitter for future programming procedures
(i.e., new vehicle purchase). It is
also suggested that upon the sale
of the vehicle, the programmed
HomeLink buttons be erased for
security purposes (follow step 1
in the “Programming” portion of
this text).
OVQ036305N
Glare detection sensor
Indicator light
Homelink buttons
Page 175 of 344

Features of your vehicle166
31. When programming the buttons for the
first time, press and hold
the left and
center buttons (
,
)simultane-
ously until the indicator light begins to
flash after approximately 20 seconds.
(This procedure erases the factory-set
default codes. Do Not perform this step
to program additional hand-held trans-
mitters.)
✽ ✽ NOTICEFor non rolling code garage door open-
ers, follow steps 2 - 3.
For rolling code garage door openers,
follow steps 2 - 6.
For Canadian Programming, please fol-
low the Canadian Programming section.
For help with determining whether your
garage is non-rolling code or rolling
code, please refer to the garage door
openers owner’s manual or contact
HomeLink customer service at 1-800-
355-3515.
2. Press and hold the button on the
HomeLink system you wish to train
and the button on the transmitter while
the transmitter is approximately 1 to 3
inches away from the mirror. Do not
release the buttons until step 3 has
been completed.
3. The HomeLink indicator light will flash, first slowly and then rapidly. When the
indicator light flashes rapidly, both but-
tons may be released. (The rapid flash-
ing light indicates successful program-
ming of the new frequency signal.)✽ ✽NOTICESome gate operators and garage door
openers may require you to replace step
#3 with the “cycling” procedure noted in
the “Canadian Programming” section
of this document.
OVQ036306N
Flashing
OVQ036307N
Flashing
1-3inches
Transmitter
Page 176 of 344
3 167
Features of your vehicle
Rolling code programmingTo train a garage door opener (or other
rolling code equipped devices) with the
rolling code feature, follow these instruc-
tions after completing the “Programming”
portion of this text. (A second person
may make the following training proce-
dures quicker & easier.)
4. Locate the “learn” or “smart” button onthe device’s motor head unit. Exact
location and color of the button may
vary by product brand. If there is diffi-
culty locating the “learn” or “smart” but-
ton, reference the device’s owner’s
manual or contact HomeLink at 1-800-
355-3515 or on the internet at
www.homelink.com.
5. Press and release the “learn” or “smart” button on the device’s motor
head unit. You have 30 seconds to
complete step number 6.
6. Return to the vehicle and firmly press and release the programmed
HomeLink button up to three times.
The rolling code equipped device
should now recognize the HomeLink
signal and activate when the
HomeLink button is pressed. The
remaining two buttons may now be
programmed if this has not previously
been done. Refer to the
“Programming” portion of this text.
Operating HomeLink To operate, simply press the pro-
grammed HomeLink button. Activation
will now occur for the trained product
(garage door, security system, entry door
lock, estate gate, or home or office light-
ing). For convenience, the hand-held
transmitter of the device may also be
used at any time. The HomeLink
Wireless Controls System (once pro-
grammed) or the original hand-held
transmitter may be used to activate the
device (e.g. garage door, entry door lock,
etc.). In the event that there are still pro-
gramming difficulties, contact HomeLink
at 1-800-355-3515 or on the internet at
www.homelink.com.
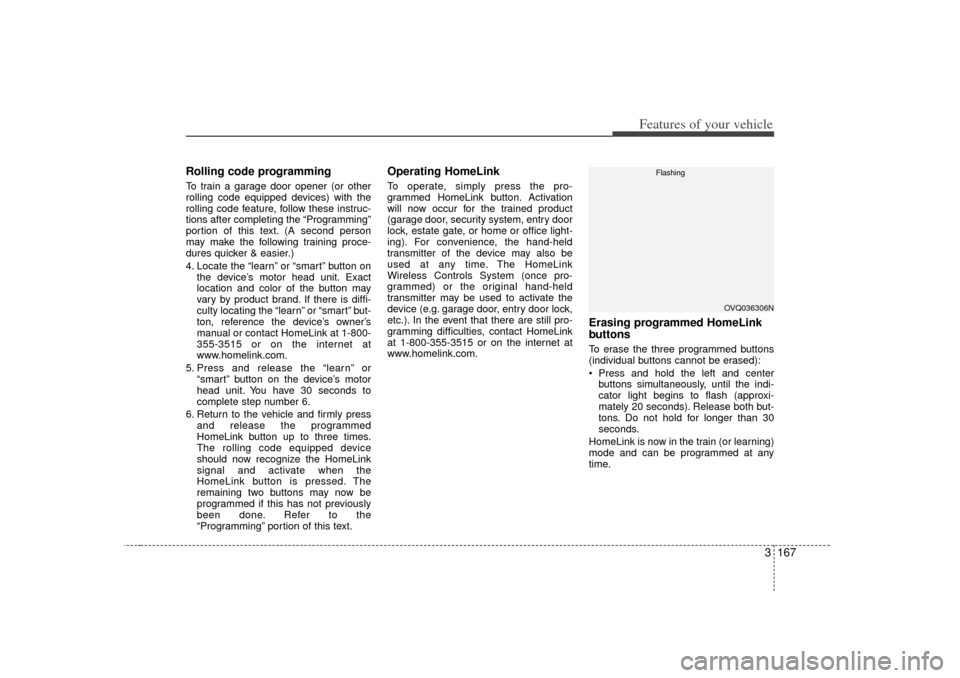
Erasing programmed HomeLink
buttonsTo erase the three programmed buttons
(individual buttons cannot be erased):
Press and hold the left and centerbuttons simultaneously, until the indi-
cator light begins to flash (approxi-
mately 20 seconds). Release both but-
tons. Do not hold for longer than 30
seconds.
HomeLink is now in the train (or learning)
mode and can be programmed at any
time.
OVQ036306N
Flashing
Page 177 of 344
Features of your vehicle168
3Reprogramming a single
HomeLink buttonTo program a device to HomeLink using
a HomeLink button previously trained,
follow these steps:
1. Press and hold the desired HomeLink
button. Do NOT release until step 4
has been completed.
2. When the indicator light begins to flash slowly (after 20 seconds), position the
hand-held transmitter 1 to 3 inches
away from the HomeLink surface.
3. Press and hold the hand-held trans- mitter button (or press and “cycle” - as
described in “Canadian Programming”
above).
4. The HomeLink indicator light will flash, first slowly and then rapidly. When the
indicator light begins to flash rapidly,
release both buttons.
The previous device has now been
erased and the new device can be acti-
vated by pushing the HomeLink button
that has just been programmed. This pro-
cedure will not affect any other pro-
grammed HomeLink buttons.
Gate operator programming &
canadian programmingDuring programming, your hand-held
transmitter may automatically stop trans-
mitting. Continue to press and hold the
HomeLink button (note steps 2 through 4
in the “Programming” portion of this text)
while you press and re-press (“cycle”)
your handheld transmitter every two sec-
onds until the frequency signal has been
learned. The indicator light will flash
slowly and then rapidly after several sec-
onds upon successful training.
AccessoriesIf you would like additional information on
the HomeLink Wireless Control System,
HomeLink compatible products, or to
purchase other accessories such as the
HomeLink® Lighting Package, please
contact HomeLink at 1-800-355-3515 or
on the internet at www.homelink.com.
This device complies with Industry
Canada Standard RSS-210. Operation
is subject to the following two conditions:
1. This device may not cause interfer- ence, and
2. This device must accept any interfer- ence, including interference that may
cause undesired operation of the
device.
CAUTION
If programming a garage dooropener or gate, it is advised tounplug the device during the “cycling” process to prevent possi-ble motor burn-up.
WARNING
Changes or modifications not
expressly approved by the party
responsible for compliance could
void the user’s authority to operate
the equipment.
IC: 4112104541A Gentex
MODEL/FCC ID: NZLSTDHL3