Page 92 of 467
Removing the Rear Seat (2 Door Models)
WARNING!
•It is extremely dangerous to ride in a cargo area,
inside or outside of a vehicle. In a collision people
riding in these areas are more likely to be seri-
ously injured or killed.
•Do not allow people to ride in any area of your
vehicle that is not equipped with seats and seat
belts.
•Be sure everyone in your vehicle is in a seat and
using a seat belt properly.
•In a collision, you or others in your vehicle could
be injured if seats are not properly latched to their
floor attachments. Always be sure that the seats
are fully latched.1. Remove the rear subwoofer (if equipped) mounting
screws (3) using a #T30 Torx�head driver.
2. Unplug electrical connector from rear subwoofer (if
equipped).
3. Fold the rear seat forward following steps 1 through 3
under “Fold and Tumble Rear Seat” in this section.Subwoofer
92 UNDERSTANDING THE FEATURES OF YOUR VEHICLE
Page 93 of 467
4. Press down on release bar on each side, and pull seat
out and away from lower bracket.
5. Remove seat from the vehicle.Replacing the Rear Seat (2 Door Models)
Reverse steps for removing the seat.
WARNING!
•To help protect against personal injury, passengers
should not be seated in the rear cargo area with the
rear seat folded down or removed from the ve-
hicle.
•The rear cargo space is intended for load carrying
purposes only, not for passengers, who should sit
in seats and use seat belts.
60/40 Split Folding Rear Seat (4 Door Models)
To provide additional storage area, each rear seat can be
folded flat to allow for extended cargo space and still
maintain some rear seating room.Release Bar Location
UNDERSTANDING THE FEATURES OF YOUR VEHICLE 93
3
Page 94 of 467
NOTE:Prior to folding the rear seat, it may be necessary
to reposition the front seat to it’s mid-track position.
Also, be sure that the front seats are fully upright and
positioned forward. This will allow the rear seat to fold
down easily.
WARNING!
•It is extremely dangerous to ride in a cargo area,
inside or outside of a vehicle. In a collision, people
riding in these areas are more likely to be seri-
ously injured or killed.
•Do not allow people to ride in any area of your
vehicle that is not equipped with seats and seat
belts.
•Be sure everyone in your vehicle is in a seat and
using a seat belt properly.
To Fold Down the Rear Seat
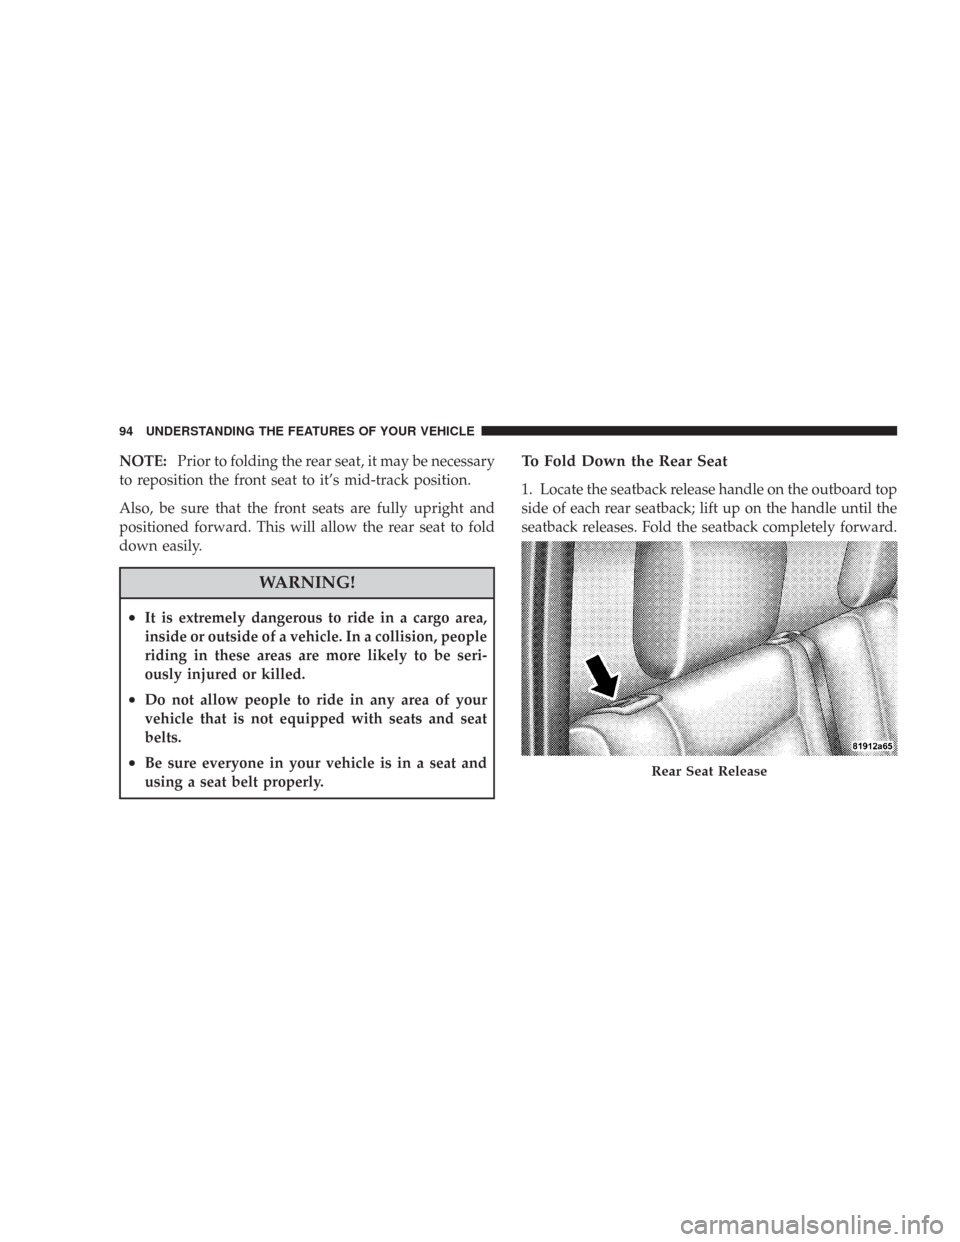
1. Locate the seatback release handle on the outboard top
side of each rear seatback; lift up on the handle until the
seatback releases. Fold the seatback completely forward.
Rear Seat Release
94 UNDERSTANDING THE FEATURES OF YOUR VEHICLE
Page 95 of 467
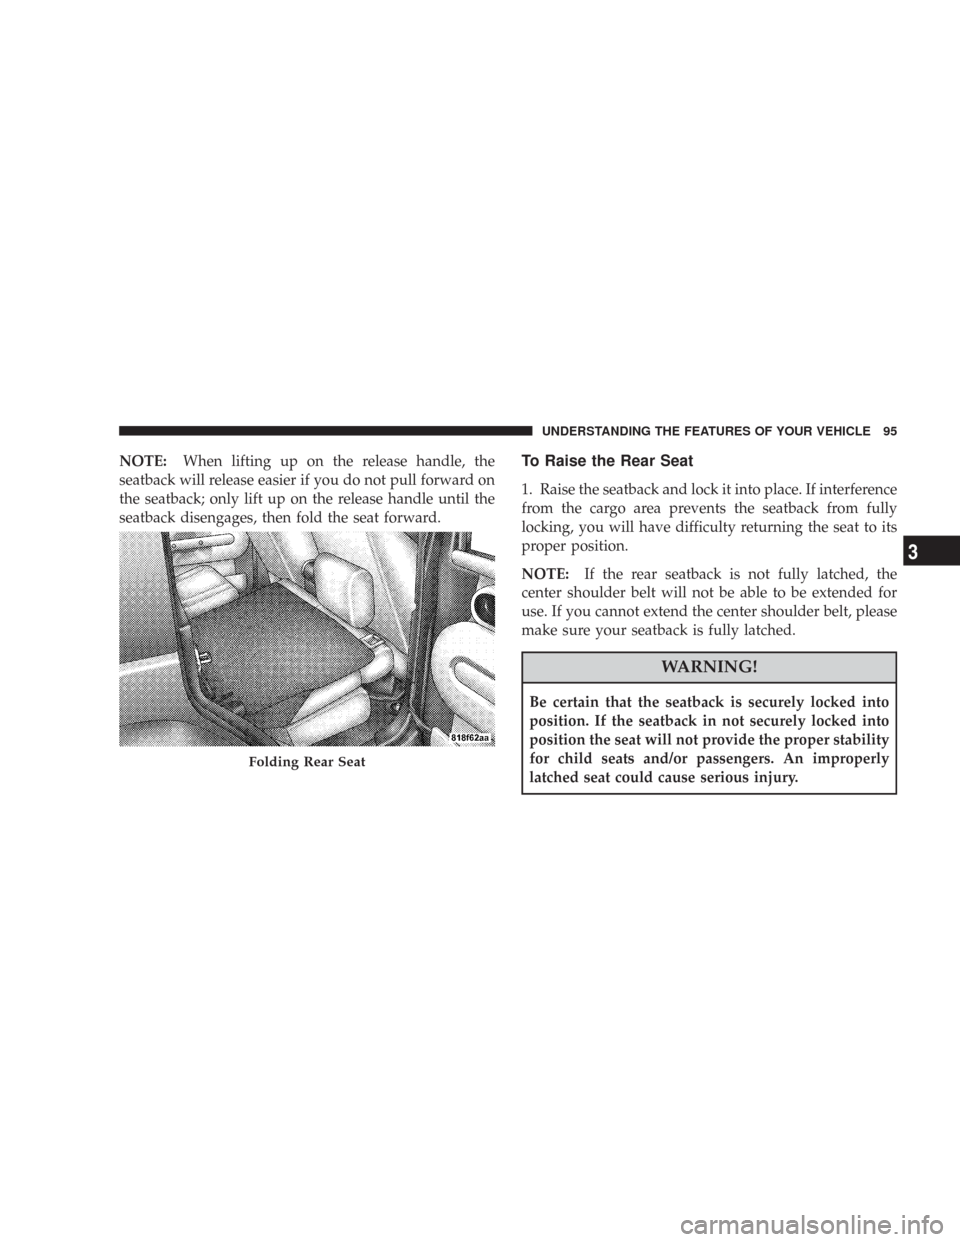
NOTE:When lifting up on the release handle, the
seatback will release easier if you do not pull forward on
the seatback; only lift up on the release handle until the
seatback disengages, then fold the seat forward.To Raise the Rear Seat
1. Raise the seatback and lock it into place. If interference
from the cargo area prevents the seatback from fully
locking, you will have difficulty returning the seat to its
proper position.
NOTE:If the rear seatback is not fully latched, the
center shoulder belt will not be able to be extended for
use. If you cannot extend the center shoulder belt, please
make sure your seatback is fully latched.
WARNING!
Be certain that the seatback is securely locked into
position. If the seatback in not securely locked into
position the seat will not provide the proper stability
for child seats and/or passengers. An improperly
latched seat could cause serious injury.
Folding Rear Seat
UNDERSTANDING THE FEATURES OF YOUR VEHICLE 95
3
Page 117 of 467
Electrical Outlet Use With Engine Off
WARNING!
•Many accessories that can be plugged in draw power
from the vehicle’s battery, even when not in use (i.e.
cellular phones, etc.). Eventually, if plugged in long
enough, the vehicle’s battery will discharge sufficiently
to degrade battery life and/or prevent engine starting.
•Accessories that draw higher power (i.e. coolers,
vacuum cleaners, lights, etc.), will degrade the battery
even more quickly. Only use these intermittently and
with greater caution.
•After the use of high power draw accessories, or long
periods of the vehicle not being started (with acces-
sories still plugged in), the vehicle must be driven a
sufficient length of time to allow the alternator to
recharge the vehicle’s battery.
•Power outlets are designed for accessory plugs only.
Do not hang any type of accessory or accessory
bracket from the plug.
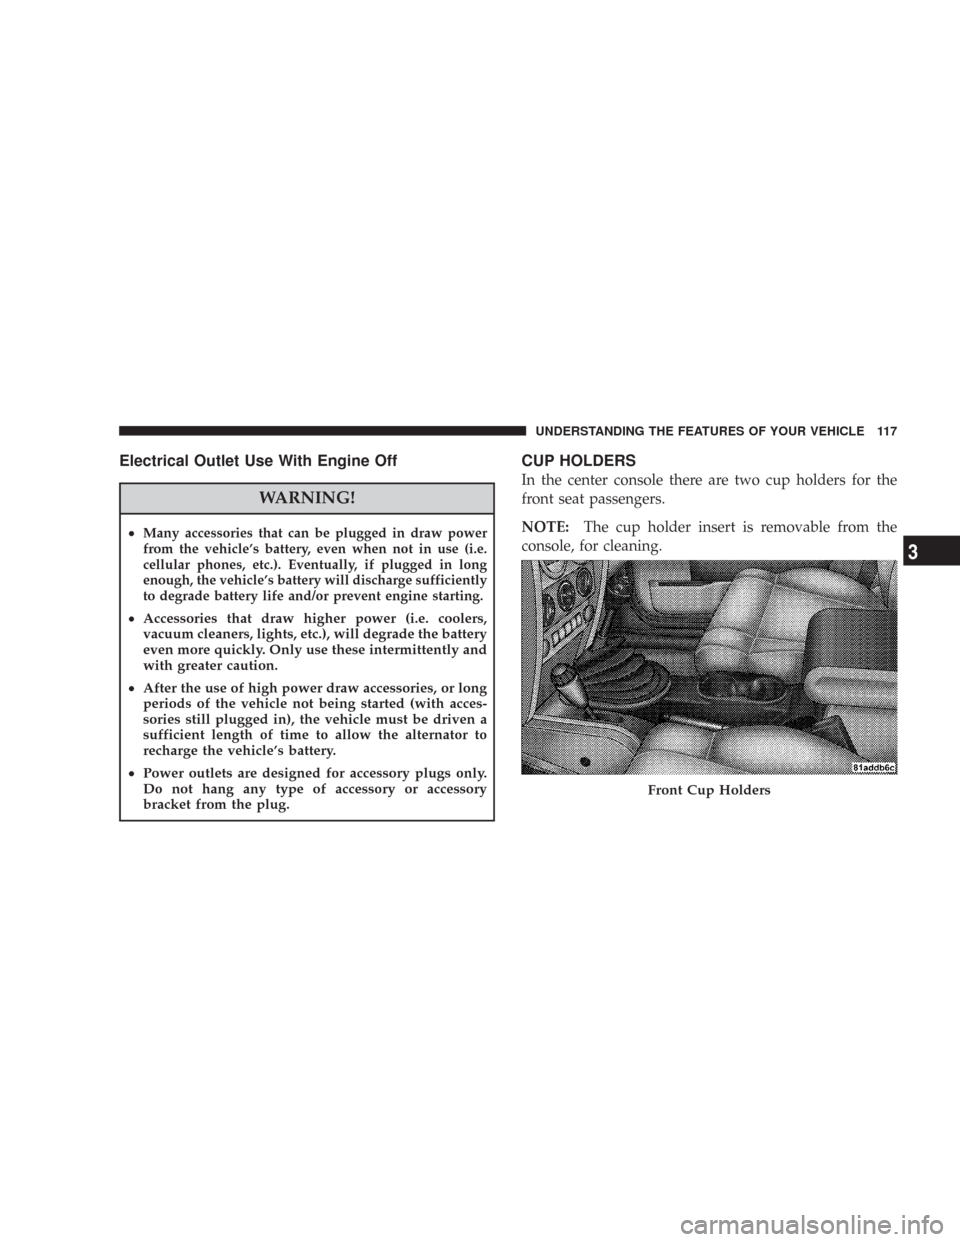
CUP HOLDERS
In the center console there are two cup holders for the
front seat passengers.
NOTE:The cup holder insert is removable from the
console, for cleaning.
Front Cup Holders
UNDERSTANDING THE FEATURES OF YOUR VEHICLE 117
3
Page 142 of 467
CAUTION!
•Do not run a fabric top through an automatic car wash.
Window scratches and wax build up may result.
•Do not lower the top when the temperature is below
41°F (5°C). Damage to the top may result.
•Do not move your vehicle until the top has been either
fully attached to the windshield frame, or fully low-
ered.
•Do not lower the top with the windows installed.
Window and top damage may occur.
•Refer to “Appearance Care for Fabric Top Models” in
Section 7 of this manual. It contains important infor-
mation on cleaning and caring for your vehicle’s fabric
top.
•Do not use any tools (screwdrivers, etc.) to pry or force
any of the clamps, clips, or retainers securing the soft
top. Do not force or pry the soft top frame work when
opening or closing. Damage to the top may result.
WARNING!
•Do not drive vehicle with rear window curtain up
unless side curtains are also removed. Dangerous
exhaust gases could enter the vehicle causing harm
to the driver and passengers.
•The fabric upper doors and fabric top are designed
only for protection against the elements. Do not
rely on them to contain occupants within the
vehicle or to protect against injury during an
accident. Remember, always wear seat belts.
142 UNDERSTANDING THE FEATURES OF YOUR VEHICLE
Page 156 of 467
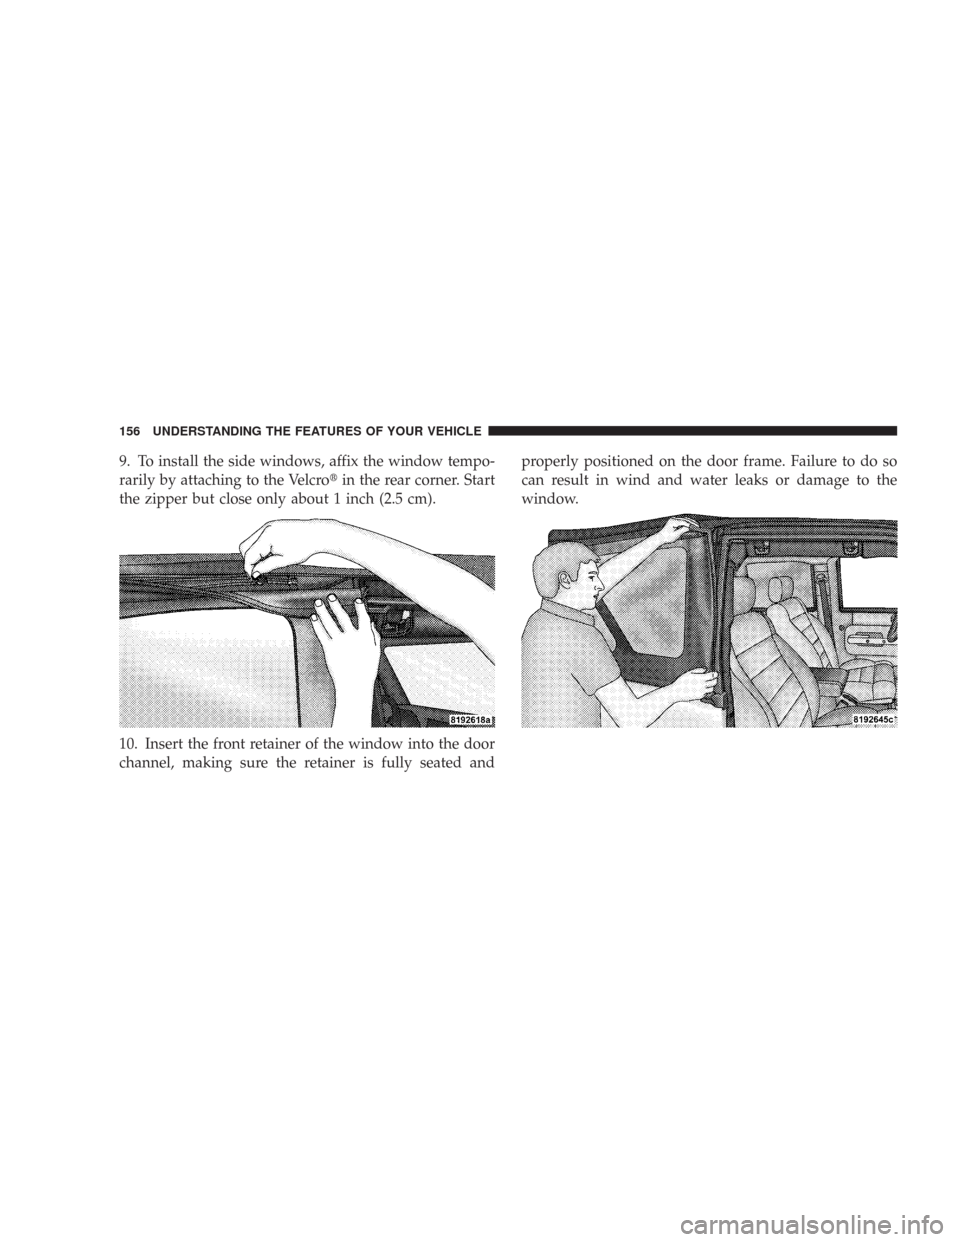
9. To install the side windows, affix the window tempo-
rarily by attaching to the Velcro�in the rear corner. Start
the zipper but close only about 1 inch (2.5 cm).
10. Insert the front retainer of the window into the door
channel, making sure the retainer is fully seated andproperly positioned on the door frame. Failure to do so
can result in wind and water leaks or damage to the
window.
156 UNDERSTANDING THE FEATURES OF YOUR VEHICLE
Page 165 of 467
CAUTION!
•Do not run a fabric top through an automatic car wash.
Window scratches and wax build up may result.
•Do not lower the top when the temperature is below 41°F
(5°C). Damage to the top may result.
•Do not lower the top when the windows are dirty. Grit
may scratch the window.
•Do not move your vehicle until the top has been either
fully attached to the windshield frame, or fully lowered.
•Do not lower the top with the windows installed. Win-
dow and top damage may occur.
•Refer to “Appearance Care for Fabric Top Models” in
Section 7 of this manual. It contains important informa-
tion on cleaning and caring for your vehicle’s fabric top.
•Do not use any tools (screwdrivers, etc.) to pry or force
any of the clamps, clips, or retainers securing the soft top.
Do not force or pry the soft top frame work when
opening or closing. Damage to the top may result.
WARNING!
•Do not drive vehicle with rear window curtain up
unless side curtains are also open. Dangerous
exhaust gases which can kill could enter the ve-
hicle.
•The fabric upper doors and fabric top are designed
only for protection against the elements. Do not
rely on them to contain occupants within the
vehicle or to protect against injury during an
accident. Remember, always wear seat belts.
UNDERSTANDING THE FEATURES OF YOUR VEHICLE 165
3