Page 33 of 467
Auto Down
Both the driver and front passenger window switch has
an “Auto Down” feature. Press the window switch past
the first detent, release, and the window will go down
automatically. To cancel the “Auto Down” movement,
operate the switch in either the up or down direction and
release the switch.
To stop the window from going all the way down during
the auto-down operation, pull up on the switch briefly.
To open the window part way, press to the first detent
and release it when you want the window to stop.
The power window switches remain active for 10 min-
utes after the ignition has been turned off. Opening either
front door will cancel this feature.
The rear passenger window switches (if equipped) are
located on the back of the center floor console.
Rear Power Window Switches (4 Door)
THINGS TO KNOW BEFORE STARTING YOUR VEHICLE 33
2
Page 34 of 467

Window Lockout Switch (4 Door Models Only)
The window lockout switch (located between the win-
dow switches) allows you to disable the rear window
switches that are located on the back of the center floor
console. To disable the window controls, press the win-
dow lockout button downward. To enable the window
controls, press the window lockout button upward.
Wind Buffeting
Wind buffeting can be described as the perception of
pressure on the ears or a helicopter type sound in the
ears. Your vehicle may exhibit wind buffeting with the
windows down in certain open or partially open posi-
tions. This is a normal occurrence and can be minimized
by adjusting window opening.
REAR SWING GATE
The vacuum fluorescent (VF) display located in the
odometer area displays the word “gATE” as an indica-
tion of when the swing gate is not completely closed.
When the vehicle is not moving, and the swing gate is not
completely closed, the VF display will show the word
“gATE.”
If any other active warnings are present, they will be
shown in the VF display and will also continue to cycle.
If the vehicle is moving, three single chimes will occur if
the rear swing gate is open (one chime for each complete
display cycle). After this, the VF display will continue to
sequence only (no chimes).
If the trip/reset button is pressed while the VF warnings
are being displayed, the VF display will revert back to
only displaying the odometer/trip odometer mileage.
34 THINGS TO KNOW BEFORE STARTING YOUR VEHICLE
Page 56 of 467

The OCS classifies an occupant using weight sensors
mounted in the base of the front passenger seat. Any
weight on the seat will be sensed by the system. Objects
hanging on the seat or other passengers pushing down
on the seat will also be sensed. The weight of an adult
will cause the system to turn the airbag on. In this case,
the OCS has classified the occupant of the seat as an
adult. An adult occupant needs to sit in a normal position
(with their feet on or near the floor) in order to be
properly classified. Reclining the seat back too far may
change how an occupant is classified by the OCS.
Drivers and adult passengers should verify that the
“PAD Indicator Light” is not illuminated when an adult
is riding in the front passenger seat. If an adult occu-
pant’s weight is transferred to another part of the vehicle
(like the door or instrument panel), the weight sensors in
the seat may not properly classify the occupant. Objects
lodged under the seat or between the seat and the center
console can prevent the occupant’s weight from beingmeasured properly and may result in the occupant being
improperly classified. Ensure that the front passenger
seat back does not touch anything placed on the back seat
because this can also affect occupant classification. Also,
if you fold down the rear seat check to be sure it doesn’t
touch the front passenger seat.
If the front passenger seat is damaged in any way, it
should only be serviced by an authorized dealer. If the
seat is removed (or even if the seat attachment bolts are
loosened or tightened in any way), take the vehicle to an
authorized dealer.
If there is a fault present in the OCS, the “Airbag Warning
Light” (a red light located in the center of the instrument
cluster directly in front of the driver) will be turned on.
This indicates that you should take the vehicle to an
authorized dealer. The “Airbag Warning Light” is turned
on whenever there is fault that can affect the operation of
the airbag system. If there is a fault present in the OCS,
56 THINGS TO KNOW BEFORE STARTING YOUR VEHICLE
Page 59 of 467

The following requirements must be strictly adhered to:
•Do not modify the front passenger seat assembly or
components in any way.
•Do not modify the front seat center console or center
position seat in any way.
•Do not use prior or future model year seat covers not
designated for the specific model being repaired. Al-
ways use the correct seat cover specified for the
vehicle.
•Do not replace the seat cover with an aftermarket seat
cover.
•Do not add a secondary seat cover other than those
approved by DaimlerChrysler/Mopar.
•At no time should any supplemental restraint system
(SRS) component or SRS related component or fas-
tener be modified or replaced with any part except
those which are approved by DaimlerChrysler/
Mopar.
WARNING!
Unapproved modifications or service procedures to
the front passenger seat assembly, its related compo-
nents, or seat cover may inadvertently change the
airbag deployment in case of a frontal crash. This
could result in death or serious injury to the front
seat passenger if the vehicle is involved in an acci-
dent. A modified vehicle may not comply with re-
quired Federal Motor Vehicle Safety Standards
(FMVSS).
THINGS TO KNOW BEFORE STARTING YOUR VEHICLE 59
2
Page 117 of 467

Electrical Outlet Use With Engine Off
WARNING!
•Many accessories that can be plugged in draw power
from the vehicle’s battery, even when not in use (i.e.
cellular phones, etc.). Eventually, if plugged in long
enough, the vehicle’s battery will discharge sufficiently
to degrade battery life and/or prevent engine starting.
•Accessories that draw higher power (i.e. coolers,
vacuum cleaners, lights, etc.), will degrade the battery
even more quickly. Only use these intermittently and
with greater caution.
•After the use of high power draw accessories, or long
periods of the vehicle not being started (with acces-
sories still plugged in), the vehicle must be driven a
sufficient length of time to allow the alternator to
recharge the vehicle’s battery.
•Power outlets are designed for accessory plugs only.
Do not hang any type of accessory or accessory
bracket from the plug.
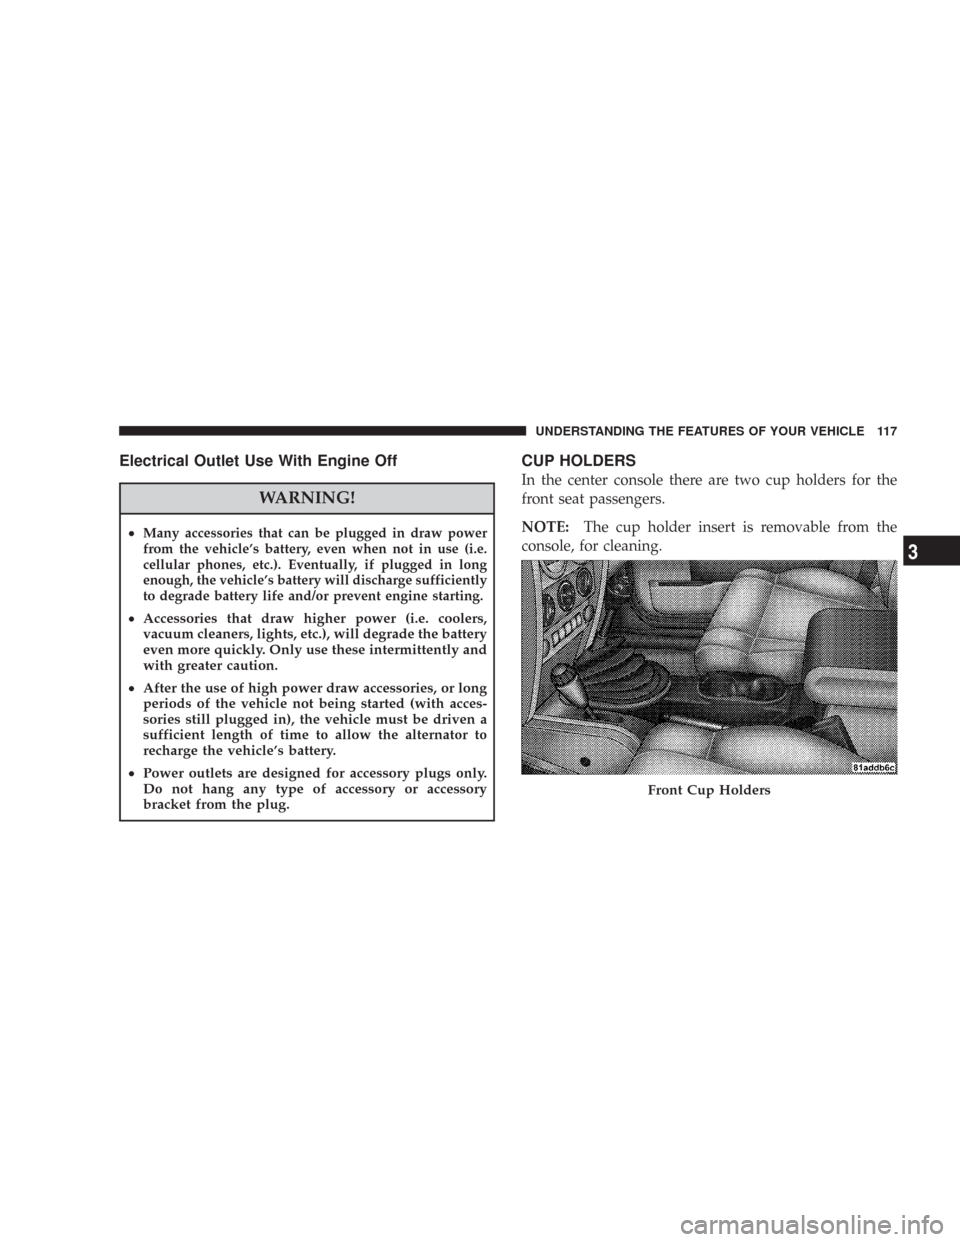
CUP HOLDERS
In the center console there are two cup holders for the
front seat passengers.
NOTE:The cup holder insert is removable from the
console, for cleaning.
Front Cup Holders
UNDERSTANDING THE FEATURES OF YOUR VEHICLE 117
3
Page 118 of 467
The rear passengers have cup holders at the rear of the
center console.STORAGE
Console Storage Compartment
To lock or unlock, insert ignition key and turn. To open,
press the latch and lift cover.
Rear Cup Holders
Center Console
118 UNDERSTANDING THE FEATURES OF YOUR VEHICLE
Page 191 of 467

WARNING!
You or others could be injured if you carry the side
bars loose in your vehicle. Remove the bars from the
vehicle or securely store them as described or they
may cause personal injury if an accident occurs. See
your authorized dealer for the cinch straps.
7. Remove the windshield wiper arms by first pulling
the wiper away from the windshield and out to the
“lock” position. Unsnap the wiper arm nut caps, and
remove retaining nuts. Lift the wiper arms off and store
in center console or securely behind the rear seat.
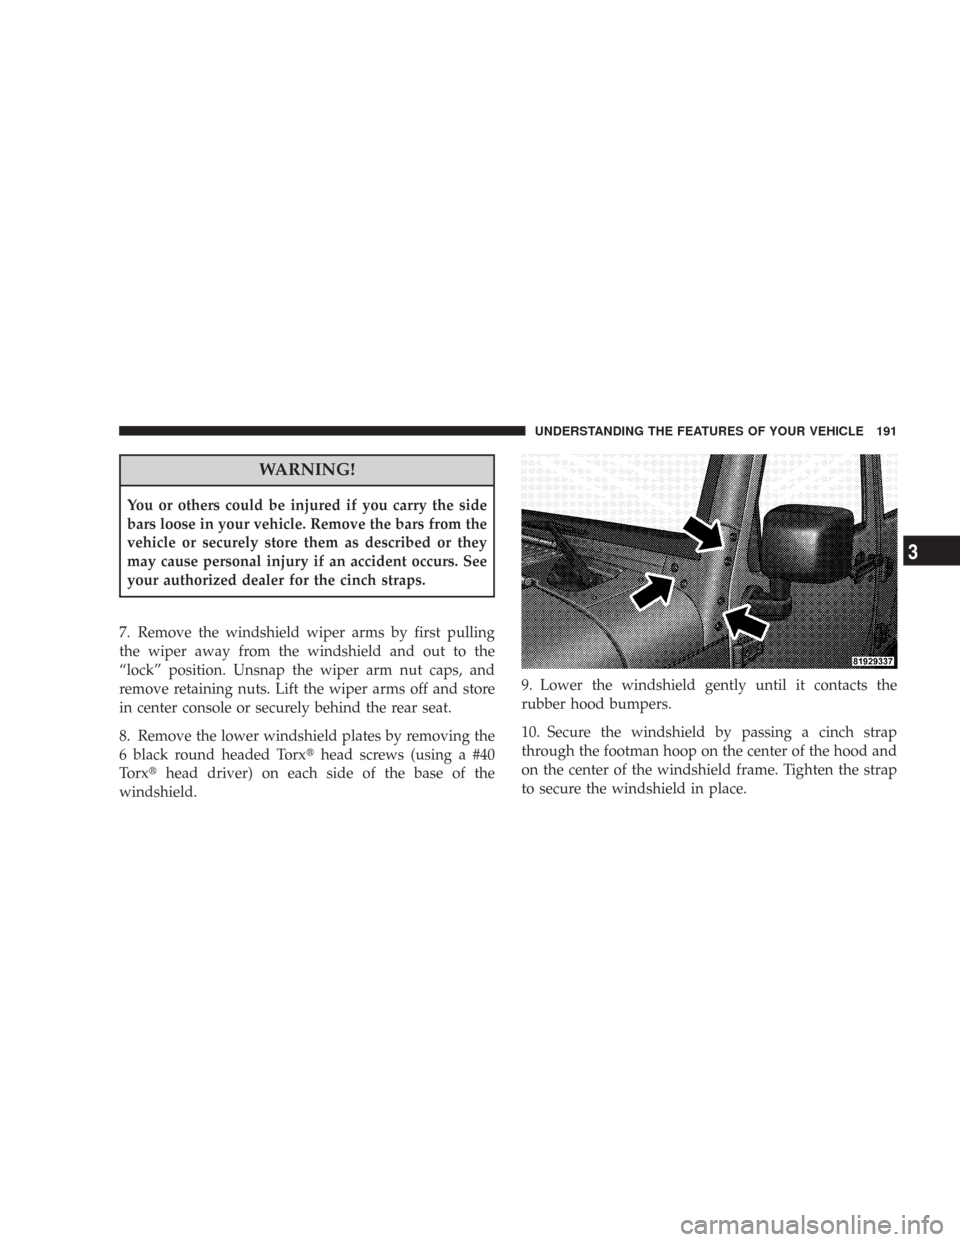
8. Remove the lower windshield plates by removing the
6 black round headed Torx�head screws (using a #40
Torx�head driver) on each side of the base of the
windshield.9. Lower the windshield gently until it contacts the
rubber hood bumpers.
10. Secure the windshield by passing a cinch strap
through the footman hoop on the center of the hood and
on the center of the windshield frame. Tighten the strap
to secure the windshield in place.
UNDERSTANDING THE FEATURES OF YOUR VEHICLE 191
3
Page 278 of 467

When frequent transmission shifting occurs while using
Overdrive, such as when operating the vehicle under
heavy load conditions (for example, in hilly terrain,
strong head winds, or trailer towing), turning off over-
drive will improve performance and extend transmission
life by reducing excessive shifting and heat buildup.Overdrive can be locked out by pressing the O/D OFF
switch located on the center console. The O/D OFF
indicator light (on the switch) will illuminate to show
that the switch has been activated. When the indicator
light is on, Overdrive is locked out. Pressing the switch a
second time restores the Overdrive function. The lockout
feature is useful when towing a trailer or carrying a
heavy load.
2 (Second)
For moderate grades and to assist braking on dry pave-
ment or in mud and snow. Begins at a stop in low gear
with automatic upshift to 2nd gear. Will not shift to 3rd.
1 (First)
For hard pulling at low speeds in mud, sand, snow, or on
steep grades. Begins and stays in low gear with no
upshift. Provides engine compression braking at low
speeds.
Overdrive Off Switch
278 STARTING AND OPERATING