2007 HYUNDAI TUCSON ECU
[x] Cancel search: ECUPage 40 of 306
1FEATURES OF YOUR HYUNDAI28
!
o When using the vehicle’s “ISOFIX” sys-
tem to install a child restraint system in
the rear seat, all unused vehicle rear seat
belt metal latch plates or tabs must be
latched securely in their seat belt buck-
les and the seat belt webbing must be
retracted behind the child restraint to
prevent the child from reaching and tak-
ing hold of unretracted seat belts. Un-
latched metal latch plates or tabs may
allow the child to reach the unretracted
seat belts which may result in strangu-
lation and a serious injury or death to the
child in the child restraint.
!
WARNING:
o A child can be seriously injured or killed
in a collision if the child restraint is not
properly anchored. Always follow the
child seat manufacturer’s instructions
for installation and use.
o Never install a child restraint using the
ISOFIX anchors at the center position of
the rear seat. In a crash, the ISOFIX
anchors may break if a car seat is improp-
erly placed in the center position result-
ing in serious or fatal injuries. Only place
a ISOFIX or ISOFIX-compatible child seat
in the left or right out-board rear seating
positions (as shown) to the appropriate
ISOFIX anchors provided.
o Never mount more than one child re-
straint to a single tether or to a single
lower anchorage point. The increased
load caused by multiple seats may cause
the tethers or anchorage points to break,
causing serious injury or death.
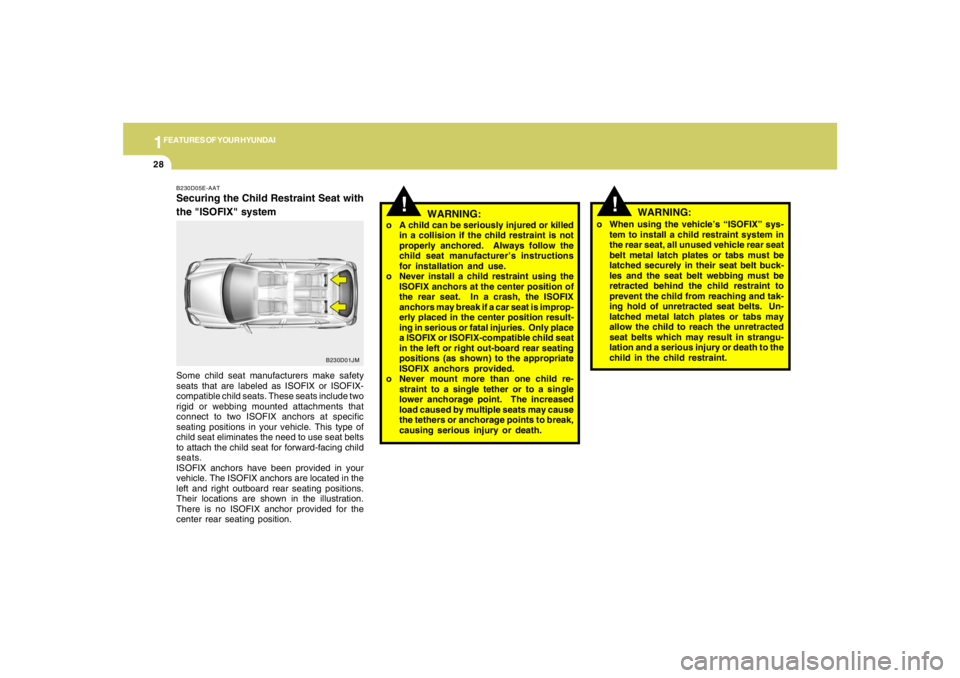
B230D05E-AATSecuring the Child Restraint Seat with
the "ISOFIX" systemSome child seat manufacturers make safety
seats that are labeled as ISOFIX or ISOFIX-
compatible child seats. These seats include two
rigid or webbing mounted attachments that
connect to two ISOFIX anchors at specific
seating positions in your vehicle. This type of
child seat eliminates the need to use seat belts
to attach the child seat for forward-facing child
seats.
ISOFIX anchors have been provided in your
vehicle. The ISOFIX anchors are located in the
left and right outboard rear seating positions.
Their locations are shown in the illustration.
There is no ISOFIX anchor provided for the
center rear seating position.
B230D01JM
WARNING:
Page 42 of 306
1FEATURES OF YOUR HYUNDAI30
!
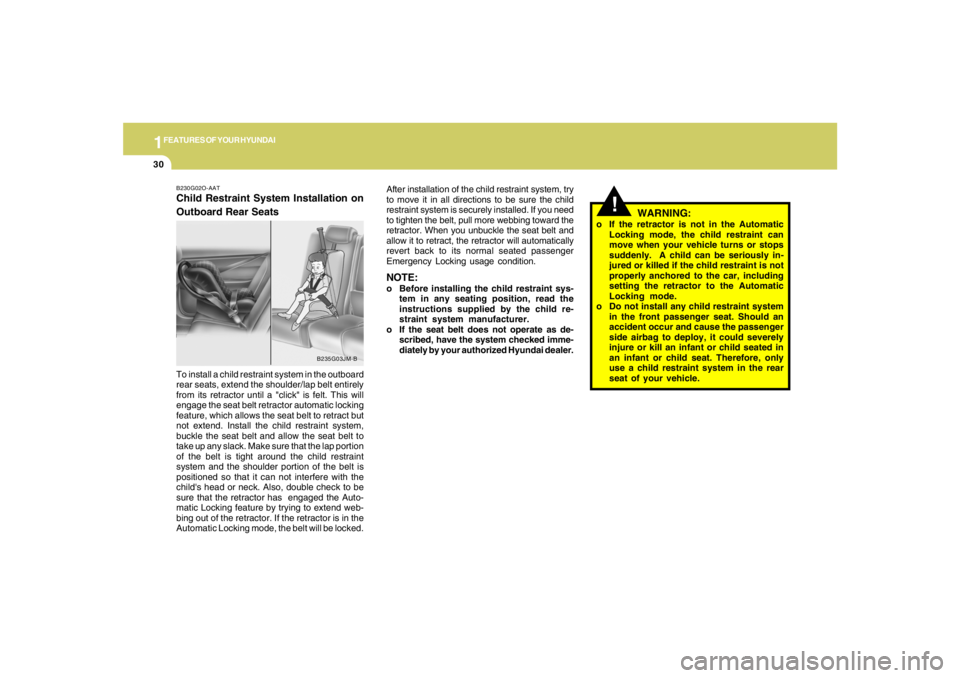
B230G02O-AATChild Restraint System Installation on
Outboard Rear Seats
WARNING:
o If the retractor is not in the Automatic
Locking mode, the child restraint can
move when your vehicle turns or stops
suddenly. A child can be seriously in-
jured or killed if the child restraint is not
properly anchored to the car, including
setting the retractor to the Automatic
Locking mode.
o Do not install any child restraint system
in the front passenger seat. Should an
accident occur and cause the passenger
side airbag to deploy, it could severely
injure or kill an infant or child seated in
an infant or child seat. Therefore, only
use a child restraint system in the rear
seat of your vehicle. To install a child restraint system in the outboard
rear seats, extend the shoulder/lap belt entirely
from its retractor until a "click" is felt. This will
engage the seat belt retractor automatic locking
feature, which allows the seat belt to retract but
not extend. Install the child restraint system,
buckle the seat belt and allow the seat belt to
take up any slack. Make sure that the lap portion
of the belt is tight around the child restraint
system and the shoulder portion of the belt is
positioned so that it can not interfere with the
child's head or neck. Also, double check to be
sure that the retractor has engaged the Auto-
matic Locking feature by trying to extend web-
bing out of the retractor. If the retractor is in the
Automatic Locking mode, the belt will be locked.After installation of the child restraint system, try
to move it in all directions to be sure the child
restraint system is securely installed. If you need
to tighten the belt, pull more webbing toward the
retractor. When you unbuckle the seat belt and
allow it to retract, the retractor will automatically
revert back to its normal seated passenger
Emergency Locking usage condition.
NOTE:o Before installing the child restraint sys-
tem in any seating position, read the
instructions supplied by the child re-
straint system manufacturer.
o If the seat belt does not operate as de-
scribed, have the system checked imme-
diately by your authorized Hyundai dealer.
B235G03JM-B
Page 54 of 306
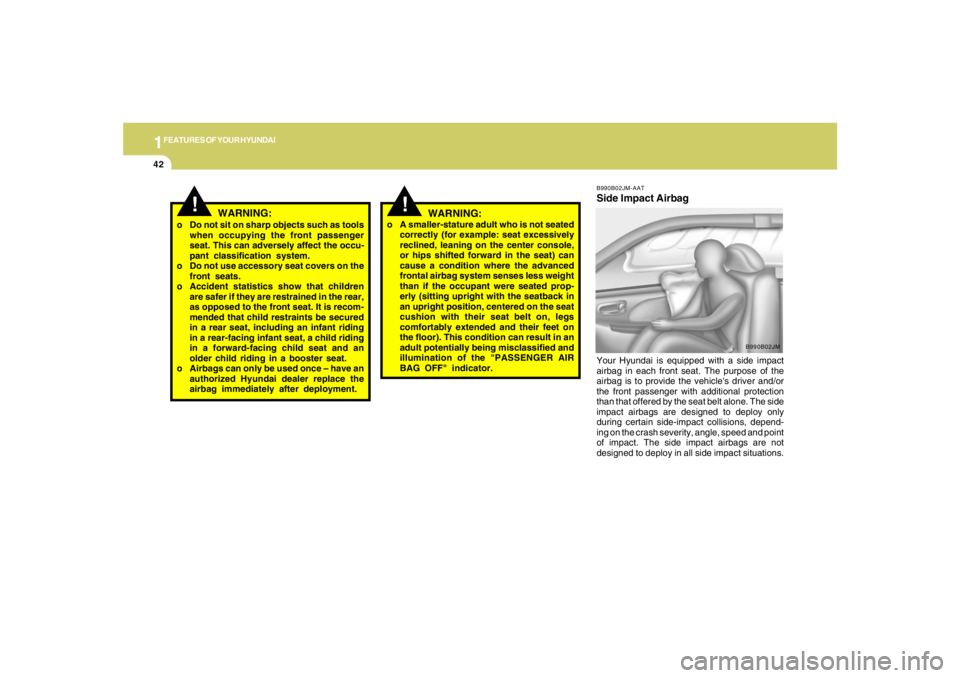
1FEATURES OF YOUR HYUNDAI42
B990B02JM-AATSide Impact AirbagYour Hyundai is equipped with a side impact
airbag in each front seat. The purpose of the
airbag is to provide the vehicle's driver and/or
the front passenger with additional protection
than that offered by the seat belt alone. The side
impact airbags are designed to deploy only
during certain side-impact collisions, depend-
ing on the crash severity, angle, speed and point
of impact. The side impact airbags are not
designed to deploy in all side impact situations.
B990B02JM
!
WARNING:
o Do not sit on sharp objects such as tools
when occupying the front passenger
seat. This can adversely affect the occu-
pant classification system.
o Do not use accessory seat covers on the
front seats.
o Accident statistics show that children
are safer if they are restrained in the rear,
as opposed to the front seat. It is recom-
mended that child restraints be secured
in a rear seat, including an infant riding
in a rear-facing infant seat, a child riding
in a forward-facing child seat and an
older child riding in a booster seat.
o Airbags can only be used once – have an
authorized Hyundai dealer replace the
airbag immediately after deployment.
!
WARNING:
o A smaller-stature adult who is not seated
correctly (for example: seat excessively
reclined, leaning on the center console,
or hips shifted forward in the seat) can
cause a condition where the advanced
frontal airbag system senses less weight
than if the occupant were seated prop-
erly (sitting upright with the seatback in
an upright position, centered on the seat
cushion with their seat belt on, legs
comfortably extended and their feet on
the floor). This condition can result in an
adult potentially being misclassified and
illumination of the "PASSENGER AIR
BAG OFF" indicator.
Page 88 of 306
1FEATURES OF YOUR HYUNDAI76
B540A01JM-AATSHOPPING BAG HOLDERS
HJM2150
B540A02JM
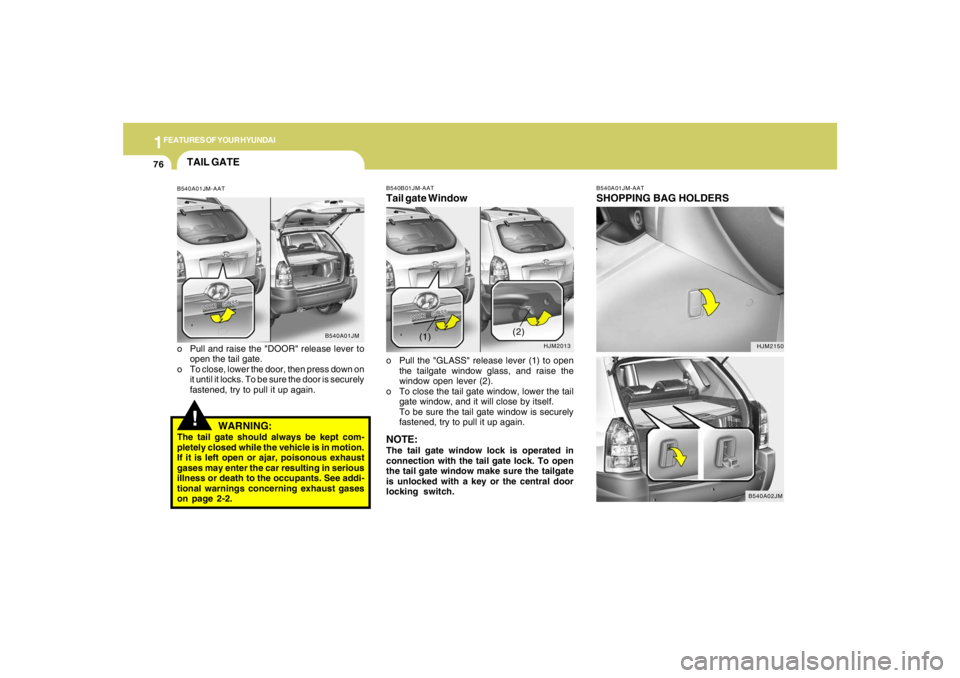
B540B01JM-AATTail gate Windowo Pull the "GLASS" release lever (1) to open
the tailgate window glass, and raise the
window open lever (2).
o To close the tail gate window, lower the tail
gate window, and it will close by itself.
To be sure the tail gate window is securely
fastened, try to pull it up again.NOTE:The tail gate window lock is operated in
connection with the tail gate lock. To open
the tail gate window make sure the tailgate
is unlocked with a key or the central door
locking switch.
HJM2013
(1)(2)
!TAIL GATEB540A01JM-AATo Pull and raise the "DOOR" release lever to
open the tail gate.
o To close, lower the door, then press down on
it until it locks. To be sure the door is securely
fastened, try to pull it up again.
B540A01JM
WARNING:
The tail gate should always be kept com-
pletely closed while the vehicle is in motion.
If it is left open or ajar, poisonous exhaust
gases may enter the car resulting in serious
illness or death to the occupants. See addi-
tional warnings concerning exhaust gases
on page 2-2.
Page 89 of 306
1
FEATURES OF YOUR HYUNDAI
77
Shopping bag holders are located in the front
console and on the backside of the rear seat.
When not in use, return it to the original position.
CAUTION:
o Do not hang a bag beyond 6 Ibs (3 kg).
It may cause damage to the shopping
bag holder.
o Return it to the original position after
using the shopping bag holder.
!
HOW TO USE LUGGAGE ROOM
B650A01JM B640A01S-AAT
CARGO SECURITY SCREEN
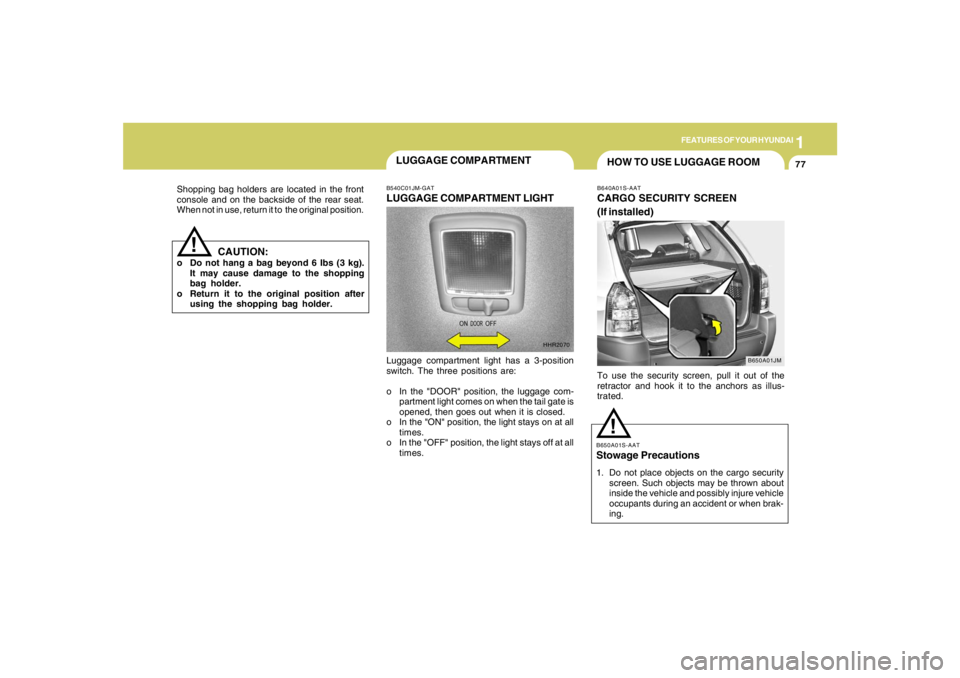
(If installed)To use the security screen, pull it out of the
retractor and hook it to the anchors as illus-
trated.B650A01S-AATStowage Precautions1. Do not place objects on the cargo security
screen. Such objects may be thrown about
inside the vehicle and possibly injure vehicle
occupants during an accident or when brak-
ing.
!
B540C01JM-GATLUGGAGE COMPARTMENT LIGHTLuggage compartment light has a 3-position
switch. The three positions are:
o In the "DOOR" position, the luggage com-
partment light comes on when the tail gate is
opened, then goes out when it is closed.
o In the "ON" position, the light stays on at all
times.
o In the "OFF" position, the light stays off at all
times.
HHR2070
LUGGAGE COMPARTMENT
Page 92 of 306
1FEATURES OF YOUR HYUNDAI80
!
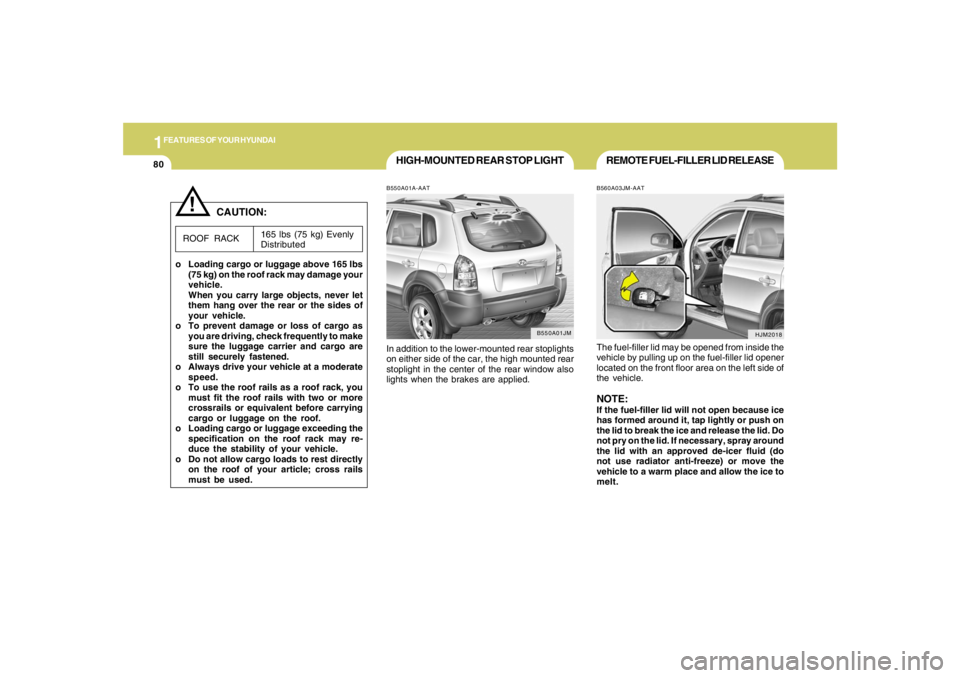
HIGH-MOUNTED REAR STOP LIGHTB550A01A-AATIn addition to the lower-mounted rear stoplights
on either side of the car, the high mounted rear
stoplight in the center of the rear window also
lights when the brakes are applied.
B550A01JM
165 lbs (75 kg) Evenly
Distributed
ROOF RACK
CAUTION:
o Loading cargo or luggage above 165 lbs
(75 kg) on the roof rack may damage your
vehicle.
When you carry large objects, never let
them hang over the rear or the sides of
your vehicle.
o To prevent damage or loss of cargo as
you are driving, check frequently to make
sure the luggage carrier and cargo are
still securely fastened.
o Always drive your vehicle at a moderate
speed.
o To use the roof rails as a roof rack, you
must fit the roof rails with two or more
crossrails or equivalent before carrying
cargo or luggage on the roof.
o Loading cargo or luggage exceeding the
specification on the roof rack may re-
duce the stability of your vehicle.
o Do not allow cargo loads to rest directly
on the roof of your article; cross rails
must be used.
HJM2018
REMOTE FUEL-FILLER LID RELEASEB560A03JM-AATThe fuel-filler lid may be opened from inside the
vehicle by pulling up on the fuel-filler lid opener
located on the front floor area on the left side of
the vehicle.NOTE:If the fuel-filler lid will not open because ice
has formed around it, tap lightly or push on
the lid to break the ice and release the lid. Do
not pry on the lid. If necessary, spray around
the lid with an approved de-icer fluid (do
not use radiator anti-freeze) or move the
vehicle to a warm place and allow the ice to
melt.
Page 93 of 306

1
FEATURES OF YOUR HYUNDAI
81
B560A01JM
!
o Tighten the cap until it clicks, otherwise
the "
" light will illuminate.
o If you open the fuel filler cap during high
ambient temperatures, a slight "pres-
sure sound" may be heard. This is nor-
mal and not a cause for concern.
Whenever you open the fuel filler cap,
turn it slowly.
o Do not "top-off" after the nozzle auto-
matically shuts off when refueling.
o Automotive fuels are flammable/explo-
sive materials. When refueling, please
note the following guidelines carefully.
- Before touching the fuel nozzle or fuel
filler cap, have one's hands in contact
with metal parts away from the filler
neck to discharge static electricity.
- Do not get back in the vehicle while
refueling. Do not operate anything
that can produce static electricity.
Static electricity discharge can ignite
fuel vapors resulting in explosion.
- When using a portable fuel container
be sure to place the container on the
ground while refueling. Static elec-
tricity discharge from the container
can ignite fuel vapors causing a fire.
While starting refueling contact should
be maintained until the filling is com-
plete.
!
WARNING:
o Gasoline vapors are dangerous. Before
refueling, always stop the engine and
never smoke or allow sparks and open
flames near the filler area.
o Never operate your vehicle without a
filler cap properly installed, flammable
vapors and gasoline could leak out in
dangerous situations such as a collision
or rollover. If the filler cap must be
replaced, only use genuine Hyundai re-
placement parts.
o After refueling, make sure the fuel cap is
installed securely to prevent fuel spill-
age in the event of an accident.
- Do not use cellular phones around a
gas station. The electric current or
electronic interference from cellular
phones can ignite fuel vapors causing
a fire.
- When refueling always shut the en-
gine off. Sparks by electrical equip-
ment of the engine can ignite fuel
vapors causing a fire. After refueling,
check to make sure the fuel filler cap
is securely closed, and then start the
engine.
- Do not smoke or try to light cigarettes
around a gas station. Automotive fu-
els are flammable.
WARNING:
Page 96 of 306
1FEATURES OF YOUR HYUNDAI84
HJM2067
STEERING WHEEL TILT LEVER!
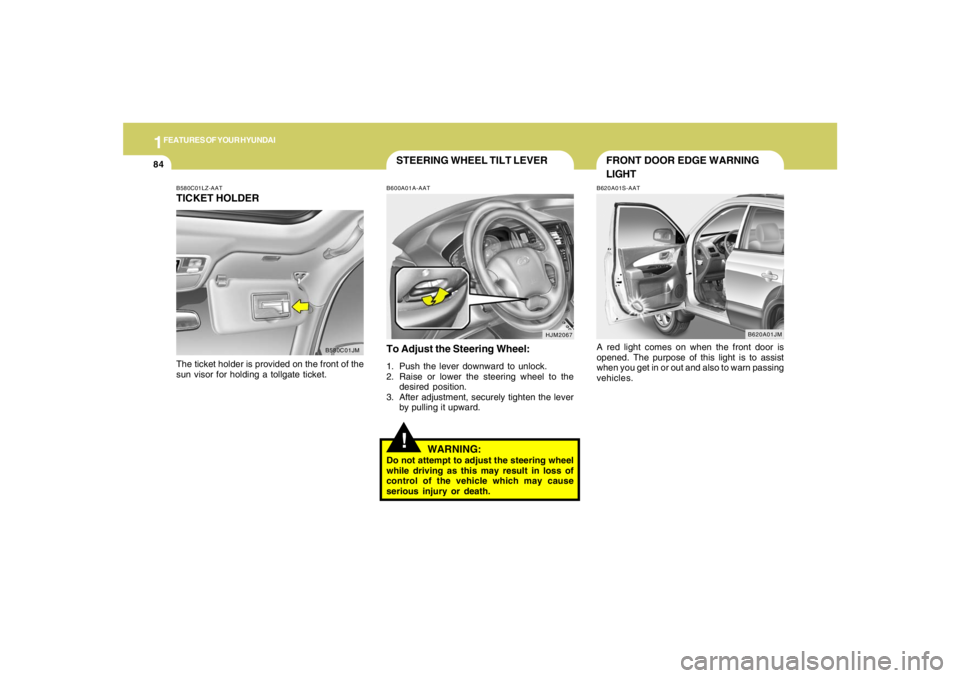
To Adjust the Steering Wheel:1. Push the lever downward to unlock.
2. Raise or lower the steering wheel to the
desired position.
3. After adjustment, securely tighten the lever
by pulling it upward.
WARNING:
Do not attempt to adjust the steering wheel
while driving as this may result in loss of
control of the vehicle which may cause
serious injury or death.B600A01A-AAT
B580C01LZ-AATTICKET HOLDERThe ticket holder is provided on the front of the
sun visor for holding a tollgate ticket.
B580C01JM
FRONT DOOR EDGE WARNING
LIGHTB620A01S-AATA red light comes on when the front door is
opened. The purpose of this light is to assist
when you get in or out and also to warn passing
vehicles.
B620A01JM