2007 Hyundai Santa Fe changing
[x] Cancel search: changingPage 265 of 355
3
WHAT TO DO IN AN EMERGENCY
17
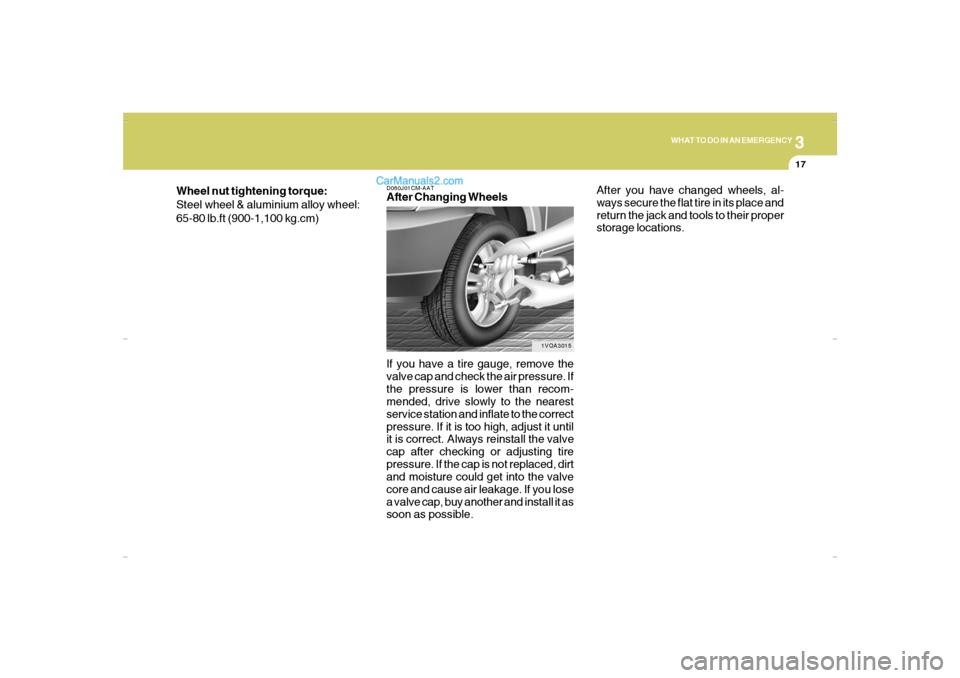
D060J01CM-AATAfter Changing Wheels
If you have a tire gauge, remove the
valve cap and check the air pressure. If
the pressure is lower than recom-
mended, drive slowly to the nearest
service station and inflate to the correct
pressure. If it is too high, adjust it until
it is correct. Always reinstall the valve
cap after checking or adjusting tire
pressure. If the cap is not replaced, dirt
and moisture could get into the valve
core and cause air leakage. If you lose
a valve cap, buy another and install it as
soon as possible.
1VQA3015
After you have changed wheels, al-
ways secure the flat tire in its place and
return the jack and tools to their proper
storage locations. Wheel nut tightening torque:
Steel wheel & aluminium alloy wheel:
65-80 lb.ft (900-1,100 kg.cm)
Cmhma-3.p653/20/2006, 5:03 PM 17
Page 285 of 355
5
VEHICLE MAINTENANCE REQUIREMENTS
9
F070F01A-AATo Brake Hoses and LinesVisually check for proper installation, chaf-
ing, cracks, deterioration and any leak-
age. Replace any deteriorated or dam-
aged parts immediately.F070E06A-AATo Automatic Transaxle FluidThe fluid level should be in the “HOT”
range of the dipstick, after the engine and
transaxle are at normal operating tem-
perature. Check the automatic transaxle
fluid level with the engine running and the
transaxle in neutral, with the parking brake
properly applied. Use HYUNDAI GENU-
INE ATF SP III, DIAMOND ATF SP III, SK
ATF SP III or other brands meeting the SP
III specification approved by Hyundai Motor
Co. when adding or changing fluid. Using
the wrong ATF may result in damage to the
ATM.
F070L01A-AATo Suspension Mounting BoltsCheck the suspension connections for
looseness or damage. Retighten to the
specified torque.
F070G02A-AATo Brake FluidCheck brake fluid level in the brake fluid
reservoir. The level should be between
"MIN" and "MAX" marks on the side of the
reservoir. Use only hydraulic brake fluid
conforming to DOT 3 or DOT 4.
F070K01A-AATo Exhaust Pipe and MufflerVisually inspect the exhaust pipes, muffler
and hangers for cracks, deterioration, or
damage. Start the engine and listen care-
fully for any exhaust gas leakage. Tighten
connections or replace parts as neces-
sary.
F070J01A-AATo Brake Pads, Calipers and RotorsCheck the pads for excessive wear, discs
for run out and wear, and calipers for fluid
leakage.F070H01CM-AATo Parking BrakeInspect the parking brake system includ-
ing the parking brake lever (or the parking
brake pedal) and cables. For detailed ser-
vice procedures, refer to the Shop Manual.
F070M01A-AATo Steering Gear Box, Linkage &
Boots/Lower Arm Ball JointWith the vehicle stopped and engine off,
check for excessive free-play in the steer-
ing wheel.
Check the linkage for bends or damage.
Check the dust boots and ball joints for
deterioration, cracks, or damage. Replace
any damaged parts.
Page 287 of 355

6
Engine Compartment .................................................... 6-2
General Checks ............................................................ 6-4
Checking the Engine Oil ............................................... 6-5
Checking the Engine Coolant ........................................ 6-7
Changing the Air Cleaner Filter ..................................... 6-8
Windshield Wiper Blades .............................................. 6-9
Checking the Transaxle Oil (Manual) .........................6-11
Checking the Transaxle Fluid (Automatic)..................6-12
Checking the Brakes ..................................................6-14
Air Conditioning Care..................................................6-15
Changing the Climate Control Air Filter .......................6-16
Checking and Replacing Fuses..................................6-17
Checking the Battery..................................................6-20
Power Steering Fluid Level .........................................6-23
Replacement of Light Bulbs ........................................6-24
Bulb Wattage ...............................................................6-31
Fuse Panel Description...............................................6-32
6
DO-IT-YOURSELF MAINTENANCE
Page 294 of 355
6
DO-IT-YOURSELF MAINTENANCE
8
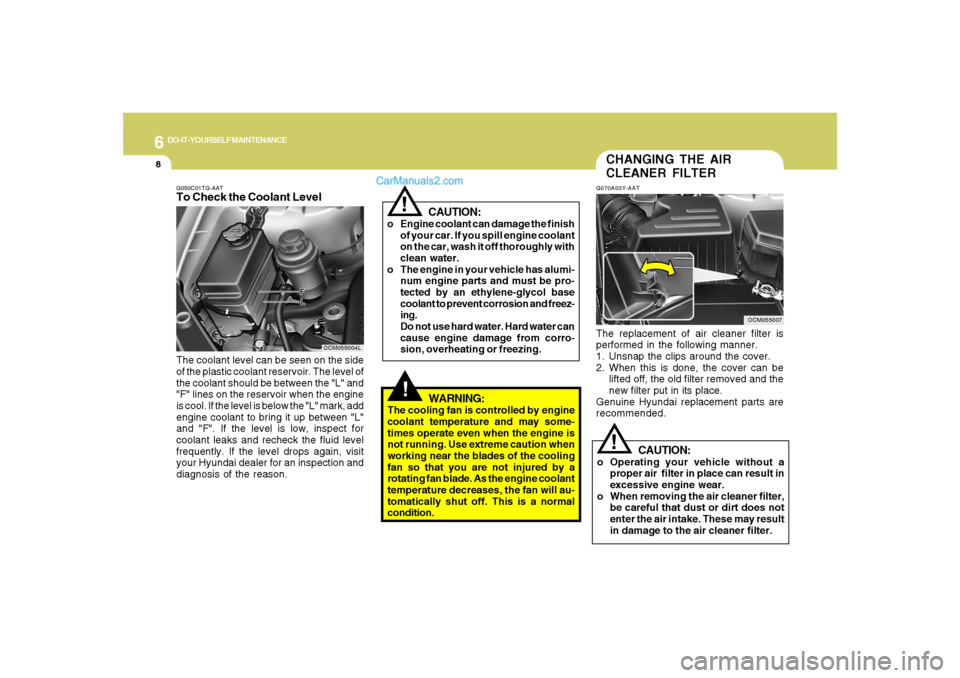
G050C01TG-AATTo Check the Coolant LevelThe coolant level can be seen on the side
of the plastic coolant reservoir. The level of
the coolant should be between the "L" and
"F" lines on the reservoir when the engine
is cool. If the level is below the "L" mark, add
engine coolant to bring it up between "L"
and "F". If the level is low, inspect for
coolant leaks and recheck the fluid level
frequently. If the level drops again, visit
your Hyundai dealer for an inspection and
diagnosis of the reason.
OCM055004L
!
WARNING:
The cooling fan is controlled by engine
coolant temperature and may some-
times operate even when the engine is
not running. Use extreme caution when
working near the blades of the cooling
fan so that you are not injured by a
rotating fan blade. As the engine coolant
temperature decreases, the fan will au-
tomatically shut off. This is a normal
condition.
CAUTION:
o Engine coolant can damage the finish
of your car. If you spill engine coolant
on the car, wash it off thoroughly with
clean water.
o The engine in your vehicle has alumi-
num engine parts and must be pro-
tected by an ethylene-glycol base
coolant to prevent corrosion and freez-
ing.
Do not use hard water. Hard water can
cause engine damage from corro-
sion, overheating or freezing.
!
CHANGING THE AIR
CLEANER FILTERG070A03Y-AATThe replacement of air cleaner filter is
performed in the following manner.
1. Unsnap the clips around the cover.
2. When this is done, the cover can be
lifted off, the old filter removed and the
new filter put in its place.
Genuine Hyundai replacement parts are
recommended.
CAUTION:
o Operating your vehicle without a
proper air filter in place can result in
excessive engine wear.
o When removing the air cleaner filter,
be careful that dust or dirt does not
enter the air intake. These may result
in damage to the air cleaner filter.
!
OCM055007
Page 298 of 355
6
DO-IT-YOURSELF MAINTENANCE
12
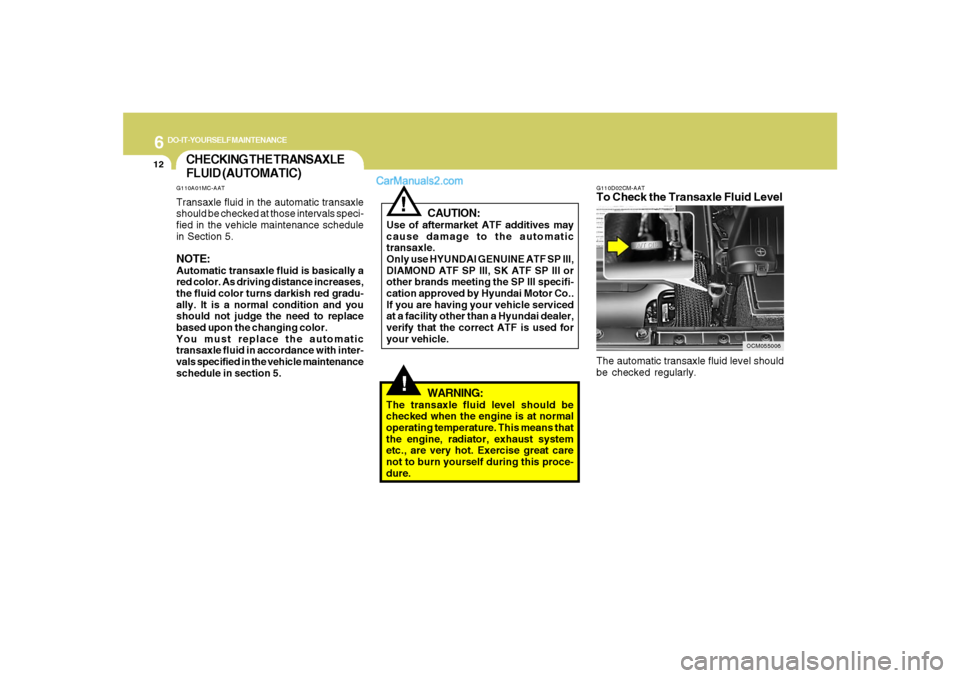
OCM055006 G110D02CM-AAT
To Check the Transaxle Fluid LevelThe automatic transaxle fluid level should
be checked regularly.
CHECKING THE TRANSAXLE
FLUID (AUTOMATIC)
!
WARNING:
The transaxle fluid level should be
checked when the engine is at normal
operating temperature. This means that
the engine, radiator, exhaust system
etc., are very hot. Exercise great care
not to burn yourself during this proce-
dure.
!
CAUTION:
Use of aftermarket ATF additives may
cause damage to the automatic
transaxle.
Only use HYUNDAI GENUINE ATF SP III,
DIAMOND ATF SP III, SK ATF SP III or
other brands meeting the SP III specifi-
cation approved by Hyundai Motor Co..
If you are having your vehicle serviced
at a facility other than a Hyundai dealer,
verify that the correct ATF is used for
your vehicle.
G110A01MC-AATTransaxle fluid in the automatic transaxle
should be checked at those intervals speci-
fied in the vehicle maintenance schedule
in Section 5.NOTE:Automatic transaxle fluid is basically a
red color. As driving distance increases,
the fluid color turns darkish red gradu-
ally. It is a normal condition and you
should not judge the need to replace
based upon the changing color.
You must replace the automatic
transaxle fluid in accordance with inter-
vals specified in the vehicle maintenance
schedule in section 5.
Page 302 of 355
6
DO-IT-YOURSELF MAINTENANCE
16
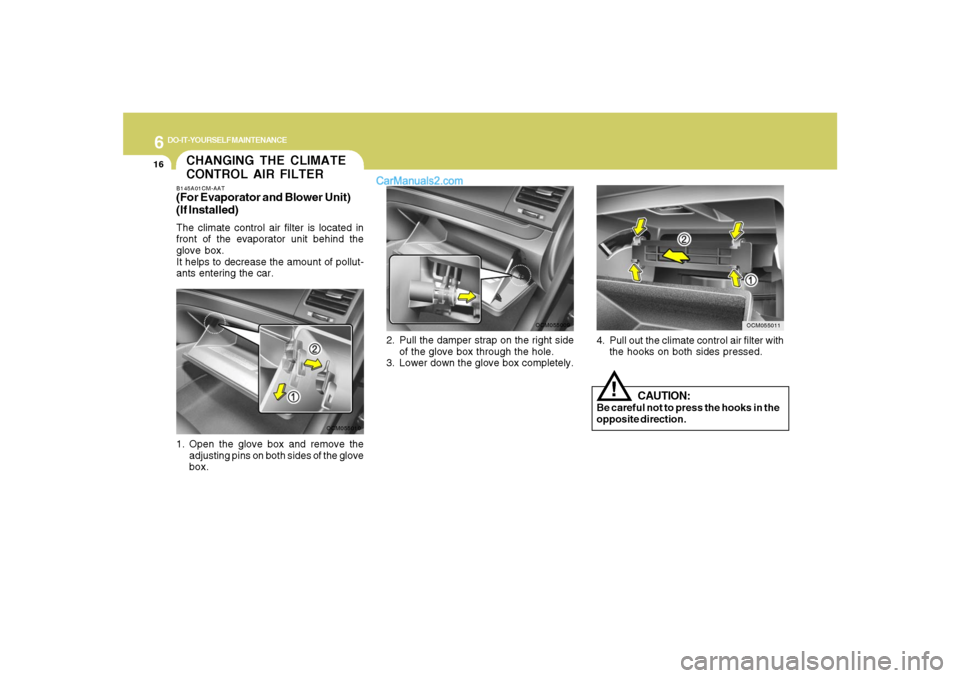
4. Pull out the climate control air filter with
the hooks on both sides pressed.
OCM055011
CHANGING THE CLIMATE
CONTROL AIR FILTERB145A01CM-AAT(For Evaporator and Blower Unit)
(If Installed)The climate control air filter is located in
front of the evaporator unit behind the
glove box.
It helps to decrease the amount of pollut-
ants entering the car.
1. Open the glove box and remove the
adjusting pins on both sides of the glove
box.
OCM055010
2. Pull the damper strap on the right side
of the glove box through the hole.
3. Lower down the glove box completely.
OCM055009
CAUTION:
Be careful not to press the hooks in the
opposite direction.
!
Page 352 of 355

10
INDEX
5
S
Seat
Front.............................................................................................1-16
Rear..............................................................................................1-22
Seat warmer .................................................................................1-22
Seat Belts
3-point system.............................................................................1-31
Pretensioner seat belt ..................................................................1-41
Adjusting your seat belt ...............................................................1-30
Care of seat belts .........................................................................1-29
Precautions..................................................................................1-27
Shop Manual ......................................................................................8-14
Sound
Brake pad warning sound ............................................................1-70
Speedometer.....................................................................................1-72
Starting Procedure.............................................................................. 2-7
Steering Wheel Tilt Lever ...............................................................1-118
Stereo Sound System ....................................................................1-144
Sunglass Holder ................................................................................1-94
Sunroof..............................................................................................1-89
Sun Visor........................................................................................1-116
T
Tachometer.......................................................................................1-72
Tail Gate.........................................................................................1-109
Theft-Alarm System..........................................................................1-11
Ticket Holder..................................................................................1-118
Tires
Aging .............................................................................................8-13
Balancing......................................................................................8-12Chains..........................................................................................8-10
Changing a flat tire .......................................................................3-12
If you have a flat tire .....................................................................3-12
Information...................................................................................... 8-3
Maintenance.................................................................................8-13
Pressure......................................................................................... 8-3
Replacement................................................................................8-12
Rotation........................................................................................8-11
Sidewall Labeling............................................................................ 8-6
Snow tires.....................................................................................8-10
Spare tire......................................................................................3-10
Terminology and Definition ............................................................ 8-8
Tire Pressure Monitoring System (TPMS) ................................... 3-5
Traction........................................................................................8-12
Towing
A trailer (or vehicle)......................................................................2-27
Emergency...................................................................................3-20
If your car must be towed ............................................................3-18
Trailer Connector..............................................................................2-31
Transaxle
Automatic......................................................................................2-10
Automatic transaxle fluid checking ..............................................6-12
Manual............................................................................................ 2-7
Manual transaxle oil checking.....................................................6-11
Trip Computer...................................................................................1-74
V
Vehicle Identification Number............................................................. 8-2
Vechcle Load Limit ............................................................................2-32