2007 Hyundai Accent torque
[x] Cancel search: torquePage 199 of 282

3 WHAT TO DO IN AN EMERGENCY
10
!
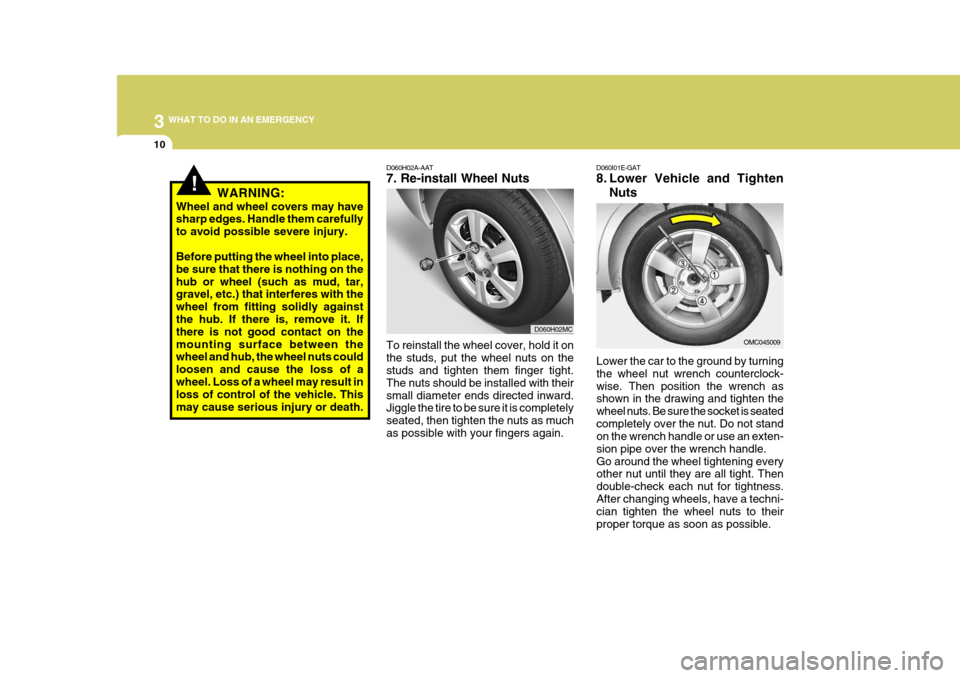
D060H02A-AAT 7. Re-install Wheel Nuts
Lower the car to the ground by turning the wheel nut wrench counterclock-wise. Then position the wrench as shown in the drawing and tighten the wheel nuts. Be sure the socket is seatedcompletely over the nut. Do not stand on the wrench handle or use an exten- sion pipe over the wrench handle.Go around the wheel tightening every other nut until they are all tight. Then double-check each nut for tightness.After changing wheels, have a techni- cian tighten the wheel nuts to their proper torque as soon as possible.
D060I01E-GAT
8. Lower Vehicle and Tighten
Nuts
To reinstall the wheel cover, hold it on the studs, put the wheel nuts on the studs and tighten them finger tight. The nuts should be installed with theirsmall diameter ends directed inward. Jiggle the tire to be sure it is completely seated, then tighten the nuts as muchas possible with your fingers again. OMC045009
WARNING:
Wheel and wheel covers may have sharp edges. Handle them carefully to avoid possible severe injury. Before putting the wheel into place, be sure that there is nothing on thehub or wheel (such as mud, tar, gravel, etc.) that interferes with the wheel from fitting solidly againstthe hub. If there is, remove it. If there is not good contact on the mounting surface between the wheel and hub, the wheel nuts could loosen and cause the loss of awheel. Loss of a wheel may result in loss of control of the vehicle. This may cause serious injury or death.
D060H02MC
Page 200 of 282

3
WHAT TO DO IN AN EMERGENCY
11
D060J01E-GAT After Changing Wheels If you have a tire gauge, remove the valve cap and check the air pressure. If the pressure is lower than recom- mended, drive slowly to the nearestservice station and inflate to the cor- rect pressure. If it is too high, adjust it until it is correct. Always reinstall thevalve cap after checking or adjusting tire pressure. If the cap is not replaced,
Wheel nut tightening torque: Steel wheel & aluminium alloy wheel: 900-1,100 kg.cm (65-80 lb.ft)
air may leak from the tire. If you lose avalve cap, buy another and install it assoon as possible. After you have changed wheels, al- ways secure the flat tire in its place inthe trunk and return the jack and tools to their proper storage locations.
D060J01MC
EMERGENCY COMMODITY
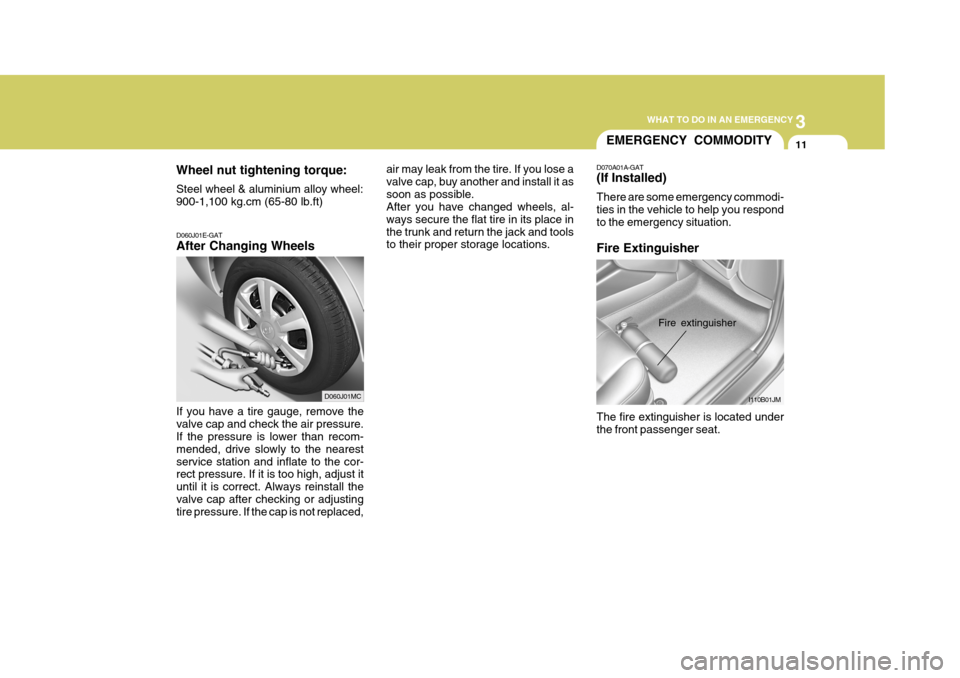
D070A01A-GAT (If Installed) There are some emergency commodi- ties in the vehicle to help you respond to the emergency situation. Fire Extinguisher The fire extinguisher is located under the front passenger seat. I110B01JM
Fire extinguisher
Page 222 of 282

5VEHICLE MAINTENANCE REQUIREMENTS
10
F070L01A-AAT
o Suspension Mounting Bolts
Check the suspension connections for
looseness or damage. Retighten to the specified torque. F070J01A-AAT
o Brake Pads, Calipers and
Rotors
Check the pads for excessive wear,
discs for run out and wear, and cali- pers for fluid leakage.
F070K01A-AAT
o Exhaust Pipe and Muffler
Visually inspect the exhaust pipes,
muffler and hangers for cracks, dete-rioration, or damage. Start the engine and listen carefully for any exhaustgas leakage. Tighten connections or replace parts as necessary.
F070F01A-AAT
o Brake Hoses and Lines
Visually check for proper installation, chafing, cracks, deterioration and any leakage. Replace any deteriorated or damaged parts immediately. F070G02A-AAT
o Brake Fluid
Check brake fluid level in the brake fluid reservoir. The level should be between "MIN" and "MAX" marks on the side of the reservoir. Use onlyhydraulic brake fluid conforming to DOT 3 or DOT 4. F070H01A-AAT
o Rear Brake Drums/Linings
Parking Brake
Check the rear brake drums and lin- ings for scoring, burning, leaking fluid, broken parts, and excessive wear. Inspect the parking brake system in-cluding the parking brake lever and cables. For detailed service proce- dures, refer to the Shop Manual.
F070D01A-AAT
o Manual Transaxle Oil Inspect the manual transaxle oil ac- cording to the maintenance schedule. NOTE: If the oil level is low, check for possible leaks before adding oil. Do not overfill. F070E05A-AAT
o Automatic Transaxle Fluid The fluid level should be in the "HOT" range of the dipstick, after the engine and transaxle are at normal operating temperature. Check the automatictransaxle fluid level with the engine running and the transaxle in neutral, with the parking brake properly ap-plied. Use Hyundai Genuine ATF SP- III, DIAMOND ATF SP-III, SK ATF SP-III or other brands approved byHyundai Motor Co., when adding or changing fluid.
Page 228 of 282

6
DO-IT-YOURSELF MAINTENANCE
5
G020A01A-AAT Engine Compartment The following should be checked regu- larly:
o Engine oil level and condition
o Transaxle fluid level and condition
o Brake fluid level
o Clutch fluid level
o Engine coolant level
o Windshield washer fluid level
o Accessory drive belt condition
o Engine coolant hose condition
o Fluid leaks (on or below compo-
nents)
o Power steering fluid level
o Battery condition
o Air cleaner filter condition G020C01A-AAT Vehicle Interior The following should be checked each time when the vehicle is driven:
o Lights operation
o Windshield wiper operation
o Horn operation
o Defroster, heater system operation
(and air conditioning, if installed)
o Steering operation and condition
o Mirror condition and operation
o Turn signal operation
o Accelerator pedal operation
o Brake operation, including parking
brake
o Manual transaxle operation, includ- ing clutch operation
o Automatic transaxle operation, in- cluding "Park" mechanism opera-tion
o Seat control condition and opera- tion
o Seat belt condition and operation
o Sun visor operation If you notice anything that does not operate correctly or appears to befunctioning incorrectly, inspect it care- fully and seek assistance from your Hyundai dealer if service is needed.
G020B01A-AAT Vehicle Exterior The following should be checked monthly:
o Overall appearance and condition
o Wheel condition and wheel nut torque
o Exhaust system condition
o Light condition and operation
o Windshield glass condition
o Wiper blade condition
o Paint condition and body corrosion
o Fluid leaks
o Door and hood lock condition
o Tire pressure and condition
(including spare tire)
GENERAL CHECKS
Page 270 of 282

8
CONSUMER INFORMATION
5
!
!
I050A01MC-AAT TIRE CHAINS Tire chains, if necessary should be installed on the front wheels. Be surethat the chains are installed in accor- dance with the manufacturer's instruc- tions.To minimize tire and chain wear, do not continue to use tire chains when they are no longer needed. I060A02A-AAT TIRE ROTATION Tires should be rotated every 10,000 km (6,000 miles). If you notice thattires are wearing unevenly between rotations, have the car checked by a Hyundai dealer so the cause may becorrected. After rotating, adjust the tire pressures and be sure to check wheel nut torque.
WARNING:
o If your vehicle is equipped with 205/45R16 size tires, do not install tire chains. This may cause dam-age to the vehicle (wheels, sus-pension and body) by chains con-tacting the body.
o When driving on roads covered with snow or ice, drive at less than30 km/h (20 mph).
o Use the SAE "S" class or wire & plastic chains.
o If you have noise caused by chains contacting the body, retighten thechain to avoid contact with thevehicle body. I060A01HP
Spare tire
WARNING:
Do not mix bias-ply and radial-ply tires under any circumstances. Thismay cause dangerous handling char- acteristics.
o To prevent body damage, retighten
the chains after driving 0.5~1 km.
o Don't use tire chains on a vehicle equipped with aluminium wheels. If it is unavoidable, use wire typechains.
o Use wire chains less than 15 mm to prevent damage to the chain'sconnection.