Page 82 of 331

The dial on the instrument panel
controls the brightness of the
instrument panel lights and the
console compartment light. Turn the
dial to adjust the brightness.
With the headlight control dial of f ,
the high beam headlights and the
high beam indicator come on with
reduced brightness when you turn
the ignition switch to the ON (II)
position and release the parking
brake. They remain on until you turn
the ignition switch of f , even if you
set the parking brake.
The headlights revert to normal
operation when you turn them on
with the headlight control dial.
The instrument panel will illuminate
with reduced brightness when you
unlock and open the driver’s door.
The brightness will increase and go
to a normal level when you insert the
key in the ignition switch.If you do not insert the key in the
ignition switch af ter opening the
driver’s door, the illumination turns
of f about 30 seconds af ter you close
the door.
If you insert the key but do not turn
the ignition switch to the ON (II)
position, the illumination turns of f in
about 10 seconds.
The instrument panel brightness is
dimmedwhenyouturntheheadlight
controldialtothe‘‘ ’’or
‘‘ ’’ position to reduce glare at
night. To cancel it, turn the
instrument panel brightness control
dial upward f ully until you hear a
click.
Canadian models only
Instrument Panel Brightness
Daytime Running L ights
Headlights, Instrument Panel Brightness
78
INSTRUMENT PANEL
BRIGHTNESS CONTROL DIAL
Page 83 of 331

Push the lever up to lock the
steering wheel in position.
Make sure you have securely
locked the steering wheel in place
by trying to move it up and down.
Make any steering wheel adjustment
bef ore you start driving.
Move the steering wheel so it
points toward your chest, not
toward your f ace. Make sure you
can see the instrument panel
gauges and indicators. Push the lever on the lef t side of
the steering column all the way
down.
Pushthebuttontoturnonthe
hazard warning lights (f our-way
flashers). This causes all four
outside turn signals and both turn
indicators in the instrument panel to
f lash. Use the hazard warning lights
if you need to park in a dangerous
area near heavy traffic, or if your
vehicle is disabled. 3.
4.
1.
2. Steering Wheel A djustment
Hazard Warning Button
Hazard Warning Button, Steering Wheel A djustment
Inst rument s and Cont rols
79
Adjusting the steering wheel
position while driving may
cause you to lose control of the
vehicle and be seriously injured
inacrash.
Adjust the steering wheel only
when the vehicle is stopped.
Page 86 of 331
�µ�µ
�µ �µ
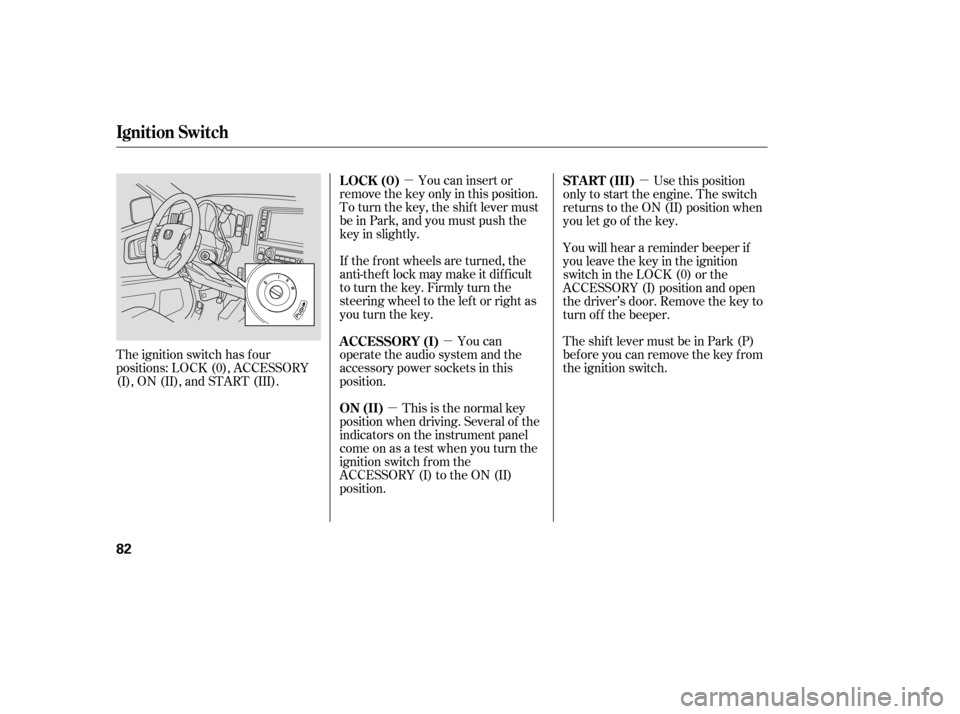
The ignition switch has f our
positions: LOCK (0), ACCESSORY
(I), ON (II), and START (III). You can insert or
remove the key only in this position.
To turn the key, the shift lever must
be in Park, and you must push the
key in slightly.
If the f ront wheels are turned, the
anti-theft lock may make it difficult
to turn the key. Firmly turn the
steering wheel to the lef t or right as
you turn the key.
You can
operate the audio system and the
accessory power sockets in this
position.
This is the normal key
position when driving. Several of the
indicators on the instrument panel
come on as a test when you turn the
ignition switch f rom the
ACCESSORY (I) to the ON (II)
position. Use this position
only to start the engine. The switch
returns to the ON (II) position when
you let go of the key.
You will hear a reminder beeper if
you leave the key in the ignition
switch in the LOCK (0) or the
ACCESSORY (I) position and open
the driver’s door. Remove the key to
turn of f the beeper.
TheshiftlevermustbeinPark(P)
bef ore you can remove the key f rom
the ignition switch.
LOCK (0)
A CCESSORY (I)
ON (II) ST A RT (III)
Ignition Switch
82
Page 98 of 331

See page for information on
cargo loading and weight limits.
You can also store and lock items in
the In-Bed Trunk (see page ).
If
you do not fasten the seat belt, you
first hear the seat belt reminder
alarm, then the tailgate reminder
beeper sounds.
The indicator does not monitor the
tailgate when it is dropped open.
This
indicator is in the door and
tailgate open monitor on the
instrument panel. It comes on when
the tailgate is swung open or it is not
completely closed. This indicator
worksevenifthekeyisnotinthe
ignition switch.
If the tailgate is swung open or not
closed tightly when the ignition
switch is in the ON (II) position, you
will hear six beeps and see the
indicator blinking. The indicator
stays on until you close the tailgate.
The beeper also sounds and the
indicator blinks when you move the
shift lever out of the Park or neutral
position.
Do
not allow anyone to hang on the
swung open tailgate. This could
damage the tailgate.
Do not leave the tailgate swung open.
The tailgate may swing and shut
accidentally. This could cause
serious injuries.
Thebedlightscomeonwhenyou
sw ing open the tailgate. You can also
turn the bed lights on or off by
pushing the bed light switch on the
dashboard (see page ). 120 95
186
Loading Cargo
T ailgat e Open Indicat or
Dual-Action Tailgate
94
Page 100 of 331
To avoid damaging the key and key
cylinder of the In-Bed Trunk lid, do
notclosethetailgatewhenthekeyis
in the lid.
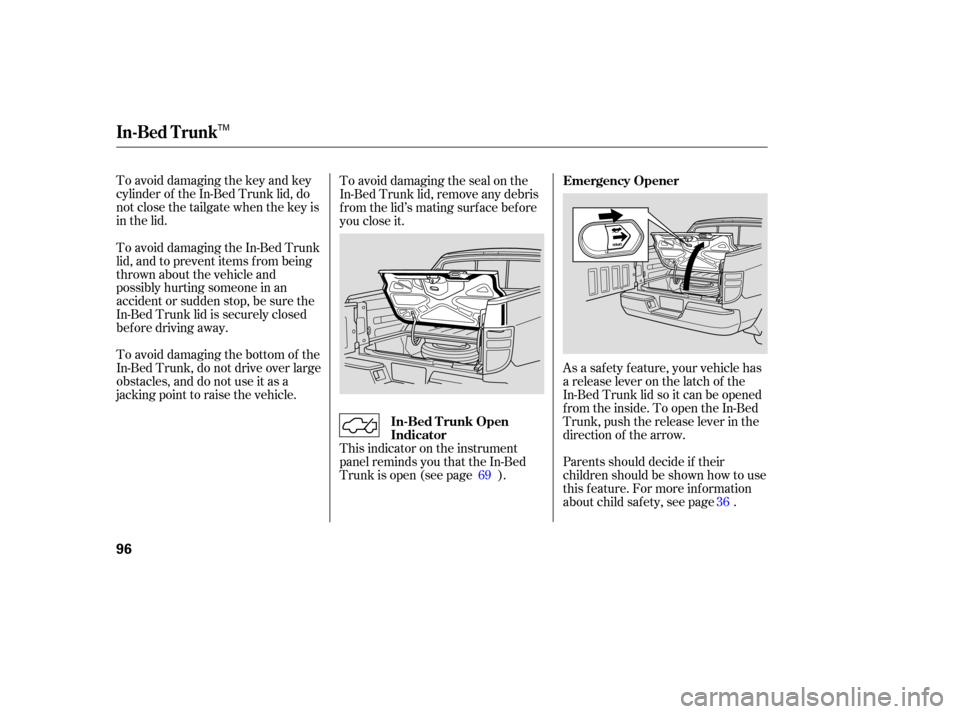
As a safety feature, your vehicle has
a release lever on the latch of the
In-Bed Trunk lid so it can be opened
from the inside. To open the In-Bed
Trunk, push the release lever in the
direction of the arrow.
Parents should decide if their
children should be shown how to use
this feature. For more information
about child safety, see page .
To
avoid damaging the seal on the
In-Bed Trunk lid, remove any debris
from the lid’s mating surface before
you close it.
To avoid damaging the bottom of the
In-Bed Trunk, do not drive over large
obstacles, and do not use it as a
jacking point to raise the vehicl e.
To
avoid damaging the In-Bed Trunk
lid, and to prevent items from being
thrown about the vehicle and
possibly hurting someone in an
accident or sudden stop, be sure the
In-Bed Trunk lid is secu rely closed
befo re driving away.
This indicator on the instrument
panel reminds you that the In-Bed
Trunk is open (see page ).
69
36
Emergency Opener
In-Bed T runk Open
Indicator
In-Bed Trunk
96
TM
Page 113 of 331
You can open and close the
moonroof for up to 10 minutes after
you turn off the ignition switch.
Op ening either front door cancels
this function.
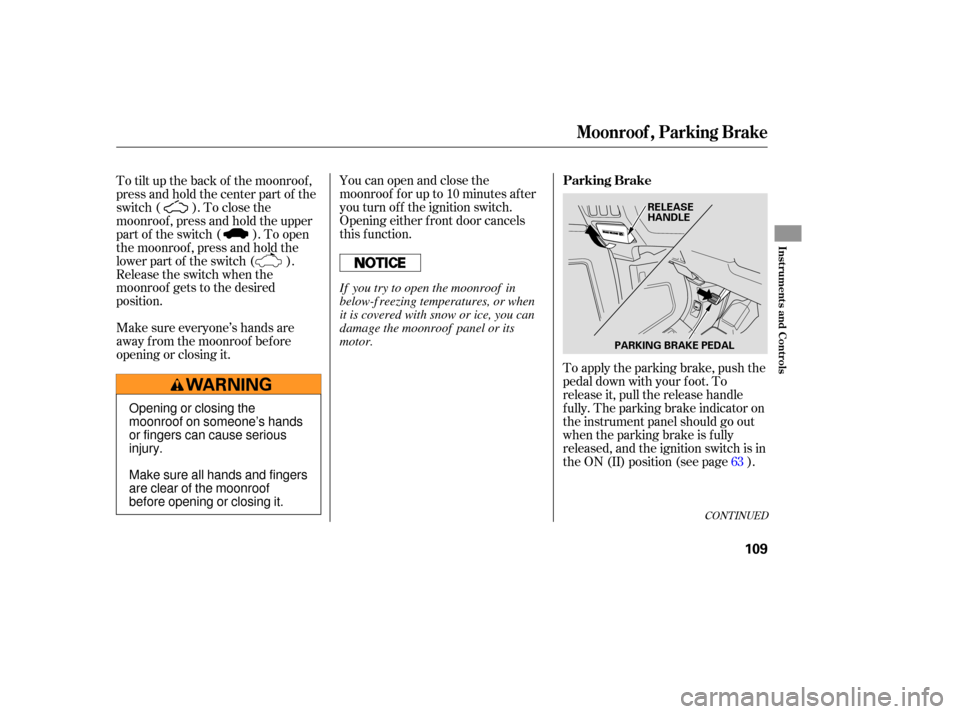
To apply the parking brake, push the
pedal down with your foot. To
release it, pull the release handle
fully. The parking brake indicator on
the instrument panel should go out
when the parking brake is fully
released, and the ignition switch is in
the ON (II) position (see page ).
To tilt up the back of the moonroof ,
press and hold the center part of the
switch ( ). To close the
moonroof , press and hold the upper
part of the switch ( ). To open
the moonroof , press and hold the
lower part of the switch ( ).
Release the switch when the
moonroof gets to the desired
position.
Make sure everyone’s hands are
away f rom the moonroof bef ore
opening or closing it.
63
CONT INUED
Parking Brake
Moonroof , Parking Brake
Inst rument s and Cont rols
109
PARKING BRAKE PEDALRELEASE
HANDLE
Opening or closing the
moonroof on someone’s hands
or fingers can cause serious
injury.
Make sure all hands and fingers
are clear of the moonroof
before opening or closing it. If you try to open the moonroof in
below-f reezing temperatures, or when
it is covered with snow or ice, you can
damage the moonroof panel or its
motor.
Page 117 of 331
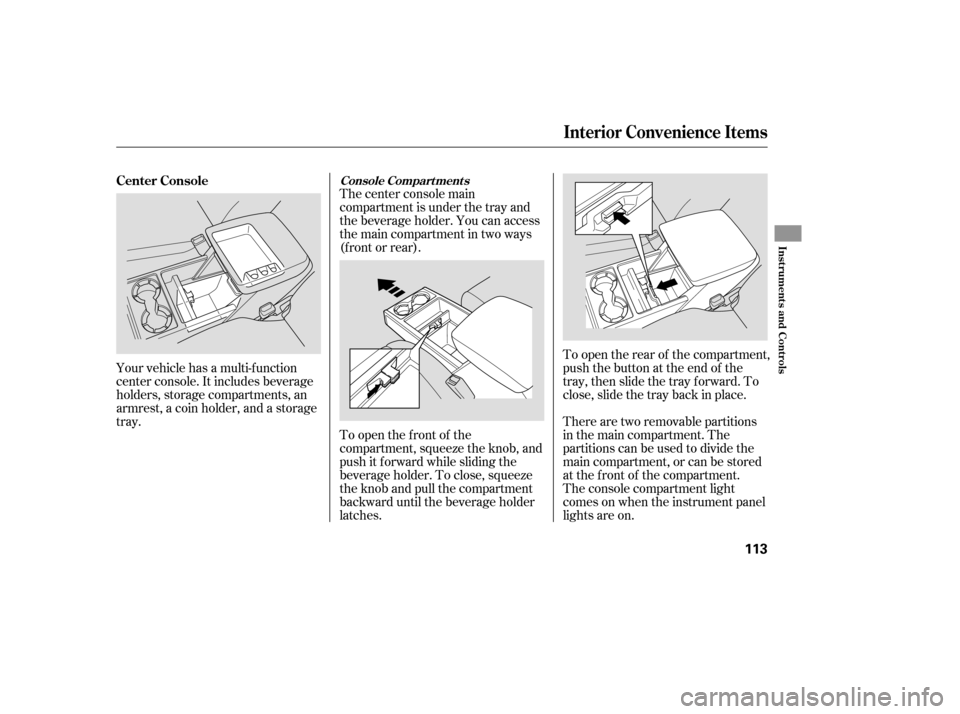
Your vehicle has a multi-f unction
center console. It includes beverage
holders, storage compartments, an
armrest, a coin holder, and a storage
tray.The center console main
compartment is under the tray and
the beverage holder. You can access
the main compartment in two ways
(f ront or rear).
To open the f ront of the
compartment, squeeze the knob, and
push it f orward while sliding the
beverage holder. To close, squeeze
the knob and pull the compartment
backward until the beverage holder
latches.
To open the rear of the compartment,
push the button at the end of the
tray, then slide the tray forward. To
close, slide the tray back in place.
The console compartment light
comesonwhentheinstrumentpanel
lights are on. There are two removable partitions
in the main compartment. The
partitions can be used to divide the
main compartment, or can be stored
at the f ront of the compartment.
Center Console
Console Compart ment s
Interior Convenience Items
Inst rument s and Cont rols
113
Page 123 of 331
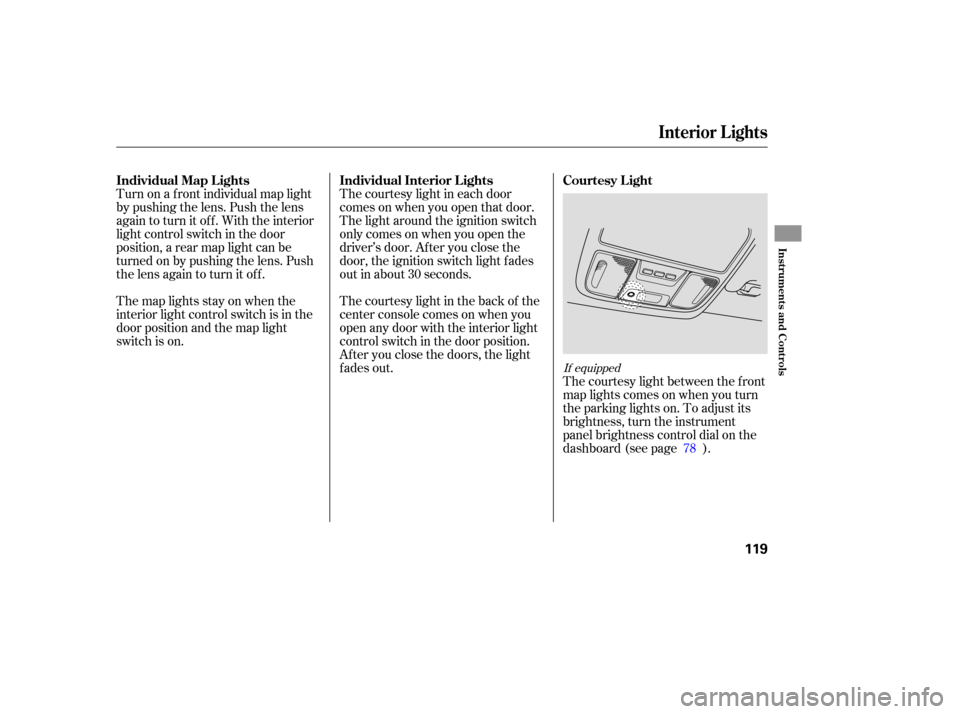
Turn on a front individual map light
by pushing the lens. Push the lens
again to turn it off. With the interior
light control switch in the door
position, a rear map light can be
tu rn ed on by pushing the lens. Push
the lens again to turn it off. The
courtesy light in each door
comes on when you open that door.
The light around the ignition switch
only comes on when you open the
driver’s door. After you close the
door, the ignition switch light fades
out in about 30 seconds.
The courtesy light in the back of the
center console comes on when you
open any door with the interior light
control switch in the door position.
After you close the doors, the light
fades out.
The
map lights stay on when the
interior light control switch is in the
door position and the map light
switch is on.
The courtesy light between the front
map lights comes on when you turn
the parking lights on. To adjust its
brightness, turn the instrument
panel brightness control dial on the
dashboard (see page ). 78
If equipped
Individual Map L ights Individual Interior L ights Courtesy L ight
Interior Lights
Inst rument s and Cont rols
119