Page 352 of 472

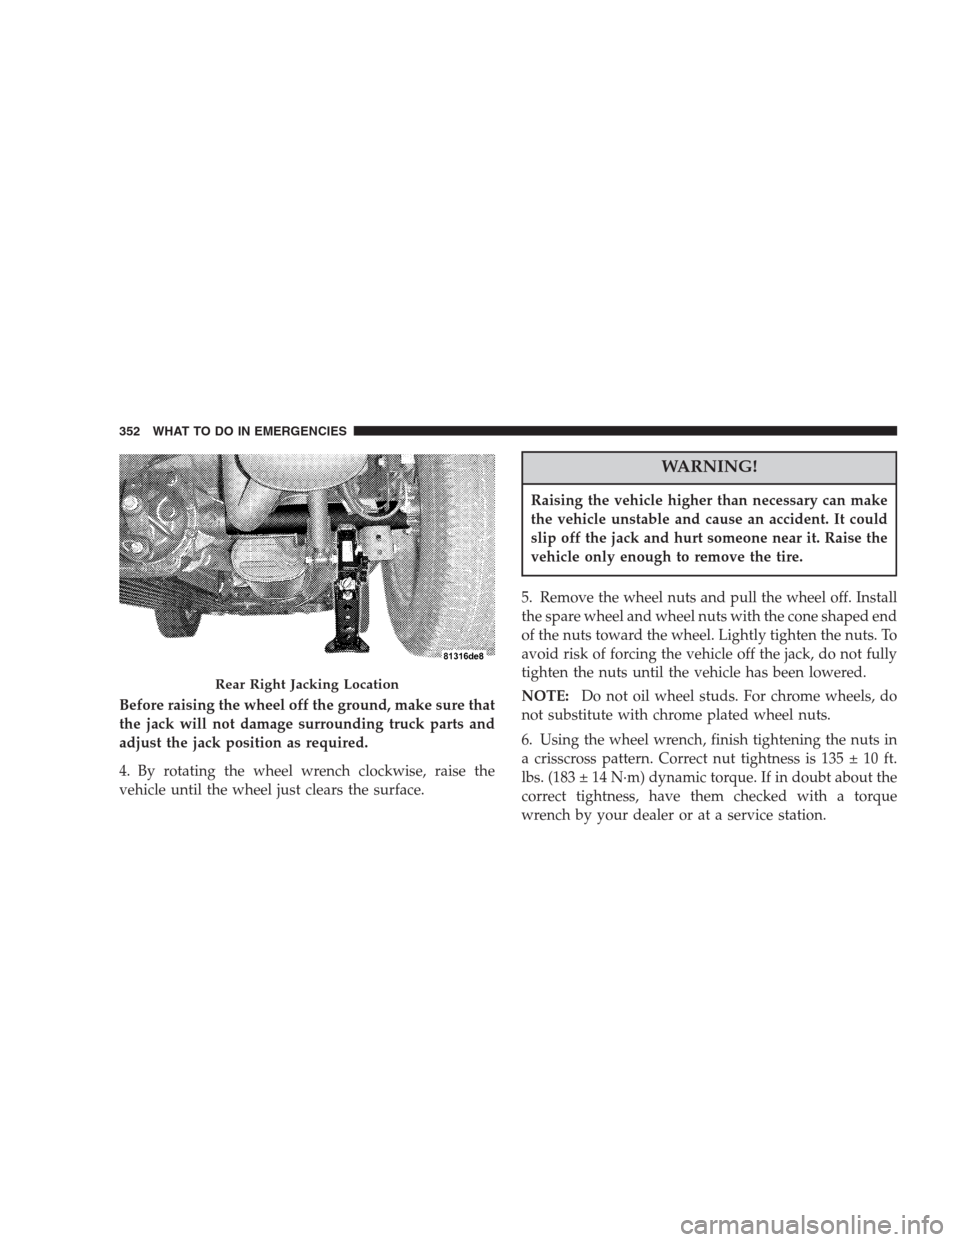
Before raising the wheel off the ground, make sure that
the jack will not damage surrounding truck parts and
adjust the jack position as required.
4. By rotating the wheel wrench clockwise, raise the
vehicle until the wheel just clears the surface.
WARNING!
Raising the vehicle higher than necessary can make
the vehicle unstable and cause an accident. It could
slip off the jack and hurt someone near it. Raise the
vehicle only enough to remove the tire.
5. Remove the wheel nuts and pull the wheel off. Install
the spare wheel and wheel nuts with the cone shaped end
of the nuts toward the wheel. Lightly tighten the nuts. To
avoid risk of forcing the vehicle off the jack, do not fully
tighten the nuts until the vehicle has been lowered.
NOTE:Do not oil wheel studs. For chrome wheels, do
not substitute with chrome plated wheel nuts.
6. Using the wheel wrench, finish tightening the nuts in
a crisscross pattern. Correct nut tightness is 135 ± 10 ft.
lbs. (183 ± 14 N·m) dynamic torque. If in doubt about the
correct tightness, have them checked with a torque
wrench by your dealer or at a service station.
Rear Right Jacking Location
352 WHAT TO DO IN EMERGENCIES
Page 410 of 472
3. Unlock and remove electrical connector. 4. Twist bulb sockets counterclockwise to remove from
housing.
5. Remove the bulbs from the bulb sockets by pulling the
bulb straight out.
410 MAINTAINING YOUR VEHICLE
Page 411 of 472
License Lights
1. Push tab towards the lamp and remove lamp assem-
bly.2. Rotate the socket 1/4 turn counterclockwise.
3. Pull bulb from socket.
MAINTAINING YOUR VEHICLE 411
7
Page 412 of 472
Center High-Mounted Stoplight
1. Remove two screws securing stoplight housing assem-
bly to the liftgate.
2. Turn socket 1/4 counterclockwise and free from hous-
ing.3. Pull bulb straight from socket to remove.
412 MAINTAINING YOUR VEHICLE
Page 413 of 472
Fog Lights
To replace the left foglamp bulb:
1. Remove the three wheel liner screws2. Remove the remove the far left air dam screw at the
bottom of the fascia.
3. Peel back the liner and access the foglamp
4. Rotate the socket and connector 1/4 turn counter-
clockwise and pull straight reward to disengage from the
lamp.
5. Remove the bulb from the socket and replace.
The right foglamp can be accessed from below the
vehicle. Follow the previous steps 4 and 5 of the left
foglamp to replace the bulb.
NOTE:These are Halogen bulbs. Take care not to touch
the bulb with your fingers. Body oils from your fingers
could cause excessive heat build-up, which reduces bulb
life.
1 – (3) Wheel liner screws
2 – (1) Air dam screwMAINTAINING YOUR VEHICLE 4137
Page 452 of 472

Carbon Monoxide Warning............72,161,315
Cargo Management System................. 178
Cargo Organizer....................... 178
Cargo Organizer........................ 178
Cargo (Vehicle Loading)................... 321
Catalytic Converter...................... 373
CD (Compact Disc) Player...............200,208
Cellular Phone........................83,232
Center High Mounted Stop Light............ 412
Certification Label....................... 321
Charging.............................. 354
Chart, Tire Sizing........................ 290
Child Restraint........................62,63
Child Restraint Tether Anchors.............65,70
Child Restraint with Automatic Belts........... 45
Child Seat.............................. 67
Circuit Breakers......................... 398
Cleaning
Wheels............................. 395Climate Control......................... 233
Climate Control, Rear Zone..............237,244
Clock.....................197,198,202,210,222
Compact Disc (CD) Maintenance............. 232
Compact Spare Tire...................... 301
Compass Calibration..................... 158
Compass Variance....................... 159
Console, Floor.......................172,175
Console, Overhead....................150,151
Contract, Service........................ 444
Coolant Pressure Cap (Radiator Cap)....362,363,383
Cooling System......................... 381
Adding Coolant (Antifreeze).............. 383
Coolant Capacity...................... 414
Coolant Level......................381,384
Disposal of Used Coolant................ 384
Drain, Flush, and Refill.................. 382
Inspection........................... 384
Points to Remember.................... 385
452 INDEX
Page 463 of 472

Extender............................. 50
Front Seat............................ 39
Pretensioners.......................... 48
Reminder............................ 188
Seats................................. 108
Adjustment.......................... 108
Cleaning............................ 395
Fold and Tumble Rear................ 115,117
Heated.............................. 112
Lumbar Support....................... 110
Memory............................. 125
Rear Folding....................... 115,117
Reclining............................ 109
Security Alarm (Theft Alarm).............17,190
Selection of Coolant (Antifreeze)..........382,415
Selection of Oil......................... 370
Sentry Key (Immobilizer)................... 15
Service and Maintenance................367,418
Service Assistance....................... 442Service Contract......................... 444
Service Manuals........................ 446
Setting the Clock.............197,198,202,210,222
Settings, Personal........................ 155
Shifting
Automatic Transmission................. 258
Transfer Case......................... 263
Transfer Case, Shifting into Transfer Case
Neutral (N)............................ 340
Transfer Case, Shifting out of Transfer Case
Neutral (N)............................ 341
Shoulder Belt Upper Anchorage.............. 44
Shoulder Belts........................... 39
Signals, Turn.....................135,187,409
Snow Plow............................ 338
Snow Tires............................ 306
Spare Tire..........................301,302
Spark Plugs............................ 372
Speed Control (Cruise Control).............. 142
INDEX 463
10
Page:
< prev 1-8 9-16 17-24