2007 CHEVROLET TRAIL BLAZER snow
[x] Cancel search: snowPage 95 of 574
Remote Keyless Entry (RKE)
System
If the vehicle has the Remote Keyless Entry (RKE)
system, it operates on a radio frequency subject
to Federal Communications Commission (FCC)
Rules and with Industry Canada.
This device complies with Part 15 of the FCC
Rules. Operation is subject to the following
two conditions:
1. This device may not cause interference.
2. This device must accept any interference
received, including interference that may
cause undesired operation of the device.
This device complies with RSS-210 of Industry
Canada. Operation is subject to the following
two conditions:
1. This device may not cause interference.
2. This device must accept any interference
received, including interference that may
cause undesired operation of the device.Changes or modications to this system by other
than an authorized service facility could void
authorization to use this equipment.
At times you may notice a decrease in range. This
is normal for any RKE system. If the transmitter
does not work or if you have to stand closer
to your vehicle for the transmitter to work, try this:
Check the distance. You may be too far
from your vehicle. You may need to stand
closer during rainy or snowy weather.
Check the location. Other vehicles or objects
may be blocking the signal. Take a few steps
to the left or right, hold the transmitter
higher, and try again.
Check to determine if battery replacement is
necessary. See “Battery Replacement”
underRemote Keyless Entry (RKE) System
Operation on page 96.
If you are still having trouble, see your
dealer/retailer or a qualied technician
for service.
95
Page 119 of 574
REVERSE (R):Use this gear to back up.
Notice:Shifting to REVERSE (R) while your
vehicle is moving forward could damage
the transmission. The repairs would not be
covered by your warranty. Shift to
REVERSE (R) only after your vehicle is
stopped.
To rock your vehicle back and forth to get out of
snow, ice, or sand without damaging your
transmission, seeIf Your Vehicle is Stuck in Sand,
Mud, Ice, or Snow on page 354.
NEUTRAL (N):In this position, the engine does
not connect with the wheels. To restart when
you are already moving, use NEUTRAL (N) only.
{CAUTION:
Shifting into a drive gear while your
engine is running at high speed is
dangerous. Unless your foot is rmly on
the brake pedal, your vehicle could move
very rapidly. You could lose control and
hit people or objects. Do not shift into a
drive gear while your engine is running at
high speed.
Notice:Shifting out of PARK (P) or
NEUTRAL (N) with the engine running at
high speed may damage the transmission.
The repairs would not be covered by your
warranty. Be sure the engine is not running at
high speed when shifting your vehicle.
119
Page 120 of 574
DRIVE (D):This position is for normal driving.
It provides the best fuel economy for your vehicle.
If you need more power for passing, and you are:
Going less than about 35 mph (55 km/h), push
the accelerator pedal about
halfway down.
Going about 35 mph (55 km/h) or more, push
the accelerator all the way down.
You will shift down to the next gear and have
more power.
Downshifting the transmission in slippery road
conditions could result in skidding, see “Skidding”
underLoss of Control on page 322.
DRIVE (D) can be used when towing a trailer,
carrying a heavy load, driving on steep hills, or for
off-road driving. You may want to shift the
transmission to THIRD (3) or, if necessary, a lower
gear selection if the transmission shifts too often.
THIRD (3):This position is also used for normal
driving. It reduces vehicle speed more than
DRIVE (D) without using your brakes. You might
choose THIRD (3) instead of DRIVE (D) when
driving on hilly, winding roads, when towing
a trailer, so there is less shifting between gears
and when going down a steep hill.To shift to the THIRD (3) position, you must rst
press the large button on the shift handle.
While the button is pressed, move the shifter in
the THIRD (3) position.
SECOND (2):This position reduces vehicle speed
even more than THIRD (3) without using your
brakes. You can use SECOND (2) on hills. It can
help control your speed as you go down steep
mountain roads, but then you would also want to
use your brakes off and on.
To shift to the SECOND (2) position, you must rst
press the large button on the shift handle. While
the button is pressed, move the shifter in the
SECOND (2) position.
You can also use SECOND (2) for starting the
vehicle from a stop on slippery road surfaces.
FIRST (1):This position reduces vehicle speed
even more than SECOND (2) without using
your brakes. You can use it on very steep hills, or
in deep snow or mud. If the shift lever is put in
FIRST (1) while the vehicle is moving forward, the
transmission will not shift into rst gear until the
vehicle is going slowly enough.
120
Page 122 of 574
Automatic Transfer Case
If your vehicle has four-wheel drive, the transfer
case knob is located to the right of the steering
wheel on the instrument panel.
Use this knob to shift
into and out of
four-wheel drive
2
m(Two-Wheel High):This setting is for
driving in most street and highway situations.
Your front axle is not engaged in two-wheel drive.
It also provides the best fuel economy.AUTO (Automatic Four-Wheel Drive):This
setting is ideal for use when road conditions are
variable. When driving your vehicle in automatic
four-wheel drive, the front axle is engaged, but the
vehicle’s power is sent to the rear wheels.
When the vehicle senses a loss of traction, the
system will automatically engage four-wheel drive.
Driving in this mode results in slightly lower fuel
economy than Two-Wheel High.
4
m(Four-Wheel High):This setting should be
used when you need extra traction, such as
on snowy or icy roads or in most off-road
situations. This setting also engages your front
axle to help drive your vehicle.
4
n(Four-Wheel Low):This setting also
engages your front axle and delivers extra torque.
It sends maximum power to all four wheels.
You might choose this setting if you are driving
off-road in deep sand, deep mud, and climbing or
descending steep hills.
122
Page 145 of 574
Outside Heated Mirrors
If the vehicle has this feature, when the rear
window defogger is turned on, the outside driver’s
and passenger’s rearview mirrors also heat to
help clear them of ice, snow, and condensation.
SeeDual Climate Control System on page 187or
Dual Automatic Climate Control System on
page 190for more information.
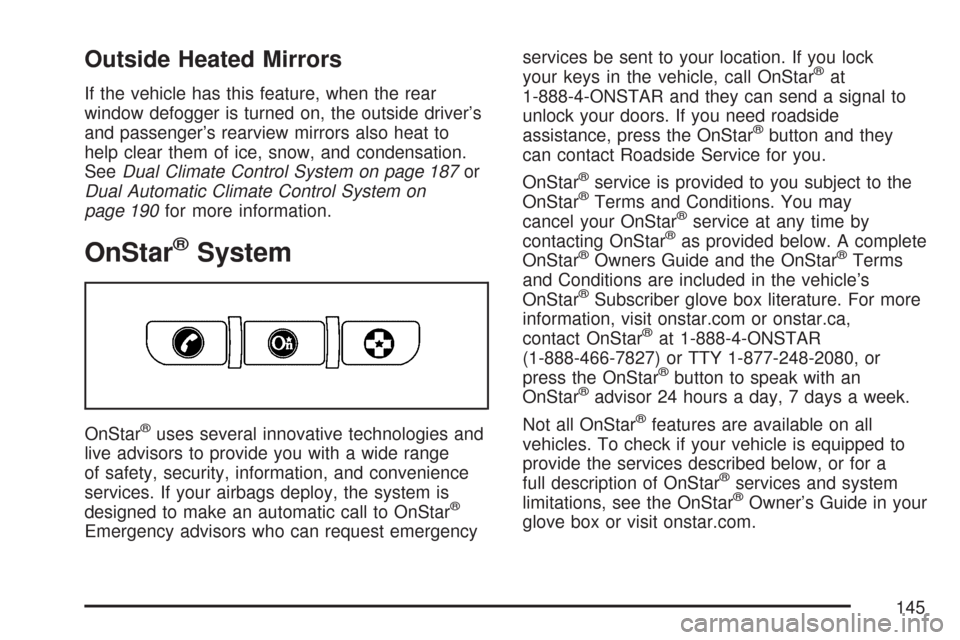
OnStar®System
OnStar®uses several innovative technologies and
live advisors to provide you with a wide range
of safety, security, information, and convenience
services. If your airbags deploy, the system is
designed to make an automatic call to OnStar
®
Emergency advisors who can request emergencyservices be sent to your location. If you lock
your keys in the vehicle, call OnStar
®at
1-888-4-ONSTAR and they can send a signal to
unlock your doors. If you need roadside
assistance, press the OnStar
®button and they
can contact Roadside Service for you.
OnStar
®service is provided to you subject to the
OnStar®Terms and Conditions. You may
cancel your OnStar®service at any time by
contacting OnStar®as provided below. A complete
OnStar®Owners Guide and the OnStar®Terms
and Conditions are included in the vehicle’s
OnStar
®Subscriber glove box literature. For more
information, visit onstar.com or onstar.ca,
contact OnStar
®at 1-888-4-ONSTAR
(1-888-466-7827) or TTY 1-877-248-2080, or
press the OnStar
®button to speak with an
OnStar®advisor 24 hours a day, 7 days a week.
Not all OnStar
®features are available on all
vehicles. To check if your vehicle is equipped to
provide the services described below, or for a
full description of OnStar
®services and system
limitations, see the OnStar®Owner’s Guide in your
glove box or visit onstar.com.
145
Page 175 of 574
Headlamp High/Low-Beam Changer
To change the headlamps from low to high
beam, push the lever toward the instrument panel.
To return to low-beam headlamps, pull the
multifunction lever toward you. Then release it.
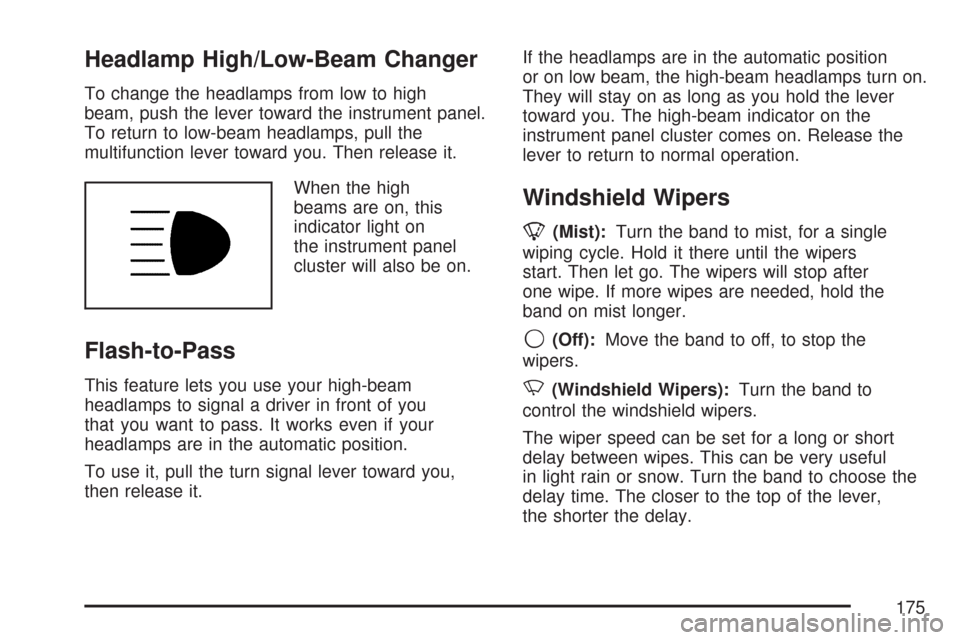
When the high
beams are on, this
indicator light on
the instrument panel
cluster will also be on.
Flash-to-Pass
This feature lets you use your high-beam
headlamps to signal a driver in front of you
that you want to pass. It works even if your
headlamps are in the automatic position.
To use it, pull the turn signal lever toward you,
then release it.If the headlamps are in the automatic position
or on low beam, the high-beam headlamps turn on.
They will stay on as long as you hold the lever
toward you. The high-beam indicator on the
instrument panel cluster comes on. Release the
lever to return to normal operation.
Windshield Wipers
8(Mist):Turn the band to mist, for a single
wiping cycle. Hold it there until the wipers
start. Then let go. The wipers will stop after
one wipe. If more wipes are needed, hold the
band on mist longer.
9(Off):Move the band to off, to stop the
wipers.
N(Windshield Wipers):Turn the band to
control the windshield wipers.
The wiper speed can be set for a long or short
delay between wipes. This can be very useful
in light rain or snow. Turn the band to choose the
delay time. The closer to the top of the lever,
the shorter the delay.
175
Page 176 of 574
For steady wiping at low speed, turn the band
away from you to the rst solid band past the
delay settings. For high-speed wiping, turn
the band further, to the second solid band past
the delay settings. To stop the wipers, move
the band to off.
Be sure to clear ice and snow from the wiper
blades before using them. If they are frozen to
the windshield, carefully loosen or thaw them.
If the blades do become worn or damaged,
get new blades or blade inserts.
Windshield Washer
L(Windshield Washer):To spray washer uid
on the windshield, press the windshield washer
paddle. The wipers will clear the window and then
either stop or return to your preset speed.
{CAUTION:
In freezing weather, do not use your
washer until the windshield is warmed.
Otherwise the washer uid can form ice
on the windshield, blocking your vision.
Rear Window Wiper/Washer
{CAUTION:
In freezing weather, do not use your
washer until the windshield is warmed.
Otherwise the washer uid can form ice
on the windshield, blocking your vision.
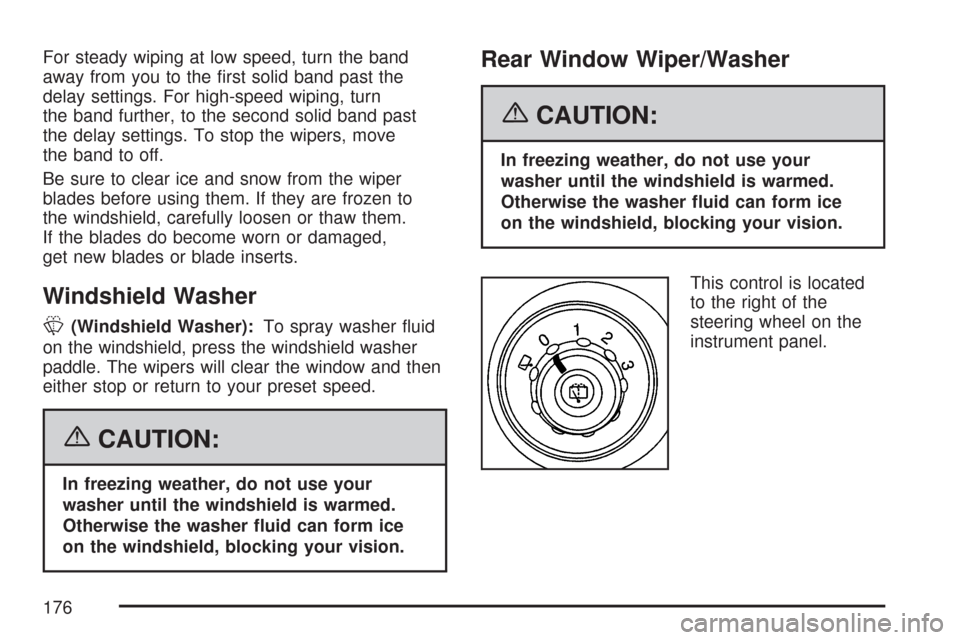
This control is located
to the right of the
steering wheel on the
instrument panel.
176
Page 195 of 574
Outlet Adjustment
Use the air outlets located in the center and
on the side of the instrument panel to direct
the airow.
Operation Tips
Keep the hood and front air inlets free of
ice, snow, or any other obstruction, such
as leaves. The heater and defroster will work
better, reducing the chance of fogging the
inside of your windows.
When you enter a vehicle in cold weather,
set the fan speed to maximum airow for
a few moments before driving. This helps
clear the intake ducts of snow and moisture,
and reduces the chance of fogging the
inside of your windows.
Keep the air path under the front seats
clear of objects. This helps air to circulate
throughout your vehicle.
Adding outside equipment to the front of the
vehicle, such as hood-air deectors, may
affect the performance of the heating and
air conditioning system. Check with your
dealer before adding equipment to the
outside of your vehicle.
195