2007 CHEVROLET MALIBU MAXX low oil pressure
[x] Cancel search: low oil pressurePage 103 of 510
The remote vehicle start feature will not operate
if any of the following occur:
The remote start system is disabled
through the DIC.
The vehicle’s key is in the ignition.
The vehicle’s hood is open.
The hazard warning �ashers are on.
The check engine light is on. See
Malfunction Indicator Lamp on page 212.
The engine coolant temperature is too high.
The oil pressure is low.
Two remote vehicle starts have already
been provided.
Vehicles that have the remote vehicle start
feature are shipped from the factory with the
remote vehicle start system enabled. The system
may be enabled or disabled through the DIC.
See “REMOTE START” underDIC Vehicle
Personalization on page 225for additional
information.
Remote Start Ready
If your vehicle does not have the remote vehicle
start feature, it will have the remote start ready
feature. This feature allows your dealer to add the
manufacturer’s remote vehicle start feature.
If the keyless entry transmitter has a plus (+)
symbol on the back cover, your vehicle has the
remote start ready feature. You can lock or unlock
your vehicle from about 197 feet (60 m) away.
See your dealer if you would like to add the
manufacturer’s remote vehicle start feature to
your vehicle.
103
Page 215 of 510
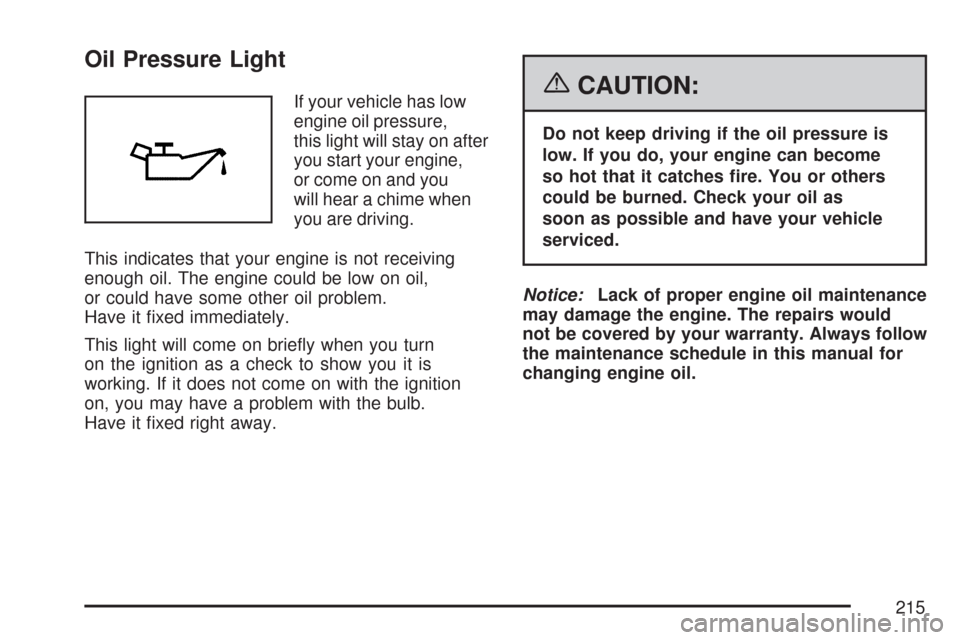
Oil Pressure Light
If your vehicle has low
engine oil pressure,
this light will stay on after
you start your engine,
or come on and you
will hear a chime when
you are driving.
This indicates that your engine is not receiving
enough oil. The engine could be low on oil,
or could have some other oil problem.
Have it �xed immediately.
This light will come on brie�y when you turn
on the ignition as a check to show you it is
working. If it does not come on with the ignition
on, you may have a problem with the bulb.
Have it �xed right away.{CAUTION:
Do not keep driving if the oil pressure is
low. If you do, your engine can become
so hot that it catches �re. You or others
could be burned. Check your oil as
soon as possible and have your vehicle
serviced.
Notice:Lack of proper engine oil maintenance
may damage the engine. The repairs would
not be covered by your warranty. Always follow
the maintenance schedule in this manual for
changing engine oil.
215
Page 305 of 510
A cornering skid and an acceleration skid are best
handled by easing your foot off the accelerator
pedal.
If your vehicle starts to slide, ease your foot off
the accelerator pedal and quickly steer the way
you want the vehicle to go. If you start steering
quickly enough, your vehicle may straighten out.
Always be ready for a second skid if it occurs.
Of course, traction is reduced when water, snow,
ice, gravel, or other material is on the road.
For safety, you will want to slow down and adjust
your driving to these conditions. It is important
to slow down on slippery surfaces because
stopping distance will be longer and vehicle
control more limited.
While driving on a surface with reduced traction,
try your best to avoid sudden steering, acceleration,
or braking, including reducing vehicle speed by
shifting to a lower gear. Any sudden changes could
cause the tires to slide. You may not realize the
surface is slippery until your vehicle is skidding.
Learn to recognize warning clues — such as
enough water, ice, or packed snow on the road to
make a mirrored surface — and slow down when
you have any doubt.If you have the Anti-Lock Brake System (ABS),
remember: It helps avoid only the braking skid.
If you do not have ABS, then in a braking
skid, where the wheels are no longer rolling,
release enough pressure on the brakes to get
the wheels rolling again. This restores steering
control. Push the brake pedal down steadily
when you have to stop suddenly. As long as the
wheels are rolling, you will have steering control.
Competitive Driving
See your warranty book before using your vehicle
for competitive driving. After reviewing your
warranty book, please see the GM Performance
Parts website or catalog for parts and equipment
required for competitive driving.
Notice:If you use your vehicle for competitive
driving, the engine may use more oil than it
would with normal use. Low oil levels can
damage the engine. Be sure to check the oil
level often during competitive driving and
keep the level at or near the upper mark that
shows the proper operating range on the
engine oil dipstick. For information on how
to add oil, seeEngine Oil on page 359.
305
Page 359 of 510
A. Engine Air Cleaner/Filter. SeeEngine Air
Cleaner/Filter on page 364.
B. Engine Coolant Bleed Valve. SeeCooling
System on page 374
C. Power Steering Fluid. SeePower Steering
Fluid on page 379.
D. Automatic Transaxle Fluid Dipstick (Out of
View). See “Checking Fluid Level” under
Automatic Transaxle Fluid (2.2L L4 and
3.5L V6 Engines) on page 365orAutomatic
Transaxle Fluid (3.9L V6 Engine) on page 366.
E. Engine Oil Fill Cap. See “When to Add
Engine Oil” underEngine Oil on page 359.
F. Engine Oil Dipstick. See “Checking Engine Oil”
underEngine Oil on page 359.
G. Engine Coolant Surge Tank. SeeCooling
System on page 374.
H. Coolant Surge Tank Pressure Cap. See
Coolant Surge Tank Pressure Cap on page 371
I. Brake Fluid Reservoir. See “Brake Fluid”
underBrakes on page 381.
J. Battery. SeeBattery on page 384.K. Windshield Washer Fluid Reservoir. See
“Adding Washer Fluid” underWindshield
Washer Fluid on page 380.
L. Engine Compartment Fuse Block. SeeEngine
Compartment Fuse Block on page 449.
Engine Oil
Checking Engine Oil
It is a good idea to check the engine oil every time
you get fuel. In order to get an accurate reading,
the oil must be warm and the vehicle must be
on level ground.
The engine oil dipstick handle is a yellow loop.
SeeEngine Compartment Overview on page 354
for the location of the engine oil dipstick.
1. Turn off the engine and give the oil
several minutes to drain back into the oil pan.
If you do not do this, the oil dipstick might
not show the actual level.
2. Pull the dipstick and clean it with a paper
towel or cloth, then push it back in all the
way. Remove it again, keeping the tip down
and check the level.
359
Page 377 of 510
{CAUTION:
Adding only plain water to your cooling
system can be dangerous. Plain water, or
some other liquid such as alcohol, can
boil before the proper coolant mixture will.
Your vehicle’s coolant warning system is
set for the proper coolant mixture. With
plain water or the wrong mixture, your
engine could get too hot but you would
not get the overheat warning. Your engine
could catch �re and you or others could
be burned. Use a 50/50 mixture of clean,
drinkable water and DEX-COOL
®coolant.
Notice:In cold weather, water can freeze and
crack the engine, radiator, heater core and
other parts. Use the recommended coolant and
the proper coolant mixture.
{CAUTION:
You can be burned if you spill coolant on
hot engine parts. Coolant contains
ethylene glycol and it will burn if the
engine parts are hot enough. Do not spill
coolant on a hot engine.
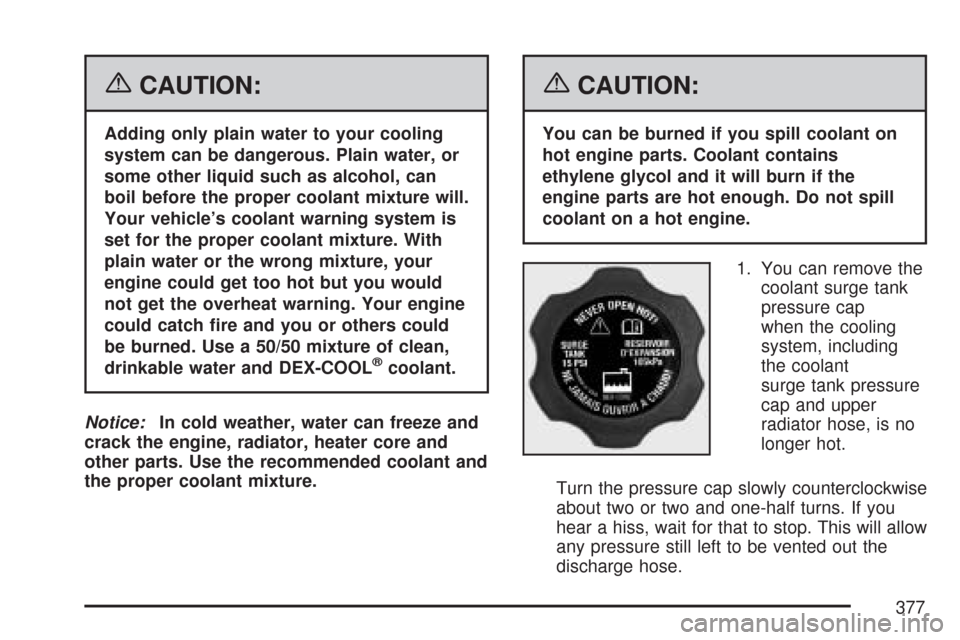
1. You can remove the
coolant surge tank
pressure cap
when the cooling
system, including
the coolant
surge tank pressure
cap and upper
radiator hose, is no
longer hot.
Turn the pressure cap slowly counterclockwise
about two or two and one-half turns. If you
hear a hiss, wait for that to stop. This will allow
any pressure still left to be vented out the
discharge hose.
377
Page 436 of 510
Dust may be removed from small buttons and
knobs using a small brush with soft bristles.
Your dealer has a product for cleaning your
vehicle’s glass. Should it become necessary, you
can also obtain a product from your dealer to
remove odors from your vehicle’s upholstery.
Do not clean your vehicle using the following
cleaners or techniques:
Never use a knife or any other sharp object to
remove a soil from any interior surface.
Never use a stiff brush. It can cause damage
to your vehicle’s interior surfaces.
Never apply heavy pressure or rub
aggressively with a cleaning cloth. Use of
heavy pressure can damage your interior and
does not improve the effectiveness of soil
removal.
Use only mild, neutral-pH soaps. Avoid
laundry detergents or dishwashing soaps with
degreasers. Using too much soap will leave
a residue that leaves streaks and attracts dirt.
For liquid cleaners, about 20 drops per
gallon (3.78 L) of water is a good guide.
Do not heavily saturate your upholstery while
cleaning.
Damage to your vehicle’s interior may result
from the use of many organic solvents such
as naptha, alcohol, etc.
Fabric/Carpet
Use a vacuum cleaner with a soft brush
attachment frequently to remove dust and loose
dirt. A canister vacuum with a beater bar in
the nozzle may only be used on �oor carpet and
carpeted �oor mats. For soils, always try to remove
them �rst with plain water or club soda. Before
cleaning, gently remove as much of the soil
as possible using one of the following techniques:
For liquids: gently blot the remaining soil
with a paper towel. Allow the soil to absorb into
the paper towel until no more can be
removed.
For solid dry soils: remove as much as
possible and then vacuum.
436