Page 170 of 510
W. Shift Lever. SeeShifting Into Park (P)
on page 132.
X. Center Console Storage Compartment. See
Center Console Storage Area on page 160.
Y. Traction Control Button or Enhanced Traction
System Button (If Equipped). SeeTraction
Control System (TCS) on page 295 Enhanced
Traction System (ETS) on page 297.
Z. Rear Wiper/Washer Controls (If Equipped).
SeeWindshield Washer on page 174.
Hazard Warning Flashers
The hazard warning �ashers let you warn the police
and others that you have a problem. The front and
rear turn signal lamps will �ash on and off.
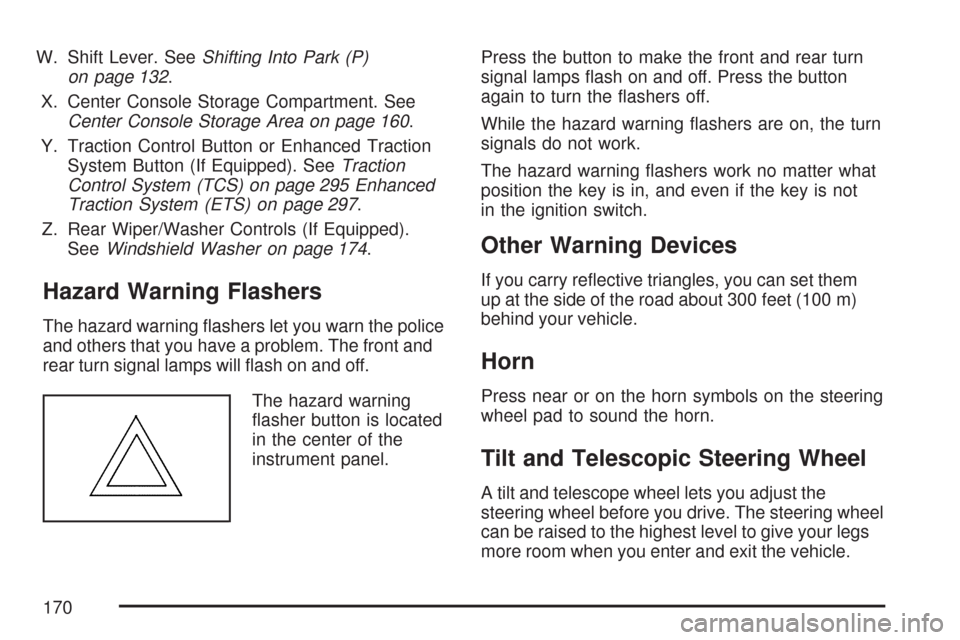
The hazard warning
�asher button is located
in the center of the
instrument panel.Press the button to make the front and rear turn
signal lamps �ash on and off. Press the button
again to turn the �ashers off.
While the hazard warning �ashers are on, the turn
signals do not work.
The hazard warning �ashers work no matter what
position the key is in, and even if the key is not
in the ignition switch.
Other Warning Devices
If you carry re�ective triangles, you can set them
up at the side of the road about 300 feet (100 m)
behind your vehicle.
Horn
Press near or on the horn symbols on the steering
wheel pad to sound the horn.
Tilt and Telescopic Steering Wheel
A tilt and telescope wheel lets you adjust the
steering wheel before you drive. The steering wheel
can be raised to the highest level to give your legs
more room when you enter and exit the vehicle.
170
Page 171 of 510
The lever that lets you tilt and telescope the
steering wheel is located on the left side of the
steering column.
To tilt and telescope the steering wheel, pull down
the lever. Then move the steering wheel up or
down or backward or forward into a comfortable
position. Pull the lever up to lock the steering
wheel in place.Turn Signal/Multifunction Lever
The lever on the left side of the steering column
includes the following:
GTurn and Lane-Change Signals. See
Turn and Lane-Change Signals on page 172.
3Headlamp High/Low-Beam Changer.
SeeHeadlamp High/Low-Beam Changer
on page 172.
Flash-to-Pass. SeeFlash-to-Pass on page 173.
PExterior Light Control. SeeExterior Lamps
on page 179.
171
Page 173 of 510
Flash-to-Pass
This feature lets you use your high-beam
headlamps momentarily to signal a driver in
front of you that you want to pass.
To use it, pull the turn signal/multifunction lever
toward you until the high-beam headlamps
come on, then release the lever to turn them off.
Windshield Wipers
Be sure to clear ice and snow from the wiper
blades before using them. If the wiper blades
are frozen to the windshield, gently loosen or thaw
them. If the blades do become damaged, install
new blades or blade inserts. SeeWindshield Wiper
Blade Replacement on page 394.
Heavy snow or ice can overload the wiper motor.
A circuit breaker will stop the motor until it
cools down. Clear away snow or ice to prevent
an overload. If the wipers gets stuck, turn
the wipers off, clear away the snow or ice,
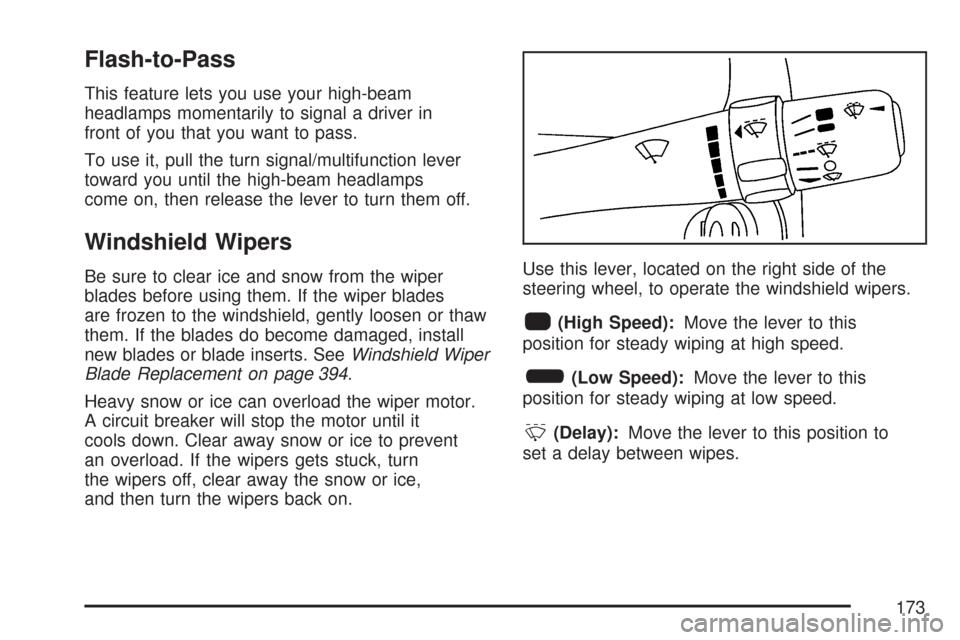
and then turn the wipers back on.Use this lever, located on the right side of the
steering wheel, to operate the windshield wipers.
1(High Speed):Move the lever to this
position for steady wiping at high speed.
6(Low Speed):Move the lever to this
position for steady wiping at low speed.
&(Delay):Move the lever to this position to
set a delay between wipes.
173
Page 176 of 510
Cruise Control
With cruise control, you can maintain a speed
of about 25 mph (40 km/h) or more without
keeping your foot on the accelerator. This can
really help on long trips. Cruise control does not
work at speeds below about 25 mph (40 km/h).
{CAUTION:
Cruise control can be dangerous where
you cannot drive safely at a steady speed.
So, do not use your cruise control on
winding roads or in heavy traffic.
Cruise control can be dangerous on
slippery roads. On such roads, fast
changes in tire traction can cause
excessive wheel slip, and you could
lose control. Do not use cruise control
on slippery roads.
Setting Cruise Control
The cruise control buttons are located on left side
of the steering wheel.
T(On/Off):Press this button to turn the cruise
control system on and off.
RES+ (Resume/Accelerate):Press this button
to make the vehicle accelerate or resume to
a previously set speed.
4–Spoke Steering Wheel
Cruise Controls
3–Spoke Steering Wheel
Cruise Controls
176
Page 177 of 510
SET– (Set/Coast):Press this button to set the
speed or to decrease the set speed.
[(Cancel):Press this button to cancel cruise
control.
Cruise control will not work if your parking brake is
set, or if the master cylinder brake �uid level is low.
The cruise control light on the instrument panel
cluster will come on after the cruise control
has been set to the desired speed.
{CAUTION:
If you leave your cruise control on when
you are not using cruise, you might hit a
button and go into cruise when you do not
want to. You could be startled and even
lose control. Keep the cruise control switch
off until you want to use cruise control.
1. Press the button with the cruise control
symbol on it.
2. Get up to the speed you want.
3. Press the SET– button located on the
steering wheel and release it.
4. Take your foot off the accelerator.
177
Page 178 of 510
Resuming a Set Speed
Suppose you set your cruise control at a desired
speed and then you apply the brake. This shuts off
the cruise control. But you don’t need to reset it.
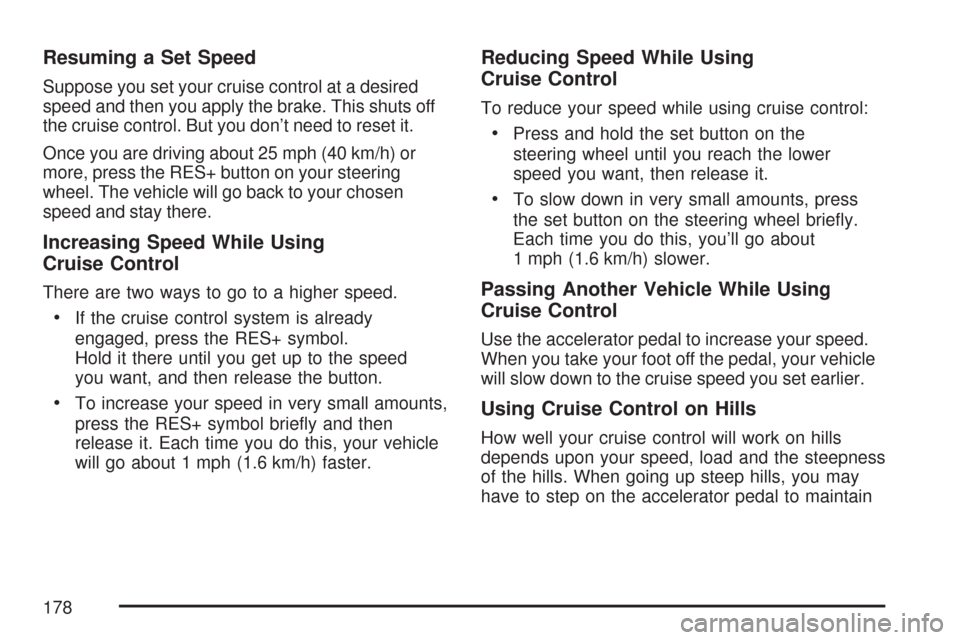
Once you are driving about 25 mph (40 km/h) or
more, press the RES+ button on your steering
wheel. The vehicle will go back to your chosen
speed and stay there.
Increasing Speed While Using
Cruise Control
There are two ways to go to a higher speed.
If the cruise control system is already
engaged, press the RES+ symbol.
Hold it there until you get up to the speed
you want, and then release the button.
To increase your speed in very small amounts,
press the RES+ symbol brie�y and then
release it. Each time you do this, your vehicle
will go about 1 mph (1.6 km/h) faster.
Reducing Speed While Using
Cruise Control
To reduce your speed while using cruise control:
Press and hold the set button on the
steering wheel until you reach the lower
speed you want, then release it.
To slow down in very small amounts, press
the set button on the steering wheel brie�y.
Each time you do this, you’ll go about
1 mph (1.6 km/h) slower.
Passing Another Vehicle While Using
Cruise Control
Use the accelerator pedal to increase your speed.
When you take your foot off the pedal, your vehicle
will slow down to the cruise speed you set earlier.
Using Cruise Control on Hills
How well your cruise control will work on hills
depends upon your speed, load and the steepness
of the hills. When going up steep hills, you may
have to step on the accelerator pedal to maintain
178
Page 184 of 510
Fog Lamps
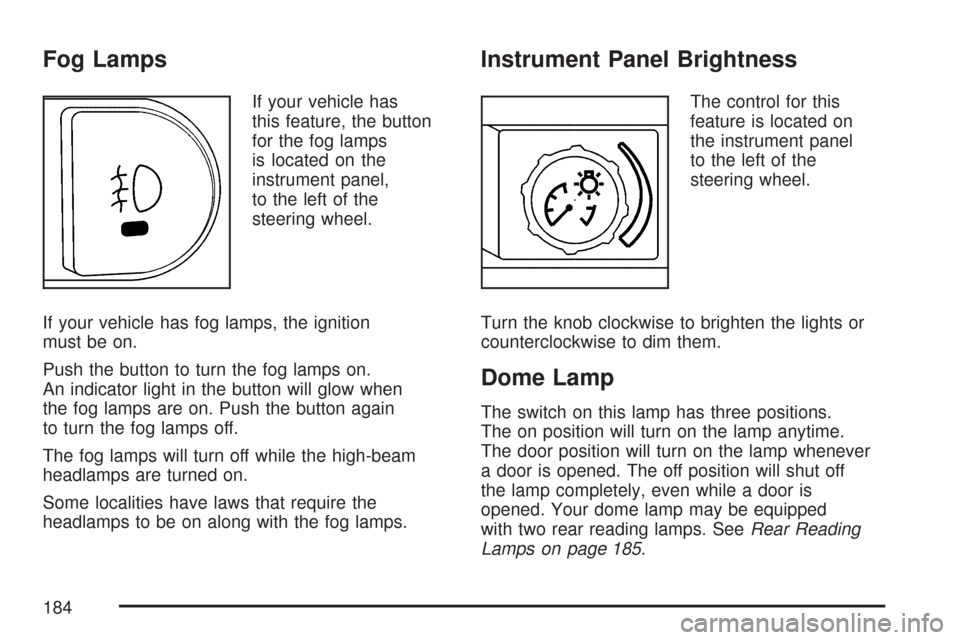
If your vehicle has
this feature, the button
for the fog lamps
is located on the
instrument panel,
to the left of the
steering wheel.
If your vehicle has fog lamps, the ignition
must be on.
Push the button to turn the fog lamps on.
An indicator light in the button will glow when
the fog lamps are on. Push the button again
to turn the fog lamps off.
The fog lamps will turn off while the high-beam
headlamps are turned on.
Some localities have laws that require the
headlamps to be on along with the fog lamps.
Instrument Panel Brightness
The control for this
feature is located on
the instrument panel
to the left of the
steering wheel.
Turn the knob clockwise to brighten the lights or
counterclockwise to dim them.
Dome Lamp
The switch on this lamp has three positions.
The on position will turn on the lamp anytime.
The door position will turn on the lamp whenever
a door is opened. The off position will shut off
the lamp completely, even while a door is
opened. Your dome lamp may be equipped
with two rear reading lamps. SeeRear Reading
Lamps on page 185.
184
Page 197 of 510
Notice:Do not use a razor blade or sharp
object to clear the inside rear window. Do not
adhere anything to the defogger grid lines
in the rear glass. These actions may damage
the rear defogger. Repairs would not be
covered by your warranty.
Outlet Adjustment
Use the thumbwheels on the air outlets, located
on the center and on the sides of the instrument
panel, to change the horizontal direction of
the air�ow. Use the tabs on the outlet vanes
to change the vertical direction of the air�ow.
Use the tabs on the outlet vanes to shut off
air�ow to the outlets.
The two upper outlets in the center of the
instrument panel are dedicated to the rear seats.
These outlets are �xed to aim air�ow into the
rear seats to help cool the rear occupants in
hot weather. Air�ow can be shut off at the
upper outlets by turning the vertical thumbwheel.
The louvers are �xed, do not attempt to move
them or they may break.
Operation Tips
Clear away any ice, snow or leaves from the
air inlets at the base of the windshield that
may block the �ow of air into your vehicle.
Use of non-GM approved hood de�ectors may
adversely affect performance of the system.
Keep the path under the front seats clear
of objects to help circulate the air inside
of your vehicle more effectively.
When an objectionable odor outside the
vehicle is encountered, use the recirculation
mode, with the temperature knob at a
comfortable setting to prevent the odor from
entering the vehicle through the ventilation
system. This can be helpful when driving
through a long tunnel with poor ventilation.
However, extended usage of this mode in cold
or cool weather can cause window fogging.
197