2007 CHEVROLET HHR wheel
[x] Cancel search: wheelPage 207 of 446
Set up your audio system by presetting your
favorite radio stations, setting the tone, and
adjusting the speakers. Then, when driving
conditions permit, you can tune to your favorite
radio stations using the presets and steering
wheel controls if the vehicle has them.
Notice:Before adding any sound equipment to
your vehicle, such as an audio system, CD
player, CB radio, mobile telephone, or two-way
radio, make sure that it can be added by
checking with your dealer. Also, check federal
rules covering mobile radio and telephone
units. If sound equipment can be added, it is
very important to do it properly. Added sound
equipment may interfere with the operation of
your vehicle’s engine, radio, or other systems,
and even damage them. Your vehicle’s systems
may interfere with the operation of sound
equipment that has been added.
Your vehicle has a feature called Retained
Accessory Power (RAP). With RAP, the audio
system can be played even after the ignition is
turned off. SeeRetained Accessory Power (RAP)
on page 119for more information.Setting the Time
(Without Date Display)
If your vehicle has an AM/FM base radio with a
single CD player and preset buttons numbered one
through six, the radio will have a clock button
for setting the time. You can set the time by
following these steps:
1. Turn the ignition key to ACC (accessory) or
RUN. Press the power knob, located in the
center of the radio, to turn the radio on.
2. Press the clock button until the hour numbers
begin �ashing on the display. Press the clock
button a second time and the minute
numbers will begin �ashing on the display.
3. While either the hour or the minute numbers
are �ashing, turn the tune knob, located on
the upper right side of the radio, clockwise or
counterclockwise to increase or decrease
the time.
4. Press the clock button again until the clock
display stops �ashing to set the currently
displayed time; otherwise, the �ashing will stop
after �ve seconds and the current time
displayed will be automatically set.
207
Page 217 of 446
Finding a Station
BAND:Press this button to switch between AM,
FM, or XM™ (if equipped). The selection displays.
f(Tune):Turn this knob to select radio
stations.
©SEEK¨:Press the right or left SEEK arrow
to go to the next or to the previous station and
stay there.
To scan stations, press and hold either SEEK
arrow for a few seconds until a beep sounds. The
radio goes to a station, plays for a few seconds,
then goes on to the next station. Press either
SEEK arrow again to stop scanning.
The radio only seeks and scans stations with a
strong signal that are in the selected band.
4(Information) (XM™ Satellite Radio Service,
MP3, and RDS Features):Press the information
button to display additional text information
related to the current FM-RDS or XM™ station, or
MP3 song. A choice of additional information
such as: Channel, Song, Artist, and CAT
(category) can display. Continue pressing the
information button to highlight the desired label, or
press the pushbutton positioned under any one
of the labels and the information about that
label displays.
While information is not available, No Info displays.
Storing a Radio Station as a Favorite
Drivers are encouraged to set up their radio station
favorites while the vehicle is parked. Tune to
your favorite stations using the presets, favorites
button, and steering wheel controls if the
vehicle has this feature. SeeDefensive Driving on
page 238.
217
Page 234 of 446
Audio Steering Wheel Controls
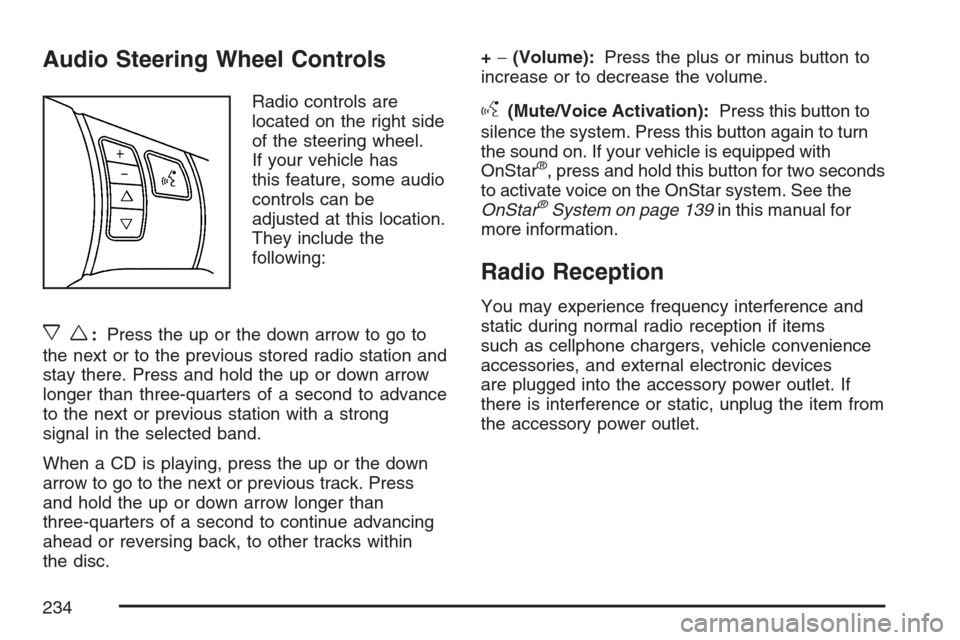
Radio controls are
located on the right side
of the steering wheel.
If your vehicle has
this feature, some audio
controls can be
adjusted at this location.
They include the
following:
xw:Press the up or the down arrow to go to
the next or to the previous stored radio station and
stay there. Press and hold the up or down arrow
longer than three-quarters of a second to advance
to the next or previous station with a strong
signal in the selected band.
When a CD is playing, press the up or the down
arrow to go to the next or previous track. Press
and hold the up or down arrow longer than
three-quarters of a second to continue advancing
ahead or reversing back, to other tracks within
the disc.+−(Volume):Press the plus or minus button to
increase or to decrease the volume.
g(Mute/Voice Activation):Press this button to
silence the system. Press this button again to turn
the sound on. If your vehicle is equipped with
OnStar
®, press and hold this button for two seconds
to activate voice on the OnStar system. See the
OnStar
®System on page 139in this manual for
more information.
Radio Reception
You may experience frequency interference and
static during normal radio reception if items
such as cellphone chargers, vehicle convenience
accessories, and external electronic devices
are plugged into the accessory power outlet. If
there is interference or static, unplug the item from
the accessory power outlet.
234
Page 244 of 446
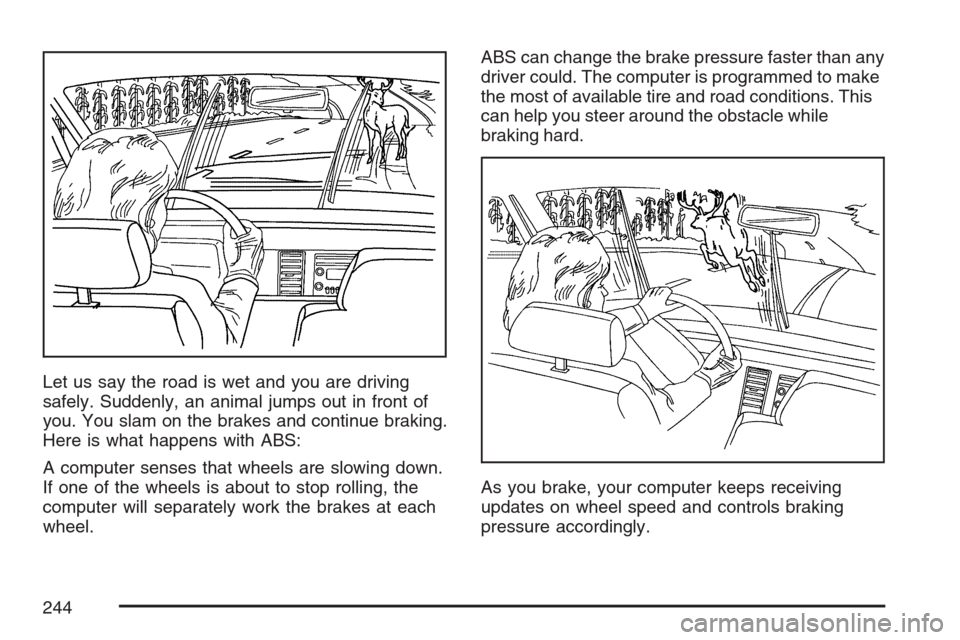
Let us say the road is wet and you are driving
safely. Suddenly, an animal jumps out in front of
you. You slam on the brakes and continue braking.
Here is what happens with ABS:
A computer senses that wheels are slowing down.
If one of the wheels is about to stop rolling, the
computer will separately work the brakes at each
wheel.ABS can change the brake pressure faster than any
driver could. The computer is programmed to make
the most of available tire and road conditions. This
can help you steer around the obstacle while
braking hard.
As you brake, your computer keeps receiving
updates on wheel speed and controls braking
pressure accordingly.
244
Page 245 of 446
Remember: ABS does not change the time you
need to get your foot up to the brake pedal or
always decrease stopping distance. If you get too
close to the vehicle in front of you, you will not have
time to apply your brakes if that vehicle suddenly
slows or stops. Always leave enough room up
ahead to stop, even though you have ABS.
Using ABS
Do not pump the brakes. Just hold the brake pedal
down �rmly and let anti-lock work for you. You may
feel a slight brake pedal pulsation or notice some
noise, but this is normal.
Braking in Emergencies
At some time, nearly every driver gets into a
situation that requires hard braking.
If you have ABS, you can steer and brake at the
same time. However, if you do not have ABS, your
�rst reaction — to hit the brake pedal hard and
hold it down — may be the wrong thing to do.
Your wheels can stop rolling. Once they do, the
vehicle cannot respond to your steering.Momentum will carry it in whatever direction it was
headed when the wheels stopped rolling. That
could be off the road, into the very thing you were
trying to avoid, or into traffic.
If you do not have ABS, use a “squeeze” braking
technique. This will give you maximum braking
while maintaining steering control. You can do this
by pushing on the brake pedal with steadily
increasing pressure.
In an emergency, you will probably want to
squeeze the brakes hard without locking the
wheels. If you hear or feel the wheels sliding, ease
off the brake pedal. This will help you retain
steering control. If you do have ABS, it is different.
SeeAnti-Lock Brake System (ABS) on page 243.
In many emergencies, steering can help you
more than even the very best braking.
245
Page 246 of 446
Enhanced Traction System (ETS)
Your vehicle may have an Enhanced Traction
System (ETS) that limits wheel spin. This is
especially useful in slippery road conditions. The
system operates only if it senses that one or
both of the front wheels are spinning or beginning
to lose traction. When this happens, the system
reduces engine power and may also upshift
the transaxle to limit wheel spin. You may feel or
hear the system working, but this is normal.
A LOW TRACTION message will appear on the
Driver Information Center (DIC) when the traction
control system is actively limiting wheel spin.
Slippery road conditions may exist if this message
is displayed, so adjust your driving accordingly.
If your vehicle is in cruise control when the
Enhanced Traction System begins to limit wheel
spin, the cruise control will automatically
disengage. When road conditions allow you to
safely use it again, you may re-engage the cruise
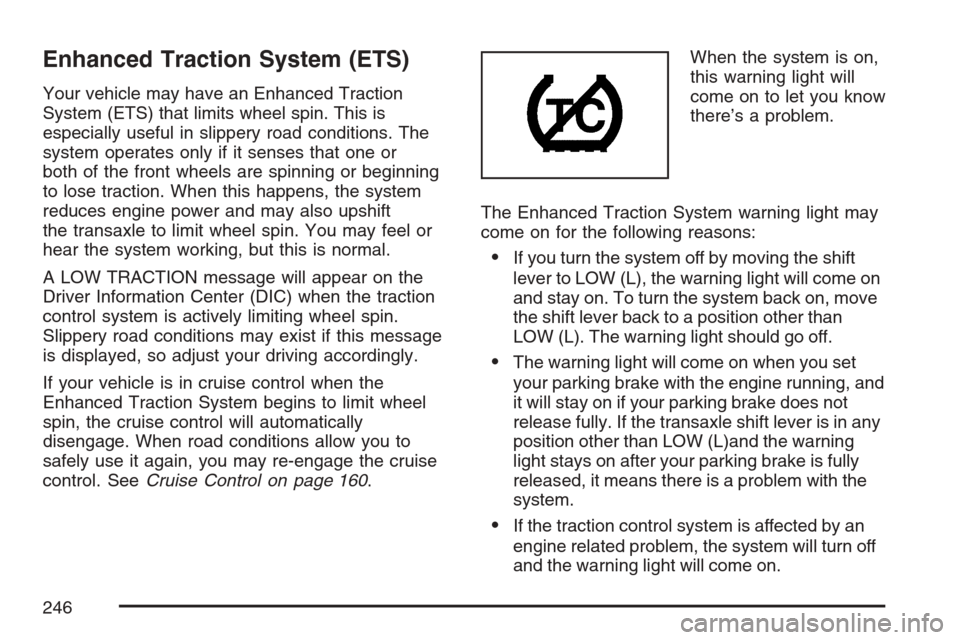
control. SeeCruise Control on page 160.When the system is on,
this warning light will
come on to let you know
there’s a problem.
The Enhanced Traction System warning light may
come on for the following reasons:
If you turn the system off by moving the shift
lever to LOW (L), the warning light will come on
and stay on. To turn the system back on, move
the shift lever back to a position other than
LOW (L). The warning light should go off.
The warning light will come on when you set
your parking brake with the engine running, and
it will stay on if your parking brake does not
release fully. If the transaxle shift lever is in any
position other than LOW (L)and the warning
light stays on after your parking brake is fully
released, it means there is a problem with the
system.
If the traction control system is affected by an
engine related problem, the system will turn off
and the warning light will come on.
246
Page 247 of 446
If the warning light stays on, or comes on when
you’re driving, there may be a problem with
your Enhanced Traction System and your vehicle
may need service. When this warning light is
on, the system will not limit wheel spin. Adjust your
driving accordingly.
If the Enhanced Traction System warning light
comes on and stays on for an extended period of
time when the transaxle shift lever is in any
position other than LOW (L), your vehicle needs
service.
To limit wheel spin, especially in slippery road
conditions, you should always leave the Enhanced
Traction System on. But you can turn the system
off if you prefer.
To turn the system off, shift to LOW (L) or
REVERSE (R).When you turn the system off, the Enhanced
Traction System warning light will come on and stay
on when the gear shift is in LOW (L). The warning
light will not come on when the gear shift is in
REVERSE (R). If the Enhanced Traction System is
limiting wheel spin when you shift to LOW (L) or
REVERSE (R) to turn the system off, the warning
light will come on in LOW (L). But the system won’t
turn off right away. It will wait until there’s no longer
a current need to limit wheel spin.
You can turn the system back on at any time by
shifting to AUTOMATIC OVERDRIVE (D) or
INTERMEDIATE (I). The Enhanced Traction
System warning light should go off.
Adding non-GM accessories can affect your
vehicle’s performance. SeeAccessories and
Modifications on page 289for more information.
247
Page 248 of 446
Steering
Electric Power Steering
If the engine stalls while you are driving, the
power steering assist system will continue
to operate until you are able to stop your vehicle.
If you lose power steering assist because the
electric power steering system is not functioning,
you can steer, but it will take more effort.
If you turn the steering wheel in either direction
several times until it stops, or hold the steering
wheel in the stopped position for an extended
amount of time, you may notice a reduced amount
of power steering assist. The normal amount of
power steering assist should return shortly after a
few normal steering movements.
The electric power steering system does not
require regular maintenance. If you suspect
steering system problems and/or the POWER
STEERING message comes on, contact
your dealer for service repairs. SeeDIC Warnings
and Messages on page 197.
Steering Tips
It is important to take curves at a reasonable
speed.
A lot of the “driver lost control” accidents
mentioned on the news happen on curves.
Here is why:
Experienced driver or beginner, each of us is
subject to the same laws of physics when driving on
curves. The traction of the tires against the road
surface makes it possible for the vehicle to change
its path when you turn the front wheels. If there is
no traction, inertia will keep the vehicle going in the
same direction. If you have ever tried to steer a
vehicle on wet ice, you will understand this.
The traction you can get in a curve depends on
the condition of your tires and the road surface,
the angle at which the curve is banked, and
your speed. While you are in a curve, speed is the
one factor you can control.
248